Border OptionsHugging border, circle, square, or rectangle — with a 3mm satin stitch.
Backing OptionsAvailable with iron-on, sew-on, or velcro backing.
Fast ShippingShipped quickly from the USA.
Free Online Tools
Powerful embroidery utilities that save time and prevent costly mistakes.
Stitch AssistantRECOMMENDED
Get the exact stabilizer, machine settings, needle, and thread color sequence for every embroidery design you purchase — based on that design's stitch density, dimensions, and color count.
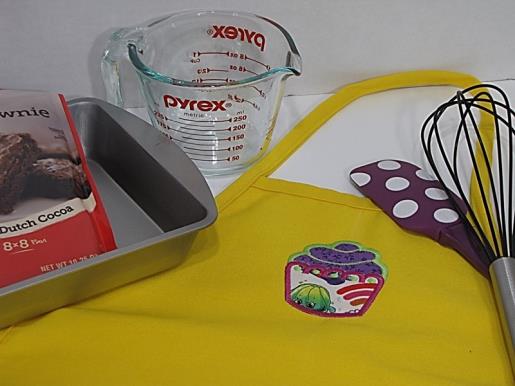
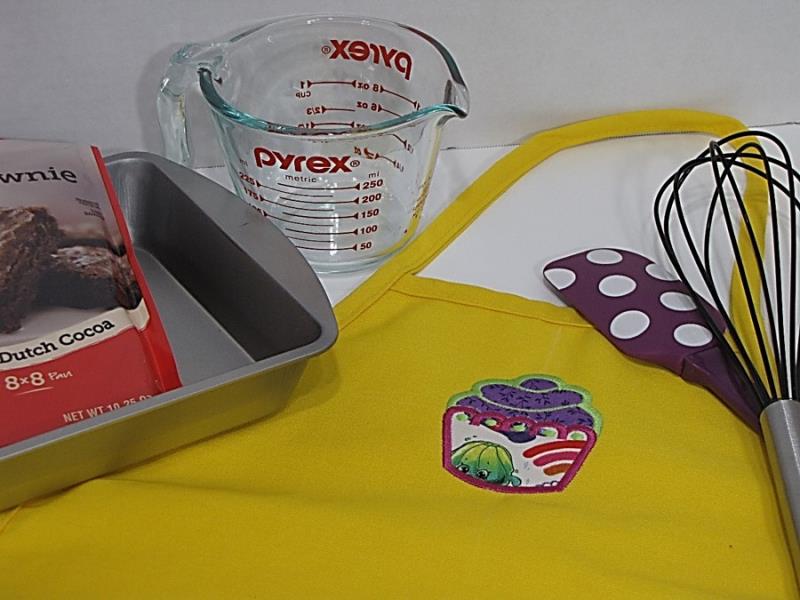
This delightful child's apron features a colorful cupcake applique, perfect for young baking enthusiasts. The bright design adds a playful touch to any kitchen activity. Step-by-step instructions are included.
Step
of
Applique Cupcake Apron for Kids
By Martha Montgomery
Get your little chef started in the kitchen with this bright, fun child’s apron. There are limitless options and designs for decorating a child’s apron! This applique design is just one!
Step 1:
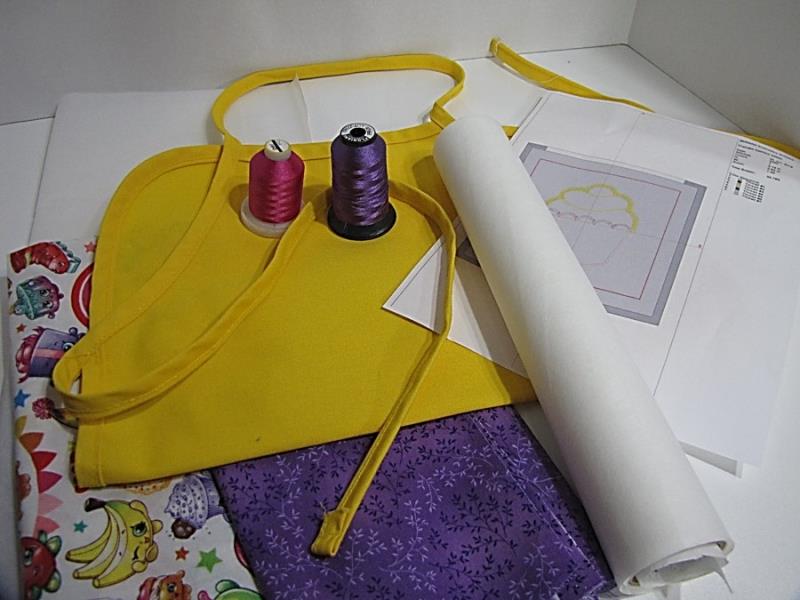
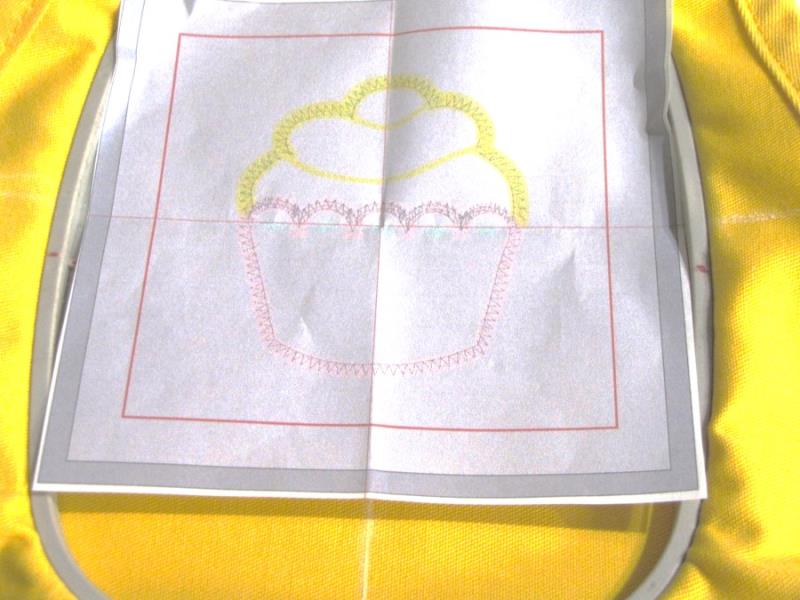
Gather the materials and read through the instructions before beginning. Print out a paper template of the design and color sequence.
(Click Image to Enlarge)
Step 2:
Find the vertical center of the apron by folding in half lengthwise and pressing lightly along the fold.
Step 3:
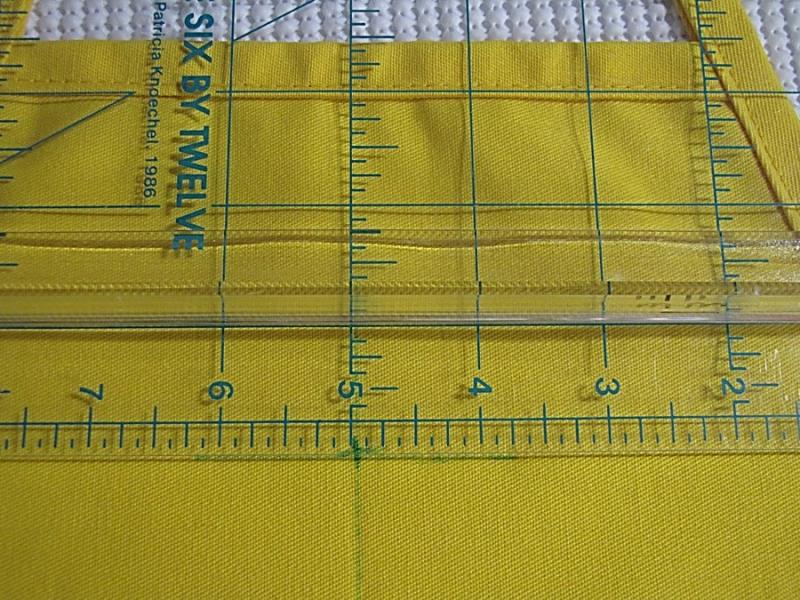
Measure down from the top edge of the apron to determine the horizontal placement of the design.
(Click Image to Enlarge)
Step 4:
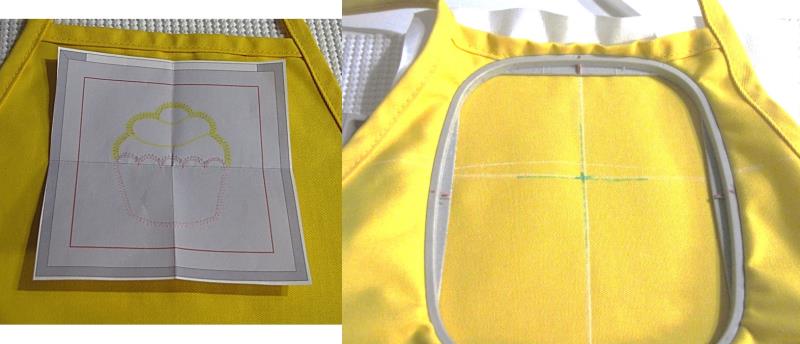
Extend the placement lines so that you can easily align the placement lines with the vertical and horizontal placement marks on the hoop. Hoop the apron and the cutaway stabilizer.
(Click Image to Enlarge)
Step 5:
Confirm the placement of your design within your hoop.
(Click Image to Enlarge)
Step 6:
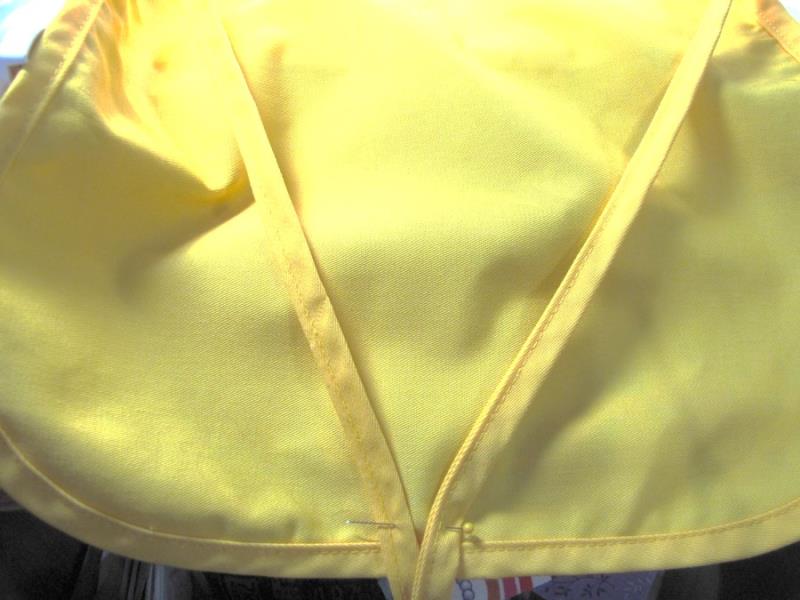
Pin the apron strings to the bottom of the apron to keep them out of the embroidery area.
(Click Image to Enlarge)
Step 7:
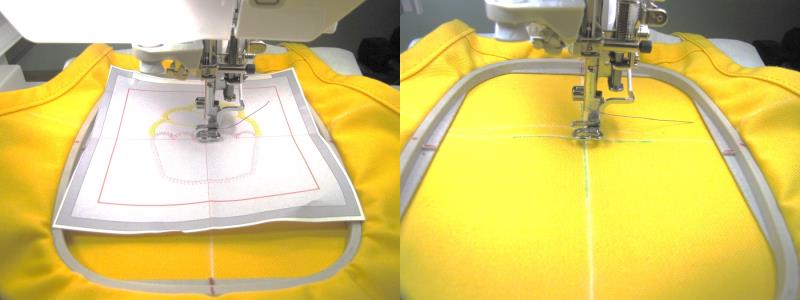
Carefully place the hooped apron on your machine, taking care to keep the neck loop and straps out of the embroidery area. Confirm the center placement once again. Be sure to remove the paper template before sewing!
This is an applique design and will require that the entire hooped project be removed from and replaced on the machine multiple times. DO NOT UNHOOP THE APRON, keep it hooped through the entire process.
TIP: Be careful to keep the neck loop and apron strings out of the embroidery area each time you place it back on your machine between steps.
(Click Image to Enlarge)
Step 8:
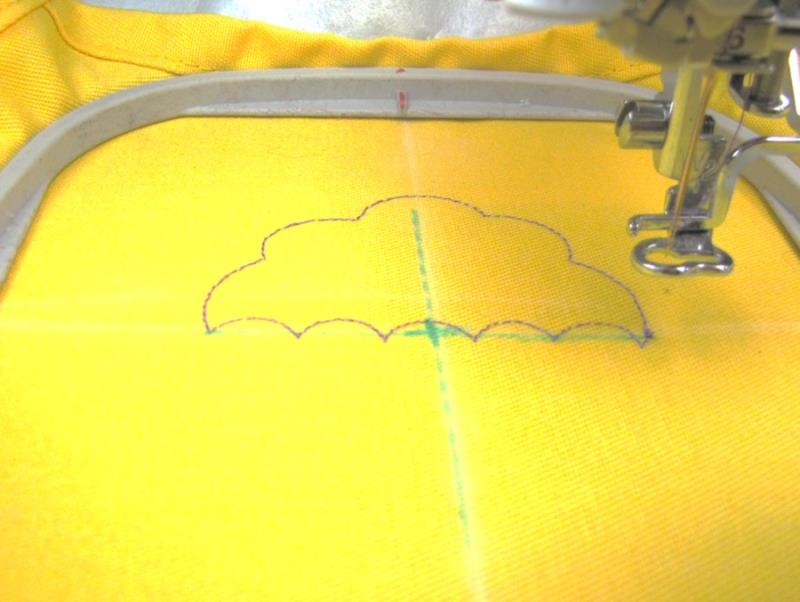
Following the color sequence and applique steps, stitch the project. The first stitch line will be the placement line for the cupcake top.
(Click Image to Enlarge)
Step 9:
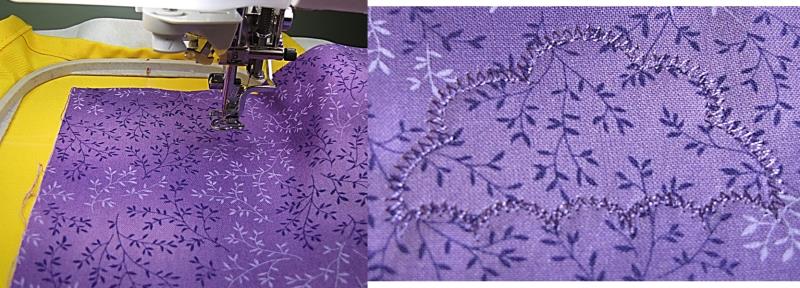
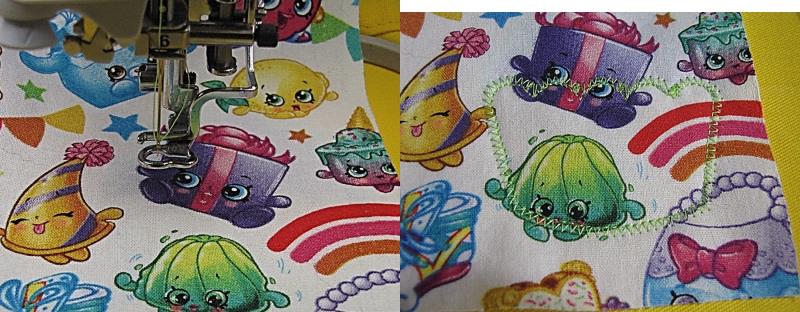
Once the placement line has stitched, place your fabric over the placement line. The next stitch line will be the tack down stitch.
TIP 1: If you decide to use fusible web, apply it to the back of your applique fabric(s) following manufacturer’s instructions, prior to this step.
TIP 2: I use a wooden chopstick to hold the fabric lightly in place until the tack down stitch is complete. Be sure to keep it out of the way of the needle.
NOTE: Not all tack down stitch lines are zig-zag lines. They are often straight lines.
(Click Image to Enlarge)
Step 10:
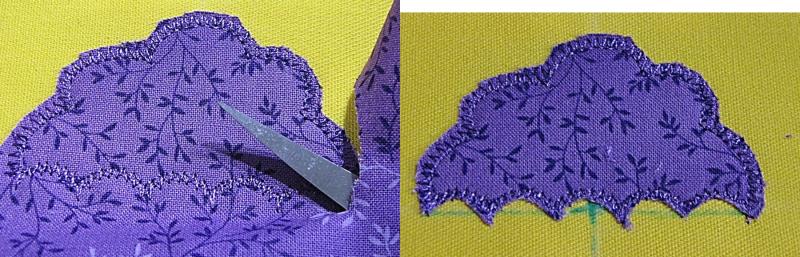
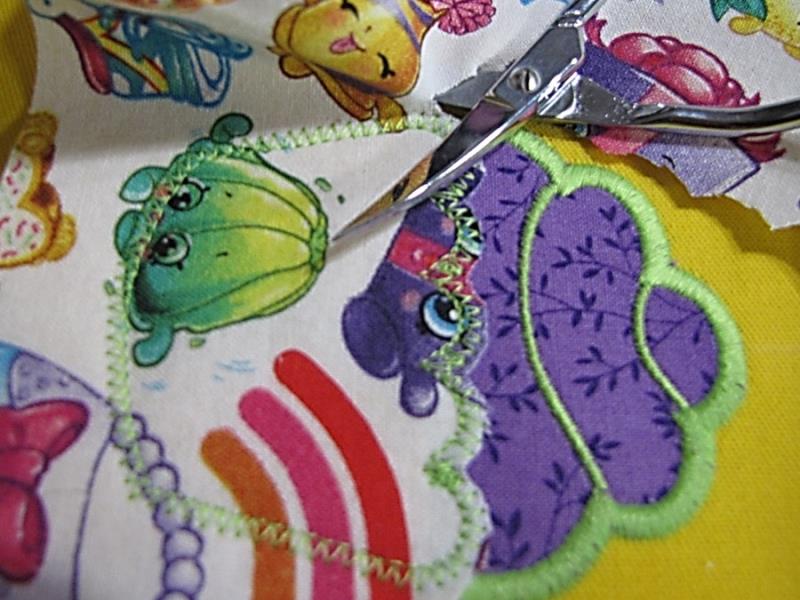
Carefully remove your hooped project from the machine and carefully trim away the excess fabric, following the tack down stitch line.
(Click Image to Enlarge)
Step 11:
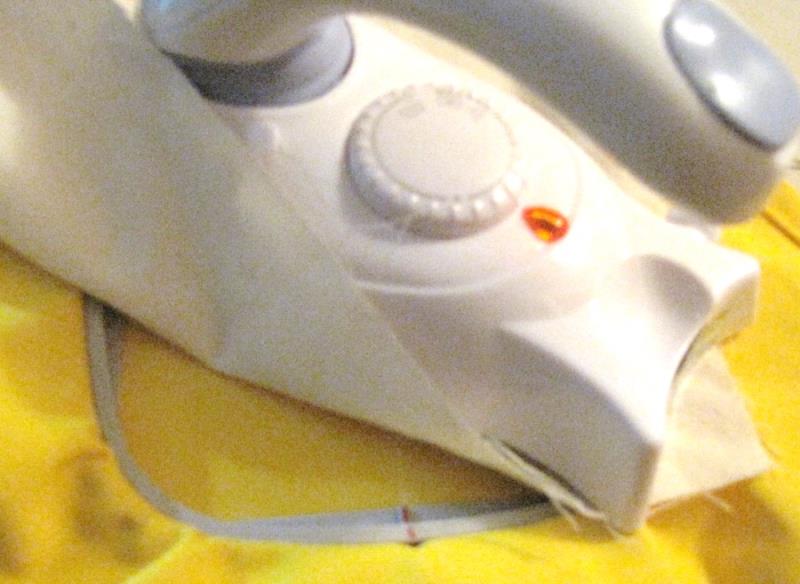
If you have used a fusible web on the back of the applique fabric, you may wish to press it before stitching the satin stitch. KEEP THE PROJECT IN THE HOOP WHILE PRESSING.
TIP: You may wish to use a pressing cloth.
(Click Image to Enlarge)
Step 12:
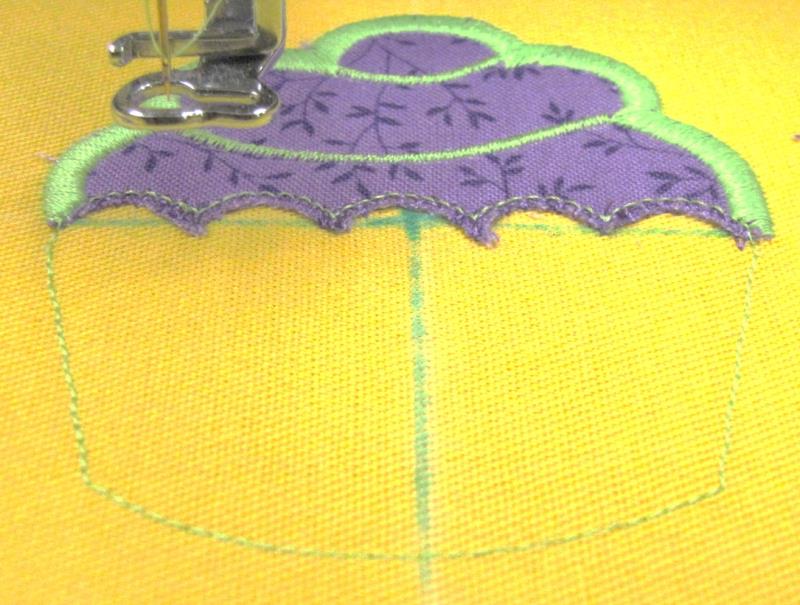
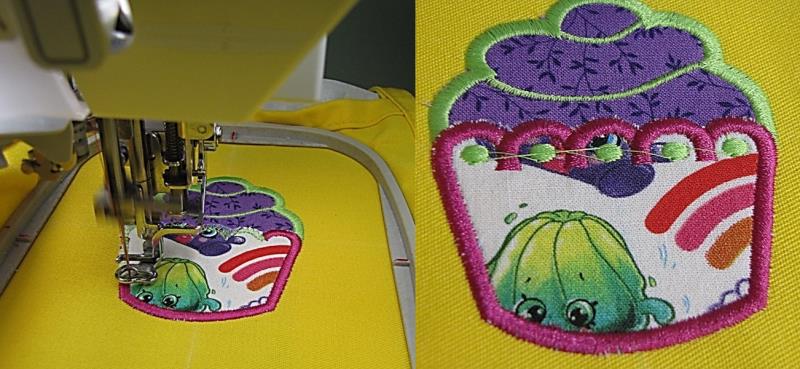
Place the hooped project back onto your machine and proceed to sew the satin stitch around the cupcake top and the placement stitch for the cupcake bottom.
(Click Image to Enlarge)
Step 13:
Place the fabric for the cupcake bottom over the placement line. Stitch the tack down stitch.
(Click Image to Enlarge)
Step 14:
Carefully remove the hooped project from the machine and carefully trim the cupcake bottom around the tack down stitch. You may again wish to press before sewing the final zig-zag stitch. I use a pressing cloth to make sure I don’t damage the satin stitching from the previous steps.
(Click Image to Enlarge)
Step 15:
Carefully place the hooped design on the machine one more time, being mindful of keeping the neck loop and apron strings away from the embroidery area. Stitch the remaining satin stitch and any other accent stitching.
(Click Image to Enlarge)
Step 16:
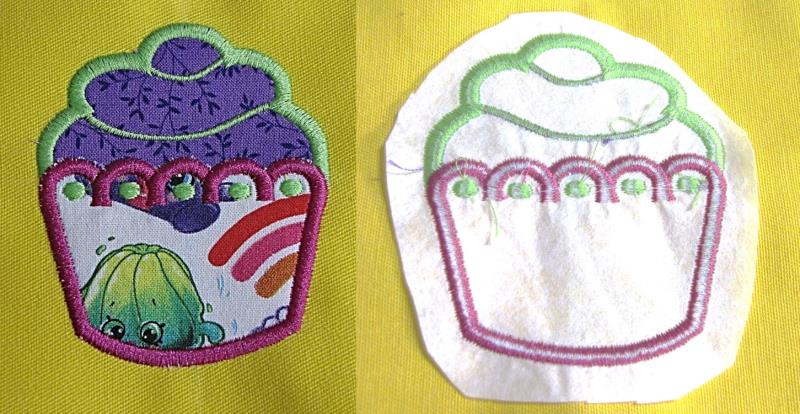
Remove the finished project from the machine. Trim any jump stitches. Remove the project from the hoop and trim away excess stabilizer.
(Click Image to Enlarge)
Step 17:
Voila! You have completed this delightful applique cupcake apron. Now on to the kitchen to whip up something tasty!
Martha has been sewing since childhood. She is a maker of garments, quilter and machine embroiderer. Martha loves all things fabric and fabric-related.