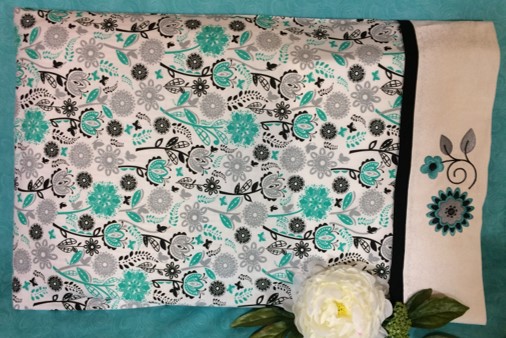
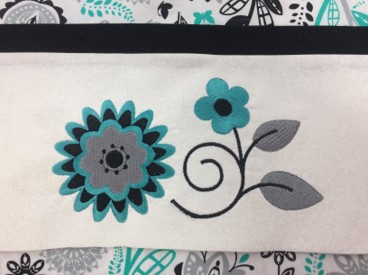
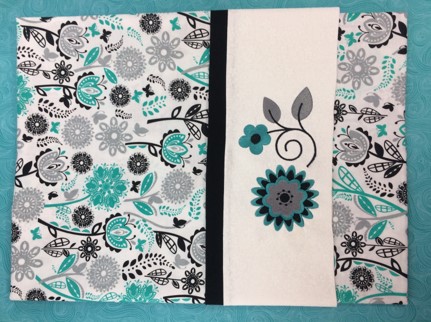
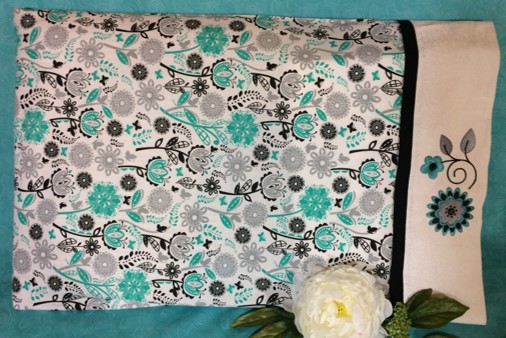
A 'Pretty Flower' embroidery design compliments the floral design for this pillowcase. Machine embroidery and sewing skills are combined to make this project.
A 'Pretty Flower' embroidery design adds charm to this contemporary pillowcase. Machine embroidery and sewing is used to complete this project.
Step 1:
(Click Image to Enlarge)
Gather the materials. Read through the instructions before beginning. Print the Design Template and Color Chart. Iron and starch the fabric.
Step 2:
(Click Image to Enlarge)
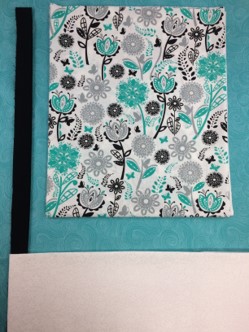
Cut one 27” x WOF (width of fabric) for the main body of the pillowcase. Cut one 2” x WOF for the trim on the pillowcase. Cut on 10” x WOF for the cuff on the pillowcase.
Step 3:
(Click Image to Enlarge)
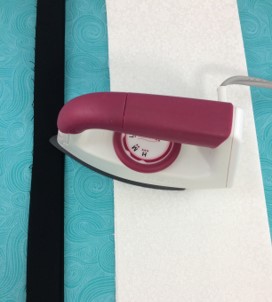
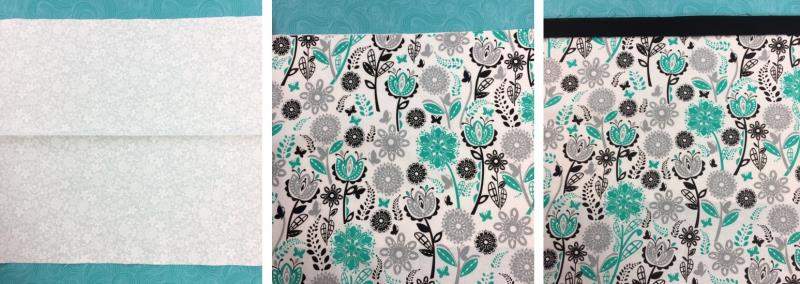
Fold the 2” fabric in half with RIGHT SIDES facing you. Iron a crease on the fold line. Fold the 10” fabric in half with RIGHT SIDES facing you. Iron a crease on the fold line.
Step 4:
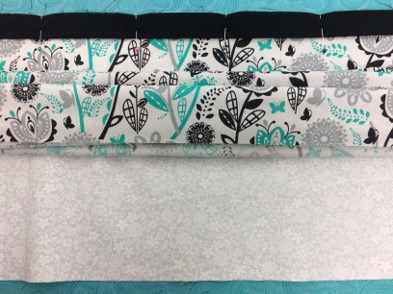
Open the 10” fabric and lay RIGHT SIDE up on a flat surface. Place the 27” fabric RIGHT SIDE up on top of the 10” fabric and line up edges. Put the FOLDED trim on top. Line up all raw edges. NOTE: If the fabric is directional, place the top on the raw edge.
(Click Image to Enlarge)
Step 5:
(Click Image to Enlarge)
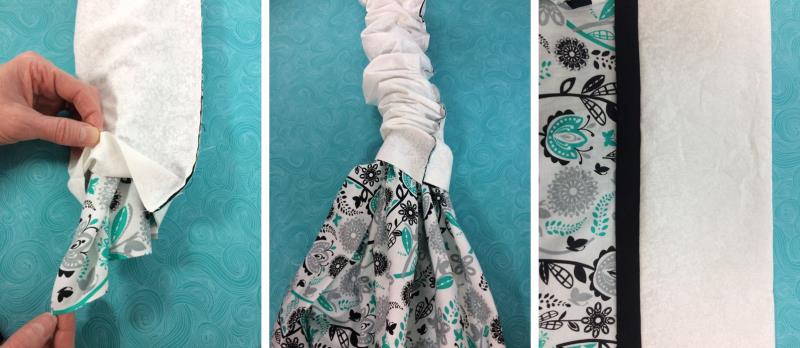
Reach to the bottom of the 27” piece and roll up into a tube like a burrito or accordion style.
Step 6:
(Click Image to Enlarge)
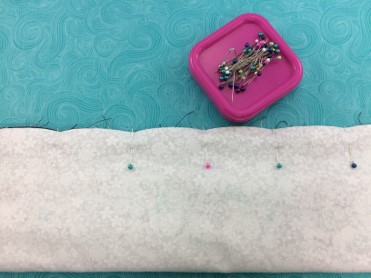
Bring the back piece (10” cuff fabric) over the top. Pin all layers together.
Step 7:
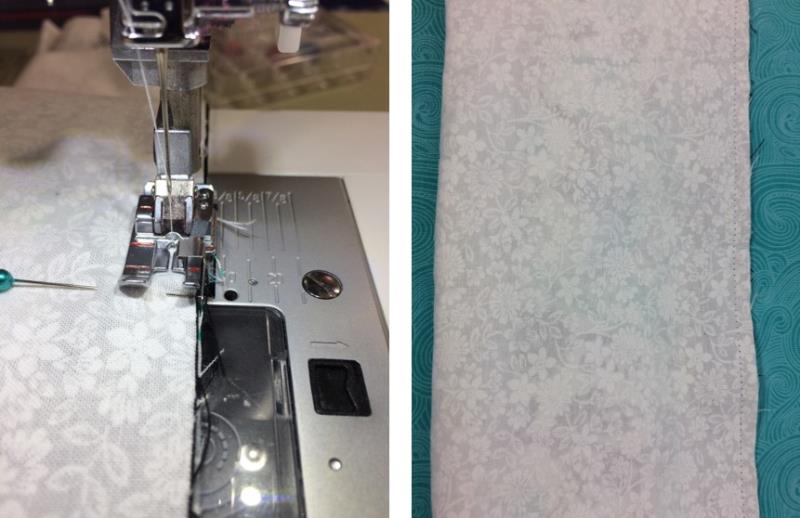
Sew ¼” seam in a neutral color along the long side of the pillowcase. This step will make all seams for the cuff on the inside of the pillowcase.
(Click Image to Enlarge)
Step 8:
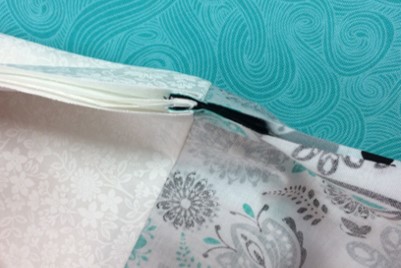
Reach inside the tube and pull the fabric out. Iron fabric.
(Click Image to Enlarge)
Step 9:
(Click Image to Enlarge)
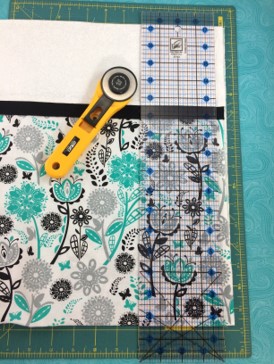
Trim the edges of the fabric.
Step 10:
Fold the pillowcase in half with WRONG SIDE facing you. Match the cuff and piping pieces. Pin in place.
Step 11:
(Click Image to Enlarge)
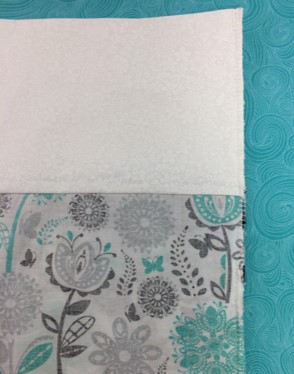
Sew a seam ¼” along the long side and bottom of the pillowcase. You may an overlock stitch or surge the seam. Turn the pillowcase right side out and iron.(WOW! You just made a pillowcase!)
Step 12:
(Click Image to Enlarge)
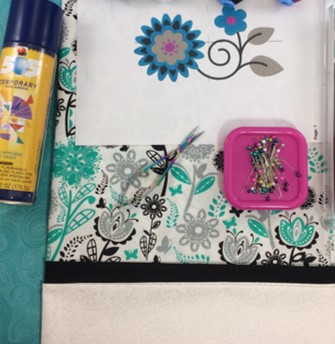
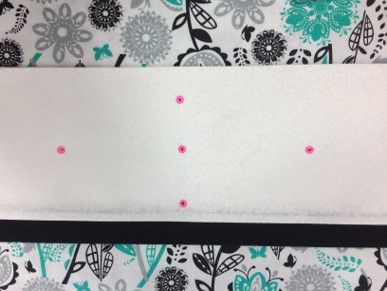
Determine placement for the embroidery design on the cuff of the pillowcase. Measure to find the center point and axis on the cuff.
Step 13:
(Click Image to Enlarge)
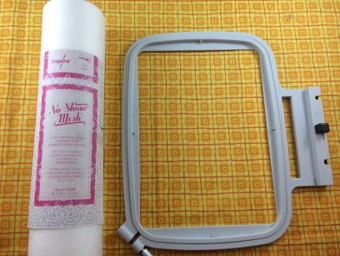
Hoop the stabilizer. Mark the center point and axis on the stabilizer.
Step 14:
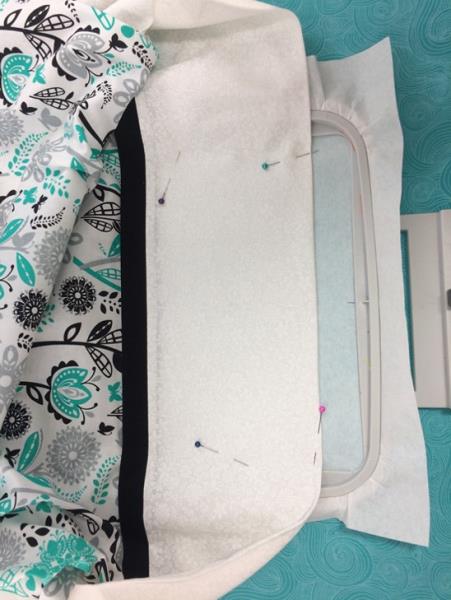
Align the center points and axis on the stabilizer with the ones on the pillowcase. Pin pillowcase in place on stabilizer.
(Click Image to Enlarge)
Step 15:
(Click Image to Enlarge)
Load the design on your embroidery machine.
NOTE: I had to loosen my tension for this design. The stitches were really tight and caused some puckering especially around the large flower on my first stitch out of this design. You may want to test stitch the design before embroidering on the pillowcase.
Stitch the embroidery design. Remove the hoop from the machine. Remove the fabric from the hoop. Cut away the stabilizer. Trim long thread.
Marisa Littleton is a retired educator with a love for teaching and learning. Interests include machine embroidery, hand embroidery, quilting, cooking, and antiques.