Border OptionsHugging border, circle, square, or rectangle — with a 3mm satin stitch.
Backing OptionsAvailable with iron-on, sew-on, or velcro backing.
Fast ShippingShipped quickly from the USA.
Free Online Tools
Powerful embroidery utilities that save time and prevent costly mistakes.
Stitch AssistantRECOMMENDED
Get the exact stabilizer, machine settings, needle, and thread color sequence for every embroidery design you purchase — based on that design's stitch density, dimensions, and color count.
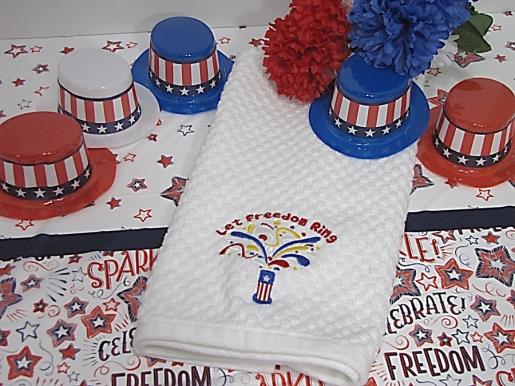
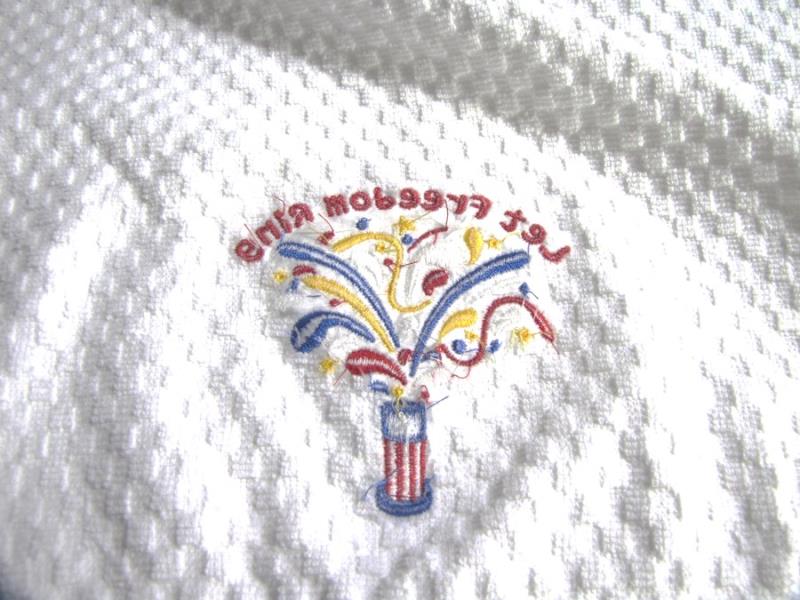
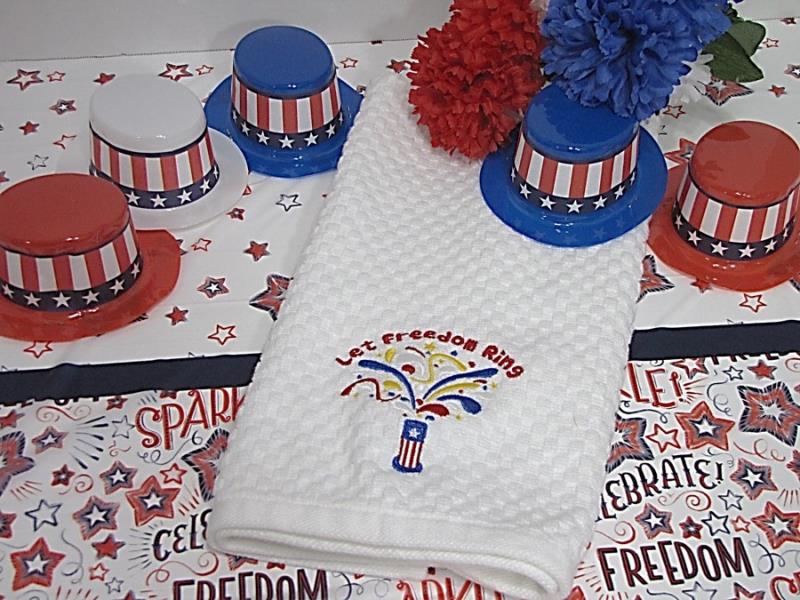
Celebrate Independence Day with this festive towel, perfect for adding a patriotic touch to your kitchen or bathroom. Featuring a colorful design, it's ideal for holiday gatherings or as a thoughtful hostess gift. Step-by-step instructions are included.
Step
of
Festive Independence Day Towel
By Martha Montgomery
Create a lovely hostess gift for your Independence Day celebration hostess, or create this for your very own kitchen.
Step 1:
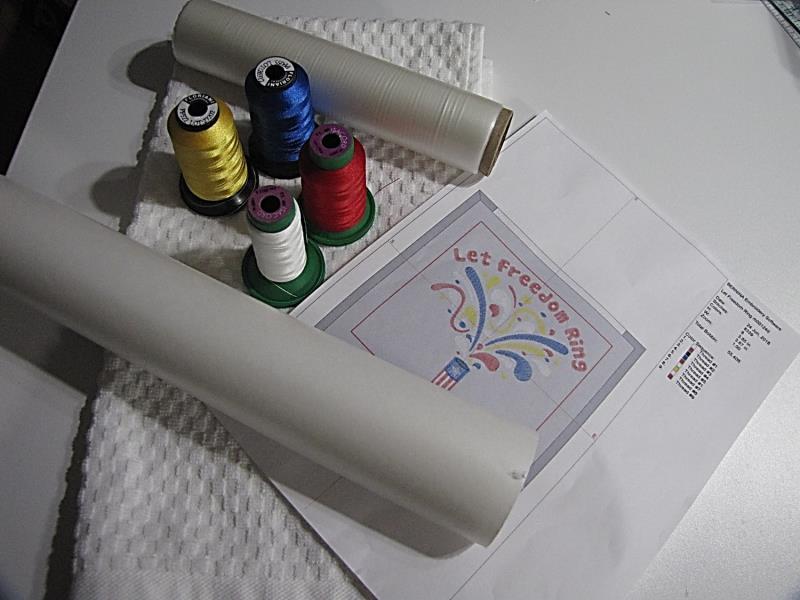
Gather the materials and read through the instructions before beginning. Print out a paper template of the design and color sequence.
(Click Image to Enlarge)
Step 2:
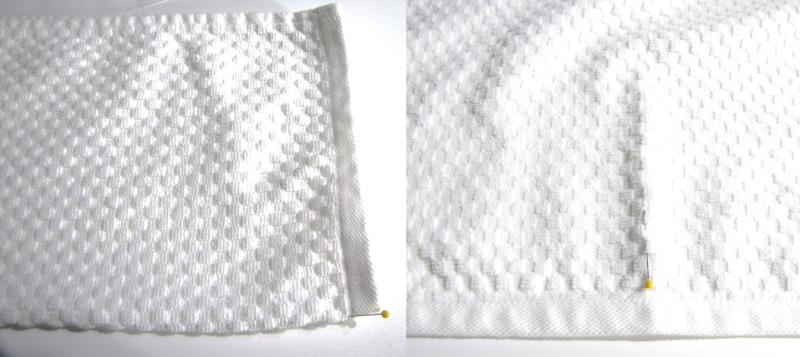
Fold the towel in half lengthwise, wrong sides together, to determine center placement. Mark with a pin or temporary fabric marker.
(Click Image to Enlarge)
Step 3:
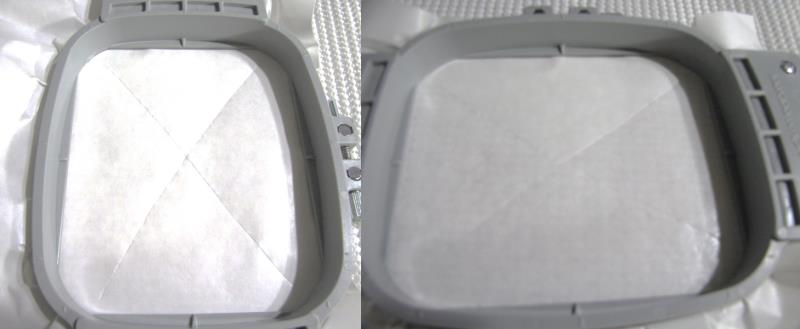
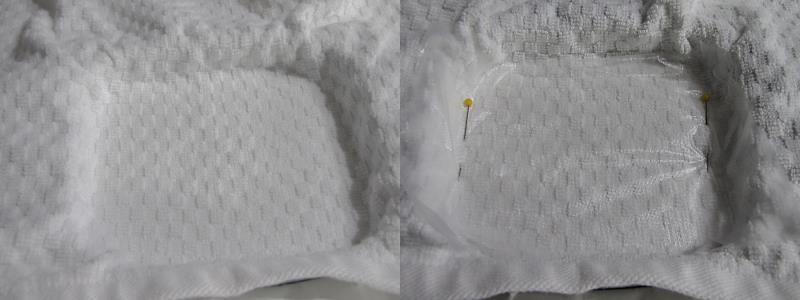
Hoop the sticky tear away stabilizer, shiny side up. Score an “X” on the shiny paper and around the inside perimeter of the hoop. Remove the shiny paper, exposing the sticky surface.
(Click Image to Enlarge)
Step 4:
Stick the towel to the stabilizer, matching the center fold with the center marking on the hoop. Position it as far from the edge as you desire. Rub it firmly onto the stabilizer and pin your water soluble stabilizer onto the hooped towel.
(Click Image to Enlarge)
Step 5:
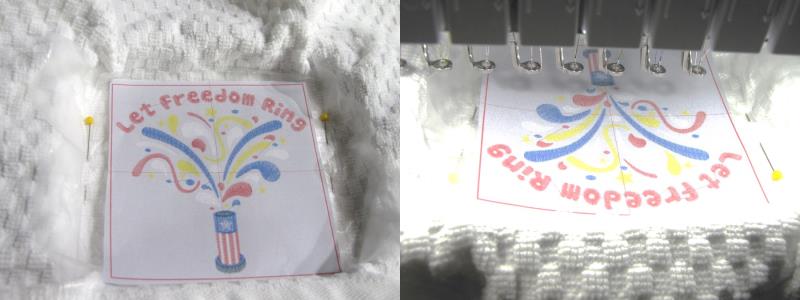
Using the paper template, confirm the placement of the design in the hoop prior to placing on the machine. Place the hooped towel onto the machine and confirm center placement. Rotate the design on the machine, if necessary.
TIP: Don't forget to remove the paper template before sewing!
(Click Image to Enlarge)
Step 6:
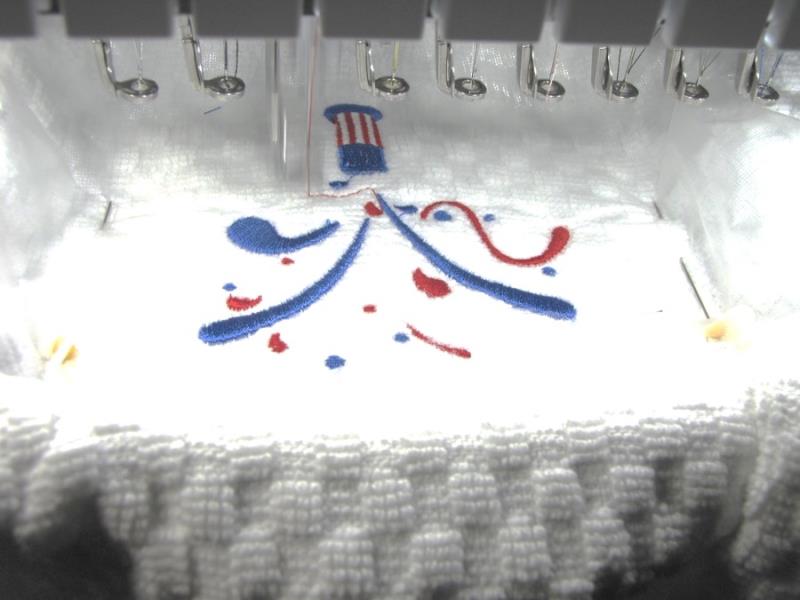
Stitch the design following the color sequence.
(Click Image to Enlarge)
Step 7:
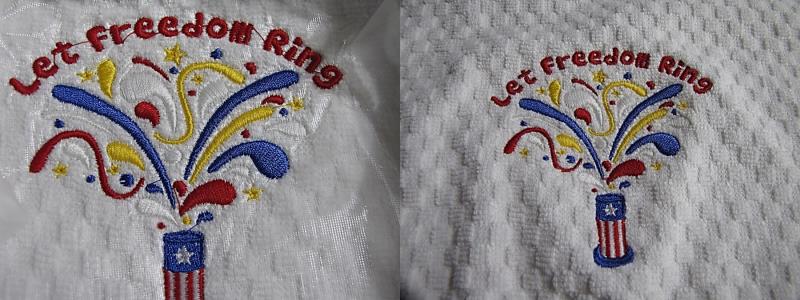
Remove the project from the hoop, remove water soluble stabilizer and trim any jump threads.
(Click Image to Enlarge)
Step 8:
Remove the sticky stabilizer from the back of the towel.
(Click Image to Enlarge)
Step 9:
Congratulations! You have completed this quick and easy Independence Day towel. Celebrate and Let Freedom Ring!!
Martha has been sewing since childhood. She is a maker of garments, quilter and machine embroiderer. Martha loves all things fabric and fabric-related.