














































PROJECT INSTRUCTIONS


PROJECT INSTRUCTIONS

Patriotic Baseball Flag Embroidery Project
By
Marisa Littleton
on
July 02, 2018
Description
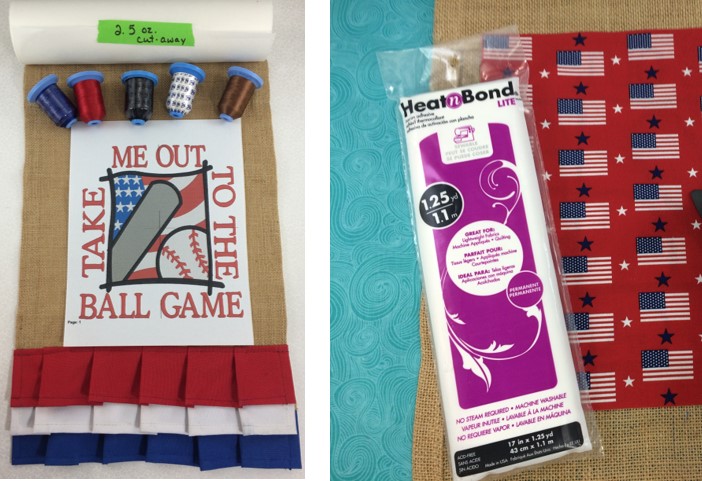
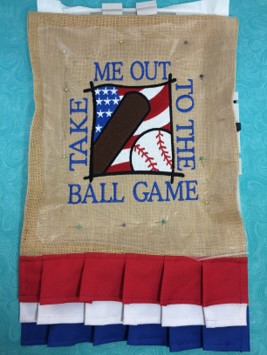
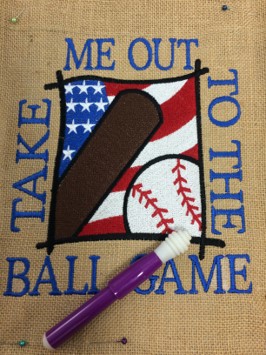
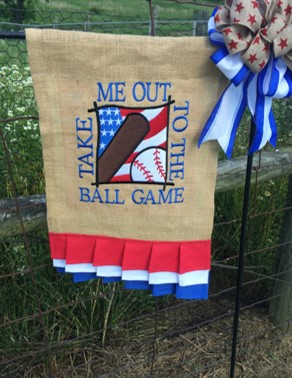
You may get this song stuck in your head: ‘Take Me Out to the Ball Game!’ Buy me some peanuts and crackerjacks… while making this yard flag! A burlap baseball flag in patriotic colors.
Step
of
Materials
Project Preview Video

USA Flag with Baseball
$9.74
$4.87
Circle Price: $4.72

QUICK VIEW
Cut Away Stabilizer - 2.5 Oz wt.
$8.94
Circle Price: $8.05
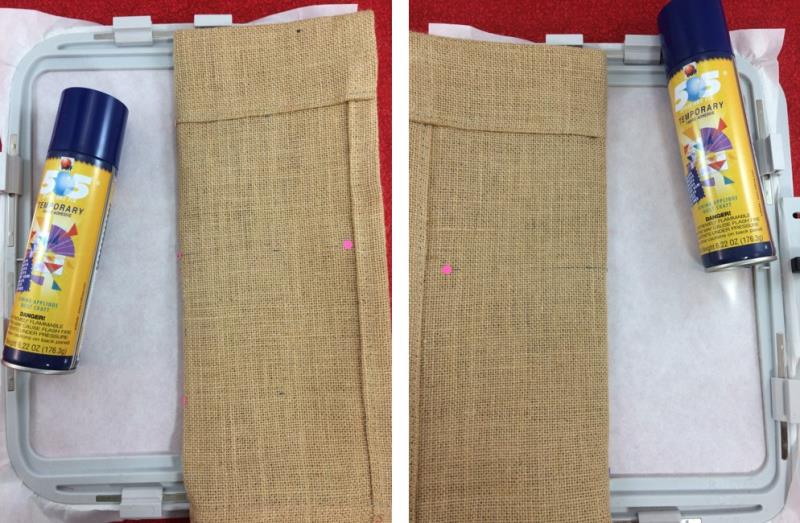
505 Spray Temporary Spray Adhesive
$19.99
Circle Price: $19.99
{{ item.name }}
{{ item.listPriceDisplay }}{{ item.salePriceDisplay }}
Circle Price:
{{ item.clubPriceDisplay }}


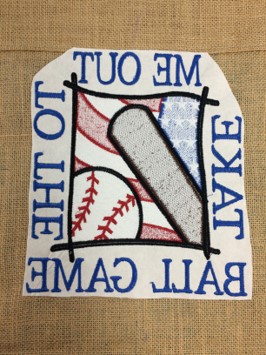
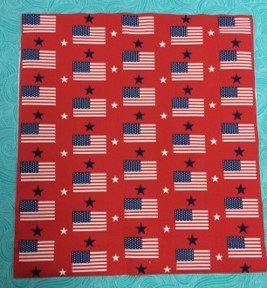
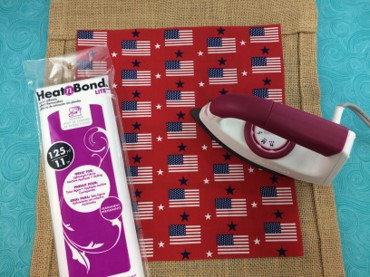
| Materials 8” X 12” hoop 12” x 18” burlap garden flag Design Template & Color Chart 40 wt. Embroidery Thread 75/11 Embroidery Needle 2.5 oz. Cutaway Stabilizer Water Soluble Stabilizer Temporary Adhesive Spray 1 fat quarter cotton fabric Heat n Bond lite |
| Designs used in this project |
|
Learn by teaching others... Marisa Littleton |
Projects You May Like
Meet the Author:
Marisa Littleton

Marisa Littleton is a retired educator with a love for teaching and learning. Interests include machine embroidery, hand embroidery, quilting, cooking, and antiques.
Feedback
Characters Remaining
Please Login to Submit a Feedback
Invalid Characters, Please enter a valid Comment
Please enter a valid Comment
Reviewed On
Link is Broken, Please check the URL