Border OptionsHugging border, circle, square, or rectangle — with a 3mm satin stitch.
Backing OptionsAvailable with iron-on, sew-on, or velcro backing.
Fast ShippingShipped quickly from the USA.
Free Online Tools
Powerful embroidery utilities that save time and prevent costly mistakes.
Stitch AssistantRECOMMENDED
Get the exact stabilizer, machine settings, needle, and thread color sequence for every embroidery design you purchase — based on that design's stitch density, dimensions, and color count.
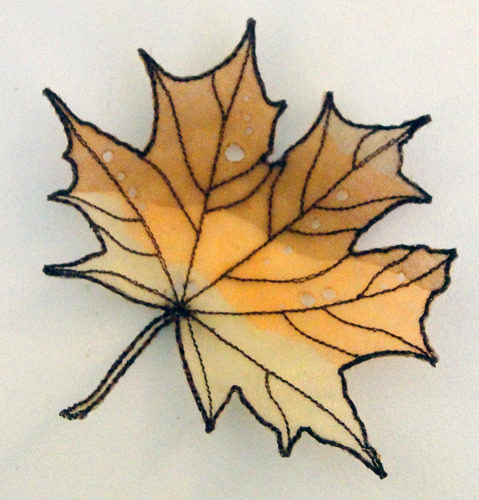
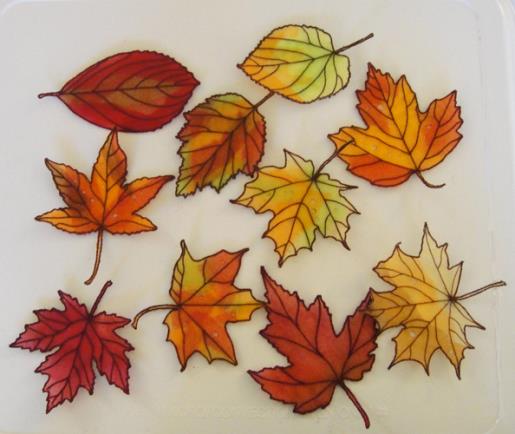
Create beautiful autumn leaves using the in-the-hoop technique with layered nylon organza. Each piece is unique, offering vibrant colors perfect for seasonal decorations. Step-by-step instructions are included.
It is the multiple layers of 6” squares or nylon organza along with snippets of various colors that create the rich colors of these leaves. The use of nylon organza rather than polyester organza is required so that you can work with the wood burning tool to remove small bits of organza from the leaves and to create the realistic holes in them. Where you place the various colors is up to your creativity, but these are so easy to do you cannot go wrong.
Step 1:
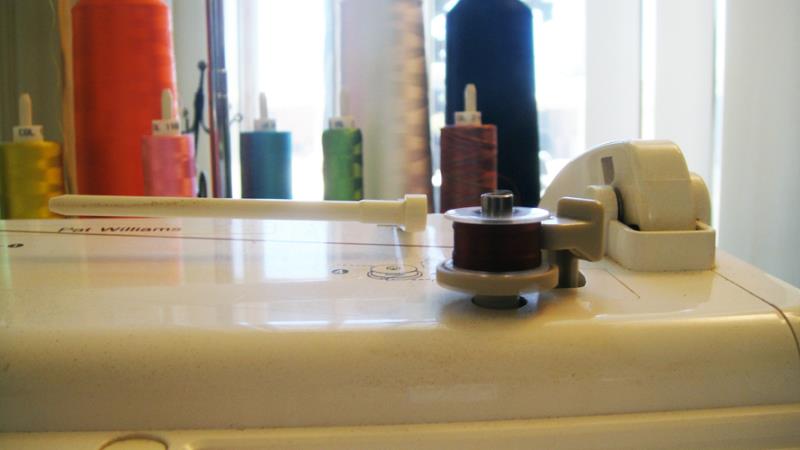
All of the samples were made with either Chestnut (1858) or Burgundy (1635) thread. You may choose to use whatever colors of polyester thread you desire, but wind a bobbin to match your top thread.
(Click Image to Enlarge)
Step 2:
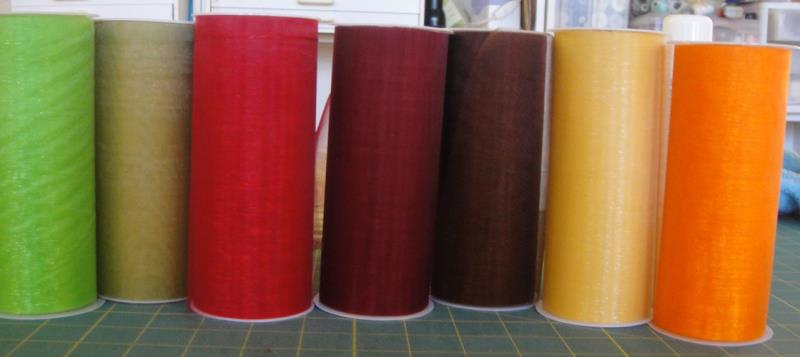
Finding nylon organza in a wide range of colors can be a challenge. These individual inexpensive rolls were found on line from LA Crafts. They are also available on Amazon in a 20 roll assortment.
(Click Image to Enlarge)
Step 3:
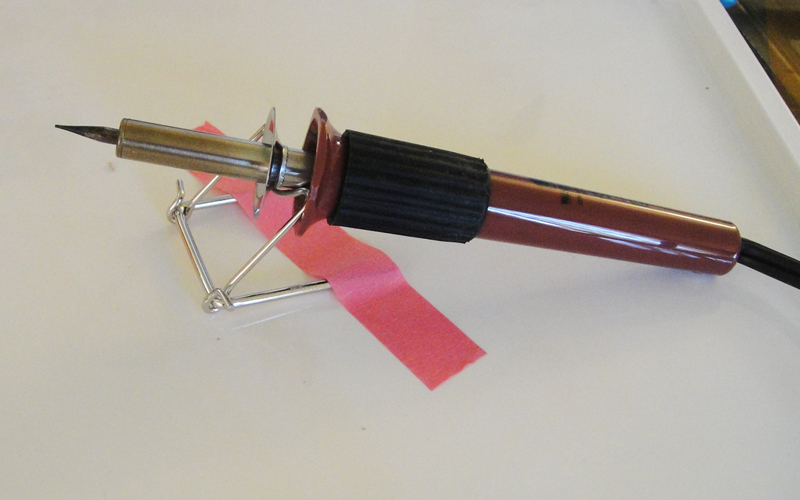
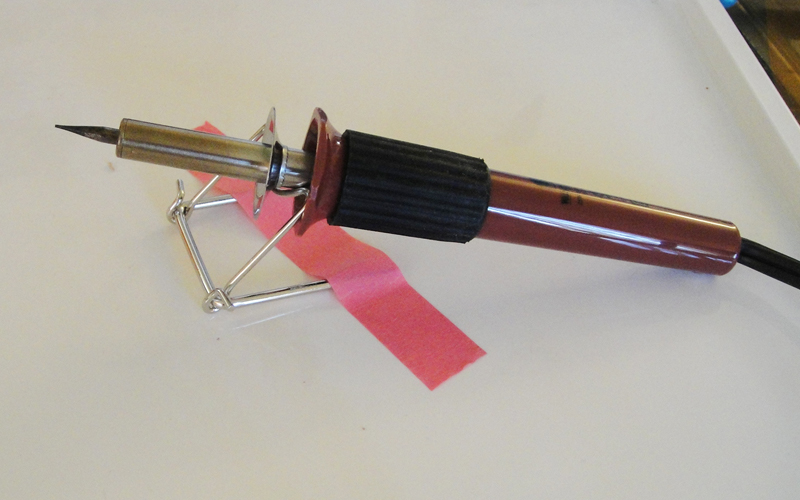
A wood burning tool is used to complete these leave. The Walnut Hollow Creative Versa Tool with Versa-Temp Variable Temperature Control and 11 Wood burning Points found on Amazon works well in this project due to the nicely pointed tip that came with the set. The variable temp settings worked well to get just the right temp for melting the organza.
(Click Image to Enlarge)
Step 4:
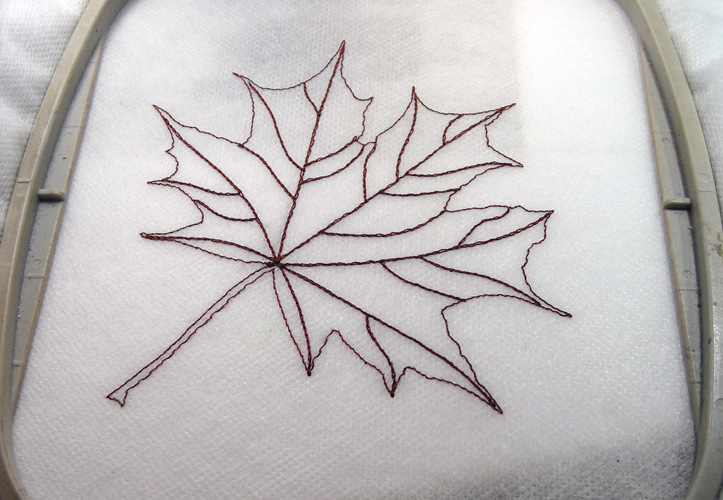
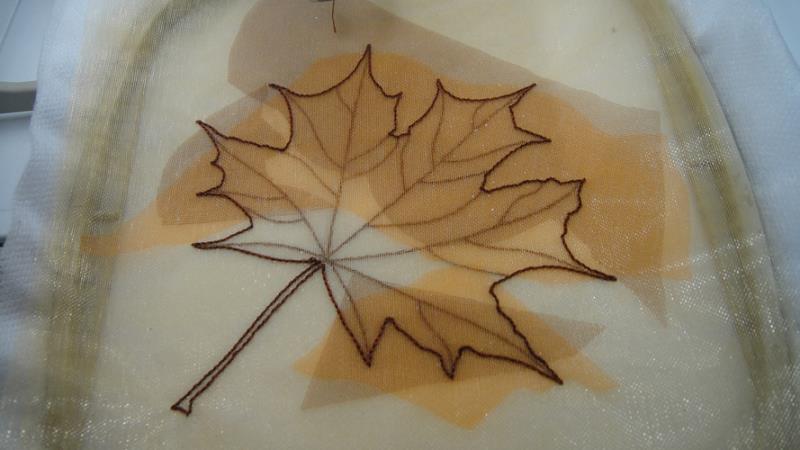
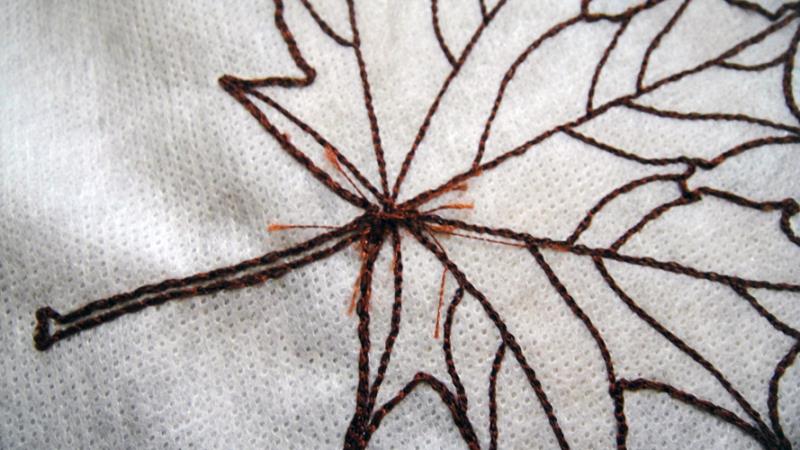
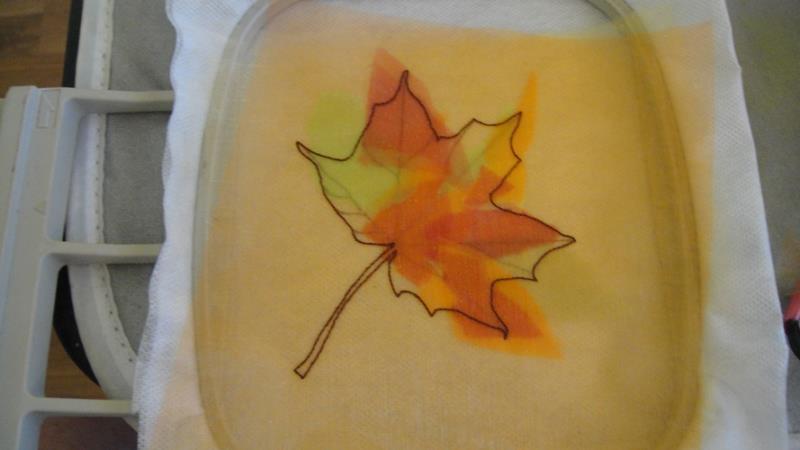
Hoop two layers of fibrous water soluble stabilizer and stitch the outline of the design as well as the veins in the leaf. The veins are stitched at this time in order to make it easier to see how you want to layer the organza.
(Click Image to Enlarge)
Step 5:
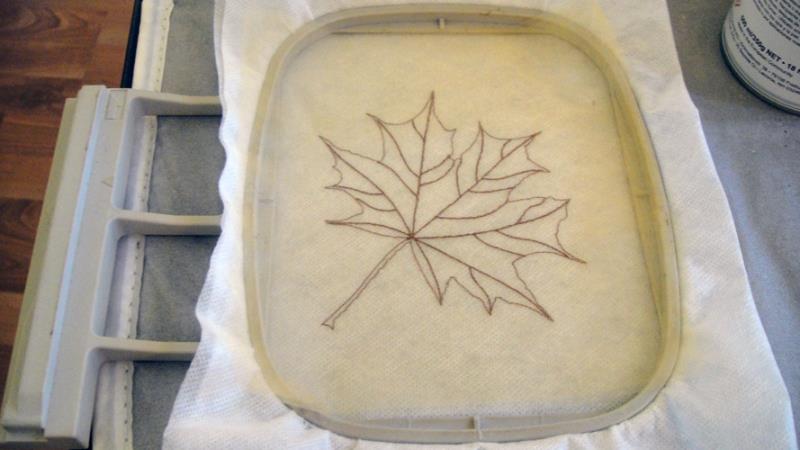
Remove the hoop from the machine, do not unhoop. You will want your hoop well away from the machine as you will be spraying adhesive. Cut 3 6” layers of organza from the base color you wish to use for the leaf. Spray adhesive on one layer and attach it to a second layer. Spray adhesive on the back of those two layers and position them over the placement line.
(Click Image to Enlarge)
Step 6:
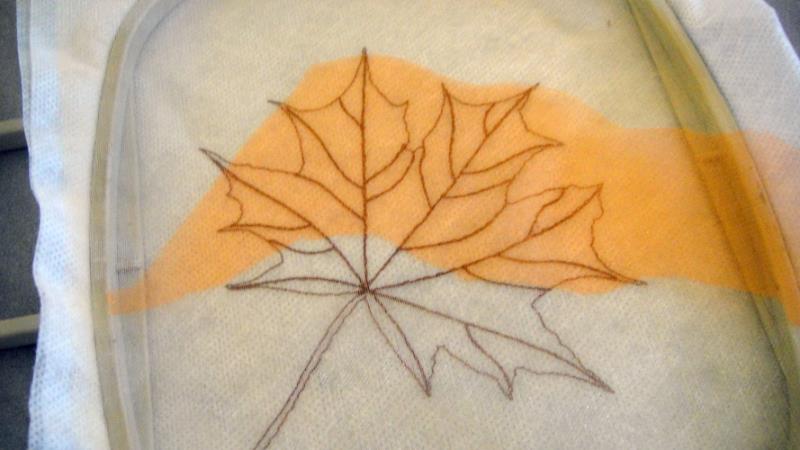
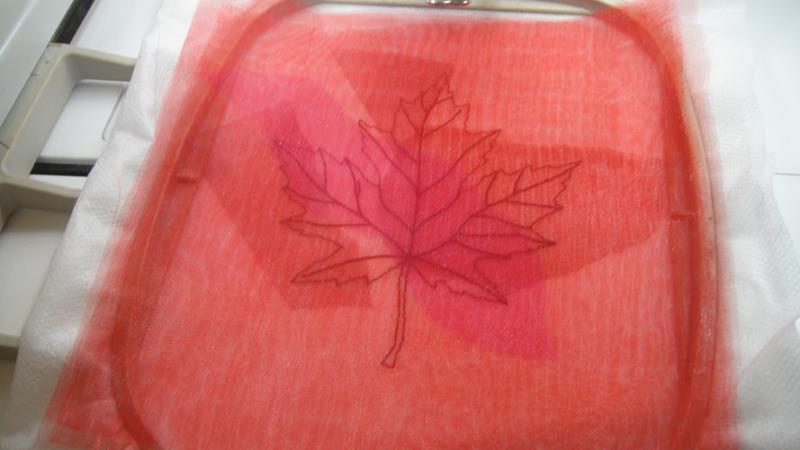
Cut irregular shapes of organza in other colors. Spritz it with the spray adhesive and position it where you want it over the leaf. There are no rules for what color, size, shape or placement of the additional colors you add to the leaves. Multiple layers add to the depth of the leaf.
(Click Image to Enlarge)
Step 7:
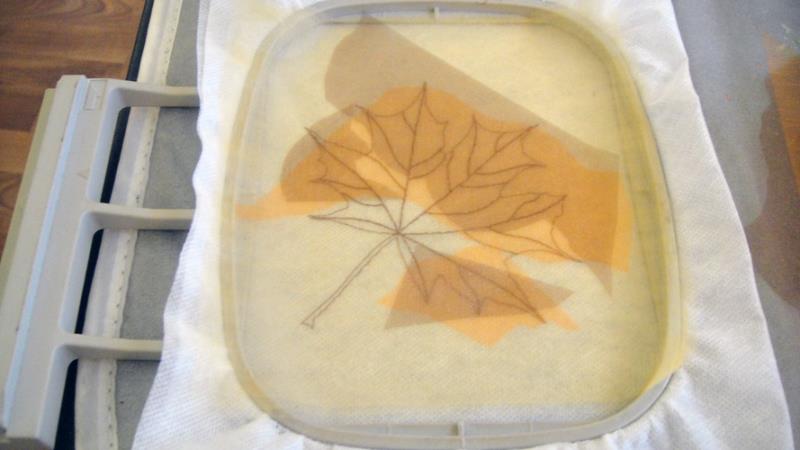
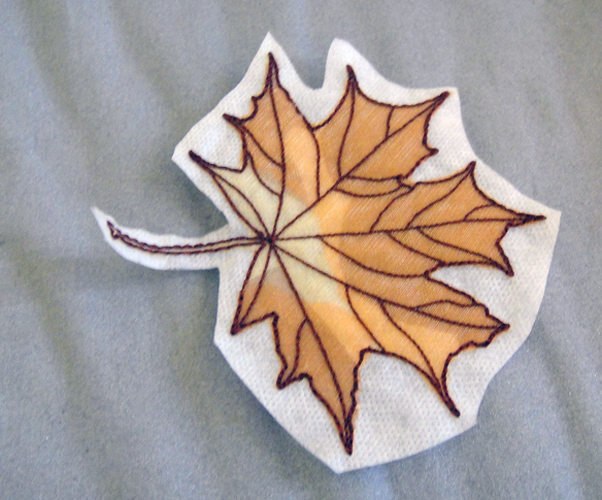
After you have added two or three additional colors of organza to the leaf spray the third sheet of your base color and position it over the whole leaf.
(Click Image to Enlarge)
Step 8:
Run the second color stop to tack down the outside edges of the leaf.
(Click Image to Enlarge)
Step 9:
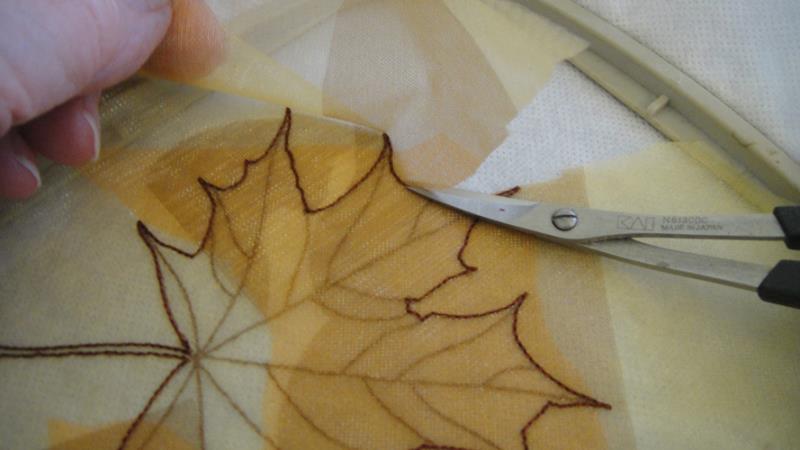
Remove the hoop from the machine, do not unhoop. Lift all layers of the organza and trim as close as possible to the tack down lines. Do not worry if you cannot get to tiny inside shapes they will be melted away later with the wood burning tool.
(Click Image to Enlarge)
Step 10:
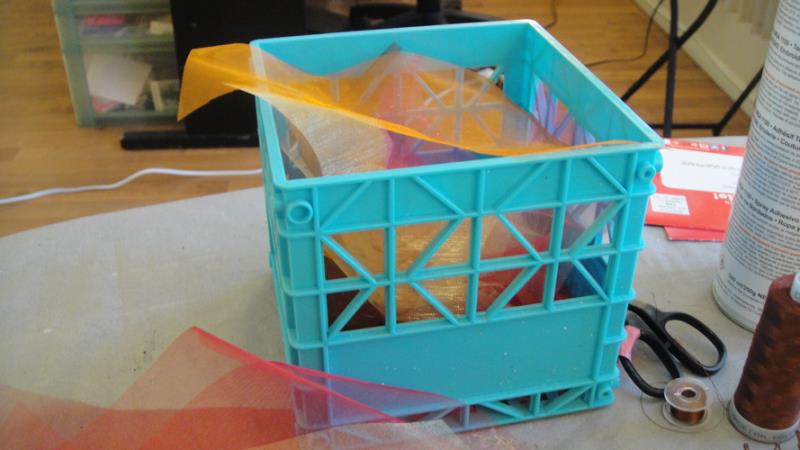
Place the excess organza you trimmed away from the leaf in a small box – it will become your source for colors that you want to add to the next leaves.
(Click Image to Enlarge)
Step 11:
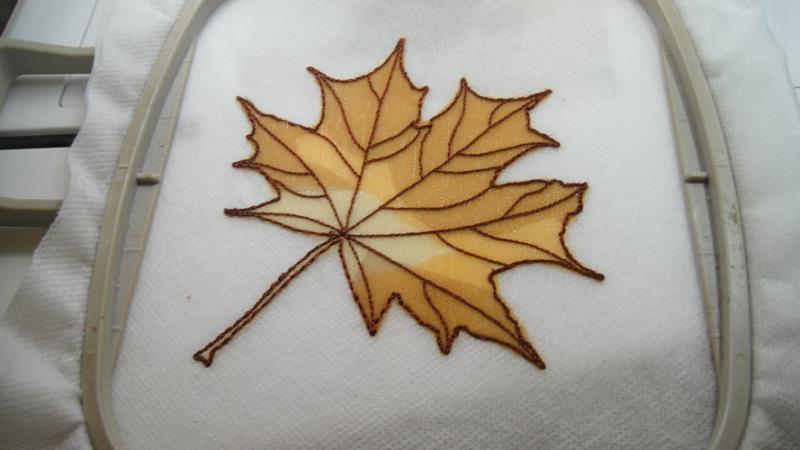
Return the hoop to the machine and stitch the final color stop that will repeat the stitching of the veins and run a triple stitch around the outside edges of the leaf.
(Click Image to Enlarge)
Step 12:
Remove the hoop from the machine. Turn the hoop over, trim the tails from the tie in and tie offs from the leaf before you cut it away from the stabilizer.
(Click Image to Enlarge)
Step 13:
Trim the excess stabilizer away from around the leaf.
(Click Image to Enlarge)
Step 14:
Hold the leaf under running hot water just long enough to remove the excess stabilizer, you want some of the stabilizer to remain in the leaf to give it body. Lay it on a smooth cotton towel to dry. Unlike free standing lace, we do not want to make the leaf lie flat, encouraging some curling in the stem and points of the leaf will make it more realistic. Allow the leaf to dry thoroughly.
(Click Image to Enlarge)
Step 15:
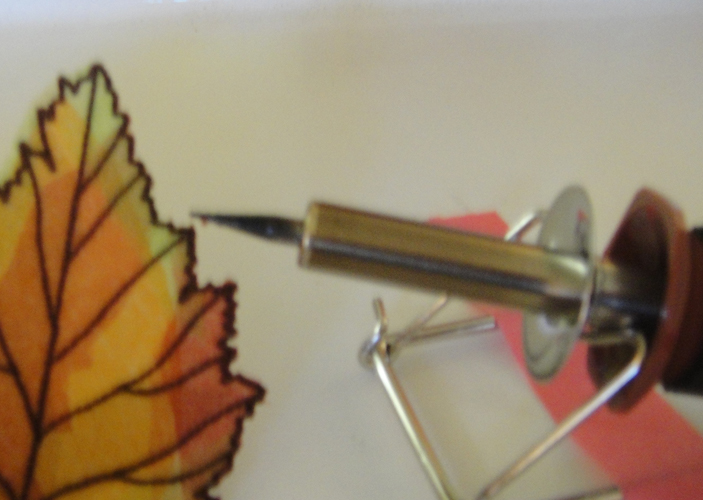
Tape the stand for the wood burning tool to a heat resistant surface. Put a tapered tip in the wood burning tool and heat it up. I used a heat setting that was about midway on the dial of the tool.
(Click Image to Enlarge)
Step 16:
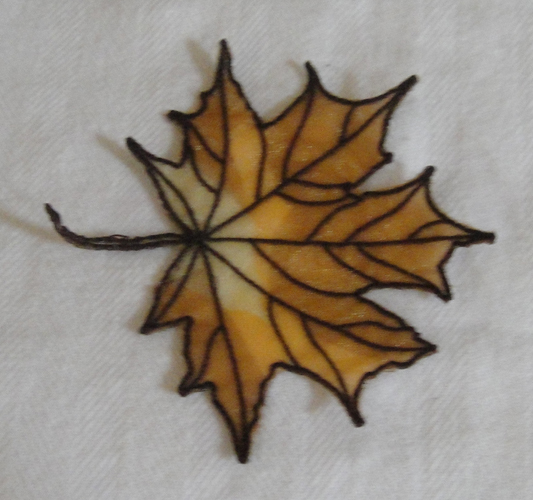
Either by leaving the tool in the stand or holding it your hand run the tip of the wood burning tool to seal the edges and to remove any excess organza from small areas between the points of the leaves.
(Click Image to Enlarge)
Step 17:
To make the realistic holes in the leaves just quickly touch the leave to the point of the wood burning tool.
Step 18:
When using your scraps from previous leaves to make layers in new leaves you will often find pieces of scrap that contain multiple layers of colors. Cutting irregular shapes from these multiple layers and placing them over your new leaf will create beautiful color variations in your new leaf.
(Click Image to Enlarge)
Step 19:
Vary the colors of your base and top organza layers too to create a wide variety of leaves.
(Click Image to Enlarge)
Step 20:
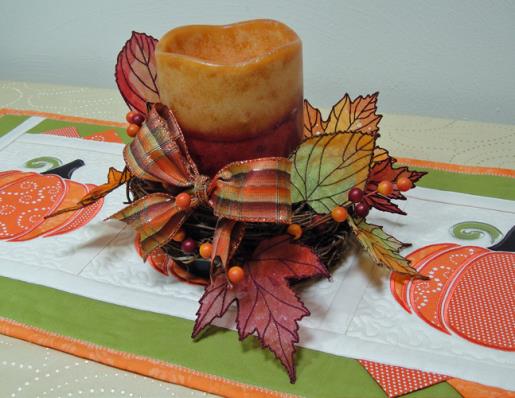
Your completed autumn leaves can be used in any number of projects. You can simply strew them across the top of a table runner; glue a few of them to a barrette or brooch backing; make a full wreath; attach them to a jaunty hat or attach them to an autumn wall hanging. In this picture, I wove the stems into a grapevine wreath that fit over this flameless candle, added a few berries and a bow. What a lovely centerpiece. Please let us know what you create with these realistic autumn leaves.
Award winning Digitizer, Embroidery Educator, Author and a Consultant to the Industry, Pat Williams has 30 years of experience in the embroidery industry. Pat has won multiple awards for her digitizing expertise including the 2007 Impressions Awards Grand Championship, Best of Show as well as the 1st and 2nd Place Awards. Pat’s love of digitizing has afforded her the opportunity to write numerous articles for Impressions magazine in the United States and Images Magazine in Europe. In 2001 Pat was named “Embroidery Educator of the Year.” For many years Pat taught digitizing seminars at the ISS Shows in Long Beach, CA and for Compucon software. She now resides in Tucson, AZ.