Kid's Chef Hat and Apron Set

Kid's Chef Hat and Apron Set Embroidery Project

By   Linda Mills   on   June 14, 2018
  • SKILL LEVELIntermediate
  • TIME REQUIRED01:30
Description

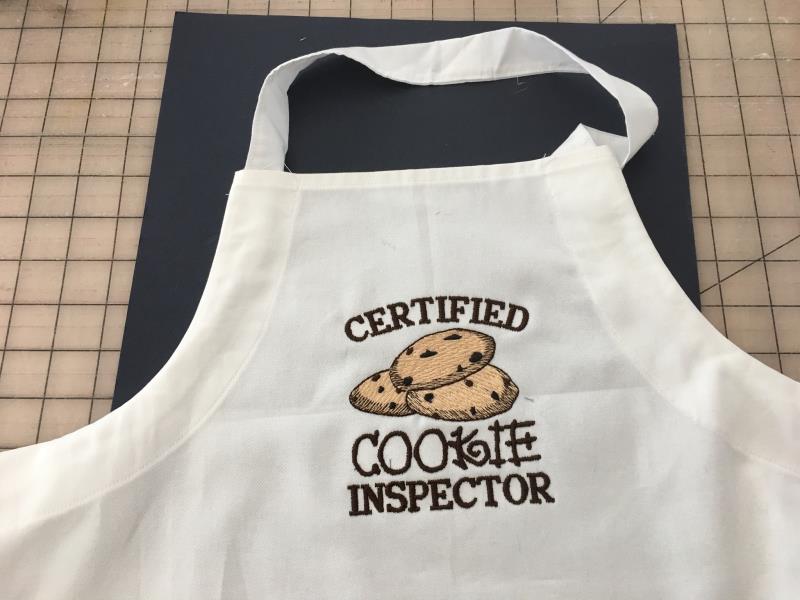
Create a delightful kid's chef set with a personalized apron and chef's hat. Perfect for aspiring young cooks, this set offers a fun and engaging way to encourage creativity in the kitchen. Step-by-step instructions are included.

Step of

Materials

Project Preview Video

Materials
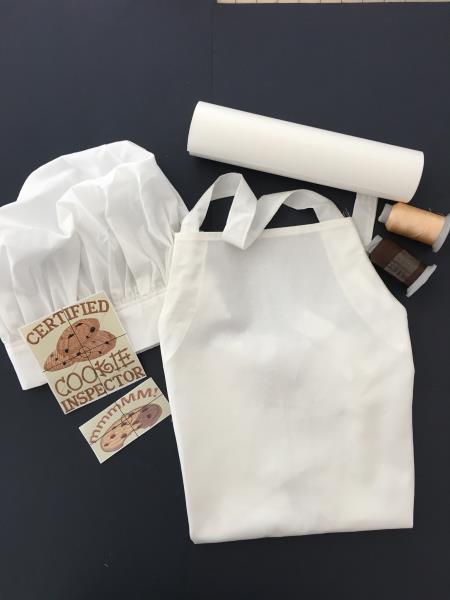
  • Purchased Kids Apron
  • Purchased Kids Chef’s Hat
  • Embroidery Thread ( your choice of colors)
  • Sticky Stabilizer

  • Designs used in this project

    Preface:
    Every kid wants to be a “Certified Cookie Inspector!” Create some fun while creating memories with a matching personalized kid’s apron and chef’s hat for your ‘lil baker.  


    Step 1:
    Gather all materials and review instructions before beginning. Print out embroidery design templates for review. 

    (Click Image to Enlarge)


    Step 2:
    Apron

    Load design


    Step 3:
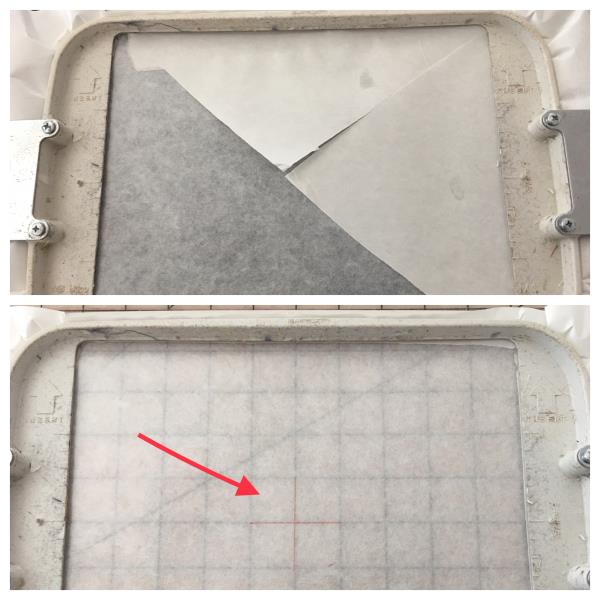
    Hoop sticky stabilizer ( shiny side up and remove paper to reveal adhesive) Center mark with cross hair.

    (Click Image to Enlarge)


    Step 4:
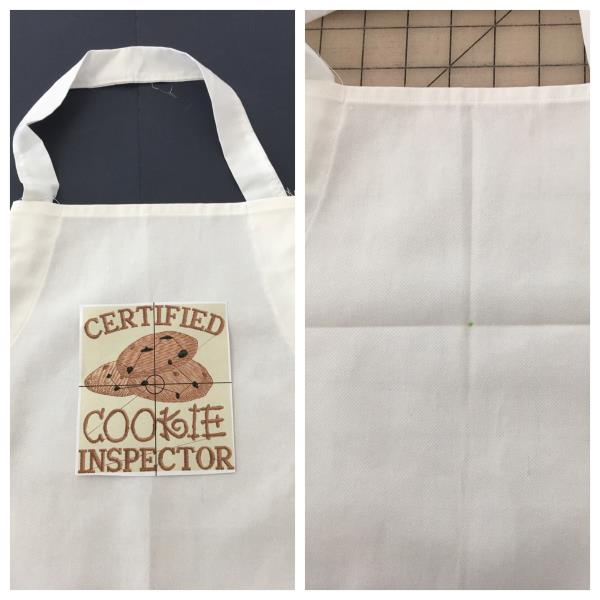
    Center design template on apron and mark for placement. Fold apron to form a crosshair crease. Place on sticky stabilizer matching center of crosshairs. Fingertip press to secure to adhesive.

    (Click Image to Enlarge)


    Step 5:
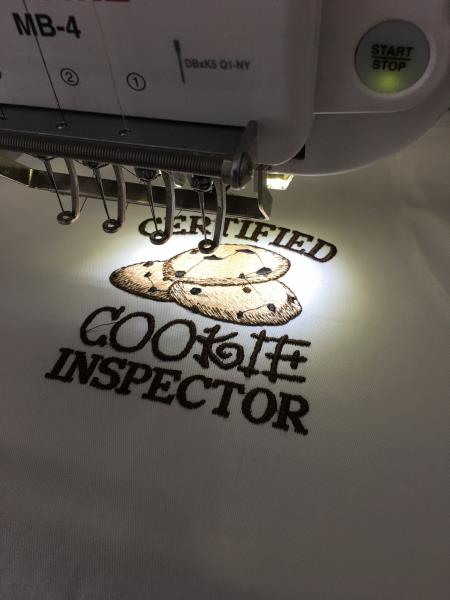
    Attach hoop to machine. Trace your design using your machine instructions to ensure center placement. Begin the embroidering process

    (Click Image to Enlarge)


    Step 6:
    Design complete. Remove hoop from machine. Cut jump stitches and trim all loose thread ends. Remove stabilizer. Your apron is complete.  

    (Click Image to Enlarge)


    Step 7:
    Chef’s Hat

    Follow the above step #3  for hooping sticky stabilizer. 


    Step 8:
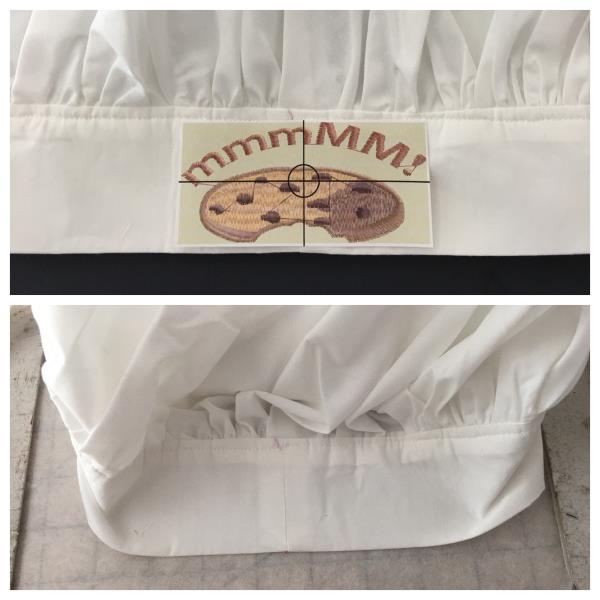
    Center design template on hat brim and mark for placement. Fold brim of hat up and in half to fingertip crease a crosshair. Center brim of chef’s hat on stabilizer and fingertip press down to secure. 

    (Click Image to Enlarge)


    Step 9:
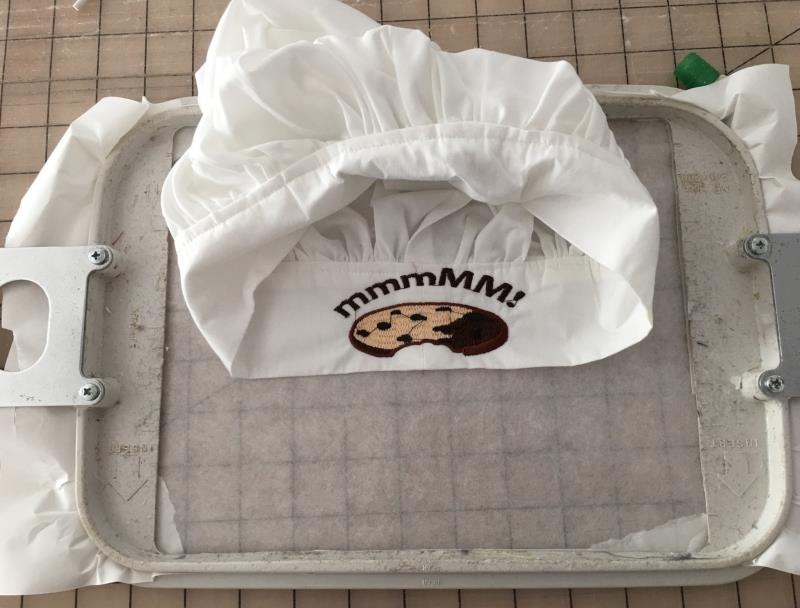
    Attach hoop to machine. Trace your design using your machine instructions to ensure center placement. Begin the embroidering process.

    (Click Image to Enlarge)


    Step 10:
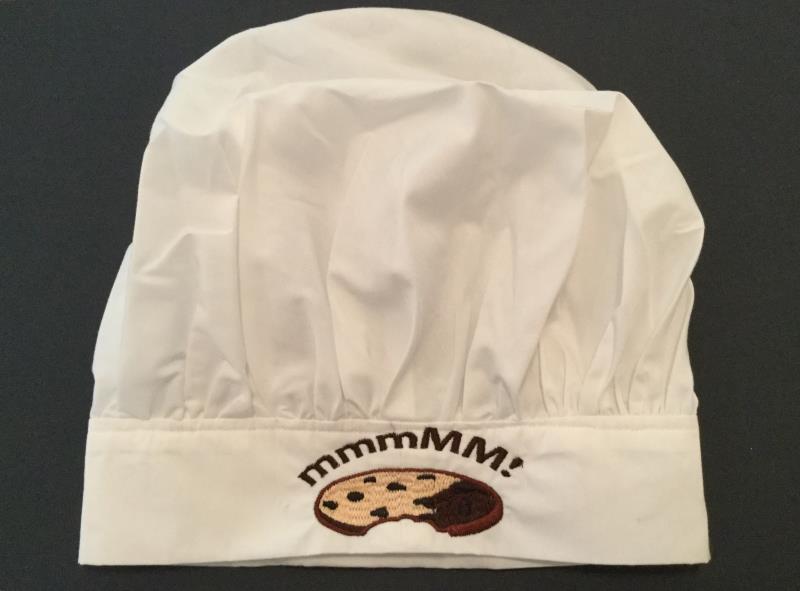
    Design complete. Remove hoop from machine. Cut jump stitches and trim all loose thread ends. Remove stabilizer. Your hat is finished.  Your personalized kid's set of apron and hat are complete!

    (Click Image to Enlarge)

    Meet the Author: Linda Mills
    Linda Mills
    Linda loves to create by sharing her different sewing and machine embroidery techniques so others can utilize their machines to the fullest
    More From This Author
    Link is Broken, Please check the URL
    Exclusive Embroidery Offers!
    Copyright © {{ currentDate | date:'yyyy'}} - EmbroideryDesigns.com
    GET 50% OFF! ×