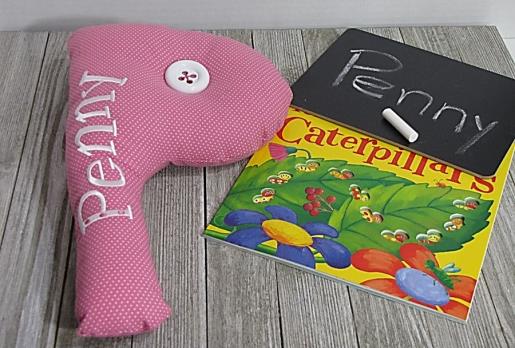
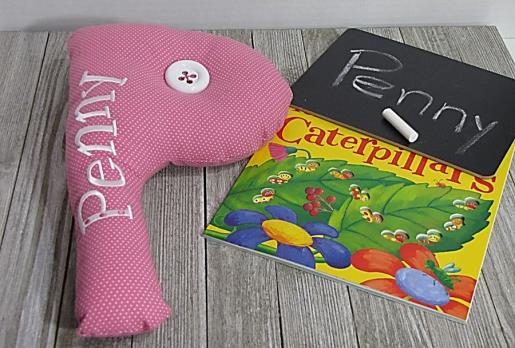
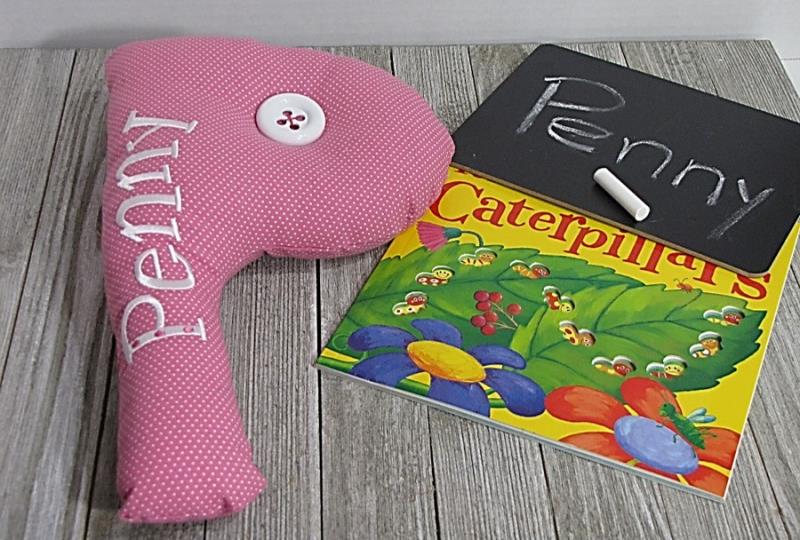
This fun, embroidered alphabet pillow is a perfect gift for the little one in your life. Using a free-hand drawn pattern, you can make any letter and personalize it with the child’s name. Sew it together, add polyester stuffing and, if needed, a cute accent button to make it their very own!
Step 1:
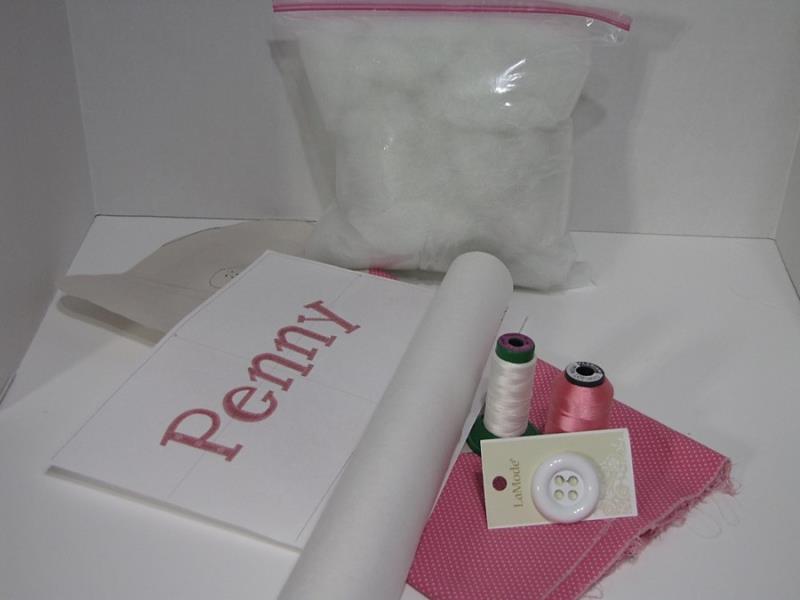
Gather the materials and read through the instructions before beginning. Print out a paper template of the design and color sequence.
(Click Image to Enlarge)
Step 2:
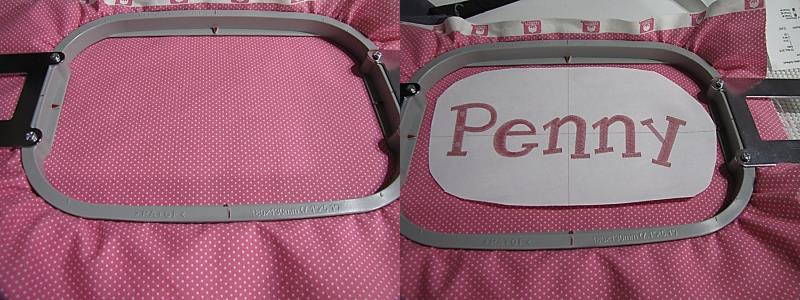
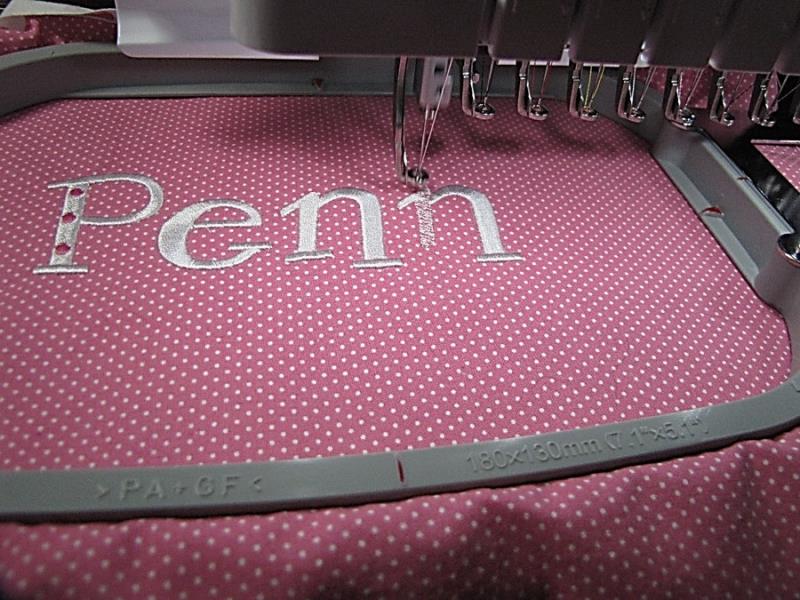
Hoop two pieces of stabilizer and fabric together. Confirm placement of the design using the paper template.
(Click Image to Enlarge)
Step 3:
Place the hooped fabric on your machine and stitch the design, following the color sequence.
(Click Image to Enlarge)
Step 4:
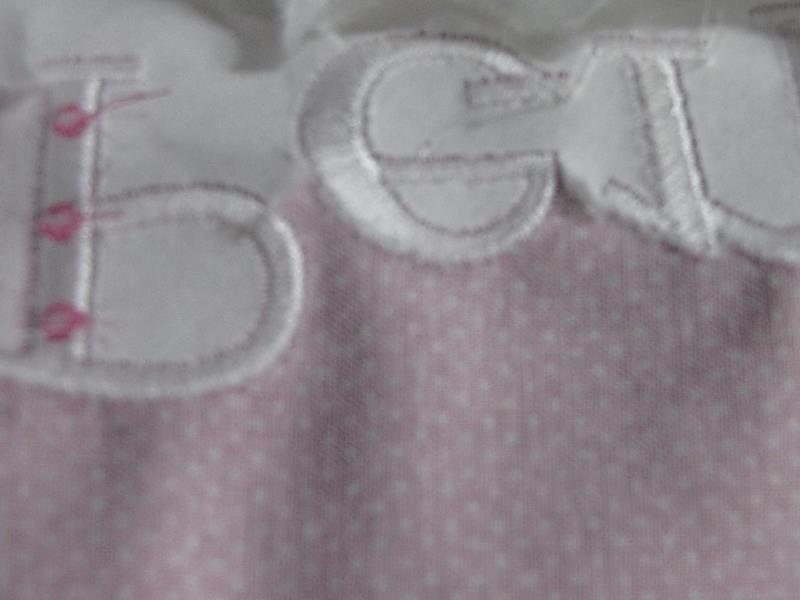
Remove the project from the machine, un-hoop it, and carefully remove both layers of tear away stabilizer.
(Click Image to Enlarge)
Step 5:
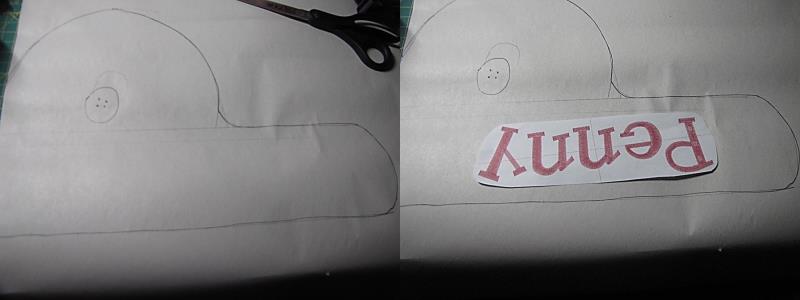
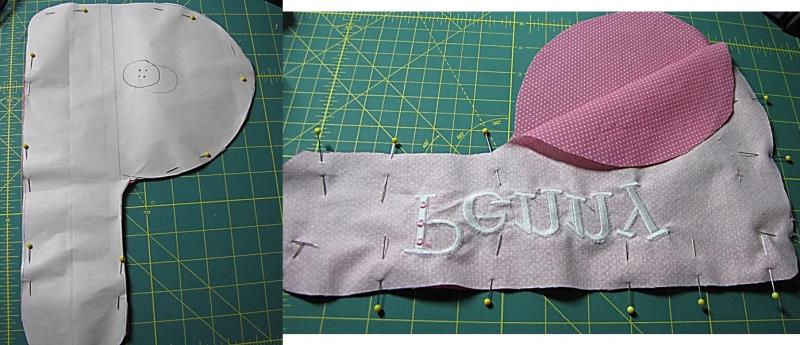
Using the design paper template, adjust placement of the name on the alphabet pattern piece that you have drawn before placing the pattern on fabric for cutting.
(Click Image to Enlarge)
Step 6:
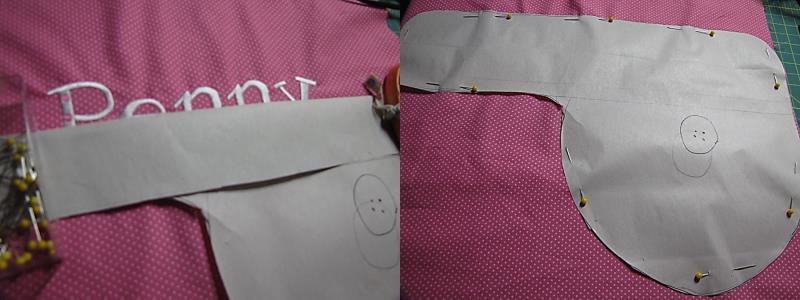
Trim the excess paper away from the pattern piece. Confirm the placement of the embroidered name on the pillow top before pinning and cutting the pieces.
(Click Image to Enlarge)
Step 7:
Place the squares of fabric wrong sides together and pin the pattern to them, making sure to confirm the placement of the embroidered name before cutting. Cut the fabric following the outline of the pattern. Then place fabric letter RIGHT sides together and pin. Be sure to leave an opening to turn the pillow right side out and to add the stuffing.
(Click Image to Enlarge)
Step 8:
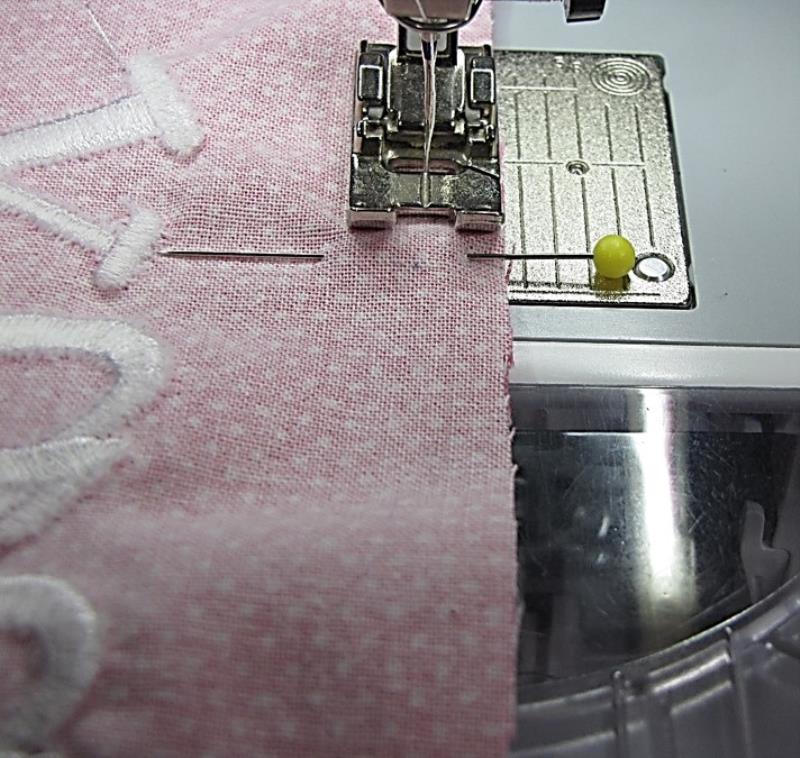
Using a regular sewing machine set on a straight stitch, using a 1/4” seam allowance, sew around the letter shape, being sure to leave an opening to turn the pillow and add stuffing.
TIP: Shortening your stitch length will make the seam sturdier to contain the stuffing.
(Click Image to Enlarge)
Step 9:
Turn the pillow right side out and press along the seam line. Add the stuffing to the desired fullness. Using a ladder or slip stitch, close the opening used to place the stuffing inside the pillow. If needed, sew a button on the front of the pillow to accent the letter.
TIP: If the pillow is for a young child, be sure to select a large button so it does not present a choking hazard if it becomes loose from the pillow
Step 10:
Congratulations! You have put your artistic talents to work to make a fun, personalized pillow for a little one to enjoy!
Martha has been sewing since childhood. She is a maker of garments, quilter and machine embroiderer. Martha loves all things fabric and fabric-related.