Border OptionsHugging border, circle, square, or rectangle — with a 3mm satin stitch.
Backing OptionsAvailable with iron-on, sew-on, or velcro backing.
Fast ShippingShipped quickly from the USA.
Free Online Tools
Powerful embroidery utilities that save time and prevent costly mistakes.
Stitch AssistantRECOMMENDED
Get the exact stabilizer, machine settings, needle, and thread color sequence for every embroidery design you purchase — based on that design's stitch density, dimensions, and color count.
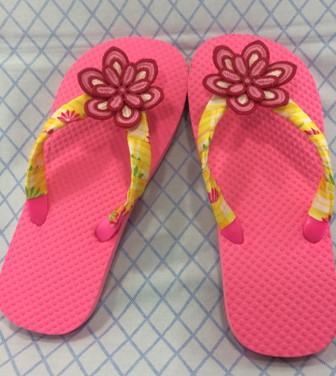
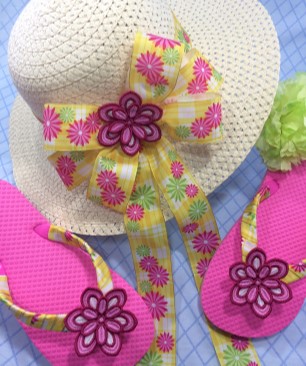
Add a touch of charm to a child's floppy hat and flip flops with these 3D applique flower accents. Perfect for creating a fun and stylish look for any casual outing. Step-by-step instructions are included.
Step
of
Applique 3D Flower Accents for Hat and Flip Flops
By Marisa Littleton
Freestanding lace is seen from both sides, so wind a bobbin with the same thread that you're using in the needle. Use a size 65/9 machine embroidery needle. This needle has a smaller, finer point. That means it will make smaller holes in the stabilizer. Vilene water soluble stabilizer was used in this project because it is soft and fibrous and will hold the lace together better for this design. For a stiffer lace piece, soak a little less so that some of the residue from the stabilizer remains in the lace. Reducing the speed of stitches per minute also helps produce a better quality of FSL.
Step 1:
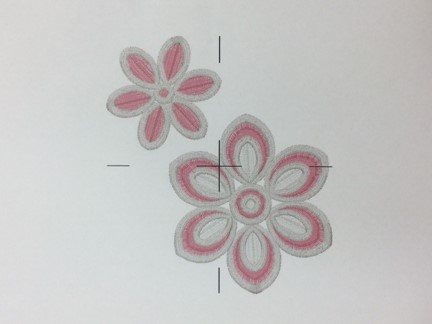
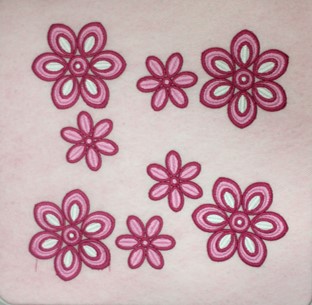
'3D FSL Cute Flower Embroidery Design' by Ace Points is featured in this project.
Print out a copy of the Design Template and Color Chart.
Step 2:
(Click Image to Enlarge)
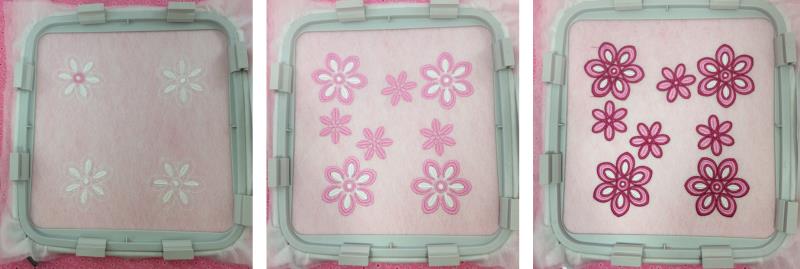
This project needs 3 sets of this design. Embrilliance Essentials software was used to make a design template with 3 sets so I would do only one hooping. This way the project would take less time to complete and use less stabilizer also. Win! Win!
Step 3:
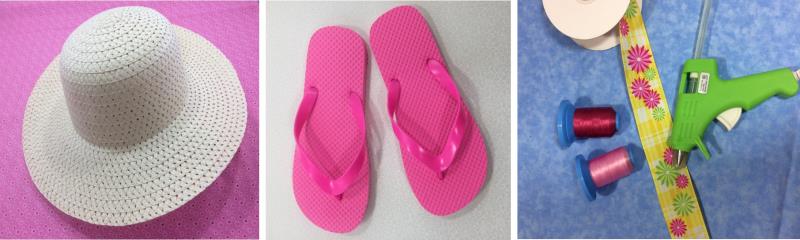
Gather the materials. Read through the instructions before beginning.
(Click Image to Enlarge)
Step 4:
(Click Image to Enlarge)
Water soluble stabilizer is completely dissolved in water after the stitching is complete. This is necessary for use on sheer fabrics with light embroidery, creating designs with cutouts, making patches that need a clean satin stitched edge, and for making free standing lace.
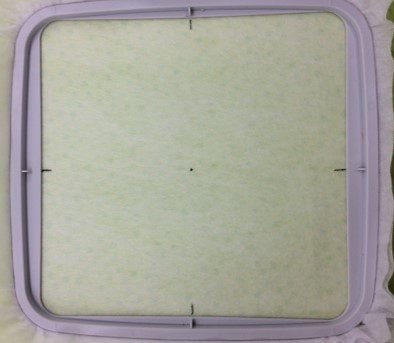
Hoop 3 layers of Vilene water soluble stabilizer.
Step 5:
Load the embroidery design onto your machine. Attach your hoop. The example shown has been color sorted using Embrilliance Essentials software. Color sorting reduced the number of color/thread changes. Not all designs are suitable for color sorting. Some designs must be stitched in a certain color order because of how it is designed.
Stitch the design.
(Click Image to Enlarge)
Step 6:
(Click Image to Enlarge)
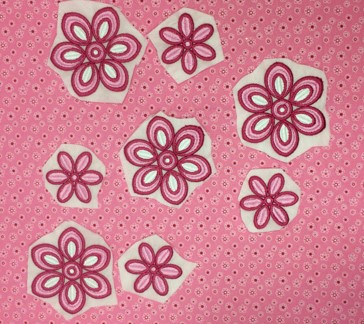
Remove the hoop from the machine. Trim the stabilizer around each flower.
Step 7:
(Click Image to Enlarge)
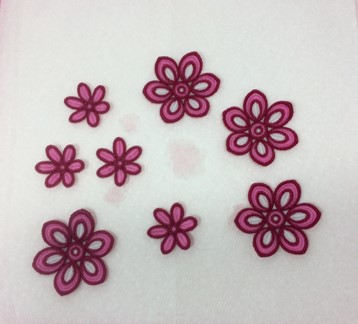
Just barely run each flower under running hot water. You want to leave the dissoluble stabilizer in the stitch out to help give more durability and structure. Gently curve each flower into a bell shape. Place on a paper or cloth towel overnight to dry.
Step 8:
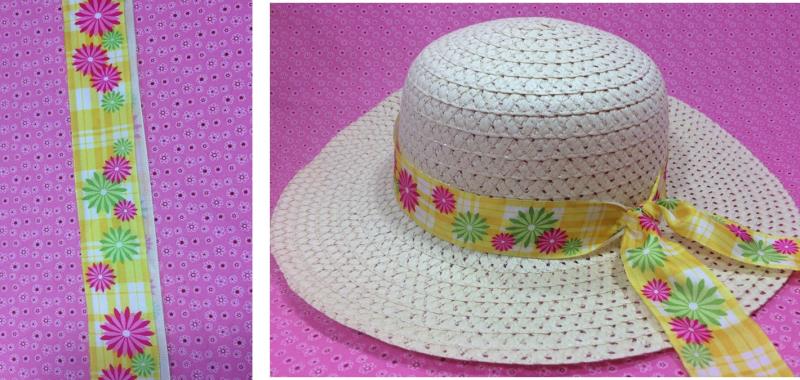
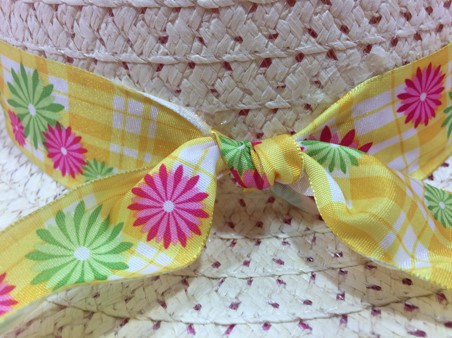
Cut a 2 yard piece of ribbon. Fold the ribbon in half. This center point goes on the front of the hat. Use a hot glue gun to tack the ribbon around the hat.
(Click Image to Enlarge)
Step 9:
Tie a double knot in the back of the hat where the ribbon ends meet.
Step 10:
(Click Image to Enlarge)
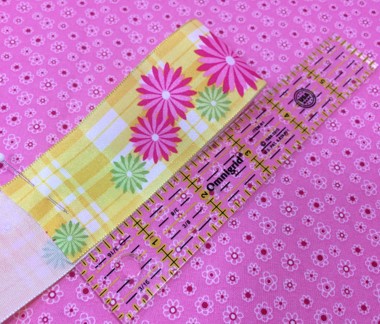
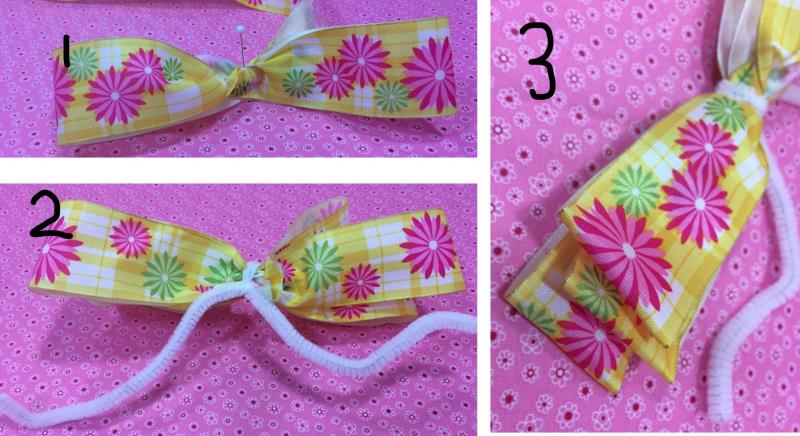
Using another piece of ribbon, measure 4” and fold back with wrong sides of ribbon together. (You don’t have to cut this ribbon yet. Just use the ribbon from the roll. We’re making a simple 3 loop bow which may take about 1 yard of ribbon.)
Step 11:
Twist the ribbon so the right side is facing you and make another 4” loop.
Twist the ribbon again so the right side of the ribbon is facing you and make another 4” loop for the opposite side. Repeat this step. You should now have two 4” loops on each side.(pipe cleaner is for demonstration purposes) Twist the ribbon again so the right side of the ribbon is facing you. This time make a 5” loop. Repeat this step for the opposite side.
(Click Image to Enlarge)
Step 12:
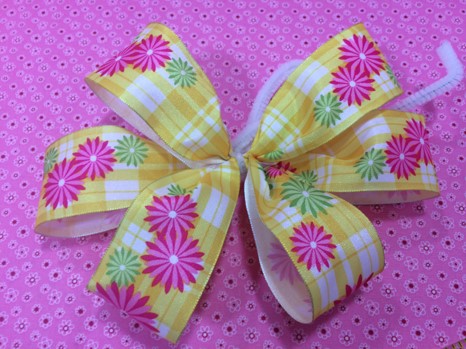
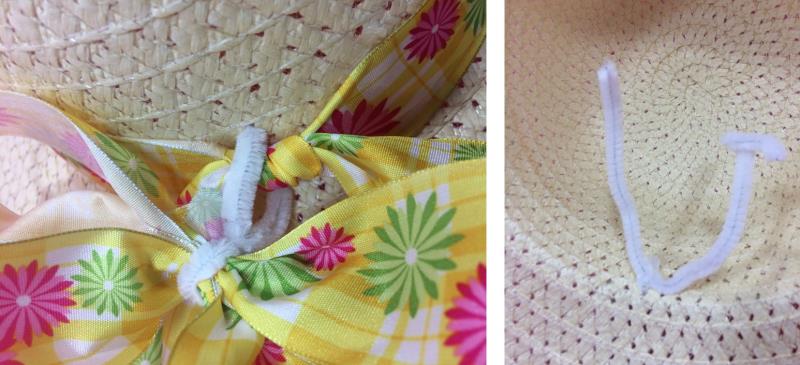
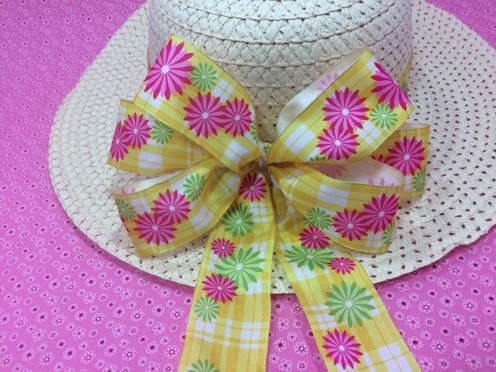
Tie a pipe cleaner in the center of the bow. Cut the ribbon about 1-2” from the tie off. Open the loops into a butterfly shape with the 4” loops on the top and bottom and the 5” loops in the center. Use the wire in the ribbon to help shape the bow.
Step 13:
Place the bow on top of the double knot. Thread the wire cleaner through the hat on the top and bottom of the knot. Twist the pipe cleaner ends together. Cut off the long ends of the pipe cleaner.
(Click Image to Enlarge)
Step 14:
Reshape the bow if needed.
Step 15:
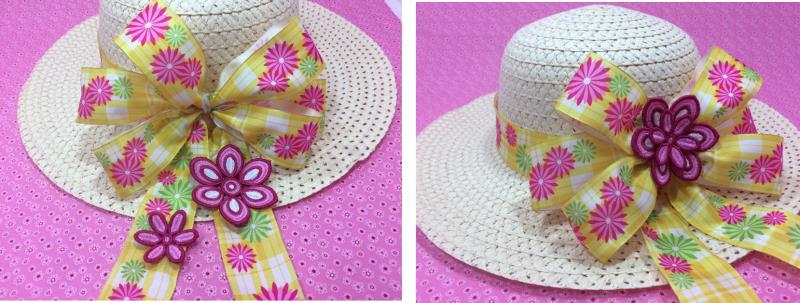
Put some hot glue in the center of the bow. Place the large lace flower on the glue. Press and hold in place until it bonds.
Put some hot glue in the center of the large lace flower. Place the small lace flower on the hot glue. Hold in place until it bonds.
(Click Image to Enlarge)
Step 16:
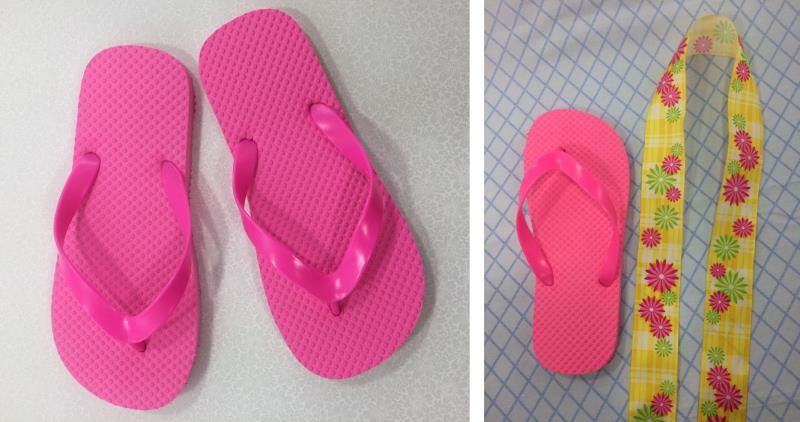
Measure the length of the flip flop. Multiple that number by 4. Cut a piece of ribbon that length.
(Click Image to Enlarge)
Step 17:
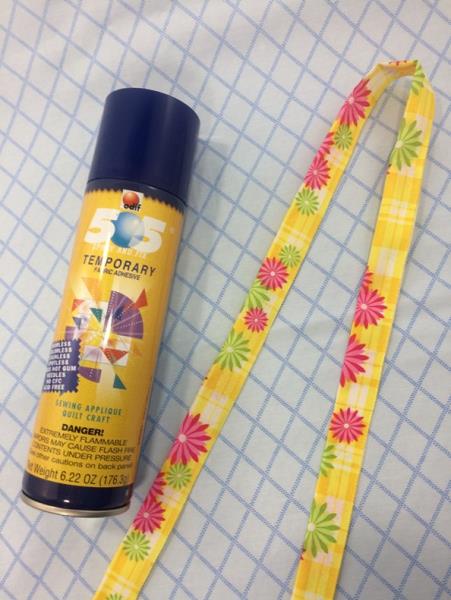
The ribbon used in this project was 1.5” wide. This width worked great for the hat but was a little too wide for the flip flops. So, make the hat and flip flops match, the ribbon was folded in half. Spray temporary adhesive lightly on the wrong side of the ribbon. Fold the ribbon in half.
(Click Image to Enlarge)
Step 18:
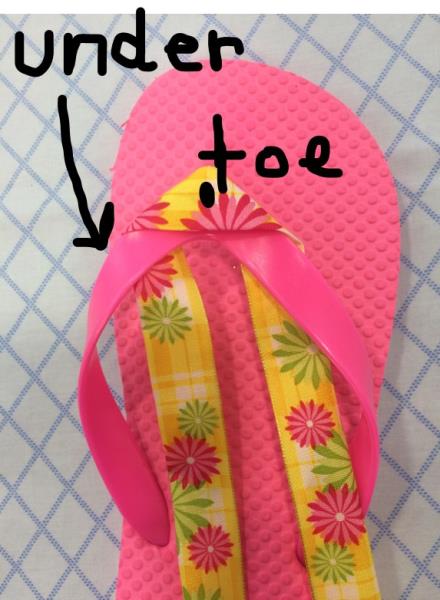
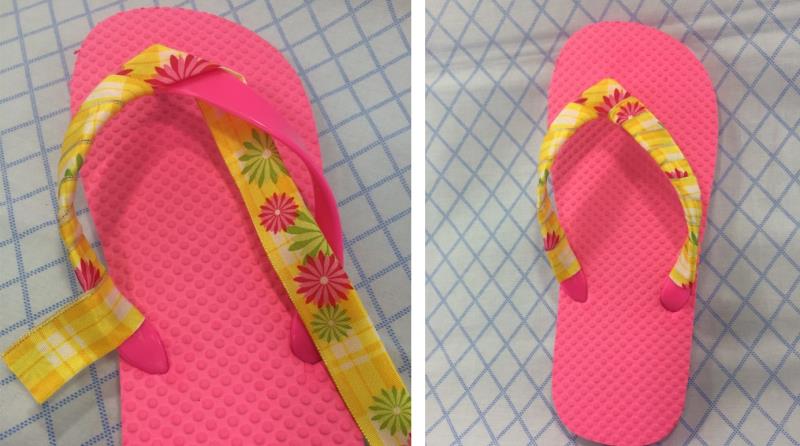
Find the center point of the ribbon. Place the center point around the toe strap. Use a small bit of hot glue to help secure the ribbon. Starting on one side of the flip flop, bring the ribbon under and over the strap. Wrap the ribbon carefully covering the strap.
(Click Image to Enlarge)
Step 19:
When you finish covering the strap, make sure the last loop/wrap will leave the end of the ribbon on the outside of the flip flop. Cut the ribbon leaving about 1” in length. So that you don’t have ribbon unraveling, you want to glue about ½” of the ribbon onto itself. Then glue the end of the ribbon onto the flip flop.
(Click Image to Enlarge)
Step 20:
(Click Image to Enlarge)
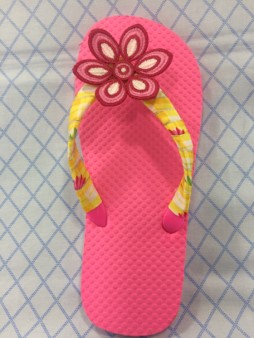
Put some hot glue on the top center of the flip flop. Press the large flower in the glue. Hold in place briefly to secure bonding. Put some hot glue in the center of the large flower. Press the small flower in the glue. Hold in place briefly to secure bonding.
Step 21:
(Click Image to Enlarge)
Repeat steps 18, 19, and 20 for the other flip flop.
Step 22:
(Click Image to Enlarge)
Together you have a matching set just sure to bring a sparkle to a little lady's eyes! Congrats! Good job! Think about the all the possibilities you can do with a little ribbon and lace!
Marisa Littleton is a retired educator with a love for teaching and learning. Interests include machine embroidery, hand embroidery, quilting, cooking, and antiques.