Border OptionsHugging border, circle, square, or rectangle — with a 3mm satin stitch.
Backing OptionsAvailable with iron-on, sew-on, or velcro backing.
Fast ShippingShipped quickly from the USA.
Free Online Tools
Powerful embroidery utilities that save time and prevent costly mistakes.
Stitch AssistantRECOMMENDED
Get the exact stabilizer, machine settings, needle, and thread color sequence for every embroidery design you purchase — based on that design's stitch density, dimensions, and color count.
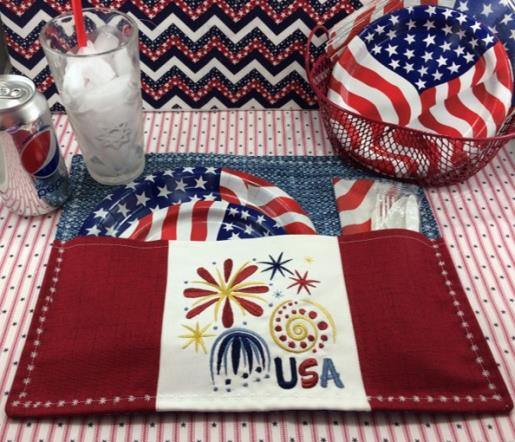
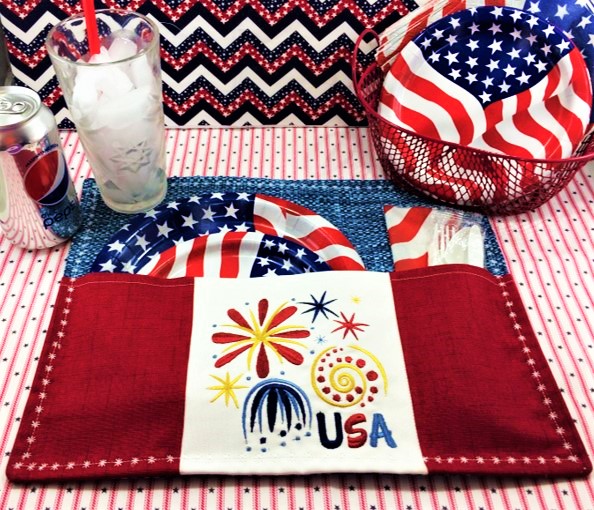
Celebrate your patriotism with these vibrant red, white, and blue applique pocket placemats. Perfect for outdoor gatherings, they provide a secure spot for your plate, napkin, and utensils, ensuring a hassle-free dining experience even on breezy days. Step-by-step instructions are included.
Step
of
Applique Patriotic Pocket Placemats
By Marisa Littleton
A placemat with a handy pocket designed to hold paper products. A great organizer and time saver. Ideal for breezy outdoor events. The embroidery design for this project has a 11,402 stitch count. One sheet of medium tear-away stabilizer was used in the hoop. The design was resized slightly to 5.0” x 5.1” to be more proportionate with the placemat dimensions using Embrilliance Essentials software.
Step 1:
(Click Image to Enlarge)
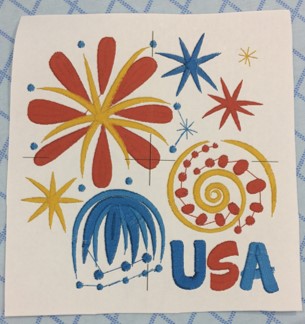
The embroidery design used in this project is 'USA' by Embroidery Patterns.
Print out a copy of the Design Template and Color Chart.
Step 2:
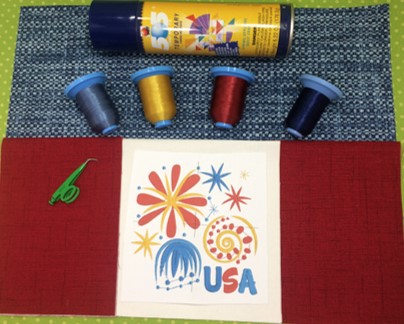
Gather the materials. Read through the instructions before beginning. Iron and starch the fabric.
Step 3:
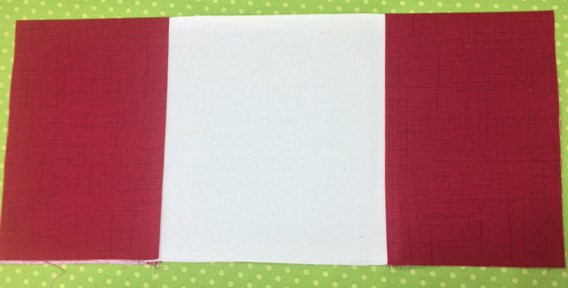
Cut two 4.5” x 14” of the red duck cloth for the pocket. One 8.5” x 14” of the white duck cloth for the pocket.
(Click Image to Enlarge)
Step 4:
(Click Image to Enlarge)
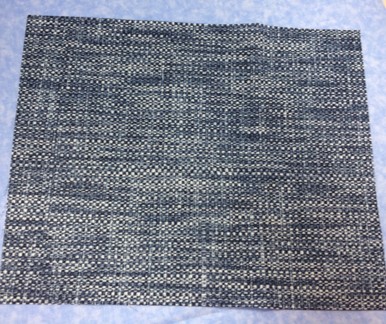
Cut two pieces of the blue fabric 12.5” x 16.5”.
Step 5:
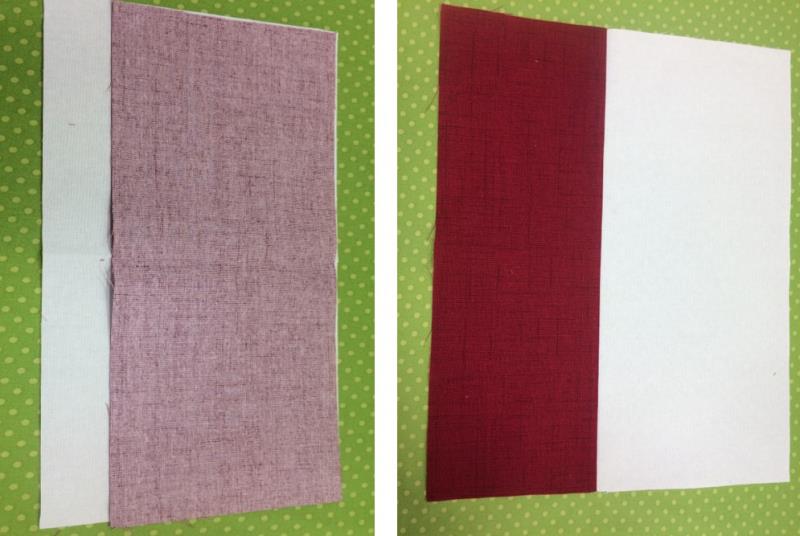
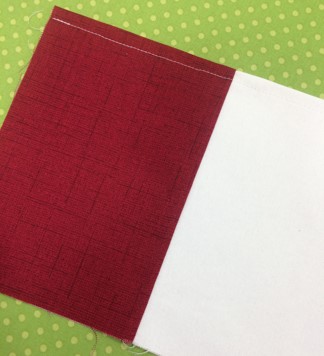
Lay one piece of the red fabric with RIGHT SIDE UP on a flat surface. Place the white fabric with RIGHT SIDE DOWN on the long side of the red fabric. Match the edges together and pin in place.
Sew a ¼” seam along the edge. Reinforce the stitching as you start and finish the seam. Use an iron to press along the seamline.
(Click Image to Enlarge)
Step 6:
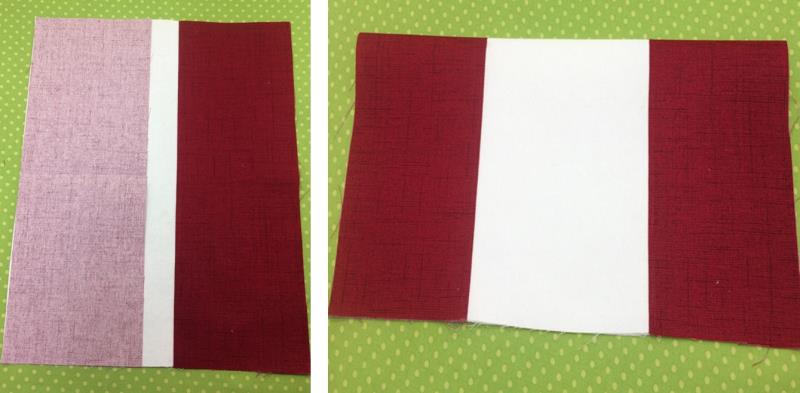
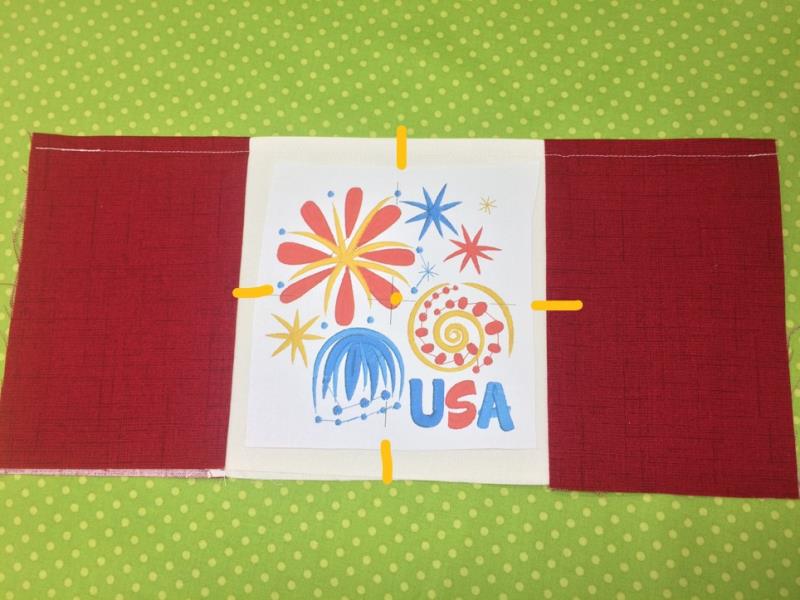
Match the edges of the second red fabric piece with the other side of the white fabric. Pin in place.
Sew a ¼” seam along the edge. Reinforce the stitching as you start and finish the seam. Use an iron to press along the seamline.
(Click Image to Enlarge)
Step 7:
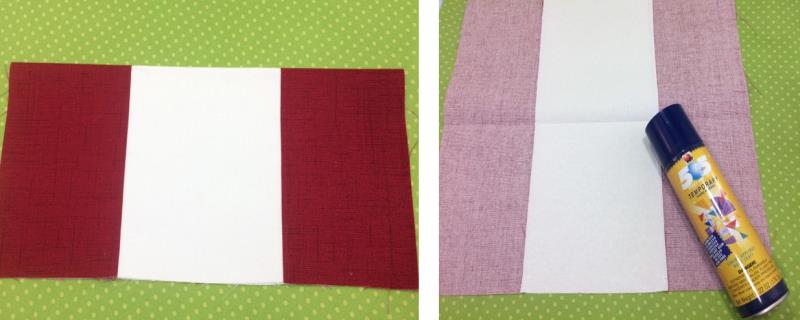
Fold the pocket fabric pieces in half lengthwise and press with an iron.
Spray half of the fabric lightly with temporary adhesive spray. Fold fabric in half and press with your hand to smooth the surface.
(Click Image to Enlarge)
Step 8:
(Click Image to Enlarge)
Top stitch 1/4" from the fold. Reinforce the stitching as you start and finish the seam.
Step 9:
The paper design template is the actual size of the stitch out. Use the template as a guide for placement and positioning of the design on the fabric.
On the wrong side of the pocket, measure about 1“ down from the top. Mark the center point and axis.
(Click Image to Enlarge)
Step 10:
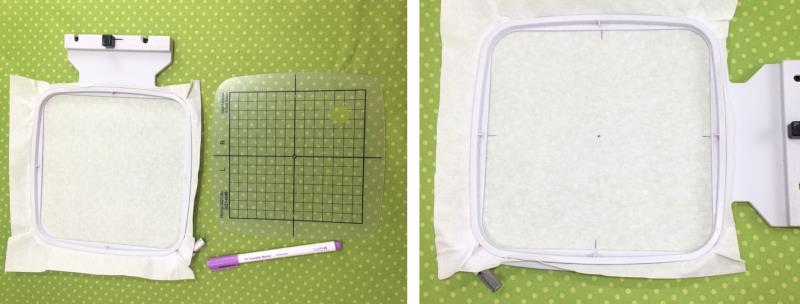
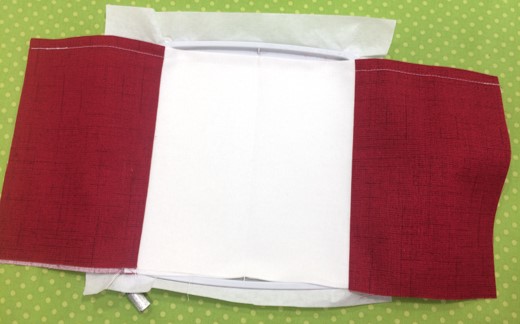
A ‘floating’ technique will be used for this project. Only the stabilizer is hooped. The fabric is secured on top of the stabilizer with temporary adhesive spray.
Hoop 1 sheet of medium tear-away stabilizer. Mark the center point and axis on the stabilizer.
(Click Image to Enlarge)
Step 11:
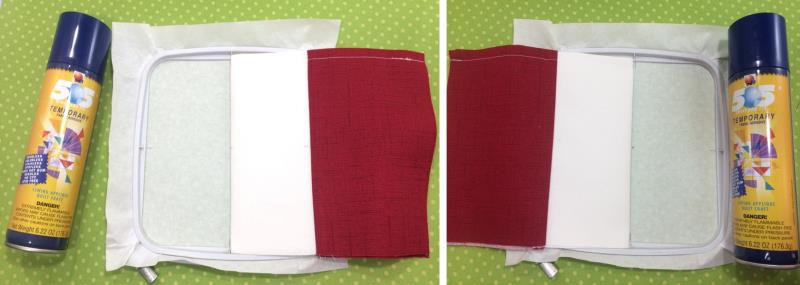
Align the fabric with the center point and axis on the stabilizer.
Spray the opposite side of the stabilizer with a temporary adhesive spray. Fold fabric down onto the stabilizer. Press gently and smooth fabric. Repeat for the other side of the fabric.
(Click Image to Enlarge)
Step 12:
The fabric is ‘floating' on the stabilizer and ready to be embroidered.
(Click Image to Enlarge)
Step 13:
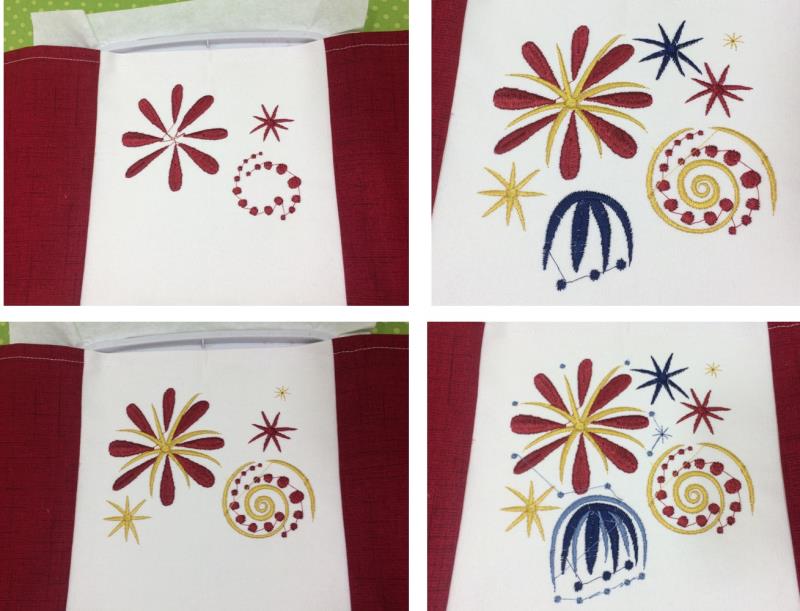
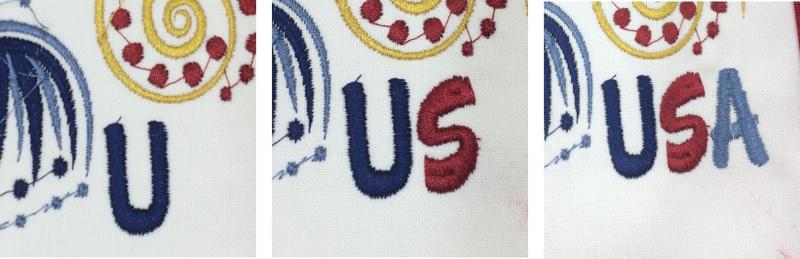
Load the embroidery design onto your machine. Use the color guide on your machine and chart as a guide for color changes.
(Click Image to Enlarge)
Step 14:
Finish stitching the design.
(Click Image to Enlarge)
Step 15:
(Click Image to Enlarge)
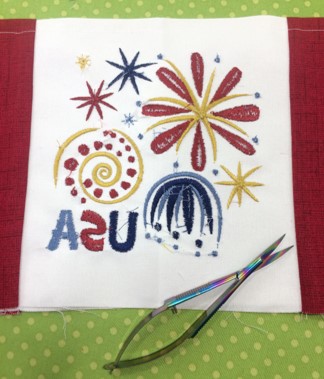
Remove the hoop from the machine. Remove the fabric from the hoop. Gently remove the tear away stabilizer. Clip long threads if needed.
Step 16:
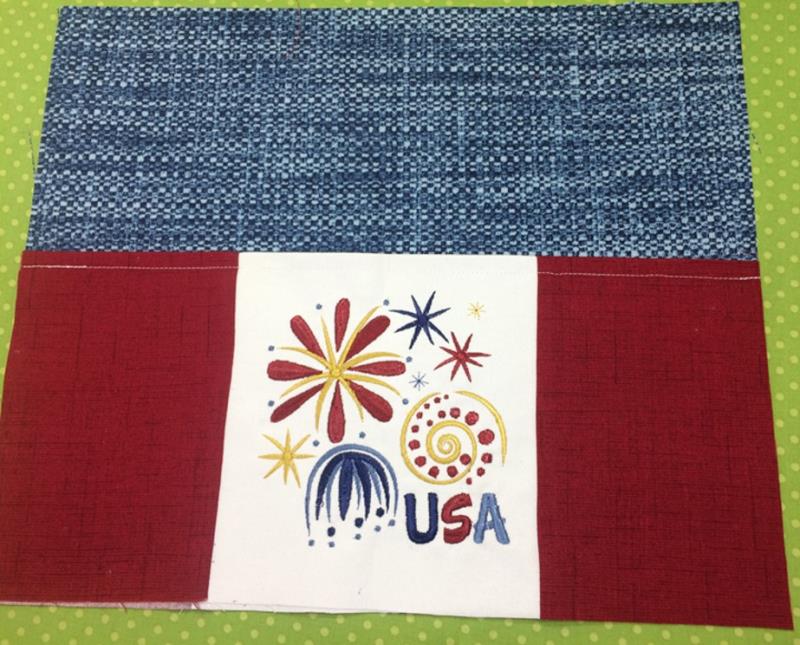
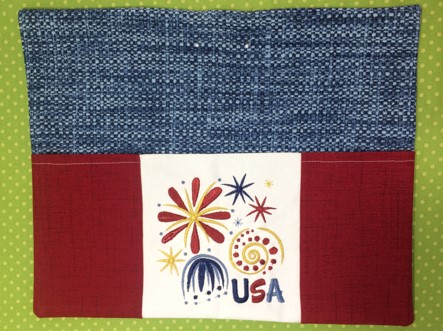
Place the pocket on top of one piece of main body fabric, aligning all the raw edges on the bottom. Pin in place. On the right side of the pocket, stitch straight down the seam line to split the pocket in two.
(Click Image to Enlarge)
Step 17:
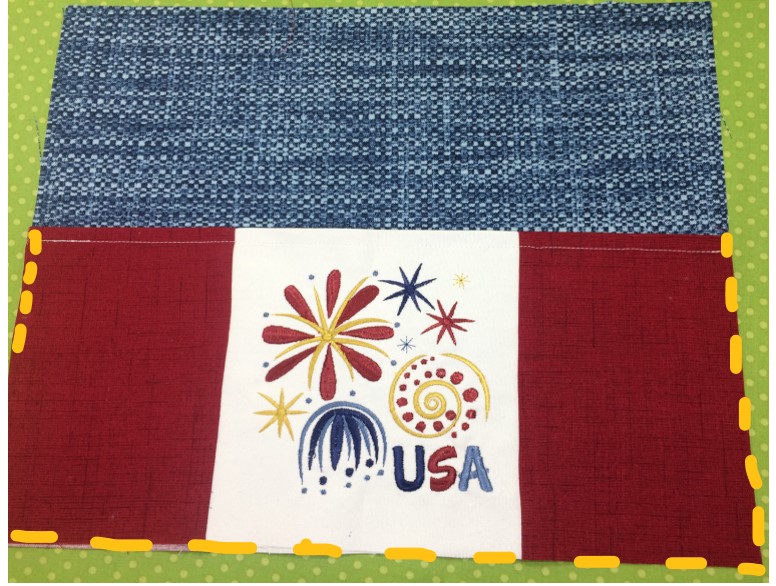
Sew a ¼” seam on the three sides of the pocket.
(Click Image to Enlarge)
Step 18:
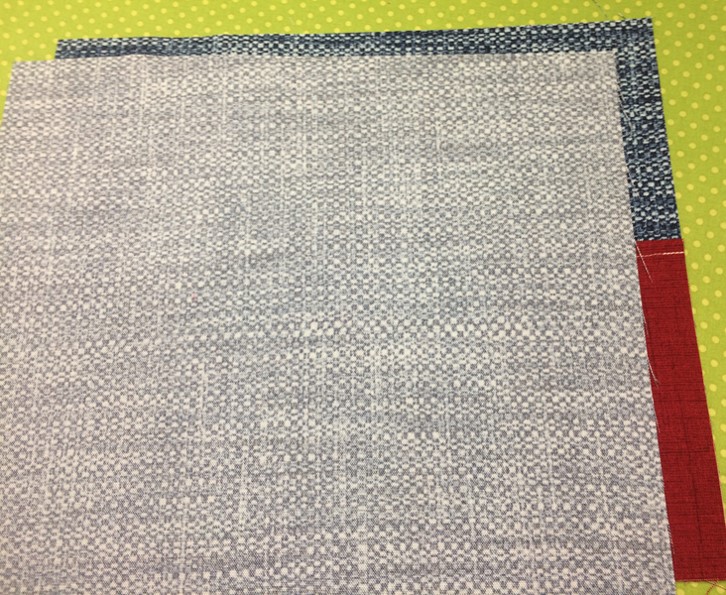
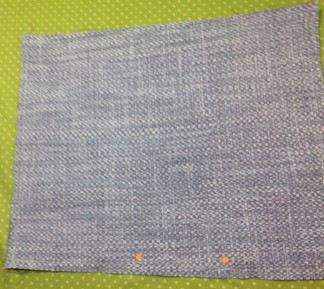
Place the blue fabric with the pocket RIGHT SIDE UP. Place the blue fabric without the pocket RIGHT SIDE DOWN.
(Click Image to Enlarge)
Step 19:
(Click Image to Enlarge)
Match the edges. Trim to size if needed. Pin the placemat together.
Stitch 1/4" seam from the edge, leaving an approximately 4" opening on the top edge of the place mat. Reinforce the stitching as you start and finish the seam.
Step 20:
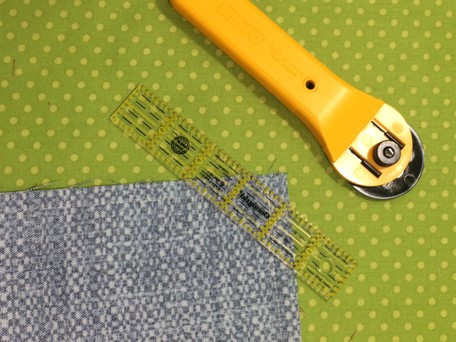
Clip the corners using a ruler and rotary cutter. Be careful NOT to cut the seam.
Step 21:
Turn the place mat right side out, pushing out the corners.
Tuck the edges of the opening inside and press with an iron along all seam edges.
Step 22:
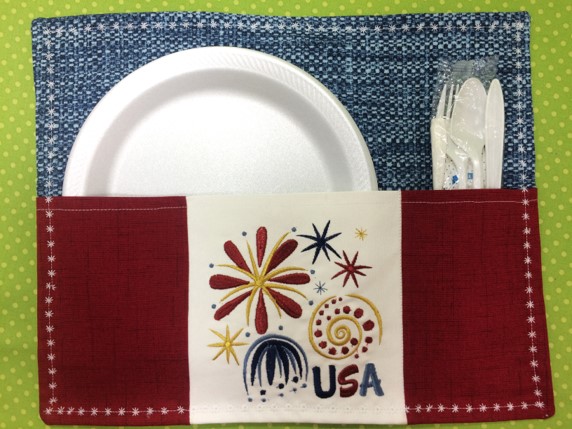
Top stitch 1/4" from the edge all around the place mat.
(Click Image to Enlarge)
Step 23:
Fantastic job! You have made a Picnic Placemat! The more placemats you make, the quicker and better you get.
Marisa Littleton is a retired educator with a love for teaching and learning. Interests include machine embroidery, hand embroidery, quilting, cooking, and antiques.