{{superHeaderAds.title}}
Live Chat
Embroidery Designs
Welcome, Embroiderer
Login
Wander Pillow Cushion
{{mainImageAlt || (productInfo._source && productInfo._source.name) || ''}}

Wander Pillow Cushion Embroidery Project

By   Kylie Burke   on   June 03, 2018

PROJECT DETAILS

SKILL LEVEL
Some Experience
TIME REQUIRED
01:00
Description

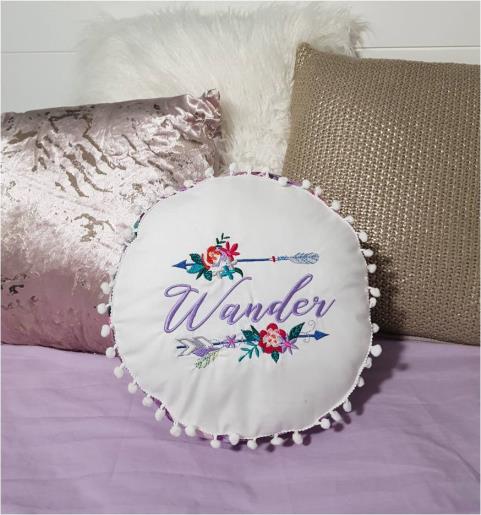
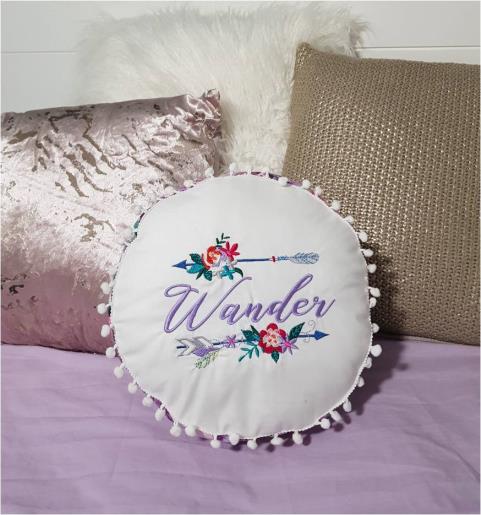
Use this beautiful "Wander" design to create a fun decorative cushion which will become the talking point of your cushion collection

Project Preview Video

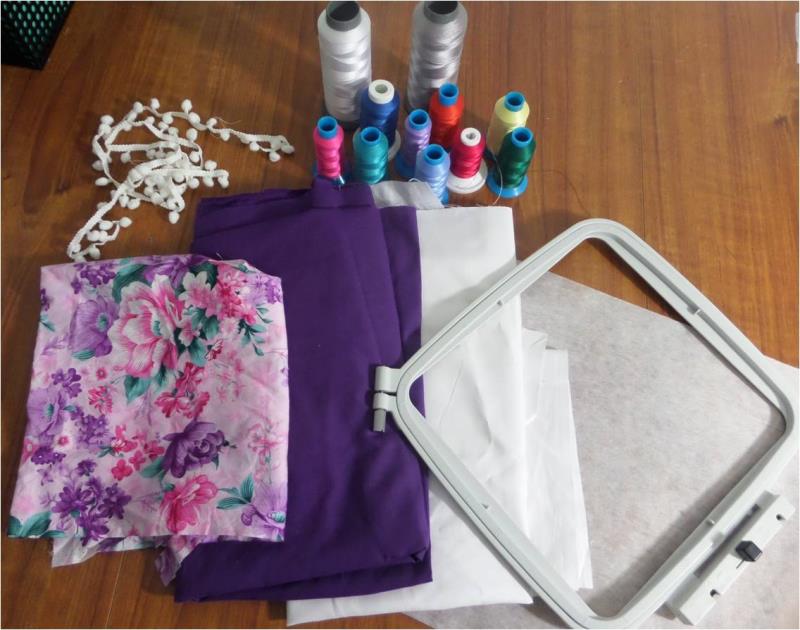
Materials
  • 11 thread colors
  • 5x7 hoop
  • Tearaway stabilizer
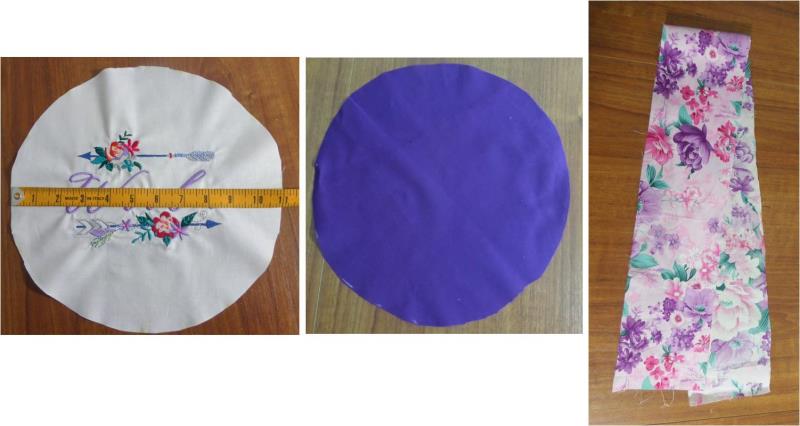
  • 14” square of white cotton fabric
  • 14” square of plain purple cotton fabric
  • 4” x 35” strip of floral pattern fabric
  • 35” piece of bobble trim
  • Matching sewing thread
  • Sewing machine
  • Polyester filling

  • Designs used in this project

    Final Product: What You Will Create


    Step 1:
    Gather the materials and read through the instructions before beginning. Have a copy of the color sequence on hand to refer to.

    (Click Image to Enlarge)


    Step 2:
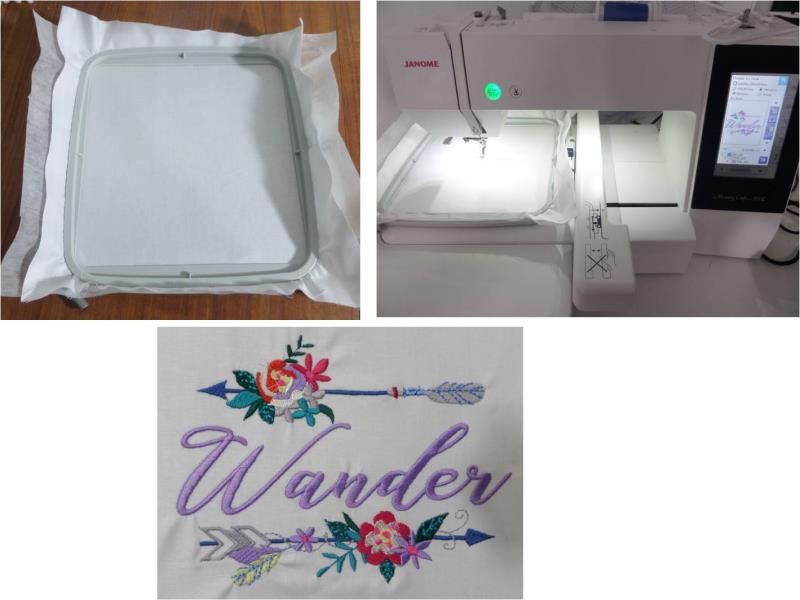
    Hoop the tearaway stabilizer and fabric together, then stitch out the design. unhoop the design and trim threads if needed

    (Click Image to Enlarge)


    Step 3:
    Cut the embroidered panel down to an 11” circle, ensuring the design is centered. Also cut an 11” circle for the backing piece and a 4” x 35” strip of pattern fabric which will be used for the border of the cushion.

    (Click Image to Enlarge)


    Step 4:
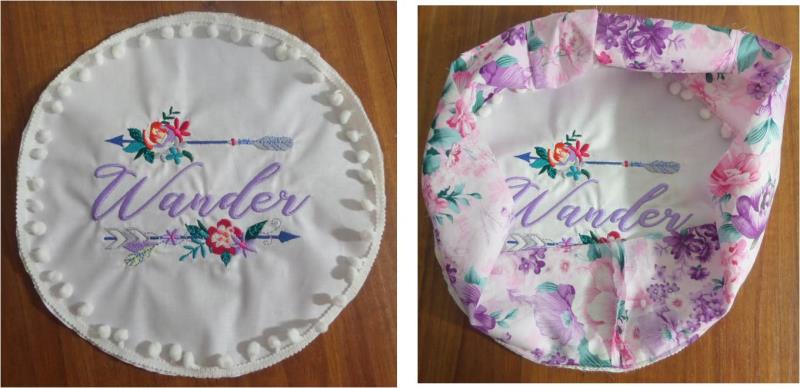
    Using the piece of bobble trim, pin it down around the edge of the embroidered circle with the bobble facing into the circle then sew it down. With the strip of pattern fabric right sides together, sew across the short edge to form a loop then pin and sew it down to the embroidered panel. Ensuring when you sew it down you keep the bobble trim out of the way

    (Click Image to Enlarge)


    Step 5:
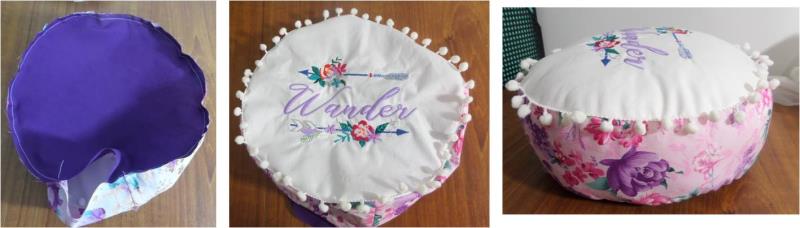
    Then pin the purple circle to the floral strip, with right sides together, to form the back of the cushion and sew it together ensuring you leave a gap. Turn the cushion inside out, fill with the polyester filling and hand sew the gap closed using a blind stitch.

    (Click Image to Enlarge)


    Step 6:
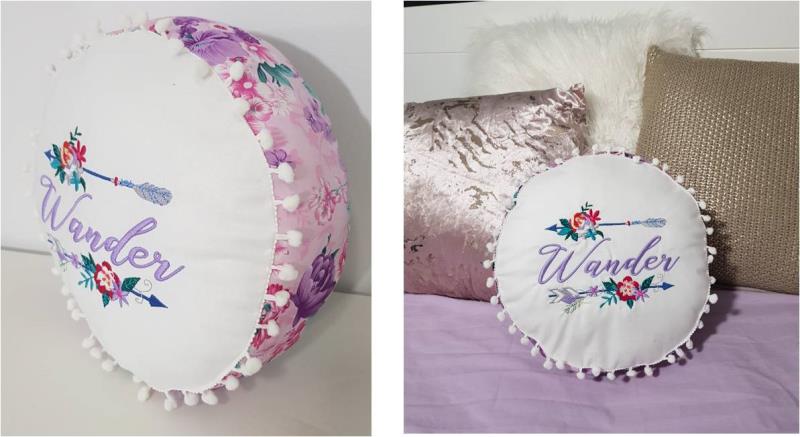
    Those who wander, are not lost. Enjoy your new decorative cushion.

    (Click Image to Enlarge)

    Meet the Author: Kylie Burke
    Kylie Burke
    Kylie is based in Australia and loves creating and sharing her unique pieces.
    More From This Author
    Link is Broken, Please check the URL
    Exclusive Embroidery Offers!
    Copyright © {{ currentDate | date:'yyyy'}} - EmbroideryDesigns.com
    GET 50% OFF! ×