2026 Flash Sale
Live Chat
Embroidery Designs
Welcome, Embroiderer
Login
Embroidered Note Cards
{{mainImageAlt || (productInfo._source && productInfo._source.name) || ''}}

Embroidered Note Cards Embroidery Project

By   Linda Mills   on   June 01, 2018
  • SKILL LEVELSome Experience
  • TIME REQUIRED00:45
Description

Create unique and one of a kind notecards using embroidery designs.

Step of

Materials

Project Preview Video

Materials
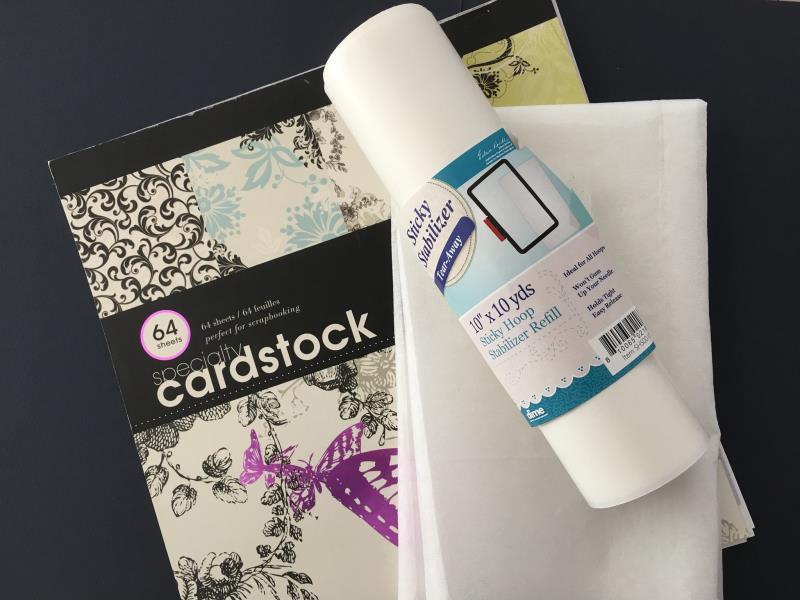
  • Cardstock
  • Fusible interfacing
  • Sticky stabilizer
  • Embroidery thread
  • Glue stick

  • Designs used in this project

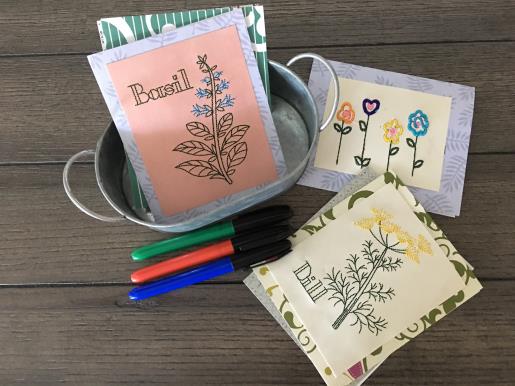
    Final Product: What You Will Create

    Preface:
    What's better than receiving a note card in the mail...an embroidered note card! The possibilities are endless with so many designs to choose from and your creativity!


    Step 1:
    Gather all materials and review instructions before beginning. 

    (Click Image to Enlarge)


    Step 2:
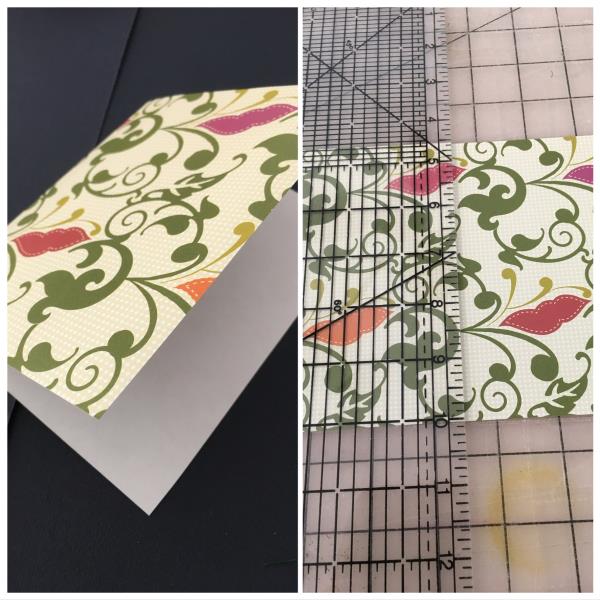
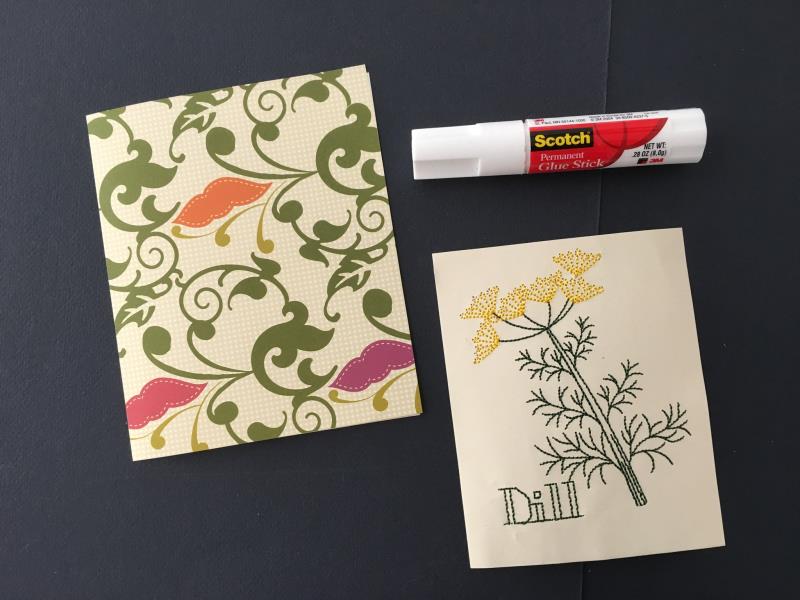
    You will need two pieces of coordinating cardstock. One for the "card" cut 4 1/2" X 9" and I used a solid color piece of cardstock for the embroidering which you can cut to fit the inner measurements of your hoop as this piece will be cut once embroidered to fit onto the front of your "card" piece.


    Step 3:
    Using your chosen cardstock for the "card" piece you will now "score" the top of the right side down the middle using a straight pin. Careful not to press too hard. This will help with the "fold" of the card.

    (Click Image to Enlarge)


    Step 4:
    Hooping the Cardstock
     
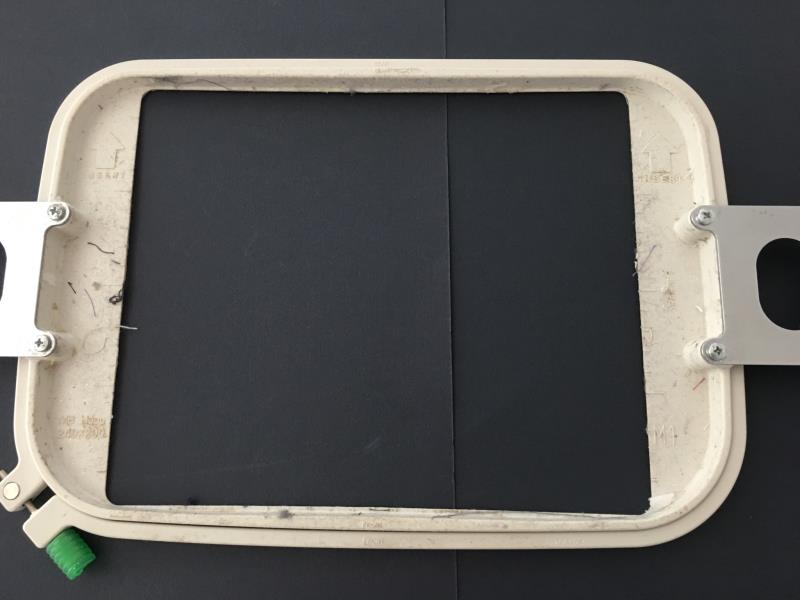
    I used one of my larger size hoop so the cardstock will lay flat for embroidering. 

    (Click Image to Enlarge)


    Step 5:
    Using your fusible interfacing, press a cut piece to the back of the cardstock (Fusible interfacing is used so that the back of the cardstock is not directly adhered to the sticky stabilizer),


    Step 6:
    Hoop sticky stabilizer using manufacturers instructions.
     
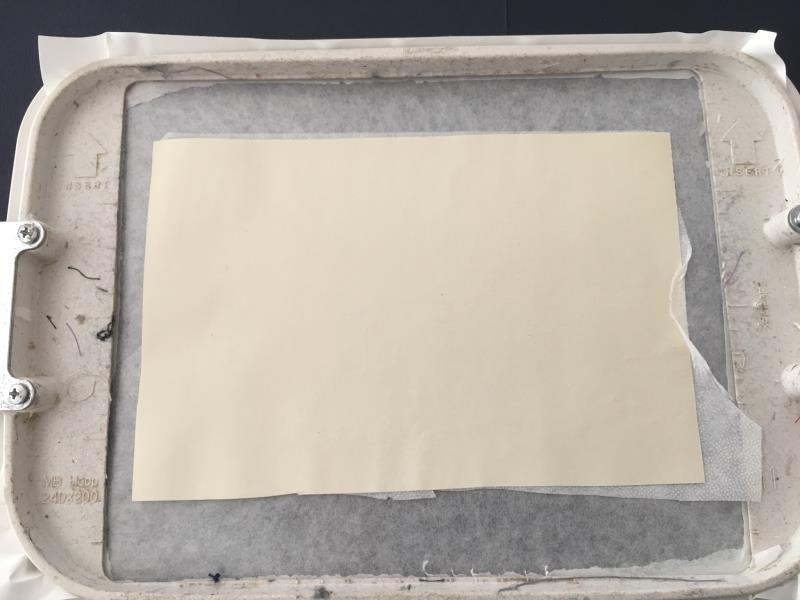
    Center place cardstock on top of sticky stabilizer (Remember, once design is embroidered we will be cutting to size center on top of 'card'). 

    (Click Image to Enlarge)


    Step 7:
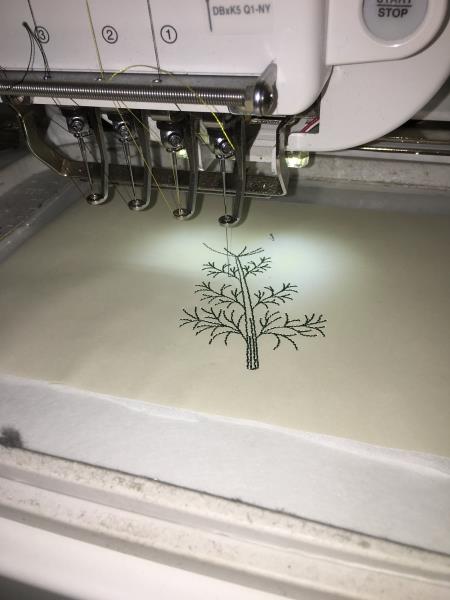
    Load your design, insert hoop onto machine and begin embroidering. 

    (Click Image to Enlarge)


    Step 8:
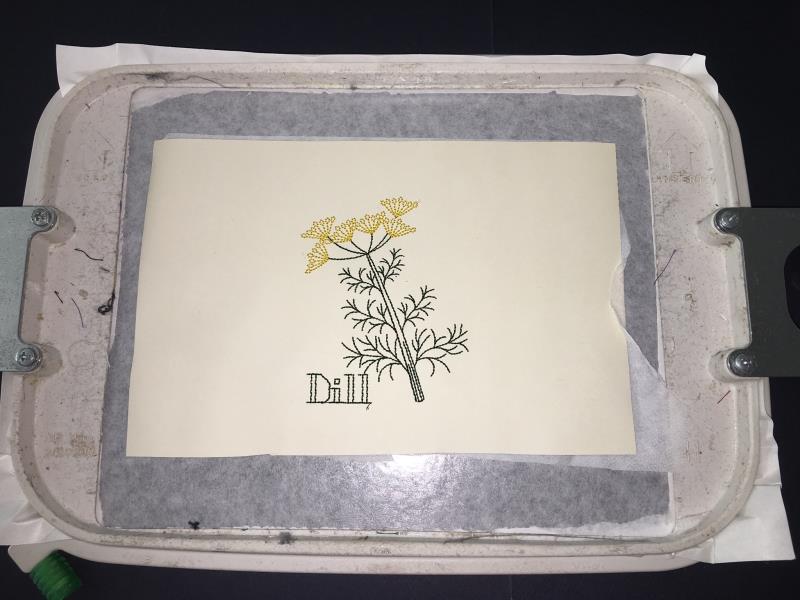
    Once embroidering is complete. Remove hoop from machine, cut all jump stitches, thread ends and carefully remove sticky stabilizer from the back of the fusible stabilizer (Keeping the fusible in place).

    (Click Image to Enlarge)


    Step 9:
    Cut your embroidered cardstock smaller than the "card" (Making sure the design is centered). Measure to allow 1/2' frame all around. 

    (Click Image to Enlarge)


    Step 10:
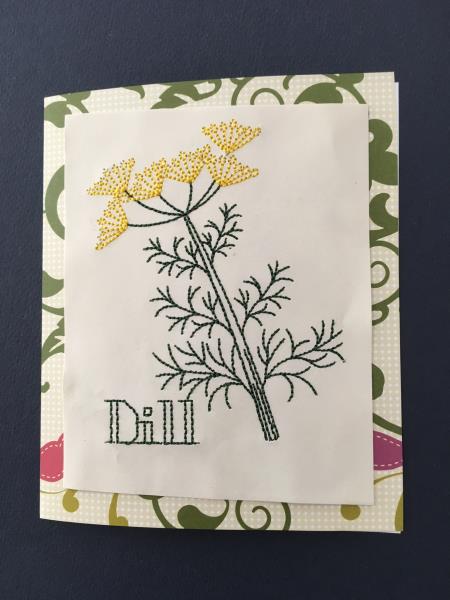
    Using a glue stick, apply glue to back of embroidered cardstock, once centered with allowance of 1/2" frame on all sides. Press down on top of the "card" piece to secure in place.

    (Click Image to Enlarge)


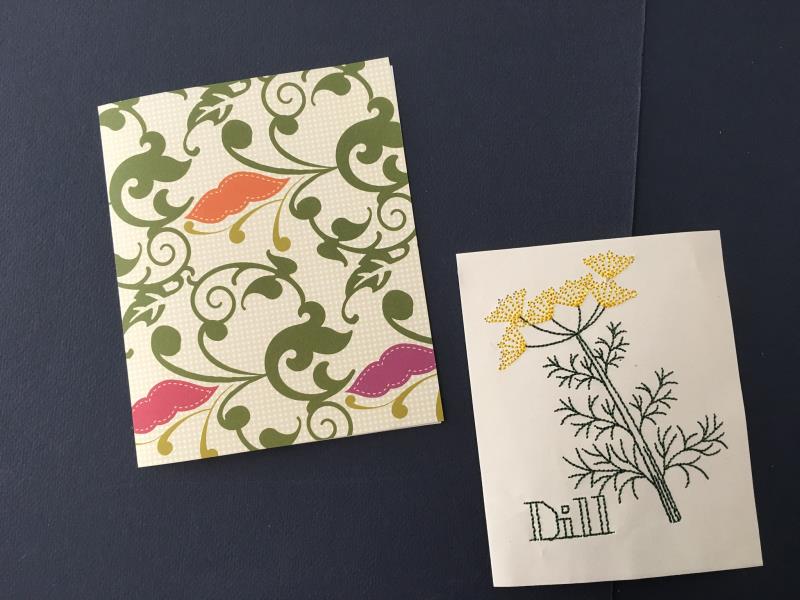
    Step 11:

    Viola! Your notecard is finished!

    (Click Image to Enlarge)

    Meet the Author: Linda Mills
    Linda Mills
    Linda loves to create by sharing her different sewing and machine embroidery techniques so others can utilize their machines to the fullest
    More From This Author
    Link is Broken, Please check the URL
    Exclusive Embroidery Offers!
    Copyright © {{ currentDate | date:'yyyy'}} - EmbroideryDesigns.com
    GET 50% OFF! ×