














































PROJECT INSTRUCTIONS


PROJECT INSTRUCTIONS
Golf Towel Embroidery Project
By
Linda Mills
on
May 29, 2018
Description
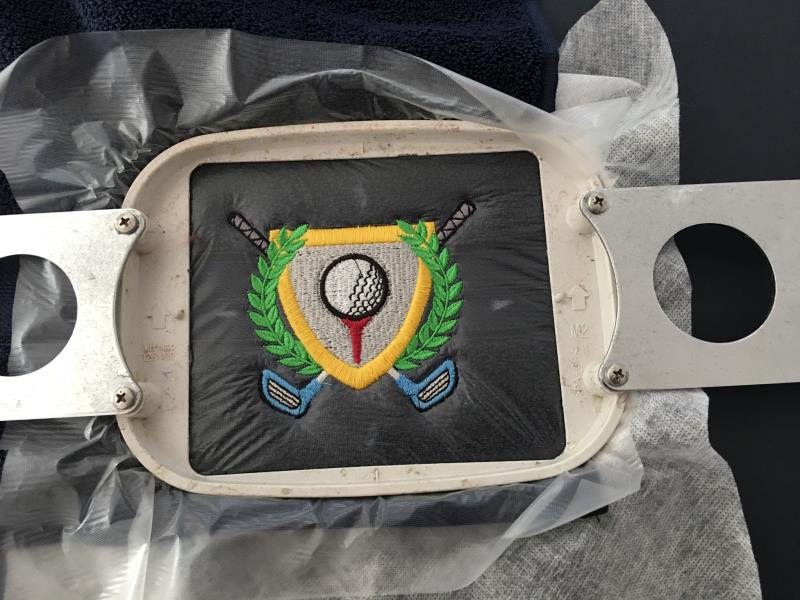
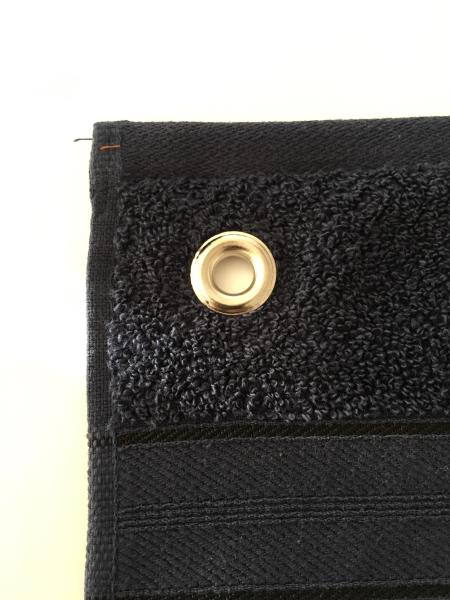
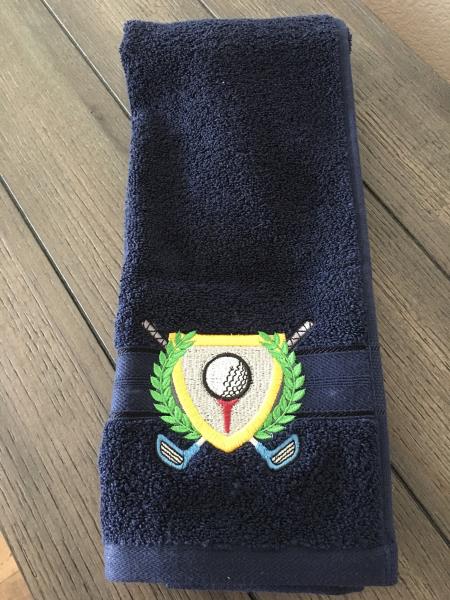
All you need is a purchased hand towel, grommet, setter tool and an embroidery design to make a personalized golf towel for that special someone in your life.
Step
of
Materials
Project Preview Video

QUICK VIEW
GOLF CREST
$6.69
$3.35
Circle Price: $3.20

Good Day
$3.89
$1.95
Circle Price: $1.80

Cut Away Stabilizer - 2.5 Oz wt.
$8.94
Circle Price: $8.05

Cut Away Stabilizer - 2 oz wt.
$8.52
Circle Price: $7.67


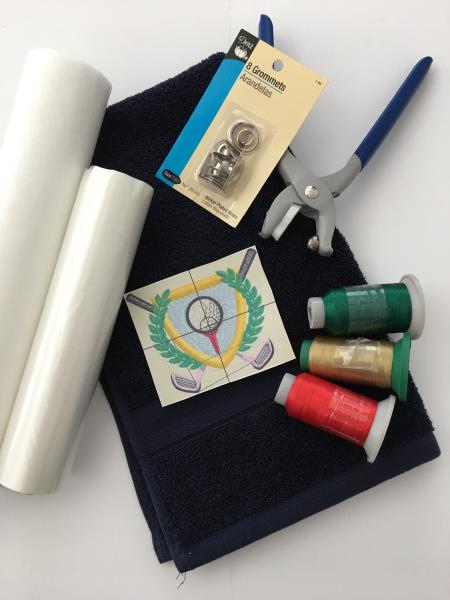
| Materials Store brought hand towel Walter soluble stabilizer Light weight cut away stabilizer Embroidery thread Embroidery software (OPT) Grommet Grommet setter tool |
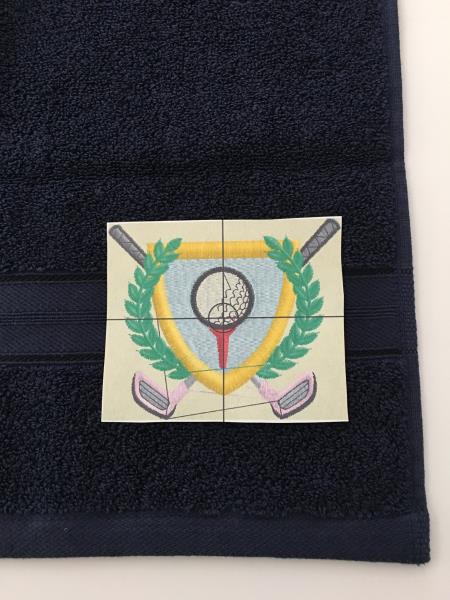
| Designs used in this project |
|
Projects You May Like
Meet the Author:
Linda Mills

Linda loves to create by sharing her different sewing and machine embroidery techniques so others can utilize their machines to the fullest
Feedback
Characters Remaining
Please Login to Submit a Feedback
Invalid Characters, Please enter a valid Comment
Please enter a valid Comment
Reviewed On
Link is Broken, Please check the URL