














































PROJECT INSTRUCTIONS


PROJECT INSTRUCTIONS
DIY Photo Booth Props Embroidery Project
By
Amber Stevens
on
May 18, 2018
Description
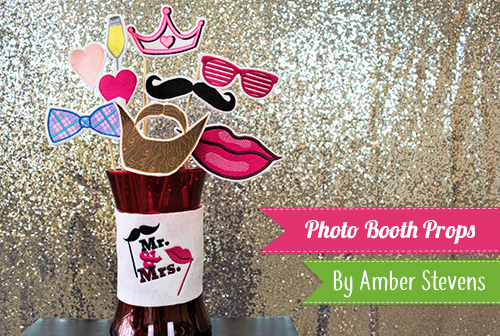
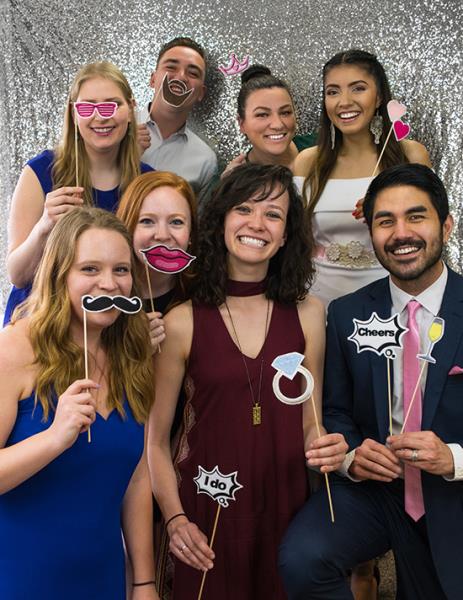
Create your own unique photo booth props with this fun and creative project. Perfect for parties and special occasions, these props add a personalized touch to your event photos. Step-by-step instructions are included.
Step
of
Materials
Project Preview Video

Goggles
$4.39
Circle Price: $3.29

Curled Moustache
$3.99
Circle Price: $1.85

Pink Lips
$3.99
Circle Price: $1.85

Tiara Princess
$4.44
$2.99
Circle Price: $2.84

QUICK VIEW
Beard & Mustache
$5.19
$2.99
Circle Price: $2.84

Heart
$4.99
$2.49
Circle Price: $2.34

Large Plaid Bowtie
$4.95
$2.48
Circle Price: $2.33

Cut Away Stabilizer - 2.5 Oz wt.
$8.94
$7.15
Circle Price: $7.15
{{ item.name }}
{{ item.listPriceDisplay }}{{ item.salePriceDisplay }}
Circle Price:
{{ item.clubPriceDisplay }}





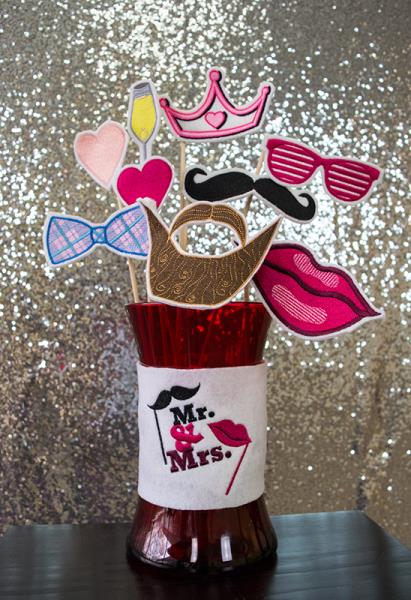
| Final Product: What You Will Create |
 |
|
Projects You May Like
Meet the Author:
Amber Stevens

Amber, the Designer Extraordinaire over at Adventures in Stitcherland, has been sewing since she was 9 years old. When she's not creating stunning embroidery designs, she is elbow-deep in all things fashion.
Feedback
Characters Remaining
Please Login to Submit a Feedback
Invalid Characters, Please enter a valid Comment
Please enter a valid Comment
Reviewed On
Link is Broken, Please check the URL