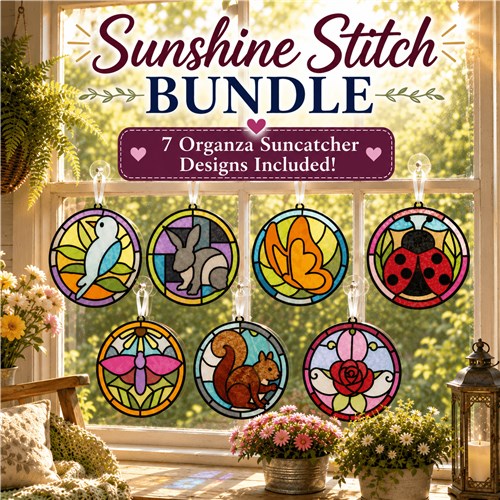
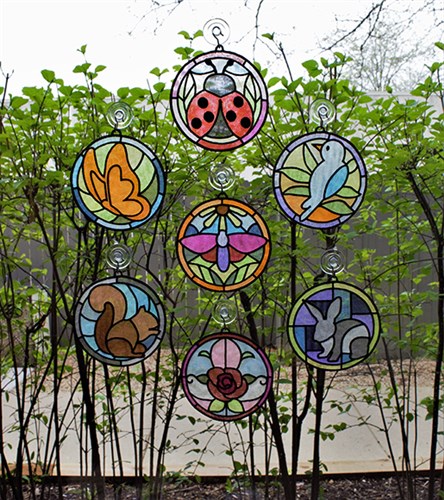
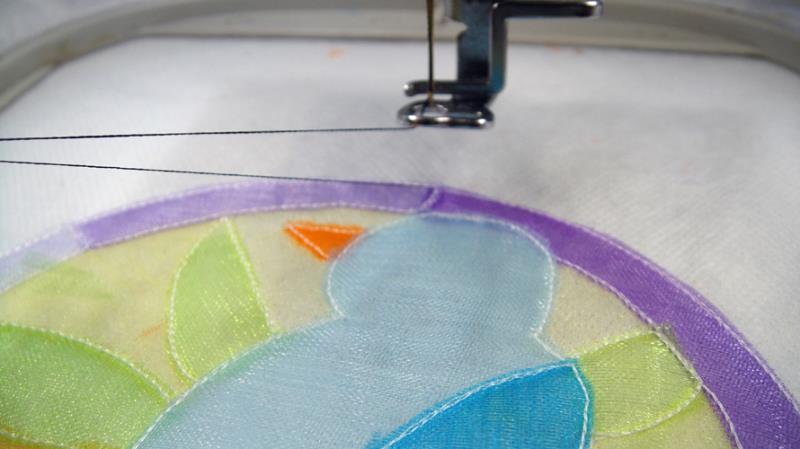
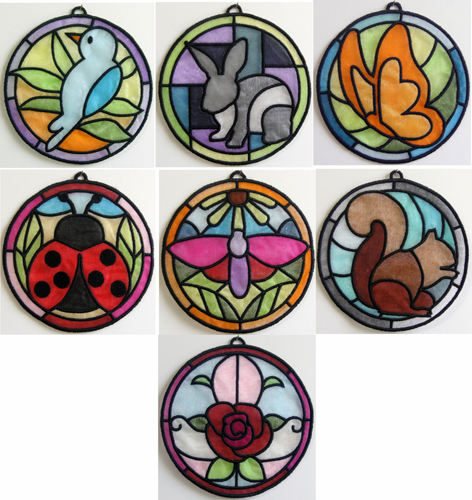
These suncatchers are made with a unique technique that is similar to painting by numbers. A pdf file is available for each design. You will stitch an outline file in water soluble thread, then use the pdf file to locate the area of the design that will be appliqued with various layers of nylon organza to create the shading and color in the suncatcher. Water soluble thread is used for the beginning placement line and for the tack down of all the organza sections so all of the tack down tie ends and tie offs will disappear when the water soluble stabilizer is removed. Be sure to use black polyester thread as the black lines, borders and loops are created using free standing lace stitch types to give the sun catcher the strength needed to maintain its shape.
Step 1:
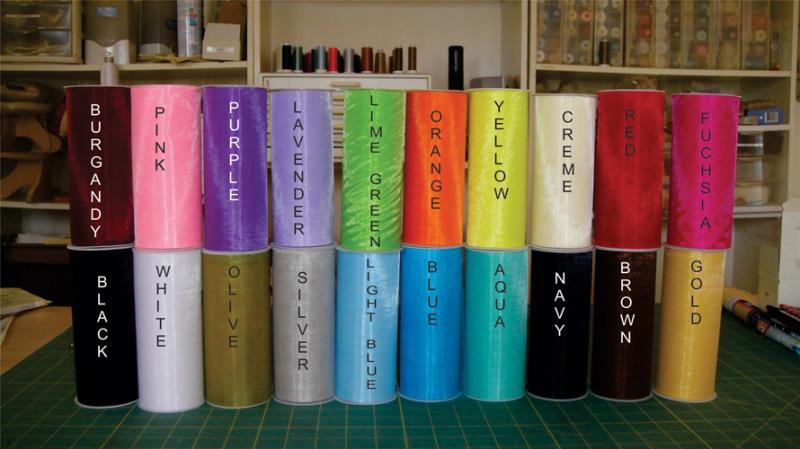
Finding true nylon organza in a multitude of colors has been a challenge. This pack of 20 rolls was found on Amazon and was sold by LA Crafts. The 20 pack was purchased to create these projects. Later, looking at the LA Crafts web site, I did find that they also sell the individual rolls of the organza if you want to purchase the rolls necessary for a particular sun catcher. The colors used in each suncatcher are listed on the PDF file. The rolls did not come with color names on them so I named them for the PDF files as in the picture above. I found on the LA Crafts web site that some on the names are different, i.e., what I called lime green they call apple green, but I do not think you will have a problem in figuring out what colors to use.
(Click Image to Enlarge)
Step 2:
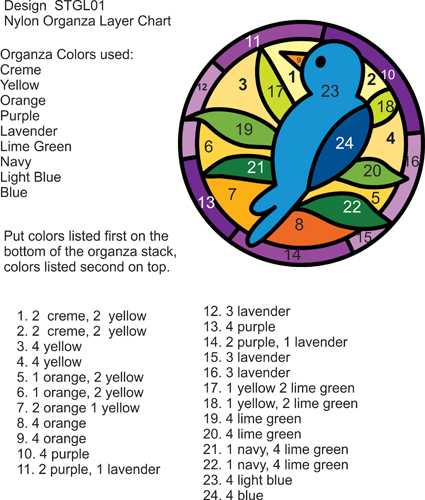
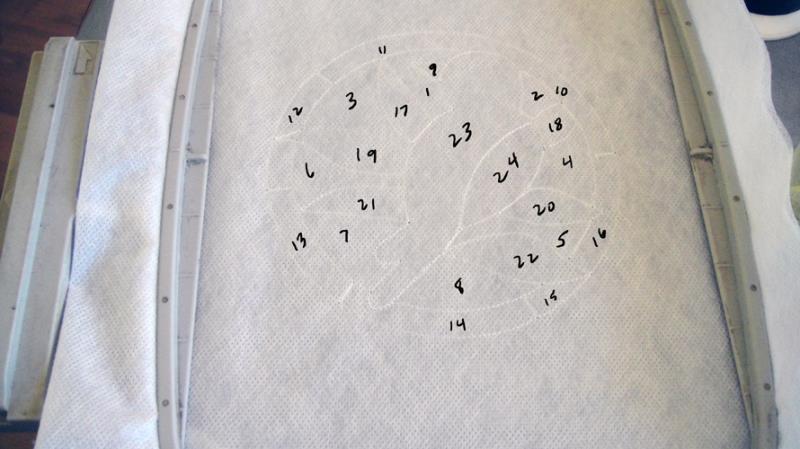
This is the PDF file for design STGL01. There is a PDF file for each suncatcher downloadable from this page. Alternately when you download your preferred embroidery file format there is also a box to check for other formats. Click on that box and the PDF files are available there to download.
Step 3:
(Click Image to Enlarge)
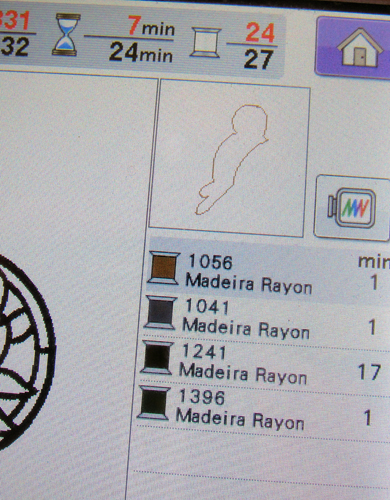
Darker colors were used in the thread chart for each separate step that is actually going to be stitched in WST. This was done so that the pictures on your machine will help you identify the next section to be stitched, but sew each tack down stitch in WST.
Step 4:
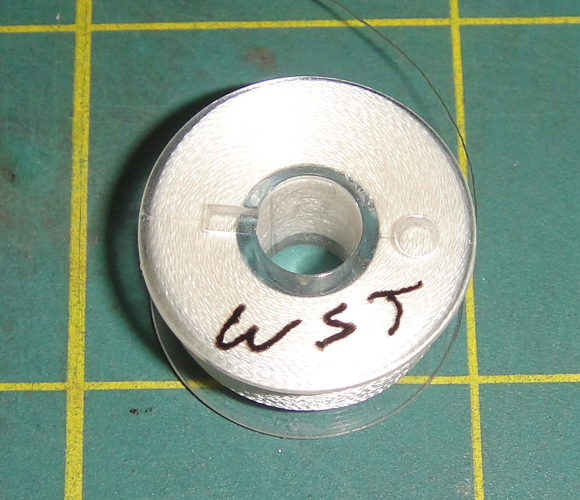
These general instructions will apply to all of the available suncatcher designs. Load a bobbin with Water Soluble Thread (WST), mark the bobbin with a permanent marker so you don’t ever confuse it with a regular white bobbin. Load the machine with WST on top and in the bobbin. WST will be used for all of the color stops until you reach the color stops listed for Emerald Black.
(Click Image to Enlarge)
Step 5:
Hoop two layers of fibrous water soluble stabilizer in the hoop. Run CS 1 as an outline of your design. Referring to the Organza Layer Chart note the position of the 1st color block and the number of layers or organza you will use for that layer.
(Click Image to Enlarge)
Step 6:
Reel off the colors of organza that you need. Only about 6” or crème, as it is only used in two sections of this design, but about a foot of yellow as it is used in many sections of this design. Lay the organza over the 1st section of the design in the order listed on the Organza Color Chart. That is, lay down two layers of crème and on top place two layers of yellow. You can use spray adhesive if desired. Lay down the organza so that it exceeds the section to be tacked down by a good margin on all sides. You can just hold down the organza with your fingers, making sure they are well outside of the sewing area.
(Click Image to Enlarge)
Step 7:
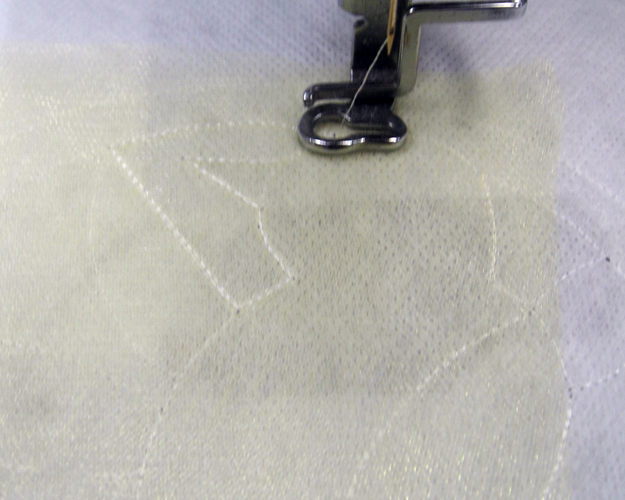
Run the 2nd color stop (CS) to tack down the organza.
(Click Image to Enlarge)
Step 8:
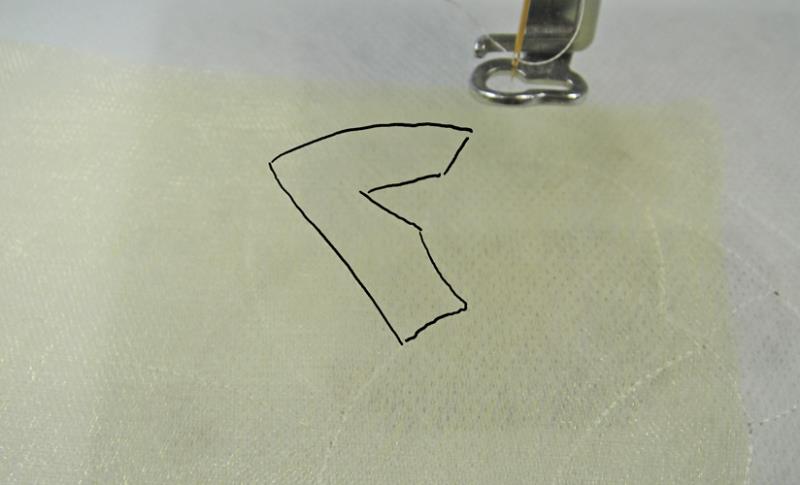
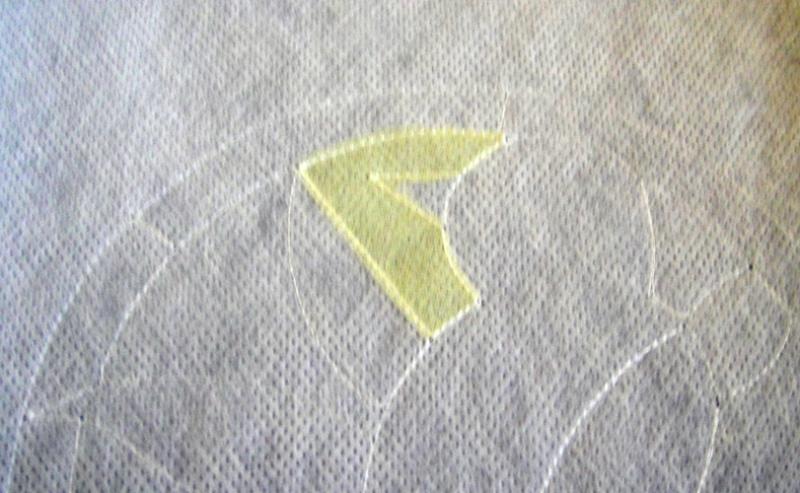
Remove the hoop from the machine, do not unhoop, trim the organza layers right next to the tack down stitches.
(Click Image to Enlarge)
Step 9:
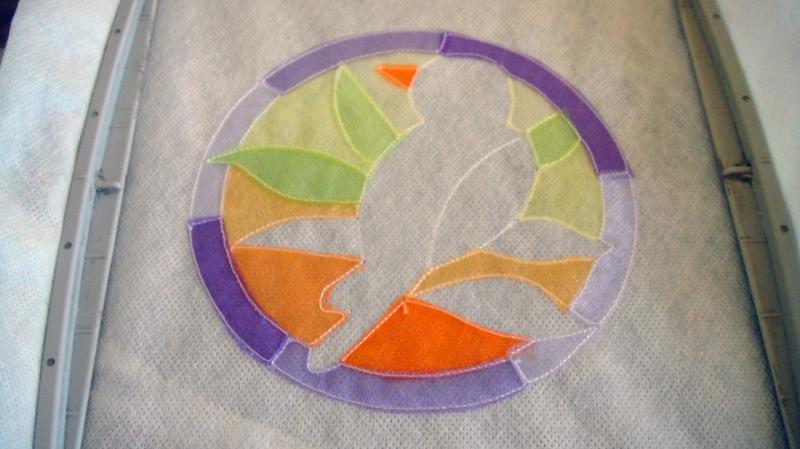
Continue referring to the Nylon Organza Layer Chart to locate and properly layer the organza in the suncatcher. Trim each section after it is stitched down.
(Click Image to Enlarge)
Step 10:
After all sections of the suncatcher have been stitched down with WST change the bobbin and top thread to black polyester thread.
(Click Image to Enlarge)
Step 11:
To minimize thread tails on the back of the work bring the bobbin thread to the top of the work in these few simple motions; thread the top thread through the presser foot; hold onto the tail of the top thread and hit the needle up position twice while pulling slightly on the top tail, this will bring the bobbin thread to the top of the work; pull the bobbin thread out to the length of the top thread tail; holding on to both thread tails stitch a few stitches; stop the machine and trim off the tails. Do this step each time the black thread starts a new section such as for all of the outline work on this file and then again for the eye. On the design for the lady bug each of the lady bug’s dots are on a separate color change, bring the bobbin thread to the top for each dot as well as for the outline of the whole design.
(Click Image to Enlarge)
Step 12:
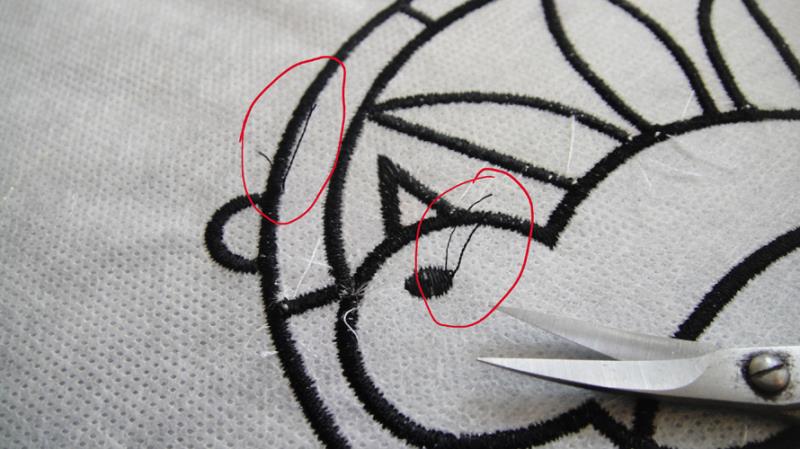
After the black thread has finished stitching remove the hoop from the machine and trim any tie down thread tails. Most designs will only have the one tie down stitch from the outline to trim, the bird design has two, one for the outline stitching and one for the eye. The ladybug will have trims for the outline as well as for each dot. Trim these threads at this point to have them not show up behind the transparent organza after the stabilizer has been removed.
(Click Image to Enlarge)
Step 13:
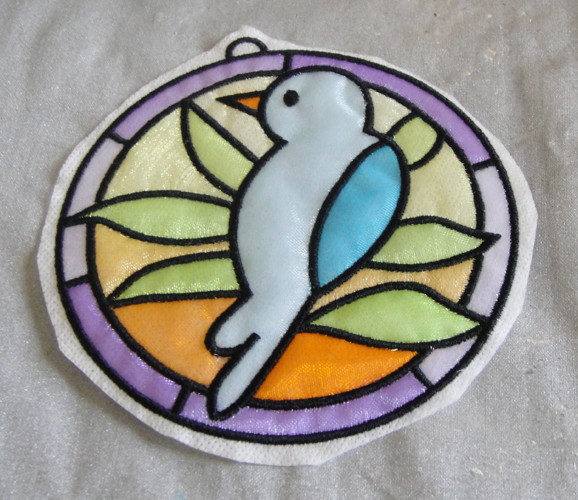
Trim the excess stabilizer around the design about ¼” from the edge.
(Click Image to Enlarge)
Step 14:
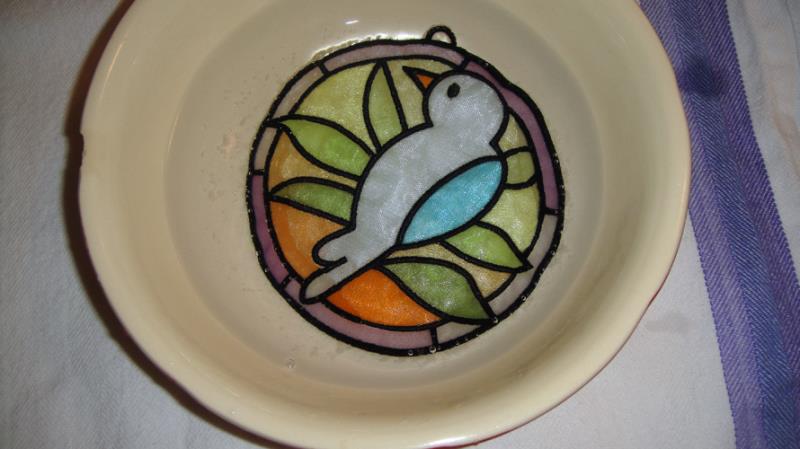
Dip the suncatcher in a bowl of hot water for just a moment to remove the excess stabilizer and the WST.
(Click Image to Enlarge)
Step 15:
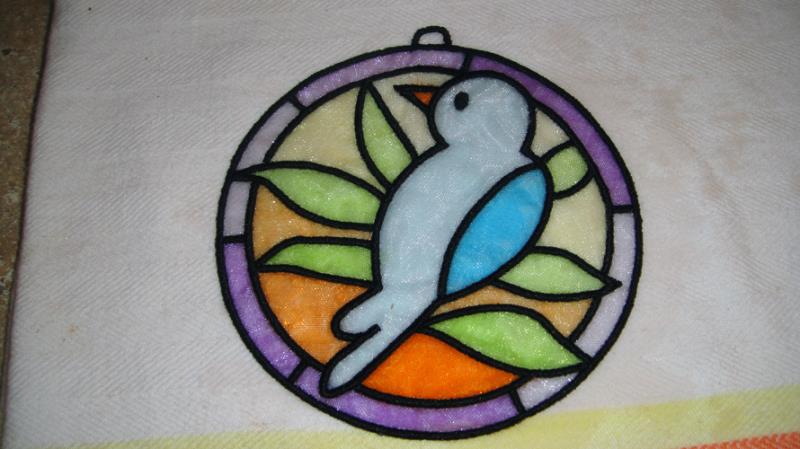
Lie on a smooth cotton dishtowel to dry.
(Click Image to Enlarge)
Step 16:
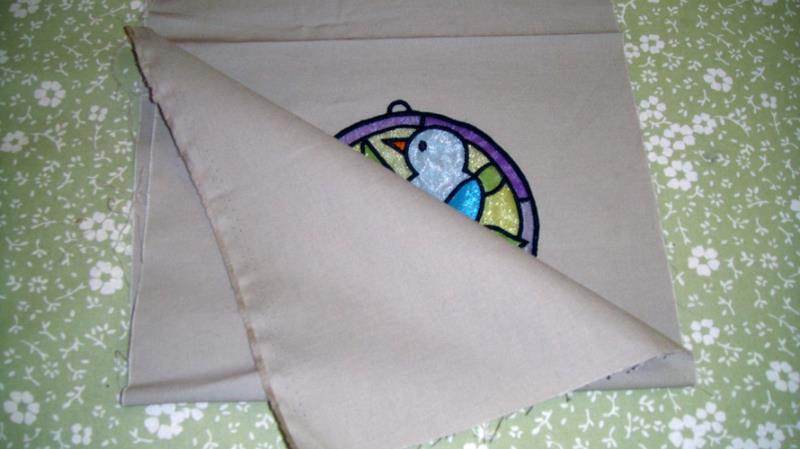
If you feel that you need to press your suncatcher when it is dry place it between two layers of cloth to press with a medium high iron.
(Click Image to Enlarge)
Step 17:
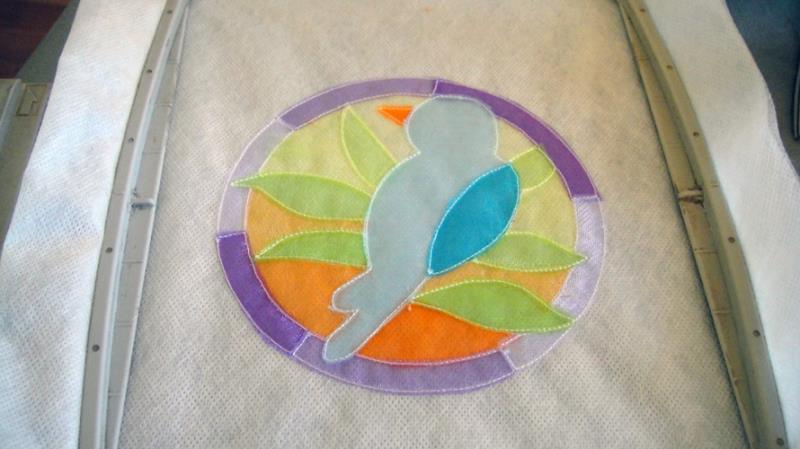
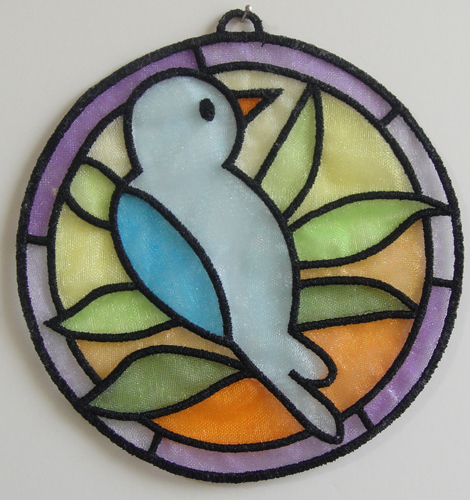
Turn you suncatcher over. As you can see there are no unsightly thread tails from tie down and tie off stitches.
Step 18:
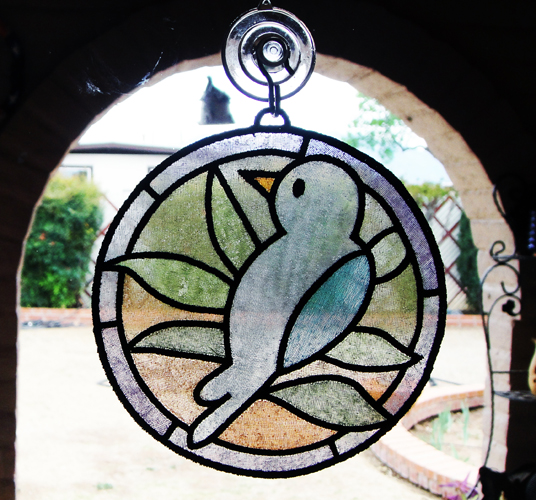
Congratulations your ITH Organza Suncatcher is complete! Hang it from a small suction cup with a hook on a window or sliding glass door.
(Click Image to Enlarge)
Step 19:
Make the whole set as they make great small presents or as items for your craft fair.
Step 20:
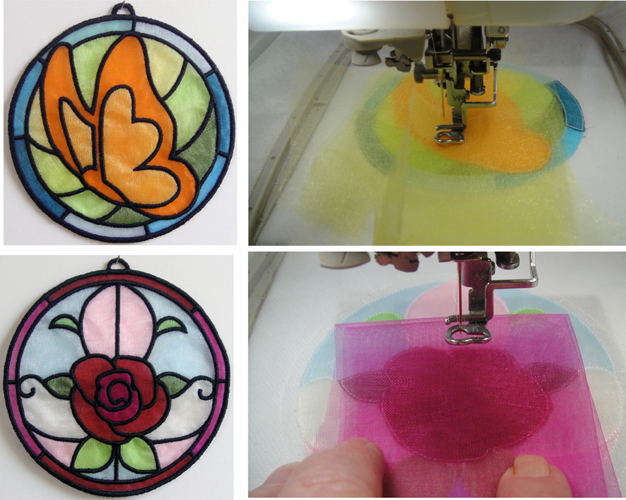
A special note for the butterfly and rose sun catchers. The orange wings on the butterfly each have a top color applied over a base color of organza. That 1st color of organza will hide the outlines from you. To apply the yellow to the wings of the butterfly and the fuchsia center to the rose lay your organza over the whole butterfly or rose and run the tack down stitches. Then trim as all of the other organza sections.
Award winning Digitizer, Embroidery Educator, Author and a Consultant to the Industry, Pat Williams has 30 years of experience in the embroidery industry. Pat has won multiple awards for her digitizing expertise including the 2007 Impressions Awards Grand Championship, Best of Show as well as the 1st and 2nd Place Awards. Pat’s love of digitizing has afforded her the opportunity to write numerous articles for Impressions magazine in the United States and Images Magazine in Europe. In 2001 Pat was named “Embroidery Educator of the Year.” For many years Pat taught digitizing seminars at the ISS Shows in Long Beach, CA and for Compucon software. She now resides in Tucson, AZ.