Border OptionsHugging border, circle, square, or rectangle — with a 3mm satin stitch.
Backing OptionsAvailable with iron-on, sew-on, or velcro backing.
Fast ShippingShipped quickly from the USA.
Free Online Tools
Powerful embroidery utilities that save time and prevent costly mistakes.
Stitch AssistantRECOMMENDED
Get the exact stabilizer, machine settings, needle, and thread color sequence for every embroidery design you purchase — based on that design's stitch density, dimensions, and color count.
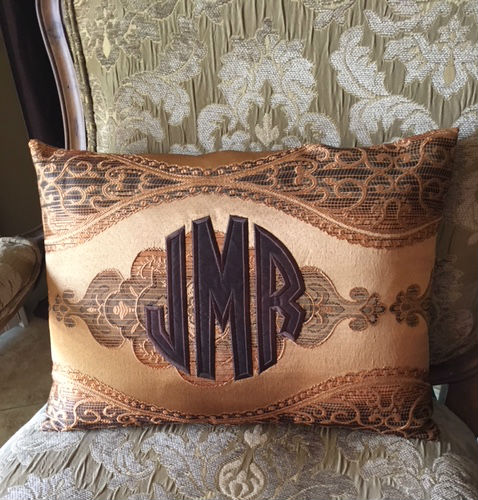
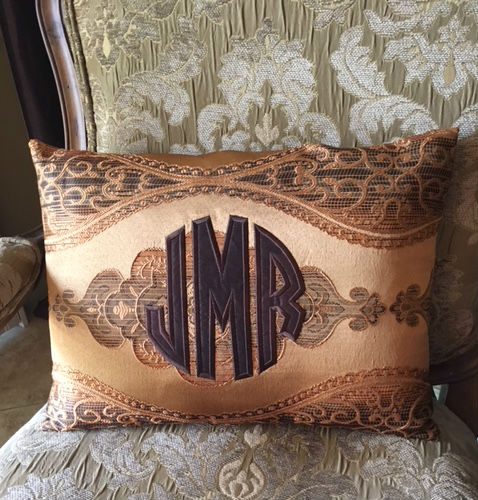
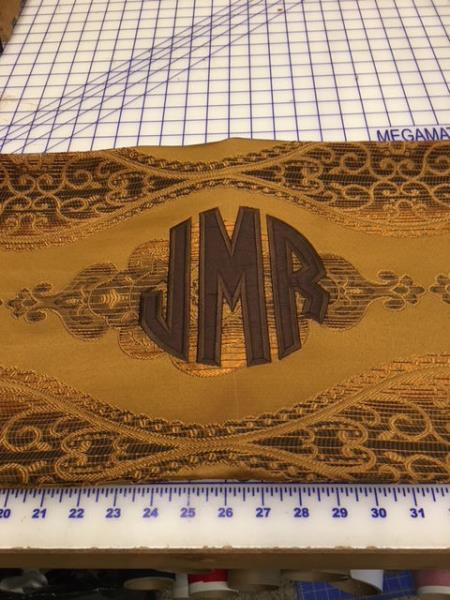
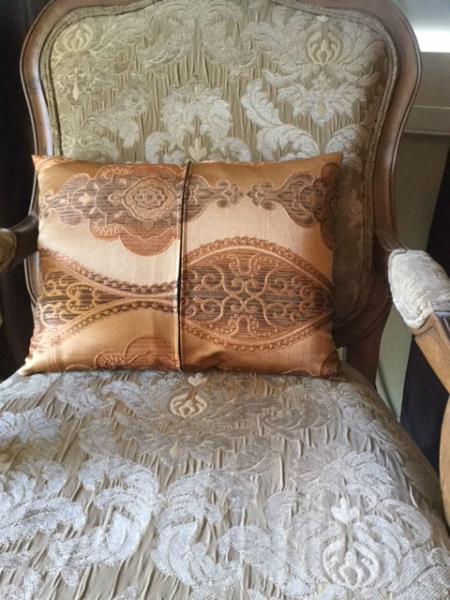
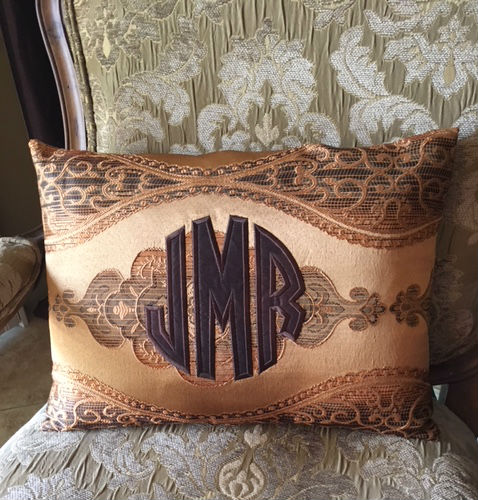
The instructions provided are to make a pillow with applique circle monogram letters, but you can use this guide to add letters to any of your other projects.
Step
of
Circle Monogram Applique Pillow
By Jayne Monsipapa
*Kinship Kreations Circle Monogram Letters, 3.90", 4.90" or 6.90" available.
*Spray Adhesive (This is just one I really like, and have used for years. Love this brand and use it all the time Madeira MSA1000). This adhesive will not gum up your needle.
*Applique stabilizer. The most popular brand is Heat N Bond Lite. DO NOT USE REGULAR HEAT N BOND AS IT WILL GUM UP YOUR NEEDLE.
*Embroidery Stabilizer.
*Embroidery thread. Select colors to your preference.
*Applique fabric.
*Painters tape, masking tape or scotch tape
*Applique scissors. Trimming around the edge is pretty easy, but you need good scissors.
*Zipper or Velcro or Snaps. Zipper needs to be longer than width of your finished pillow size. If using velcro at least a 3" strip needed. Snaps (I use Kam) 3 to 5 depending on preference.
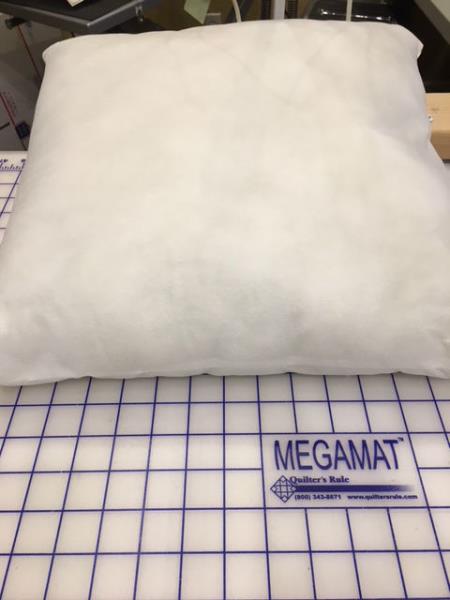
These instructions are for a pillow that can be modified for any size pillow insert. I had an insert that was odd size 14.5" x 19.5" so that is what I used. I normally use a square pillow that is 16". Material I used was something I had on hand, but most material will work for a pillow. I recommend a material that does not fray easily, especially for the applique. The Kinship Kreations LLC Circle Monogram Applique Font comes in 3 sizes. 3.90", 4.90" and 6.90". For this project I used 6.90". Also, the download for the fonts has an outline file to be used as a pattern if you hand cut your letters along with SVG files for anyone that has a machine cutter. There are 3 different PDF's on how to use the font for regular applique, hand cutting the letters and if you have a cutter that takes a SVG file.
Step 1:
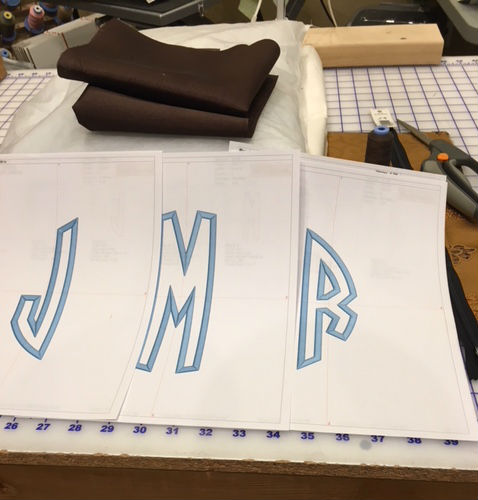
Gather all your supplies from the material list. Print out your letter templates you will be using. For the one I did I used my initial first as the left facing letter, husbands last name initial as the middle, and husbands name initial for the right facing letter. M is my larger letter, R is the right facing and J is the left facing. I like to sew the middle first and then add the other two initials. To aid in cutting out the letters I have included an outline file of each letter. Those can be printed out also. Read thru the directions completely to give you an idea of how this project flows. You can go in any order prior to assembly, but this seems to work the best for me. I like to get everything prepared prior to starting the project.
Step 2:
Measure your pillow. This will determine how much fabric you need and also what size zipper to use. My pillow was odd shape 14.5" tall x 19.5" wide. It was a very cheap form (thin) so I used pillow measurement plus 1/4" seam allowance. If I would have used a nicer form (thicker) I would use pillow size and add 1/2" extra seam allowance. This takes into account a 1/4" seam allowance. My front panel fabric will measure 14.75" tall. Back panel will measure different depending on how you want the closure. If you use a zipper, add 2" along with the 1/4" seam allowance. My form was 14.5" tall so I added 1/4" for seam or total 14.75". Back is 19.5" wide so I added 2" plus 1/4' for a total of 21.75" wide. Since my zipper will be vertical I need at least a 16" zipper. The main thing is that the zipper needs to be longer than the material. If you want to use velcro or snaps you can use the back instructions I did for my Butterflies Dragonflies pillow. Go to pillow instructions to see all the details. https://www.embroiderydesigns.com/emb_learning/project/1362/how-to-make-a-butterflies-dragonflies--floral-pillow
(Click Image to Enlarge)
Step 3:
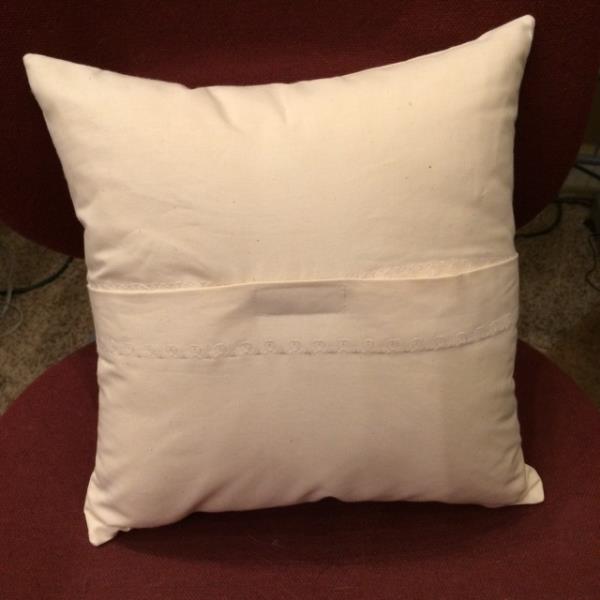
If you use velcro or snaps for the closure the front measurement is the same. For the back you need to add 2" to each side that is going to be folded over to give enough allowance to overlap each other. In the top one I used a zipper and because of width so wide I opted to go in height due to zipper size. I prefer to use the width like the below. Just measure accordingly. Measure down 1 1/2" and fold over and press. The main part of this is that the two pieces can overlap each other and fasten with velcro or snaps. Overlap at least 1" and measure width. You should end up obtaining the width of your form plus 1/4" for seam allowance. Go to pillow instructions to see all the details. https://www.embroiderydesigns.com/emb_learning/project/1362/how-to-make-a-butterflies-dragonflies--floral-pillow
(Click Image to Enlarge)
Step 4:
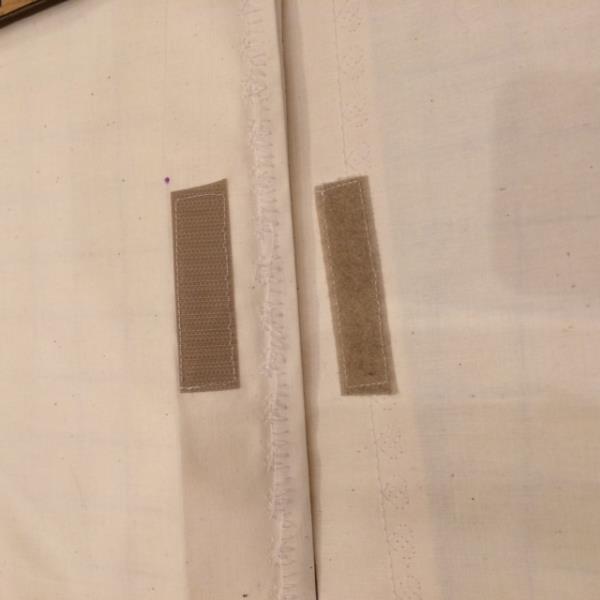
Now is the time to add the velcro closure. Use any color velcro as you will not see this when shut. Cut 1, 3" strip and pull the velcro apart. Fold 1 of the pieces of fabric in half and mark the center with either a pin or disappearing ink. I love my disappearing ink pen! One of the velcro pieces will be sewn on the top side, like the below and one will be sewn on the wrong side. To make sure you have the correct sides together pin or hold the velcro in place and make sure it closes properly. Take 1 of the pieces to the sewing machine and stitch around the perimeter of the velcro making sure you have a couple back stitches at the beginning and end to hold the velcro securely. The left picture will be folded under and stitched so will close nicely.
(Click Image to Enlarge)
Step 5:
Back using velcro. If you use zipper go to next step.
(Click Image to Enlarge)
Step 6:
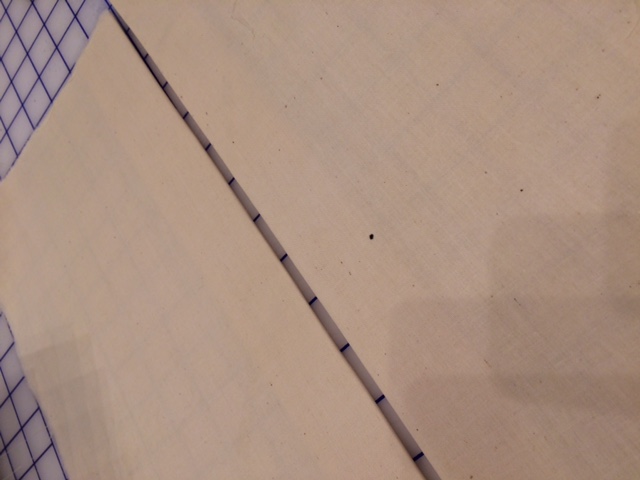
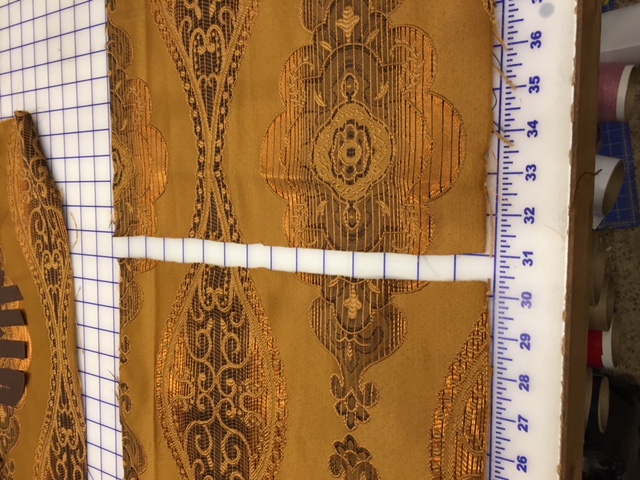
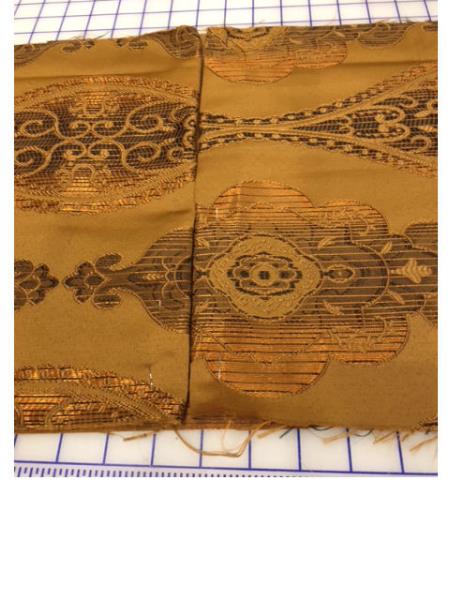
I like getting the back out of the way first, but you can also finish it after the embroidery is done. I will show how I finished the zipper and then go into the embroidery. I needed 21.75" wide fabric so after cutting out the back piece I folded it in half and cut. Now there are 2 back pieces.
(Click Image to Enlarge)
Step 7:
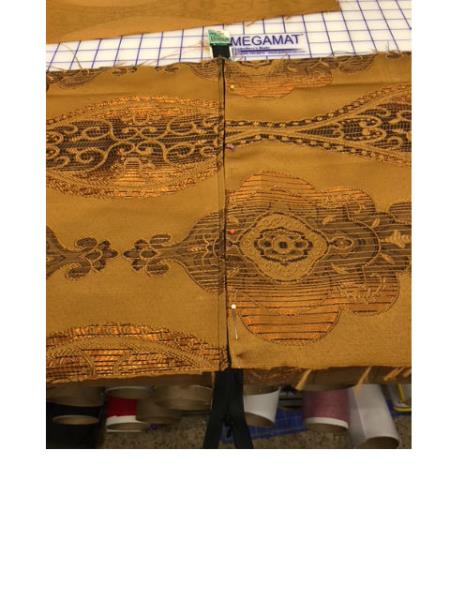
Fold under 1" on both middle edges as this is the seam used for the zipper. Press firmly. I did not do anything fancy for this part. I used my zipper foot and got as close to the teeth as I could so would not break a needle.
(Click Image to Enlarge)
Step 8:
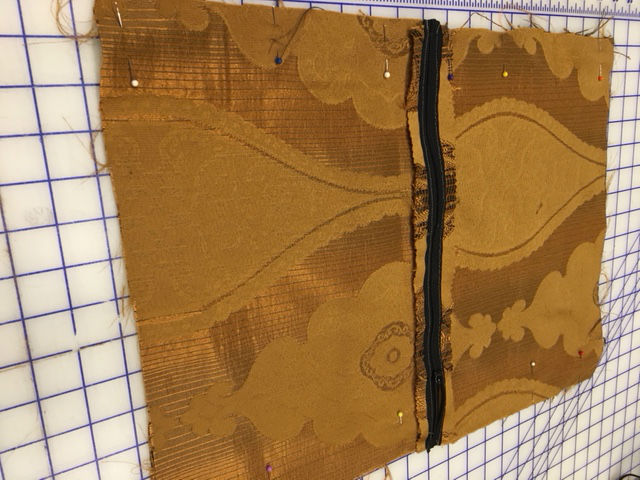
You can pin in place or hand baste in place. I prefer to pin, but make sure to remove pins as you sew so do not sew over your pins. Sew one side and then the other side. It is really very easy this way. The next part make sure you DO NOT cut the tabs off your zipper yet. You need that zipper pull so take caution when you finish. We will start next with the circle monogram applique.
(Click Image to Enlarge)
Step 9:
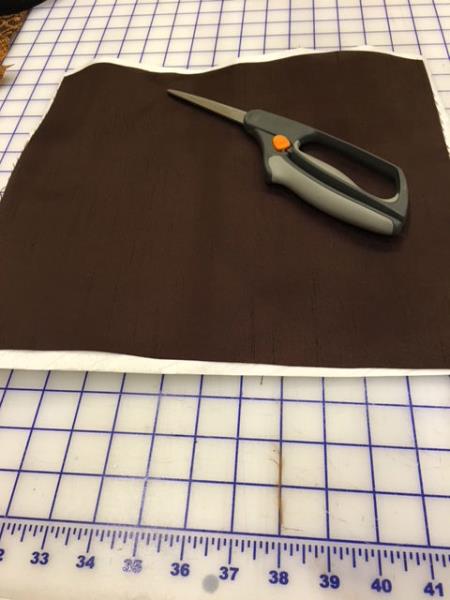
Prepare applique fabric. Using heat and bond lite (DO NOT USE REGULAR AS IT WILL GUM UP YOUR NEEDLE) and follow manufacture instructions for how to apply.
(Click Image to Enlarge)
Step 10:
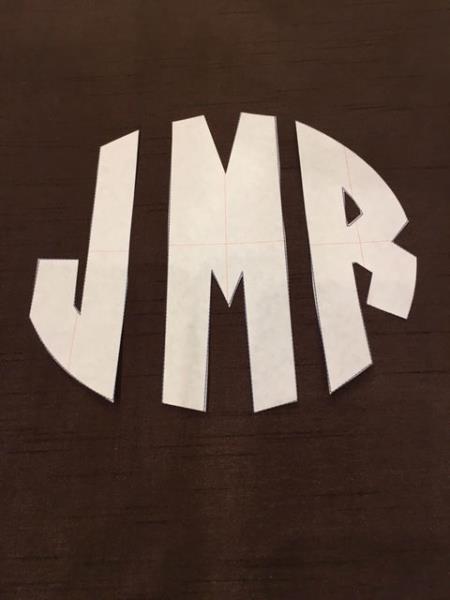
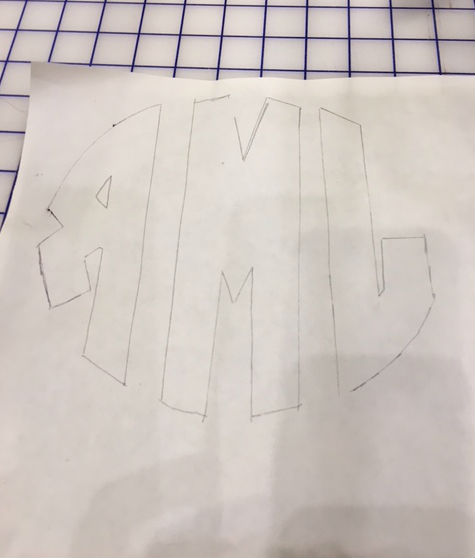
Print out your outline files that are included for the letters you choose to use. Cut out each letter from the printed pattern. These will be used as a template. There are other ways to apply, but I have found, especially with applique letters, it is much easier to precut then to try to cut the whole thing after tack down.
(Click Image to Enlarge)
Step 11:
Turn over your applique fabric exposing the heat and bond lite paper. Turn over your letters so the wrong side is facing you and trace around your pattern. Pencil works well. Carefully cut around each letter. Cut on the inside of your line as the letters need to be a tad smaller than the placement stitch. If it is the same size a little trimming will be necessary. I cut mine out on the outside so I had to trim a little extra after the tack down stitch.
(Click Image to Enlarge)
Step 12:
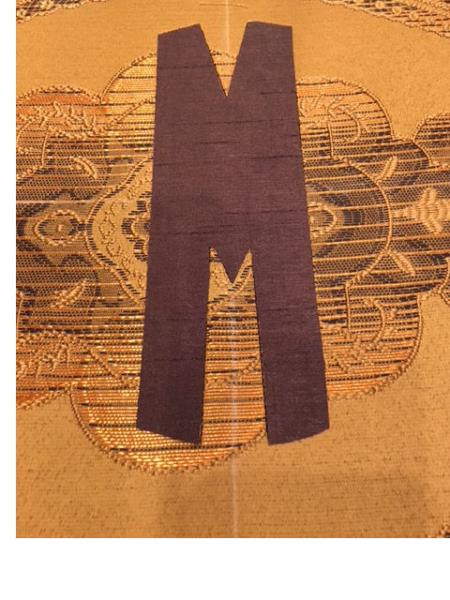
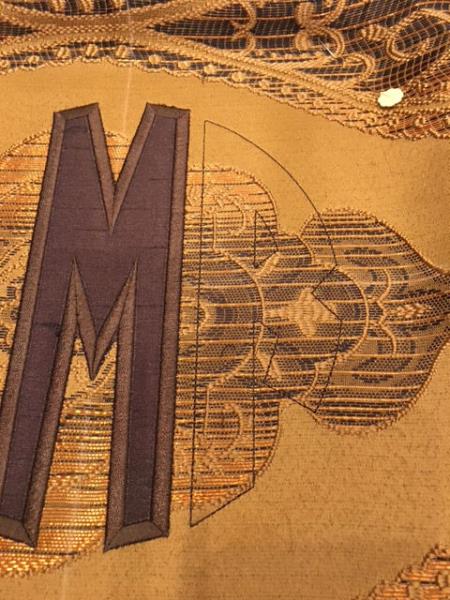
This is the cut out M. You can see the cross hair on the fabric I placed using chalk.
(Click Image to Enlarge)
Step 13:
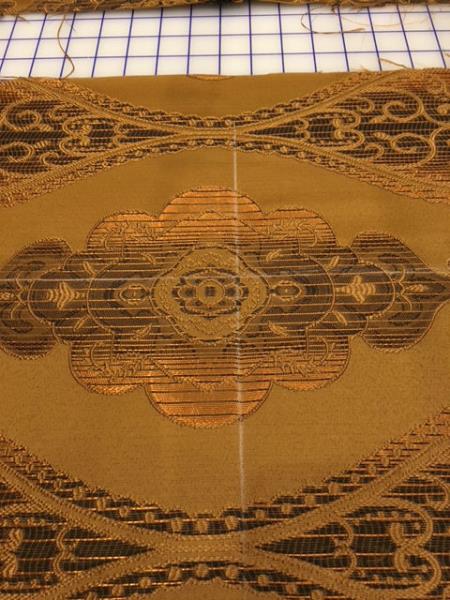
Using chalk or whatever method will not permanently mark your fabric draw a cross hair in the middle of the fabric. This comes in real handy as you place your other two letters. Mine is right down the middle of the fabric, but not in the middle of the pattern. What is important is that you fold fabric in half to get the middle. I also used sticky stabilizer as I am going to "float" this material. Floating is when you do not hoop the fabric. You can definately hoop your fabric with stabilizer if you can hoop straight. This fabric is really a loose weave so I want to float. I hooped the stabilizer and then used a marker to draw a line down the middle and center so I could match up perfect with my pillow. Taking the folded fabric I put a pin in the center of the fabric and matched to the cross hair on the stabilizer.
(Click Image to Enlarge)
Step 14:
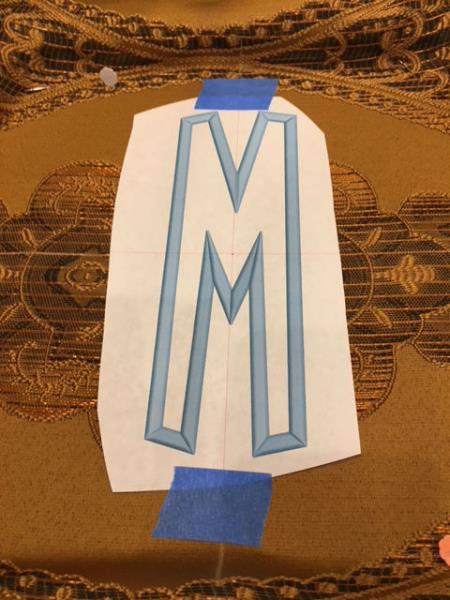
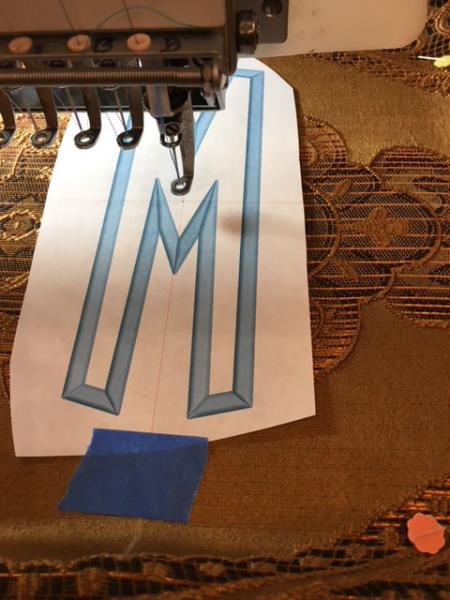
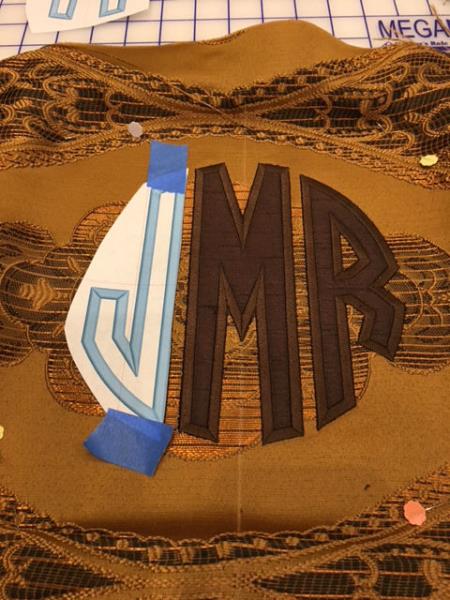
Open the fabric and smooth out to the edge of the hoop making sure it is secure. I use quilting pins that I have bent and put in each corner to make sure the fabric doesn't shift. Print and cut out the picture of the finished applique with cross hair for proper placement. Match the cross hair middle of the letter to the cross hair on your fabric. I like using painters tape as it comes off easy and tape to my fabric.
(Click Image to Enlarge)
Step 15:
Take the hoop to the machine. At this point NEVER remove the fabric from the hoop until all the letters are complete. You remove the hoop from the machine, but NEVER the material from the hoop. My needle is over the center of the letter, which matches the center of my fabric.
(Click Image to Enlarge)
Step 16:
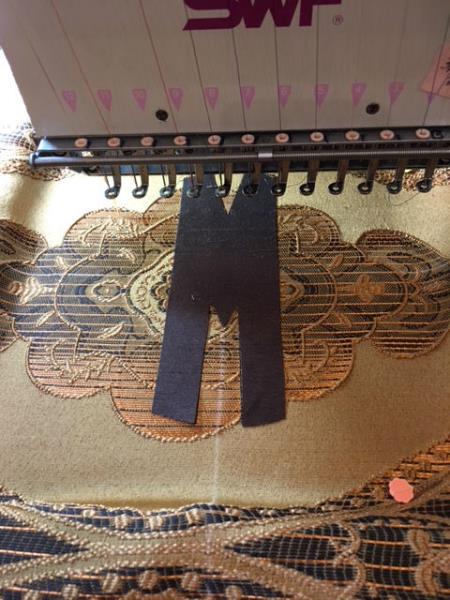
Remove the paper template and sew placement stitch. Stop machine and place applique letter inside of the placement stitch lines. Make sure to remove the heat and bond light paper before laying down. If your letters do not have a sticky back turn letter over and spray a little bit of adhesive to the back of the letter before placing on your fabric. Do NOT spray your pillow material. Only spray the back of the applique letters. The next color sewn is your tack down stitch. After the tack down you will see about 1/8" of material. Remove hoop from machine and take to a firm surface to see if extra trimming is required. I cut my letters to the outside of the template so I had some trimming to do.
(Click Image to Enlarge)
Step 17:
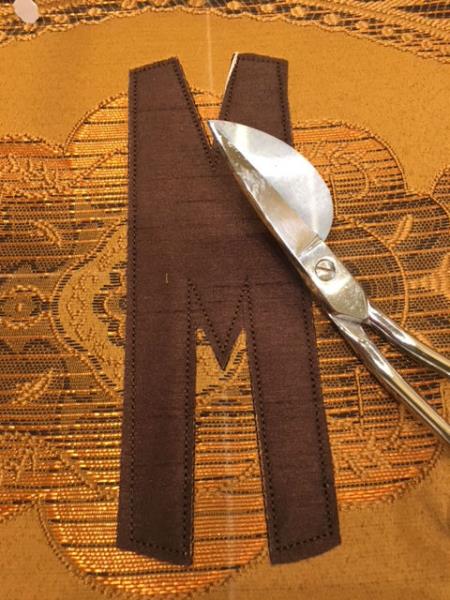
You want your material as close to the tack down stitch as possible. Using my finger nail or a pin run under the edge of the letter and this helps lift it up from the pillow fabric to trim. If you can trim any excess fabric off now is the time to do it to ensure a very clean finish. You can see that this needs trimmed to get closer to that tack down stitch. The bill applique scissors are my favorite to use, but I do have smaller scissors when getting into tight areas. Just take caution not to cut your pillow fabric.
(Click Image to Enlarge)
Step 18:
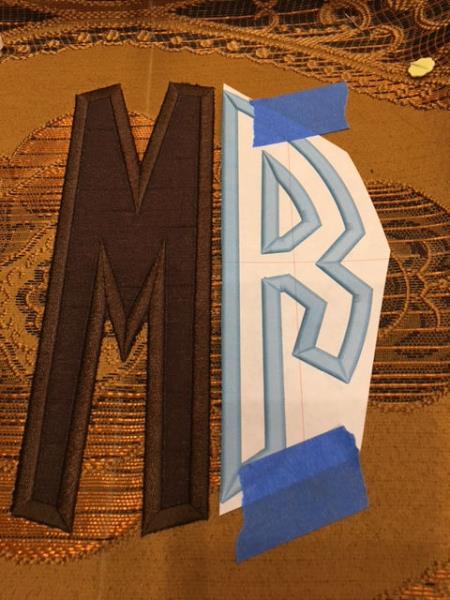
After successfully sewing first letter do either the right facing letter or left facing. Either order works. I just did the right facing first. Place template where you want it and match the chalk line you drew across fabric. You can barely see it in this picture, but I could easily tell where it was at for placement. I like my letters fairly close, 1/4" from each other, but you can choose the distance you like. Take to the machine and line up your needle to the middle of your letter matching crosshair, and remove the paper template.
(Click Image to Enlarge)
Step 19:
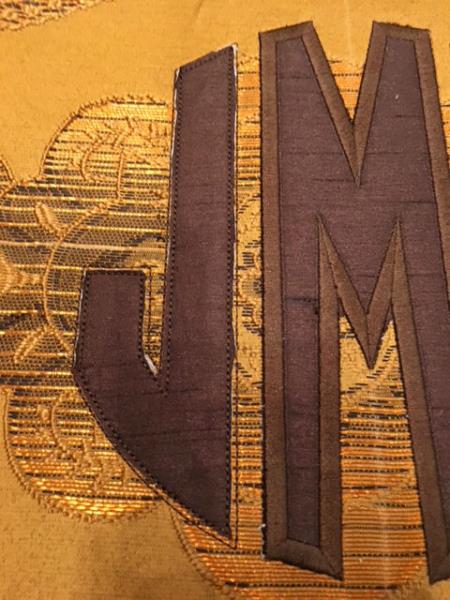
Following same steps as the first letter sew your placement stitch and prepare your next letter. Sew tack down and same applies.
(Click Image to Enlarge)
Step 20:
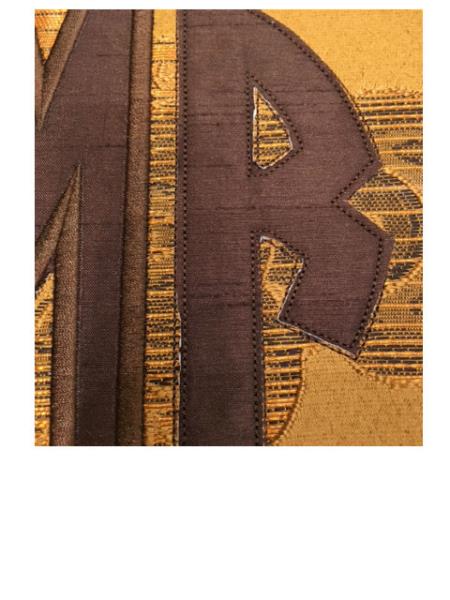
Remove from machine and trim if necessary. Trimming close to the tack down stitch ensures a very nice finish. When there is a center hole, like the R make sure you trim inside. I have the bill applique scissors which work very well, but in the inside portion smaller scissors are even better.
(Click Image to Enlarge)
Step 21:
Following same process sew the last letter.
(Click Image to Enlarge)
Step 22:
Again, trim as close to the tack down stitch as you can. If you can lift up the edge it is not close enough. You can see how close this one is trimmed.
(Click Image to Enlarge)
Step 23:
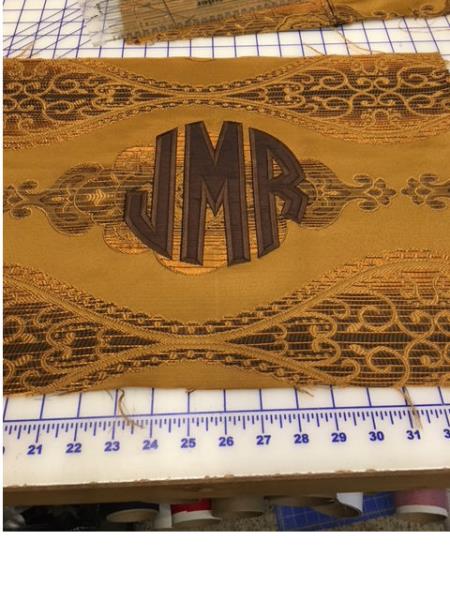
This is how nice they look all sewn out. This is the time to iron the back of the letters. The heat and bond light will adhere to the fabric. Normally I do not wash my pillow covers, but if you iron the back side and adhere to your fabric if you do need to wash it will not come away from the fabric and will not pucker any. If you have the back all done now you are ready to assemble the pillow. This part actually goes pretty fast. Zero puckers after embroidery, but that is because my base fabric does not shrink, and I used sticky stabilizer. If you have fabric that shrinks, preshrink it first, and if using regular stabilizer iron good before using and that will help shrink it and that will prevent puckering. Make sure to hoop both stabilizer and material, or if floating make sure your fabric is held in place with spray adhesive or sticky stabilizer. Improper hooping also can cause puckers, but mainly when you iron both fabric and stabilizer shrink.
(Click Image to Enlarge)
Step 24:
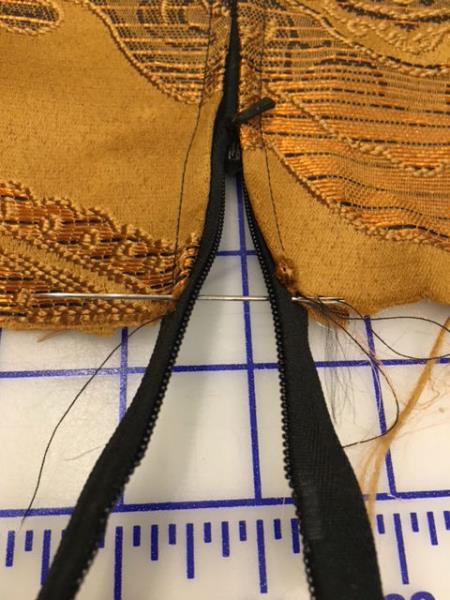
One more step for the zipper before assembly. With the zipper slightly open, and the teeth together, hand stitch the ends shut. This makes sure your zipper stays together when sewing. MAKE SURE THE ZIPPER IS PULLED TO THE INSIDE OF THE BACK BEFORE CUTTING OFF THE TAB. See zipper pull in the picture. If your pull is all the way up when you cut off tab there will be no pull left for your zipper.
(Click Image to Enlarge)
Step 25:
Lay the back panel over the front panel and pin the top and bottom in place before sewing. Make sure the zipper pull is down or when you finish you have no way to turn the pillow to the outside.
(Click Image to Enlarge)
Step 26:
You can see the zipper is pulled toward the middle of the back. You need your pull to be below the top of the pillow back. I slow my sewing machine way down when I sew over the zipper portion. I get to the zipper and then turn the hand wheel the few stitches until I am past the zipper teeth. Works a lot better that way. Sew across the top and then across the bottom or if doing a horizontal zipper do those sides first.
(Click Image to Enlarge)
Step 27:
I like to press my seams so at this point I turn the pillow inside out and press open those two seams. Turn back to wrong side and then sew up side seams. Since your zipper is partially open you can reach in and pull zipper all the way open and turn back to outside. Take to iron and press remaining two seams. Diagonally trim the corners before turning. DO NOT CUT INTO the threads. To get a nice corner after turning back to the outside use either a tailor aid or something with a rounded point to help gently poke out the corners.
(Click Image to Enlarge)
Step 28:
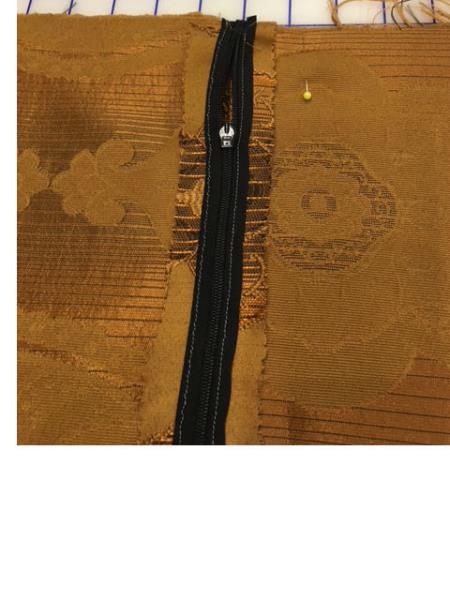
This is the finished back with zipper.
(Click Image to Enlarge)
Step 29:
You have just successfully made a pillow and personalized it with circle applique letters.
Jayne Monsipapa has been digitizing for 24 years. It all started after walking into a sewing store in 1993 to buy a couple spools of thread and there was a sewing machine hooked up to a computer! Embroidering the designs were fun at first, but it did not take much to get hooked on digitizing. From 1993 until 1999 she worked on her digitizing skills and found her designs sewed out very good. With her husband’s encouragement Kinship Kreations LLC began in 1999 selling designs online. In those early years she took classes with both Walt Floriani and Lee Caroselli (Balboa Embroidery) who are both very talented and successful digitizers. Jayne joined the EmbroideryDesigns team in 2008.