














































PROJECT INSTRUCTIONS


PROJECT INSTRUCTIONS

Portable Pet First Aid Kit Embroidery Project
By
Martha Montgomery
on
May 07, 2018
Description
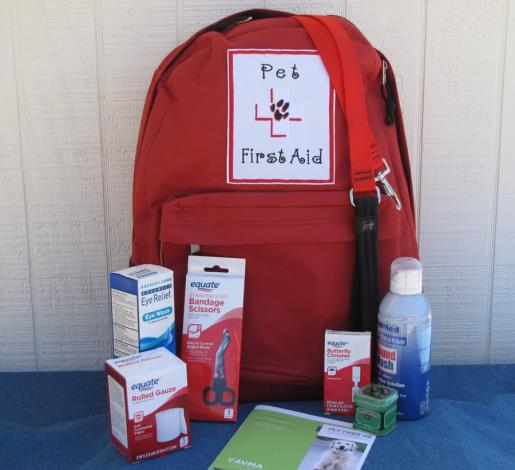
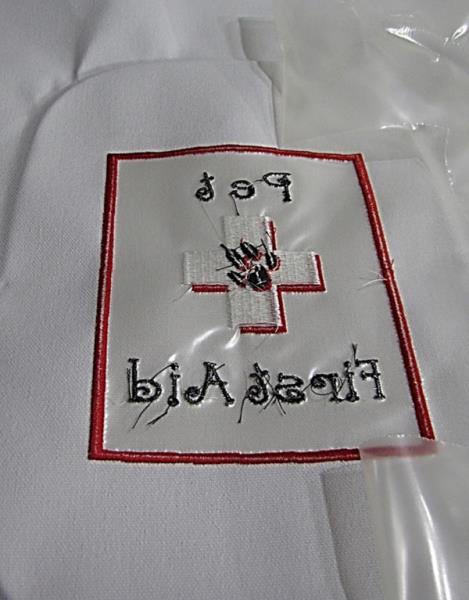
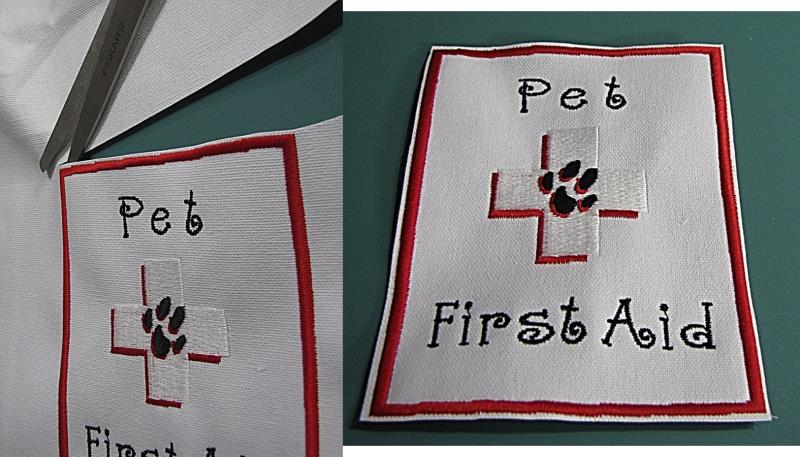
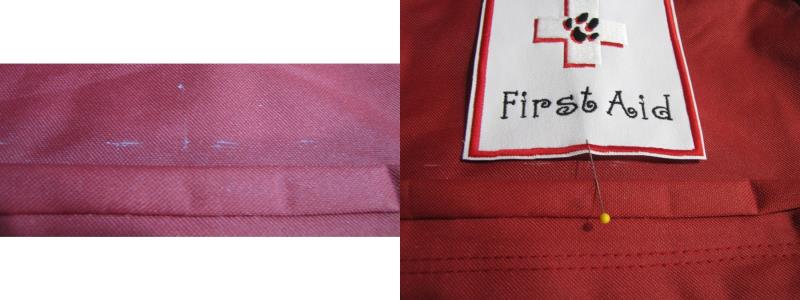
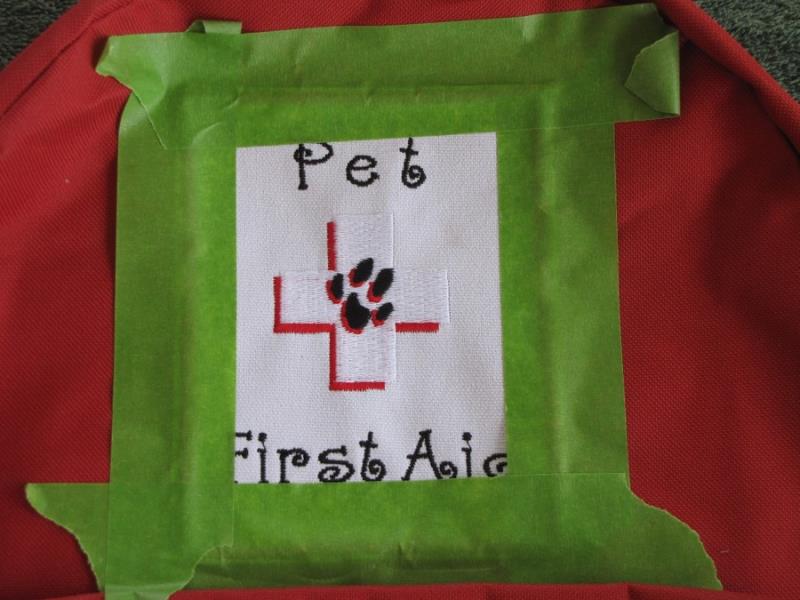
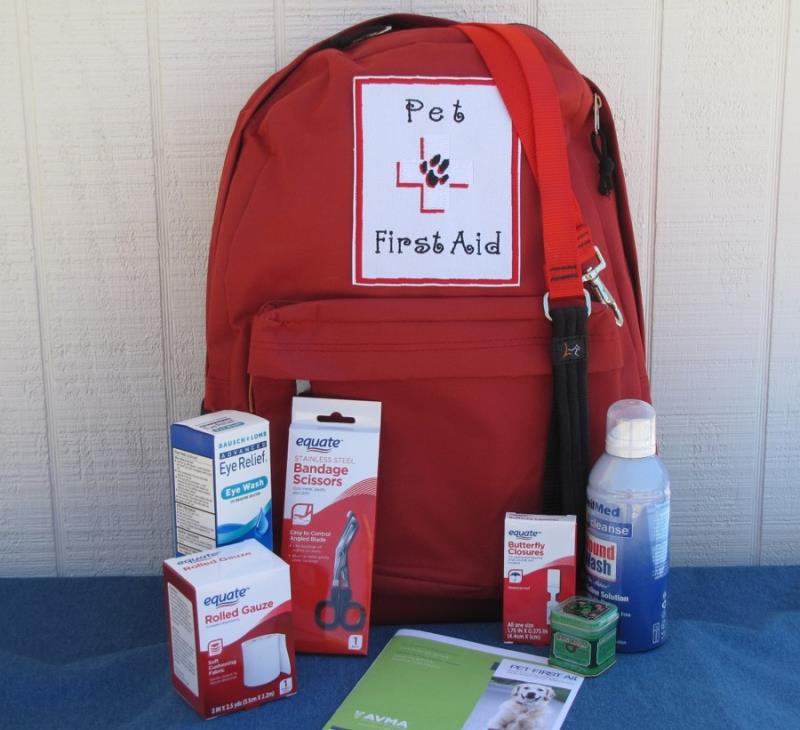
This project makes a First Aid Kit for your furry friends. The project shows how to make a patch from plain duck fabric. This patch making technique can be used for a variety of projects.
Step
of
Materials
Project Preview Video

QUICK VIEW
Jack & Jill
$9.95
Circle Price: $8.96

Heavy Line Rectangle
$3.89
Circle Price: $1.80

Animal First Aid
$3.89
Circle Price: $1.80
Tear Away Stabilizer
$7.98
Circle Price: $7.18



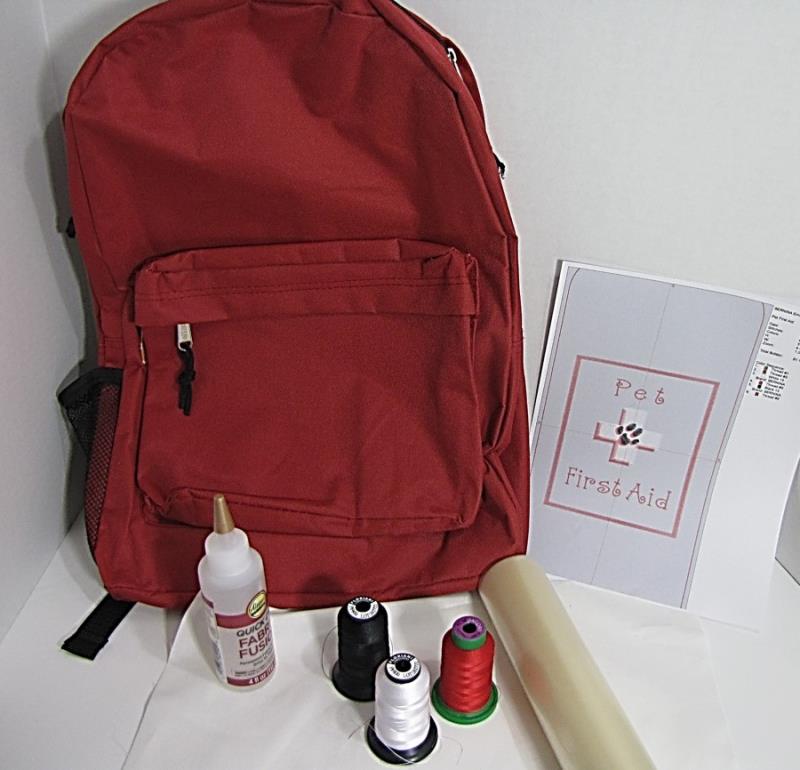
| Materials Purchased backpack 1 8x10” piece of white duck cloth or other stiff fabric Heavy water soluble stabilizer Permanent fabric adhesive Embroidery thread Painter’s tape Fabric Marker Straight pins Ruler |
| Designs used in this project |
| Final Product: What You Will Create |
 |
|
Projects You May Like
Meet the Author:
Martha Montgomery

Martha has been sewing since childhood. She is a maker of garments, quilter and machine embroiderer. Martha loves all things fabric and fabric-related.
Feedback
Characters Remaining
Please Login to Submit a Feedback
Invalid Characters, Please enter a valid Comment
Please enter a valid Comment
Reviewed On
Link is Broken, Please check the URL