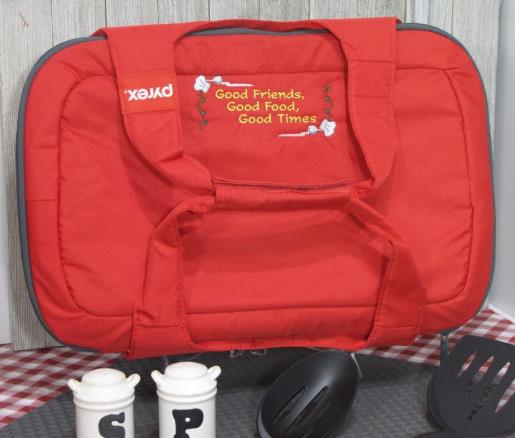
Decorated Casserole Carrier

Decorated Casserole Carrier Embroidery Project

By   Martha Montgomery   on   May 10, 2018
  • SKILL LEVELSome Experience
  • TIME REQUIRED01:50
Description

This insulated casserole carrier features a decorative element that can include a personalized saying or name. Perfect for potlucks or picnics, it ensures your dish stands out. Step-by-step instructions are included.

Step of

Materials

Project Preview Video

Materials
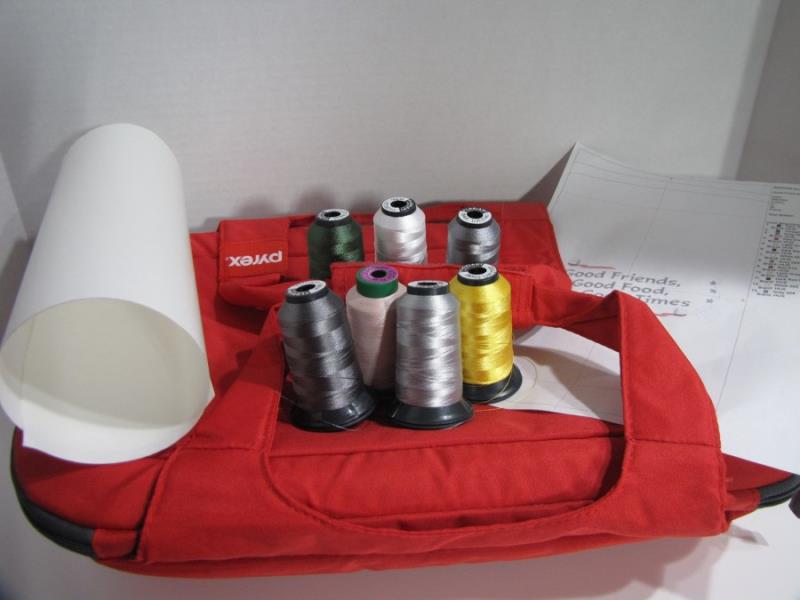
  • Purchased insulated casserole carrier – any size
  • Sticky tear away stabilizer
  • Template of embroidery design
  • Embroidery thread
  • Fabric marker

  • Designs used in this project

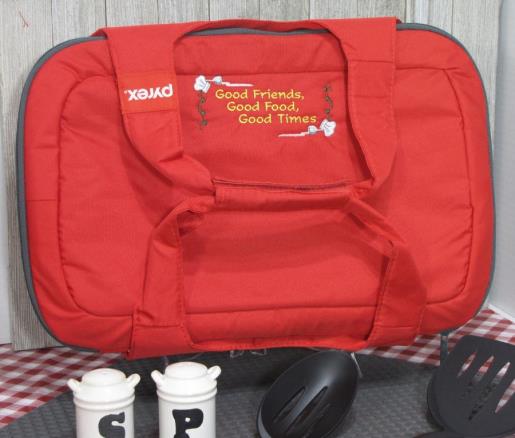
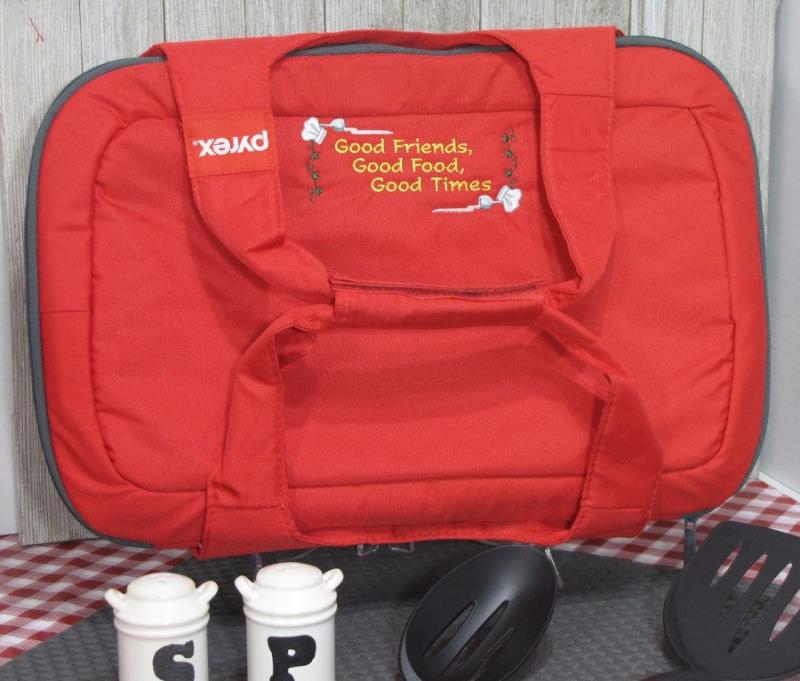
    Final Product: What You Will Create

    Preface:
    This project makes a quick and easy gift, or you may want to make it for yourself to use any time you need to carry a hot or cold dish to a picnic or potluck.


    Step 1:
    Gather the materials and read through the instructions before beginning. Print out a paper template of the design and color sequence.

    (Click Image to Enlarge)


    Step 2:
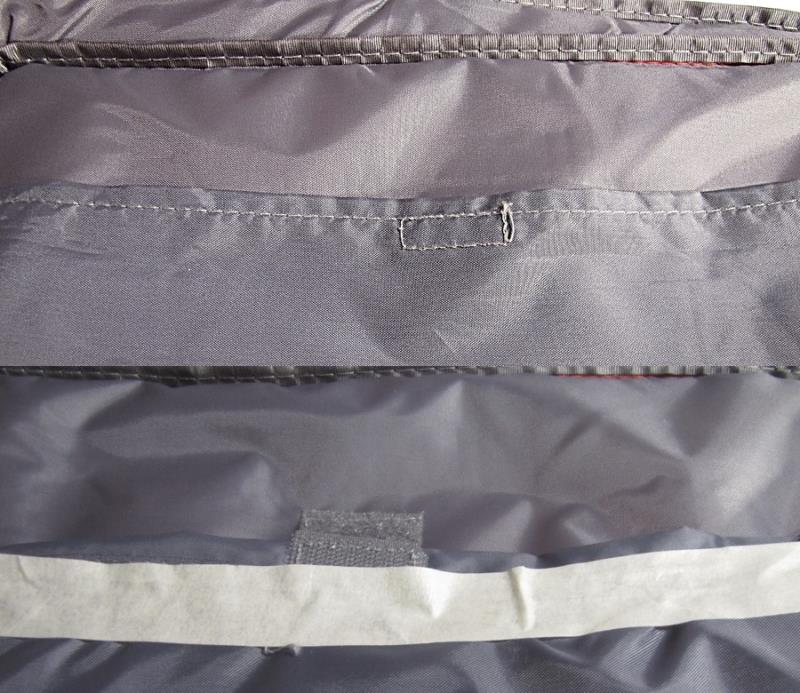
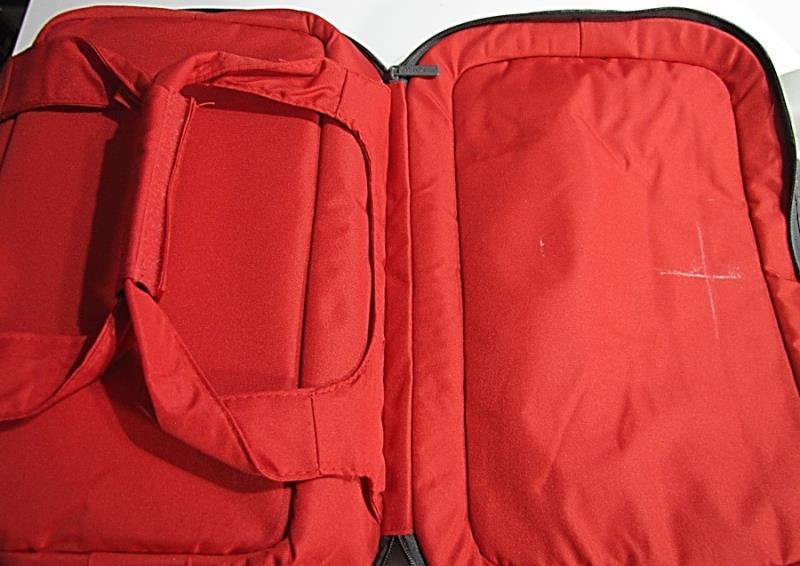
    If there is an interior pocket in the carrier, it is best to fold it back as far as possible and tape it in place so it doesn’t get caught in the stitch area.

    (Click Image to Enlarge)


    Step 3:
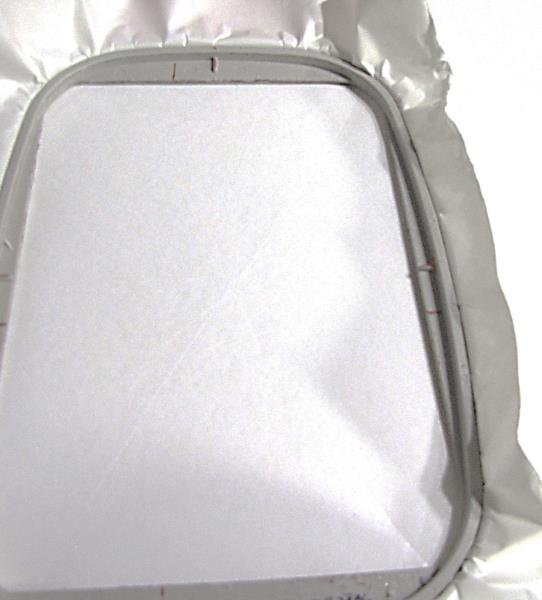
    Hoop your sticky tear away stabilizer and prepare it according to manufacturer directions.

    (Click Image to Enlarge)


    Step 4:
    After unzipping the carrier all the way, fold the handles and secure over the back (bottom) of the carrier to keep them out of the stitch area. Mark the center placement on the front (top) of the carrier.

    (Click Image to Enlarge)


    Step 5:
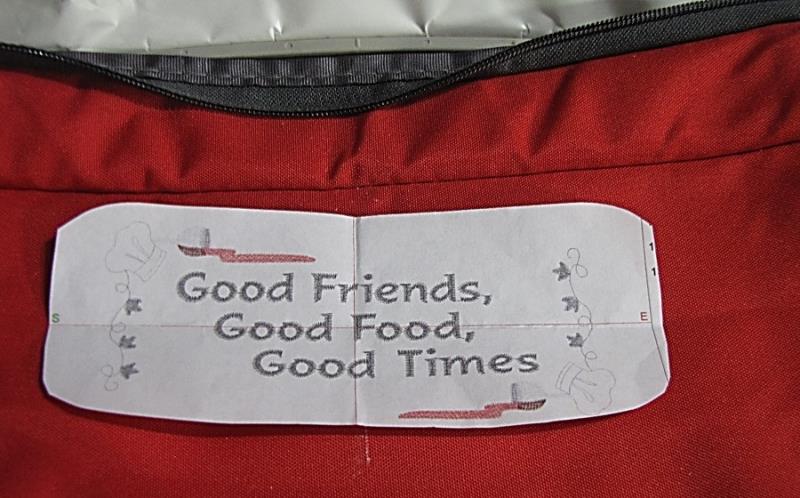
    Check placement of the design using the paper template, being careful not to catch the interior pocket, if any, in the stitch area.
     
    Place the top of the carrier on to the exposed surface of the  hooped stabilizer and confirm design placement once item is hooped. 

    (Click Image to Enlarge)


    Step 6:
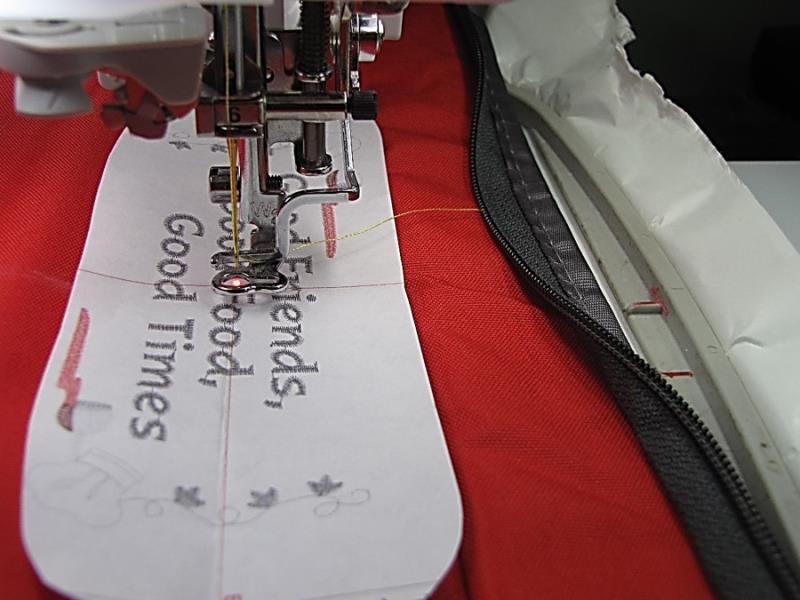
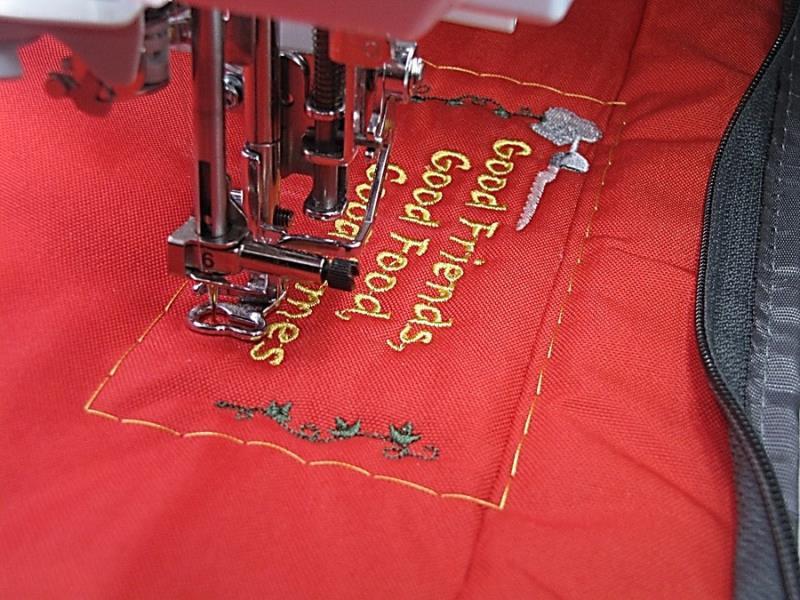
    Place the hooped project onto your machine and confirm (one more time) placement of the design. This particular carrier has a narrow design area, so it’s better to confirm placement more than once, just to be on the safe side.
     
    Tip: If your machine has a basting stitch, it is helpful to baste the project down before you begin stitching. If not, you may wish to carefully pin it to the stabilizer.
     
    Tip 2: You may need to support the bottom of the carrier while the design is stitching.

    (Click Image to Enlarge)


    Step 7:
    Stitch the design following the color sequence.

    (Click Image to Enlarge)


    Step 8:
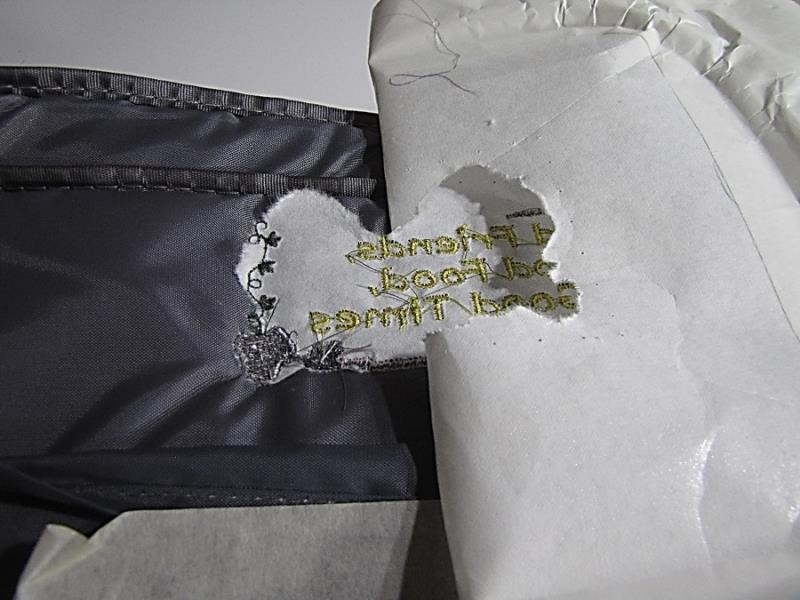
    Remove the project from the machine. If necessary, remove the basting stitch. Trim jump threads as necessary. Remove the project from the hoop and carefully tear away the excess stabilizer.

    (Click Image to Enlarge)


    Step 9:
    Wasn’t that easy? In no time at all you have a beautifully embellished casserole carrier to share a dish at any occasion.

    (Click Image to Enlarge)

    Meet the Author: Martha Montgomery
    Martha Montgomery
    Martha has been sewing since childhood. She is a maker of garments, quilter and machine embroiderer. Martha loves all things fabric and fabric-related.
    More From This Author
    Link is Broken, Please check the URL
    Exclusive Embroidery Offers!
    Copyright © {{ currentDate | date:'yyyy'}} - EmbroideryDesigns.com
    GET 50% OFF! ×