Border OptionsHugging border, circle, square, or rectangle — with a 3mm satin stitch.
Backing OptionsAvailable with iron-on, sew-on, or velcro backing.
Fast ShippingShipped quickly from the USA.
Free Online Tools
Powerful embroidery utilities that save time and prevent costly mistakes.
Stitch AssistantRECOMMENDED
Get the exact stabilizer, machine settings, needle, and thread color sequence for every embroidery design you purchase — based on that design's stitch density, dimensions, and color count.
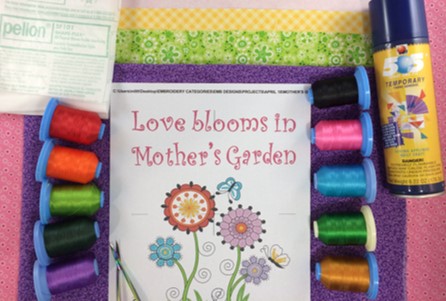
Machine Embroidery Thread per color chart/preference
8 X 8 hoop
2.5 oz. Cutaway Stabilizer
Fusible Interfacing (10 ½ “ x 10 ½”)
Low nap batting (12 ½” X 13 ½ “)
Magic Sizing spray starch
One fat quarter quilting cotton fabric for backing
One fat quarter quilting cotton neutral fabric for front
One fat quarter quilting cotton fabric for border 1
One fat quarter quilting cotton fabric for border 2
One fat quarter quilting cotton fabric for border 3
505 Temporary Adhesive Spray
Sewing Machine & thread
Preface:
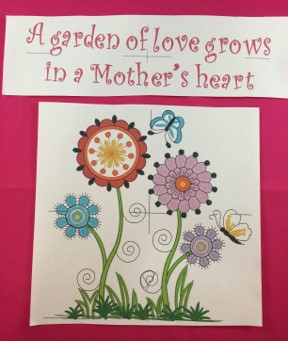
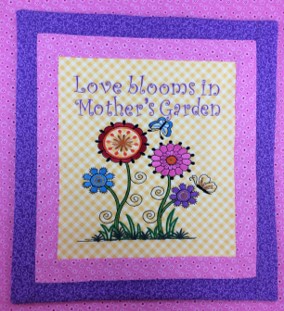
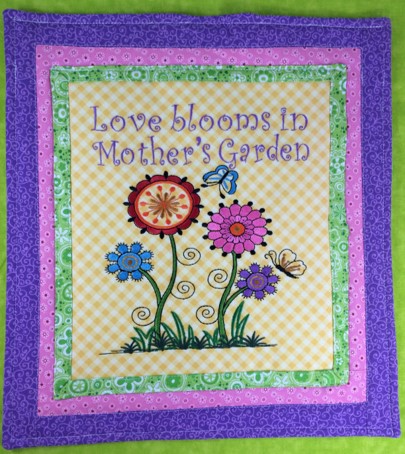
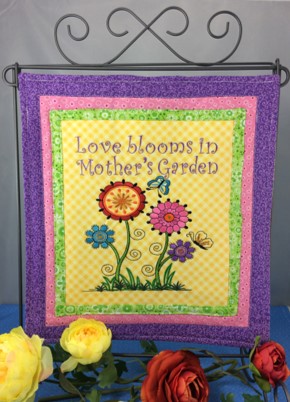
Love Blooms in Mother's Garden! Honoring the special ladies who let us bloom in their gardens! A mini quilt hanging perfect for a table top or wall. The design has a high stitch count (26,737) that can cause the fabric to pull and pucker. To prevent the puckering, a strong cutaway stabilizer and fusible interfacing was used in the project. A single needle embroidery machine was used to make this project.
Step 1:
(Click Image to Enlarge)
The embroidery design ‘Flower Garden’ is featured in this project. The design was resized (6.9" x 8.7) using Embrilliance Essentials embroidery software. Curlz Font was used for the text.
Print out a copy of the Design Templates and Color Charts.
Step 2:
Read through the instructions before beginning.
Gather and prepare materials. Iron and starch the fabric.
Step 3:
(Click Image to Enlarge)
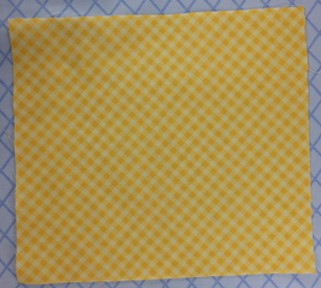
Cut one 8 ½” x 9 ½“ piece of the fabric 1 for front (yellow gingham in example).
Step 4:
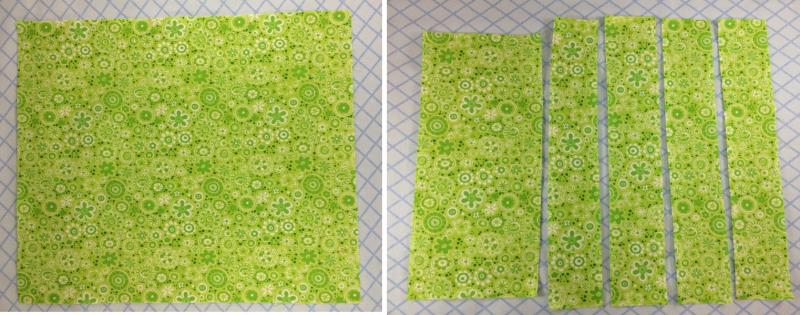
Cut one 12 1/2” x 13 ½ ” piece of the print fabric 2 for backing (green in example).
Cut one 10” x 2” print fabric 2 for hanging strip (green in
example).
(Click Image to Enlarge)
Step 5:
(Click Image to Enlarge)
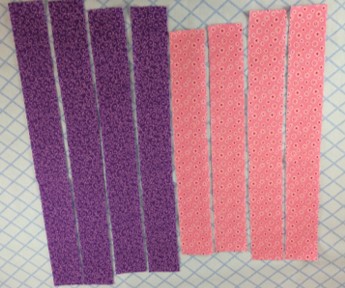
Cut two 2” x 13 1/2” pieces of the fabric 3 for border (purple in example).
Cut two 2” x 12 ½” pieces of the fabric 3 for border (purple in example).
Cut two 11 ½” x 1 ½” pieces of fabric 4 for border (pink in example).
Cut two 10 ½ “x 1 ½ “ pieces of fabric 4 for border (pink in example).
Step 6:
(Click Image to Enlarge)
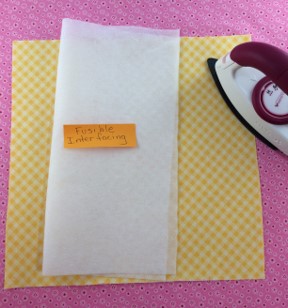
Cut one 8 ½ “x 9 ½ “ piece of fusible interfacing
Attach the fusible interfacing to the back of the 8 ½ x 9 ½
piece of fabric according to package directions (yellow in example).
Step 7:
(Click Image to Enlarge)
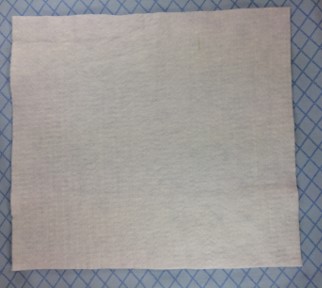
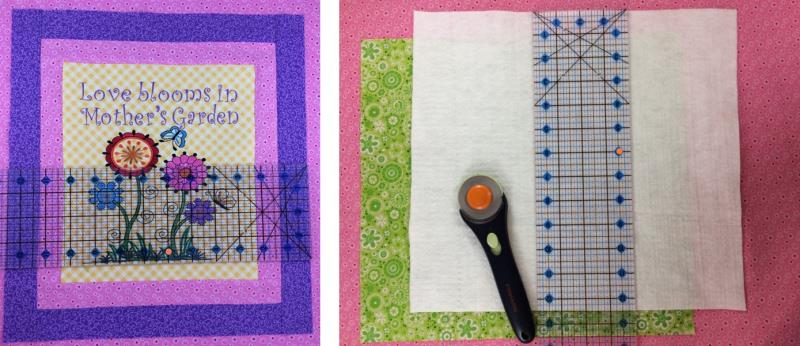
Cut one 12 (1/2)” x 13 (1/2)” piece of low nap batting.
Step 8:
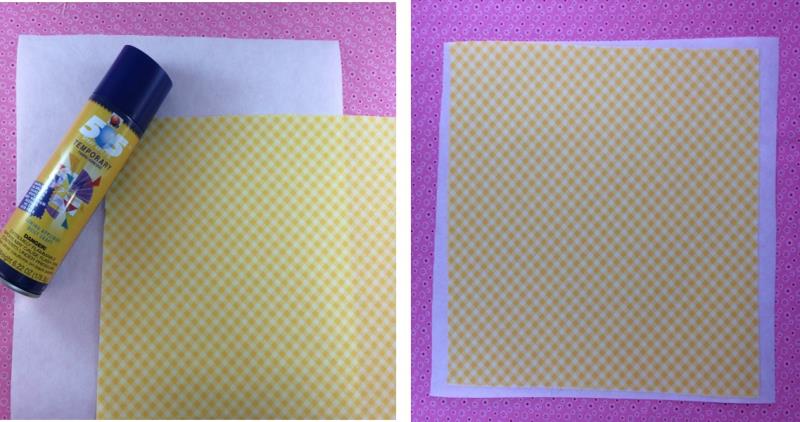
Cut one piece of 2.5 oz. cut-away stabilizer for your hoop.
Lightly spray the surface of the stabilizer with a temporary adhesive.
Firmly press the 8 (1/2)” x 9 (1/2)” piece of fabric onto the stabilizer.
Smooth the surface to remove any wrinkles or air pockets.
(Click Image to Enlarge)
Step 9:
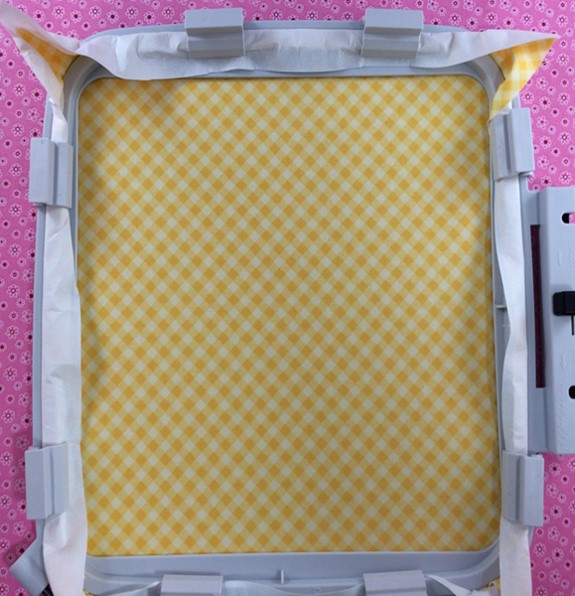
Hoop the piece of fabric and cut-away stabilizer. The stabilizer and fabric should be taut and drum-like.
(Click Image to Enlarge)
Step 10:
Load the embroidery design onto the machine. A 40 weight embroidery thread should be used for machine embroidery. A 75/11 embroidery needle was used to embroider the design.
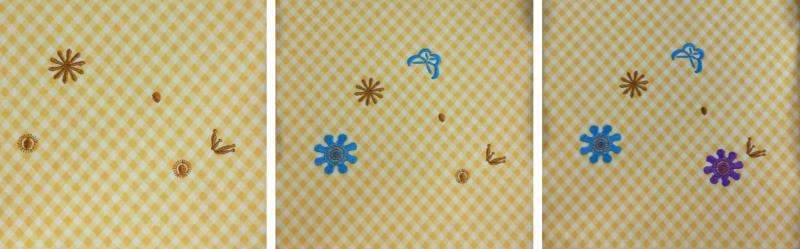
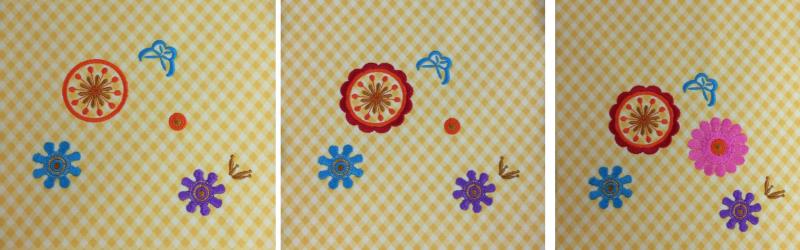
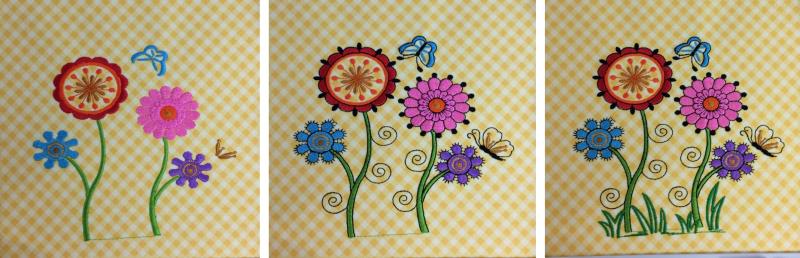
Embroider the design. Follow the color chart and embroidery machine guides.
Pictures are provided for each color stop as a visual aid.
(Click Image to Enlarge)
Step 11:
Pictures are provided for each color stop as a visual aid.
(Click Image to Enlarge)
Step 12:
Pictures are provided for each color stop as a visual aid.
(Click Image to Enlarge)
Step 13:
Pictures are provided for each color stop as a visual aid.
(Click Image to Enlarge)
Step 14:
(Click Image to Enlarge)
Fabric should measure 8 (1/2)” x 9 (1/2)”. Straighten edges if needed.
Step 15:
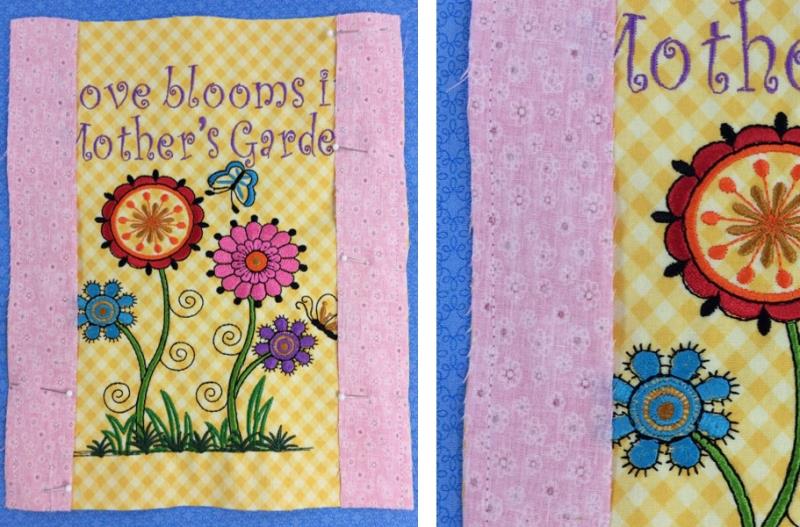
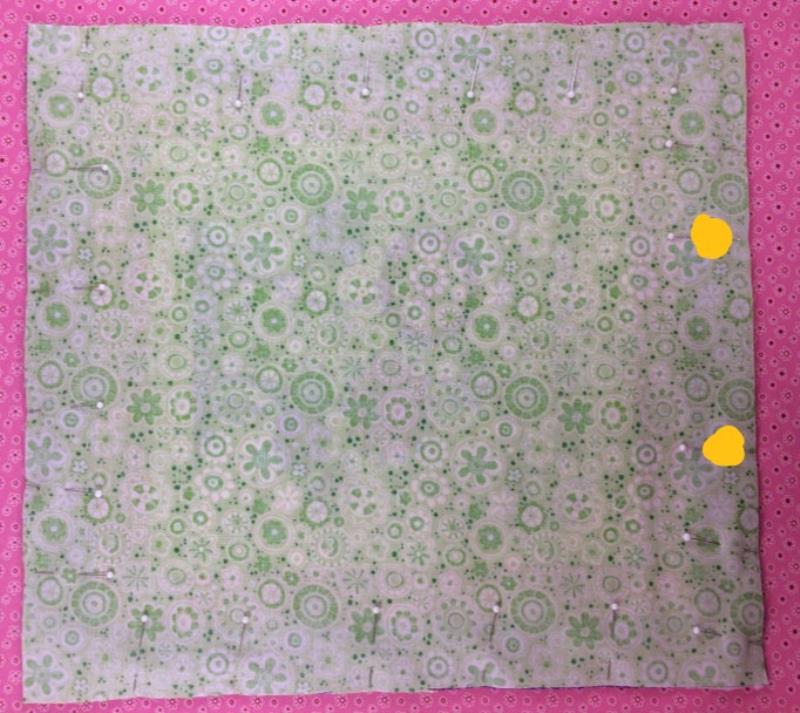
Pin the two 10 (½ )“ x 1 (½) “ pieces of fabric 4 for border (pink in example) to the long sides of the fabric. RIGHT sides of fabric must be facing each other.
Sew a ¼” seam along the edge of each side. REINFORCE the stitches as you start and finish each seam. Press the seams open.
(Click Image to Enlarge)
Step 16:
(Click Image to Enlarge)
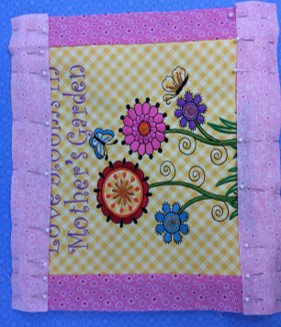
Pin the two 11 (½ )“ x 1 (½) “ pieces of fabric 4 for border (pink in example) to the long sides of the fabric. RIGHT sides of fabric must be facing each other.
Sew a ¼” seam along the edge of each side. REINFORCE the stitches as you start and finish each seam. Press the seams open.
Step 17:
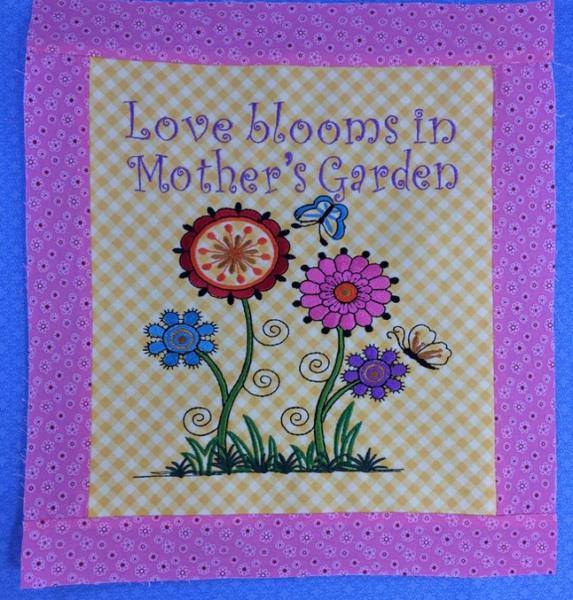
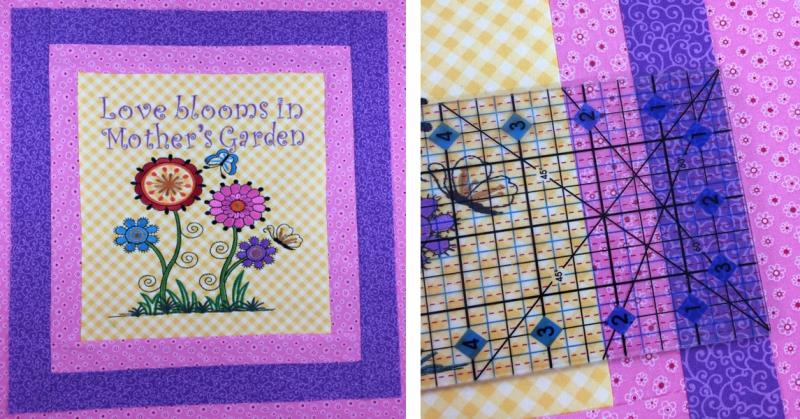
The pink border is finished.
(Click Image to Enlarge)
Step 18:
(Click Image to Enlarge)
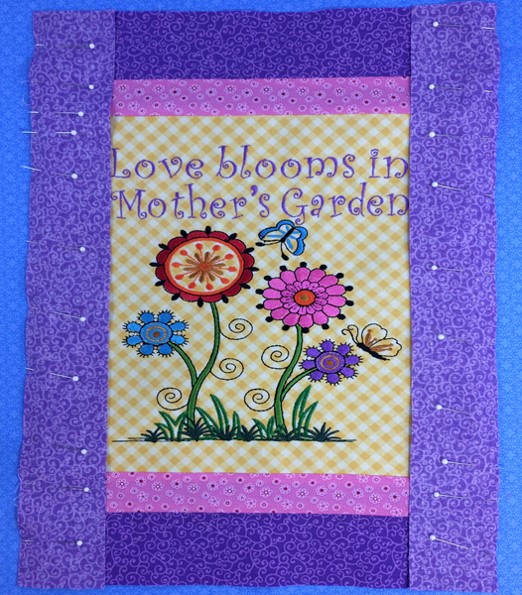
Pin the two 2” x 12 (½)” pieces of the fabric 3 for border (purple in example) to the long sides of the fabric. RIGHT sides of fabric must be facing each other.
Sew a ¼” seam along the edge of each side. REINFORCE the stitches as you start and finish each seam. Press the seams open.
Step 19:
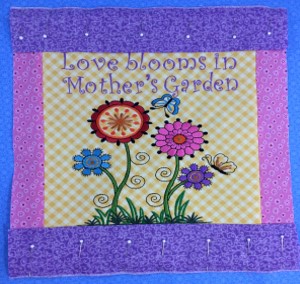
Pin the two 2” x 13 (½)” pieces of the fabric 3 for border (purple in example) to the long sides of the fabric. RIGHT sides of fabric must be facing each other.
Sew a ¼” seam along the edge of each side. REINFORCE the stitches as you start and finish each seam. Press the seams open.
(Click Image to Enlarge)
Step 20:
The purple border is complete. Check the measurements for each border. Trim if needed.
(Click Image to Enlarge)
Step 21:
Measure the dimensions of the fabric with the borders. If needed, trim the backing fabric and batting to match the size of the mini quilt front.
(Click Image to Enlarge)
Step 22:
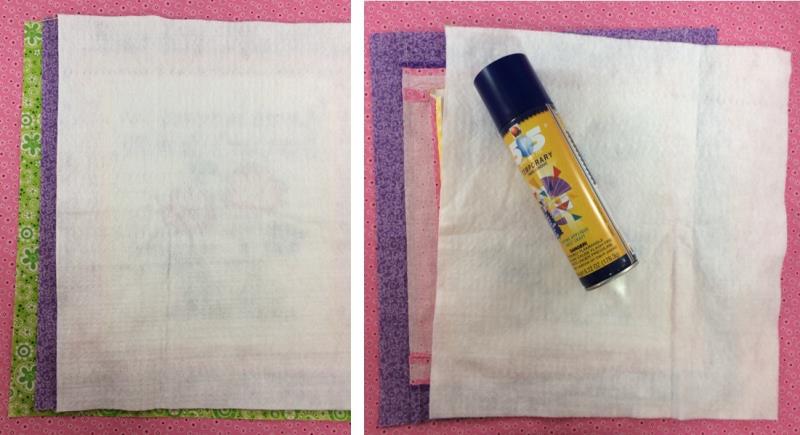
Spray the wrong side of the mini quilt front with temporary adhesive.
Place the batting on top and smooth the surface.
(Click Image to Enlarge)
Step 23:
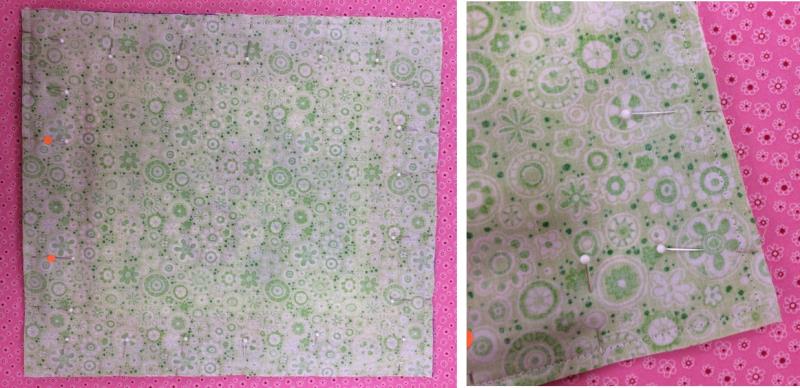
Pin RIGHT sides together. Leave a 3” opening on one side. The opening will allow you to turn the mini quilt to right side out.
(Click Image to Enlarge)
Step 24:
Sew a ¼” seam along the sides. REINFORCE as you start and finish sewing the seam.
(Click Image to Enlarge)
Step 25:
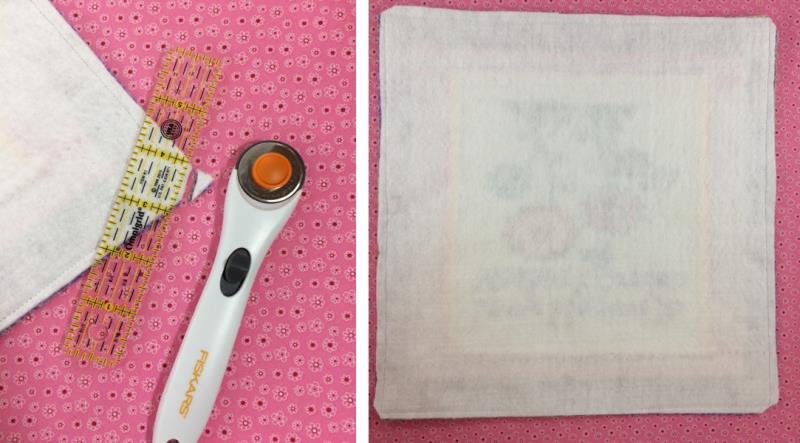
Trim the corner off of each edge being careful not to cut the stitching.
(Click Image to Enlarge)
Step 26:
(Click Image to Enlarge)
Turn the mini quilt right side out. Use an iron to press the seam line on the sides.
Step 27:
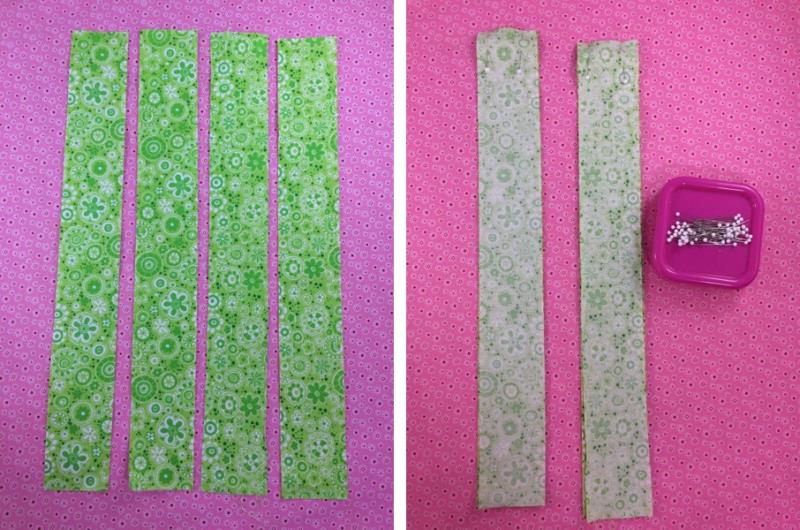
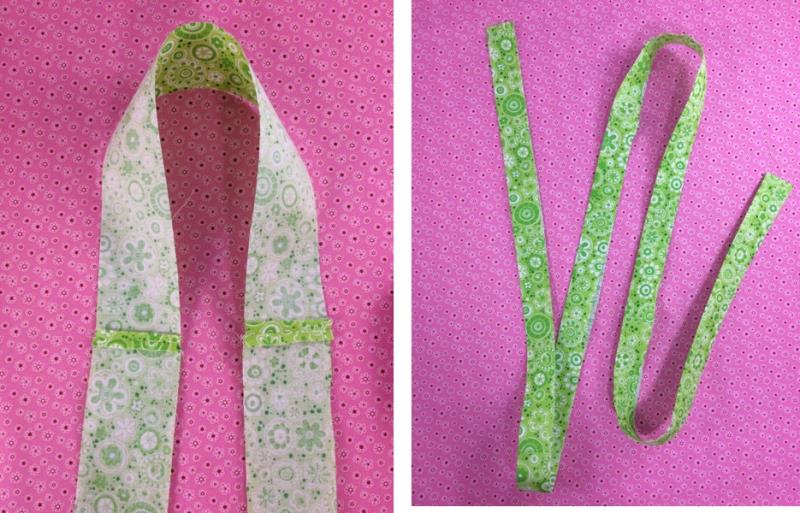
Using the 12” x 2” print fabric, take two strips and place RIGHT sides together. Pin together on one of the 2” ends. Repeat for the other two 12” x 2” strips.
Sew ¼” along the pinned edge. REINFORCE as you start and finish sewing the seam.
(Click Image to Enlarge)
Step 28:
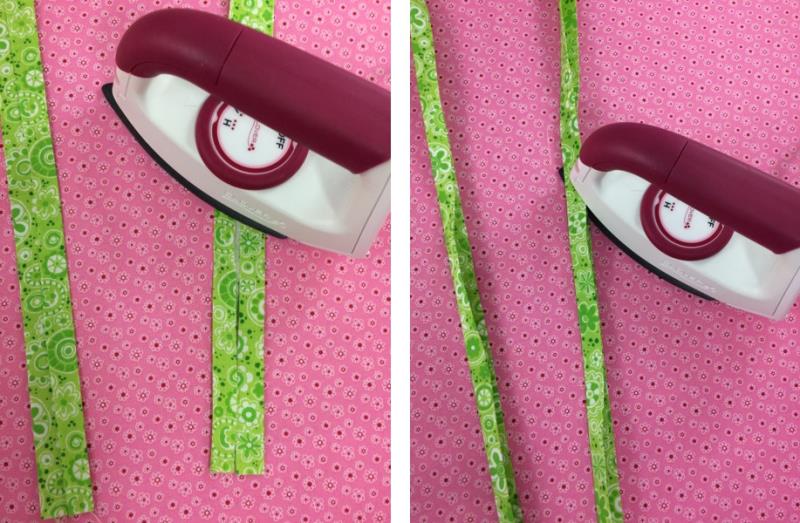
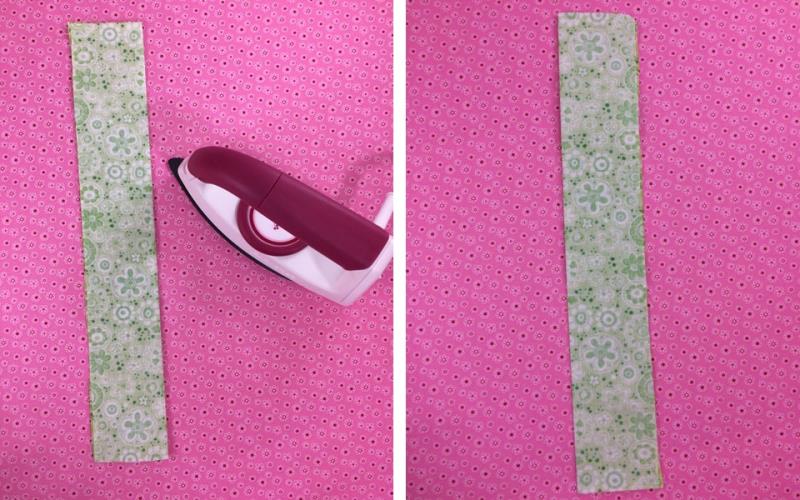
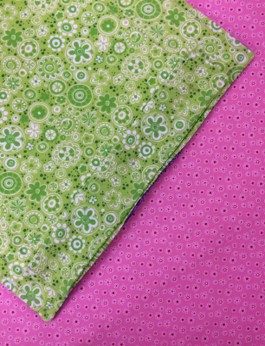
Press seams open. Fold strip in half with RIGHT side out. Press.
(Click Image to Enlarge)
Step 29:
Using the crease line as a guide, fold each side fabric to the center and press. Fold in half again and press.
(Click Image to Enlarge)
Step 30:
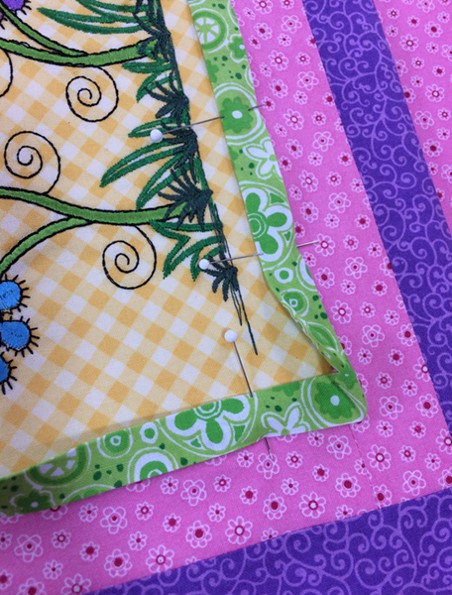
Pin the strip around the center fabric (yellow in example).
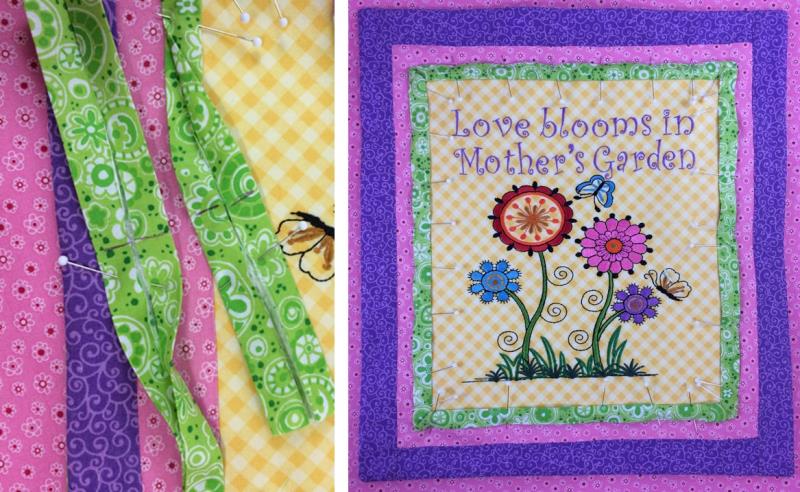
For corners, place a pin about 1 ½” from the edge. Bring the trim to the corner. Fold the trim at a 45° angle. Tuck the trim to the adjacent edge. Fold and pin.
(Click Image to Enlarge)
Step 31:
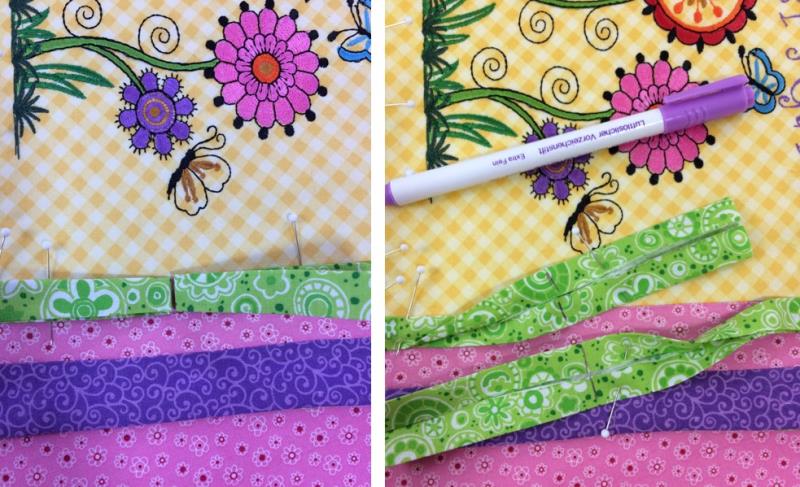
At the ends of the trim, fold back the two tails so that meet in the middle. Press a fold line to make a crease. Use a fabric marker to mark the crease line.
(Click Image to Enlarge)
Step 32:
Open the trim to the original 2” size. With right sides together, pin the ends together aligning the crease lines on each end.
Mark a line 1/8” away from the crease line. Sew a seam on this line. REINFORCE as you start and finish the seam.
Fold trim using crease lines as a guide. Pin in place.
(Click Image to Enlarge)
Step 33:
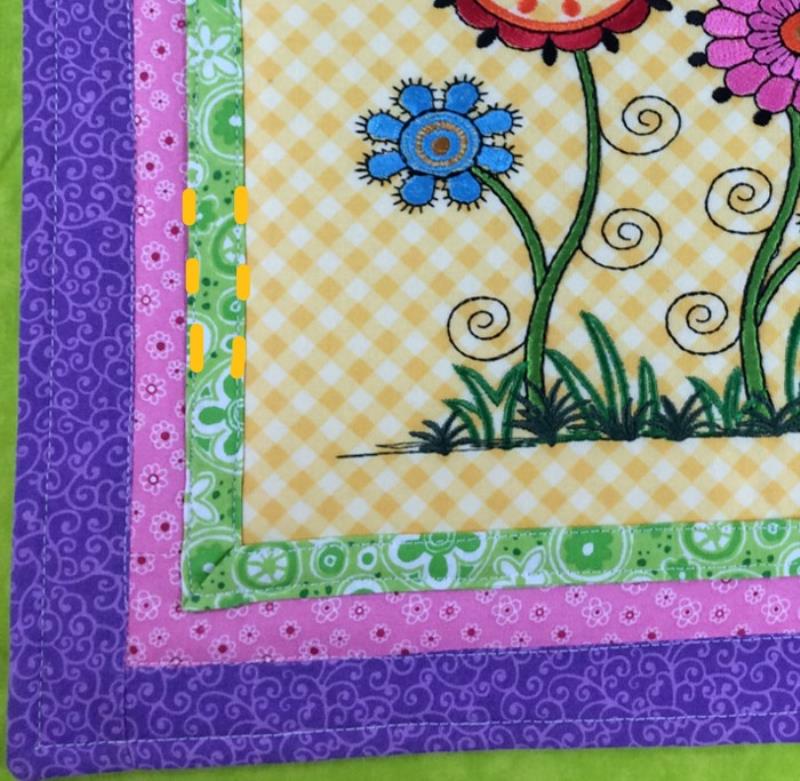
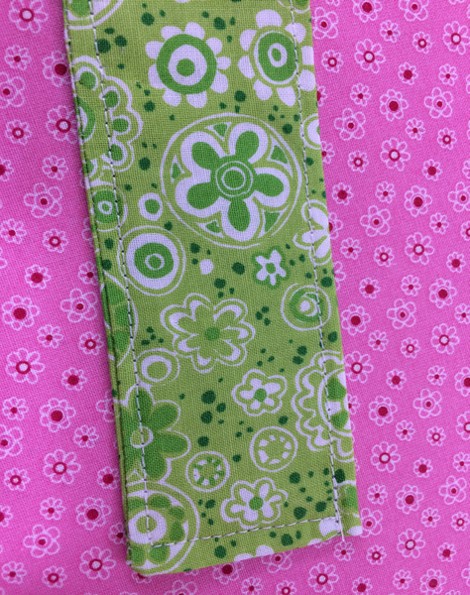
Top stitch 1/8” seam along the edge on each side of the green trim.
(Click Image to Enlarge)
Step 34:
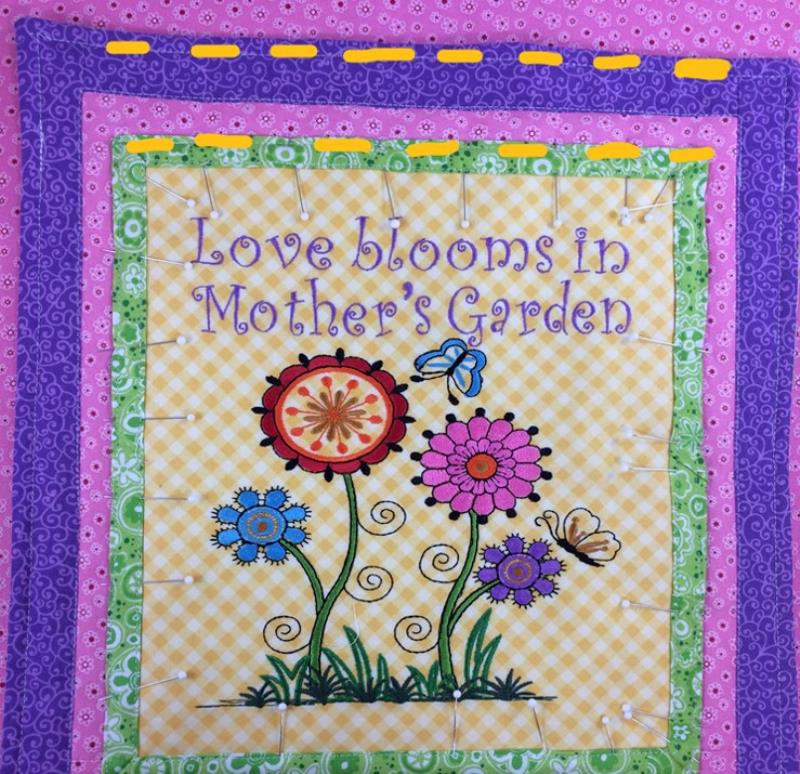
Pin together the opening hole where you turned the mini quilt.
Top stitch along the edge of each side of the outer trim (purple in example).
(Click Image to Enlarge)
Step 35:
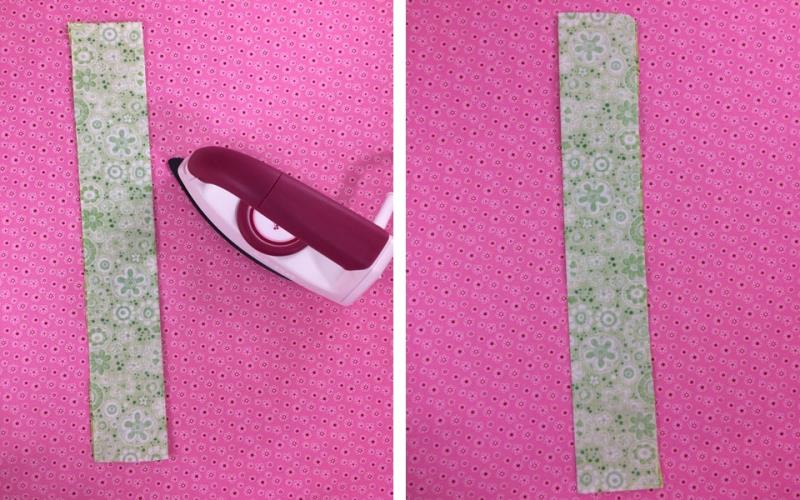
Fold the 10” x 2” fabric in half with RIGHT sides together. Crease with an iron. Pin together.
Sew a ¼” seam around the fabric edge. Leave one 2” side open for turning.
(Click Image to Enlarge)
Step 36:
Turn the fabric through the opening. Tuck the edges of the opening on the inside. Press with an iron.
Sew a ¼” seam along the edges of the fabric.
(Click Image to Enlarge)
Step 37:
(Click Image to Enlarge)
Place the fabric on the back of the mini quilt. Pin in place.
Step 38:
Using the border seams as a guide, sew the hanging fabric in place. REINFORCE as you start and finish each seam.
Marisa Littleton is a retired educator with a love for teaching and learning. Interests include machine embroidery, hand embroidery, quilting, cooking, and antiques.