2026 Flash Sale
Live Chat
Embroidery Designs
Welcome, Embroiderer
Login
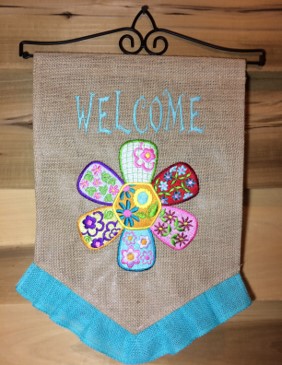
Welcome Flag
{{mainImageAlt || (productInfo._source && productInfo._source.name) || ''}}

Welcome Flag Embroidery Project

By   Marisa Littleton   on   May 05, 2018
  • SKILL LEVELSome Experience
  • TIME REQUIRED02:30
Description

A burlap flag to welcome everyone to your home. A large single flower bursting with bright colors.

Step of

Materials

Project Preview Video

Materials
  • 8 X 11 hoop
  • 12 X 18 burlap flag
  • 40 wt. embroidery thread
  • 90/14 ball point embroidery needles
  • 2 sheets tear-away stabilizer
  • 505 Temporary Adhesive Spray
  • snips

  • Designs used in this project

    Preface:
    The design for this project has a 65,679 stitch count.  Depending on the setting for the stitches per minute, the design could take 90 or more minutes to stitch out.  Two sheets of tear-away stabilizer were used in the hoop.  The burlap flag has a canvas like coating on the back that makes it very firm and stable.  A size 90/14 needle was used for the design.  The needle may need to be changed midway due to the texture of the flag.

    Burlap is very fibrous and leaves more debris than other fabrics.  You may also need to clean your bobbin area midway.


    Step 1:
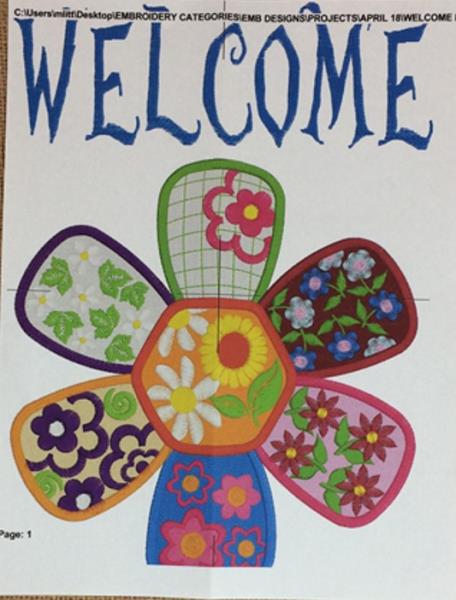
    The machine embroidery design ‘Quilting Flower’ by Machine Embroidery Designs was highlighted in this project.  The text is the font ‘Alice’ from Embroidery Patterns.  The caption ‘Welcome’ was added to the ‘Quilting Flower’ design using Embrilliance Essentials.  
     
    Print out a copy of the Design Template and Color Chart. 

    (Click Image to Enlarge)


    Step 2:
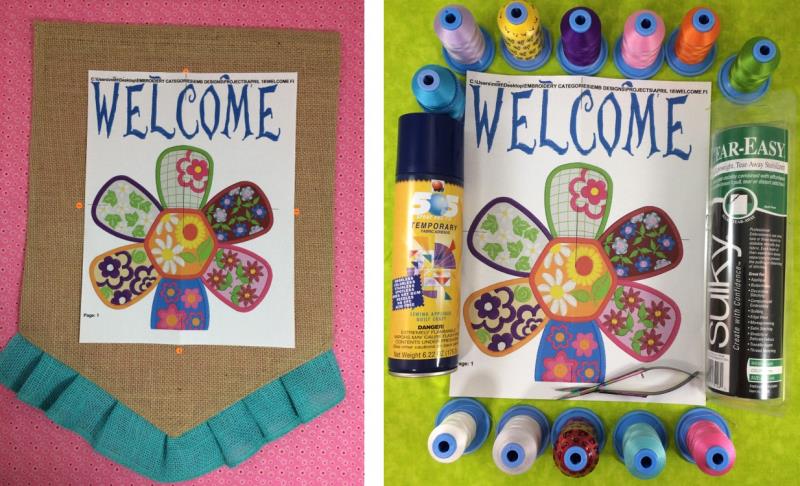
    Gather the materials.  

    Read through the instructions before beginning.  

    (Click Image to Enlarge)


    Step 3:
    Tear-away Stabilizers are a temporary, paper-like stabilizer that comes in many different weights, from very soft to very crisp.  Tear-away stabilizers are carefully torn off after embroidery design is completed. A medium tear-away stabilizer will be used because of the weight and fabric stability of the
    fabric.
     
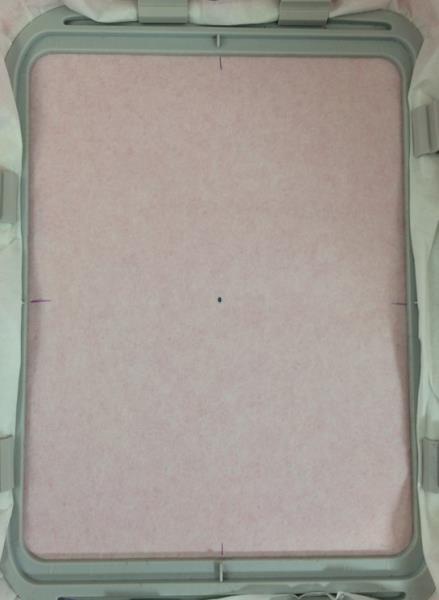
    Hoop 2 sheets of tear-away stabilizer.

    (Click Image to Enlarge)


    Step 4:
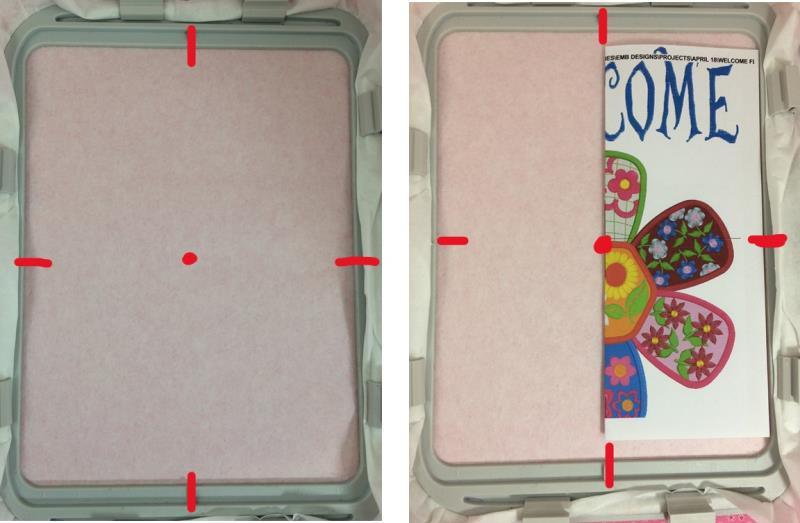
    Use the grid template and the paper template as guides to mark the center point and axis on the stabilizer.

    (Click Image to Enlarge)


    Step 5:
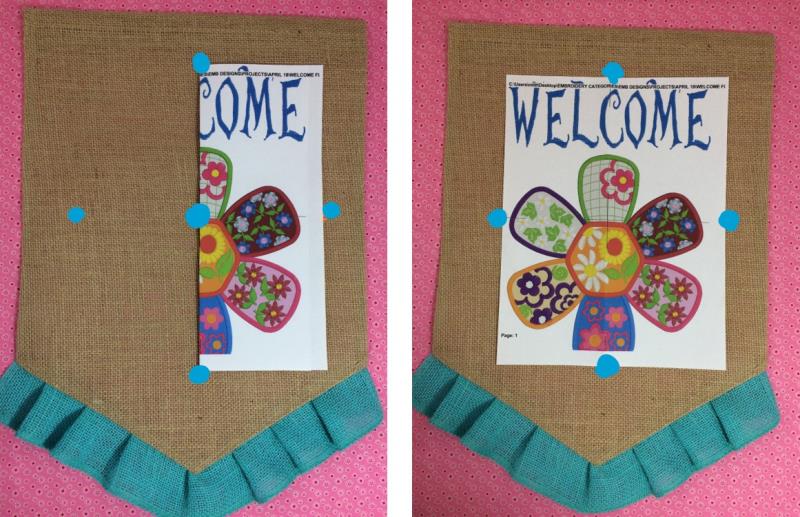
    The paper template is the actual size of the stitch out.  Use the template as a guide for placement.
     
    Measure 1 ½” from the top of the flag. Mark the burlap with stickers or an erasable fabric marker.
     
    Measure from each side of the flag to find the center.  Mark center point on the burlap flag with a sticker or an erasable fabric marker.
     

    (Click Image to Enlarge)


    Step 6:
    (Click Image to Enlarge)
    Align the center and axis points on the burlap flag on the stabilizer.  
     
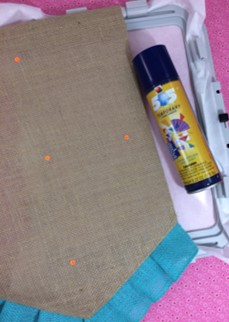
    Spray the stabilizer with 505 Temporary Adhesive.  Press the flag firmly onto the stabilizer.


    Step 7:
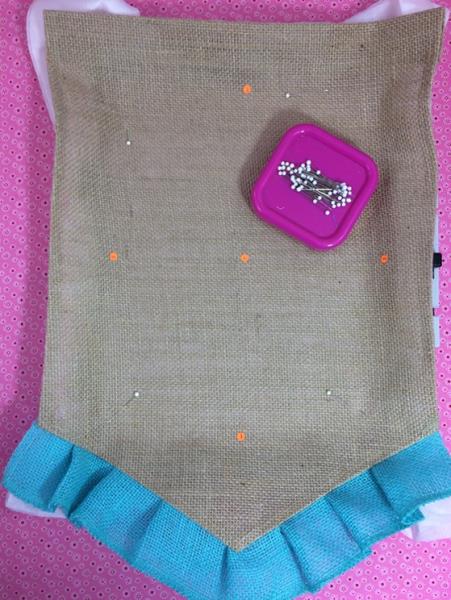
    Pin the flag to the stabilizer for added stability.

    (Click Image to Enlarge)


    Step 8:
    Load the design onto the machine.  
     
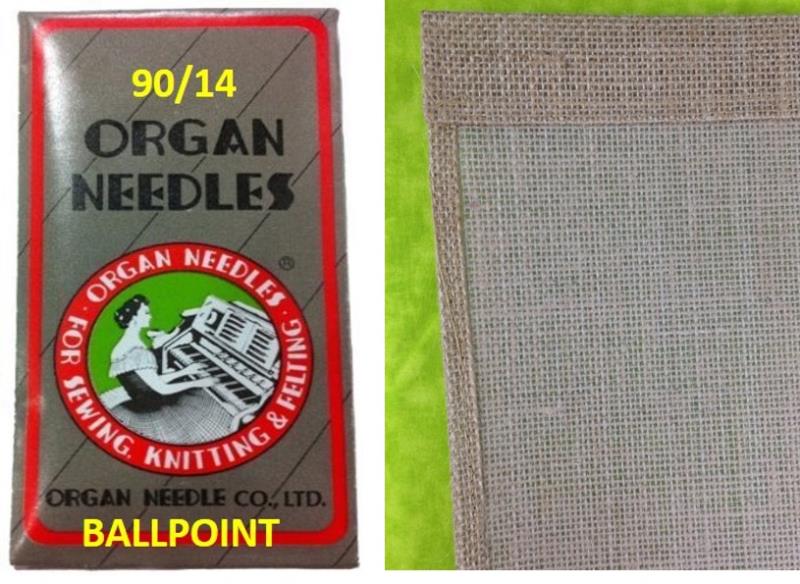
    A 90/14 ball point embroidery needle was used for this project because of the canvas-like backing on the flag.

    (Click Image to Enlarge)


    Step 9:
    Begin embroidering the design.  
     
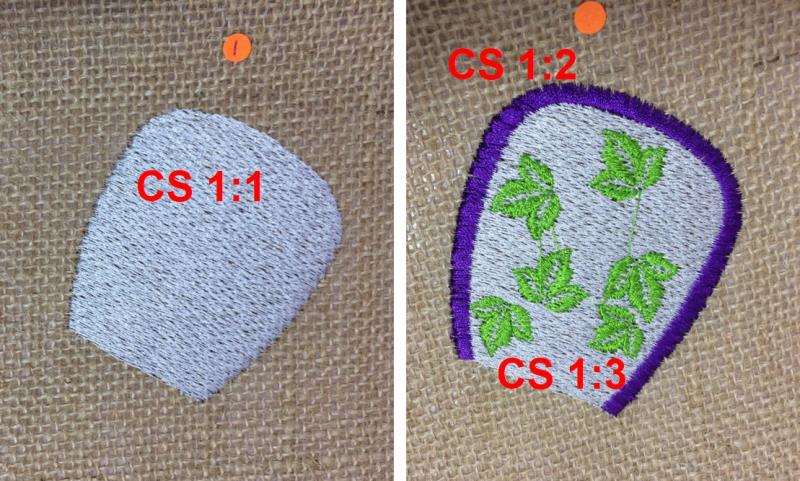
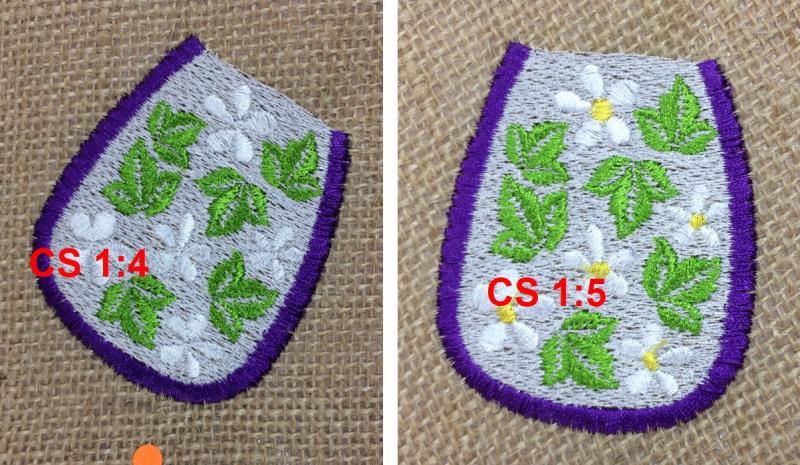
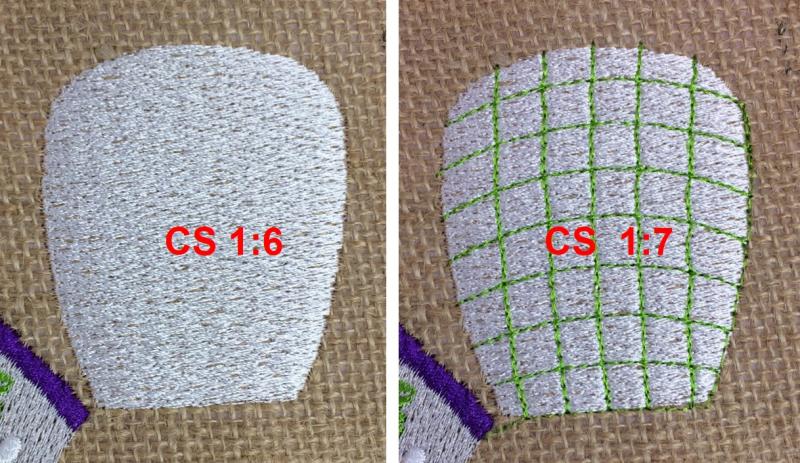
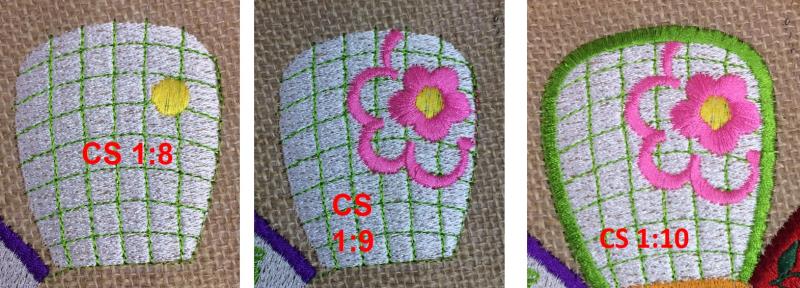
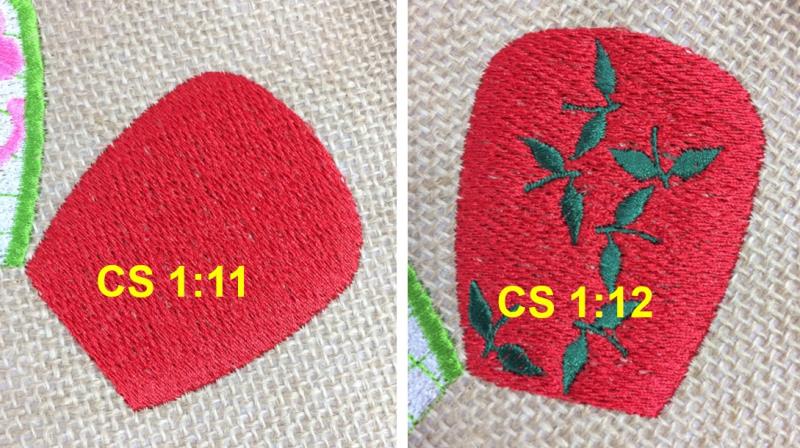
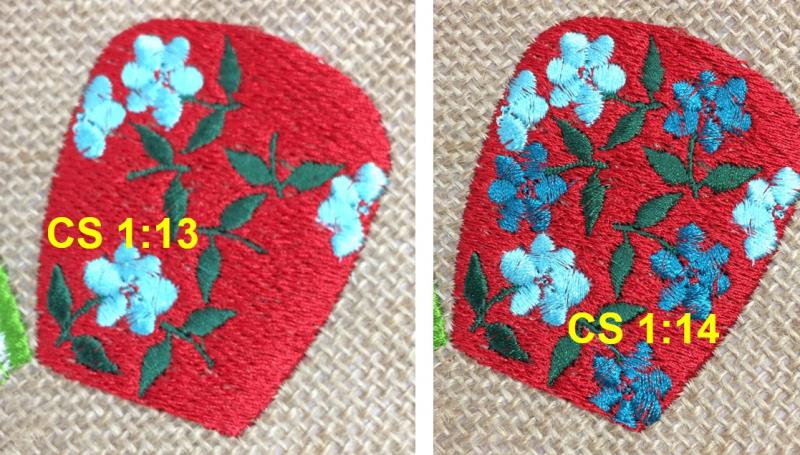
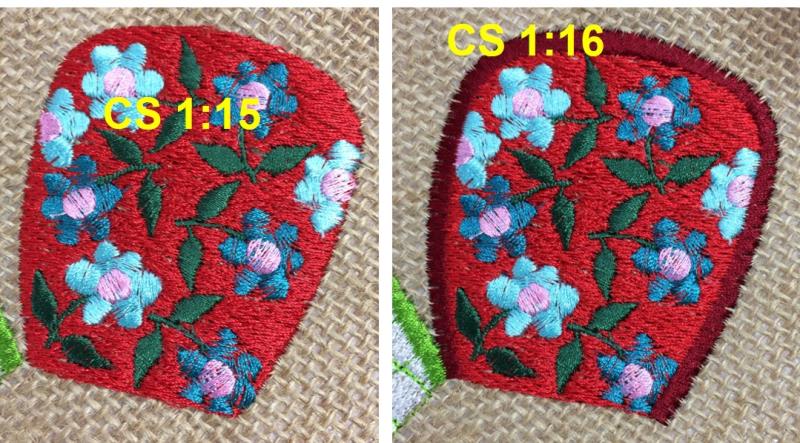
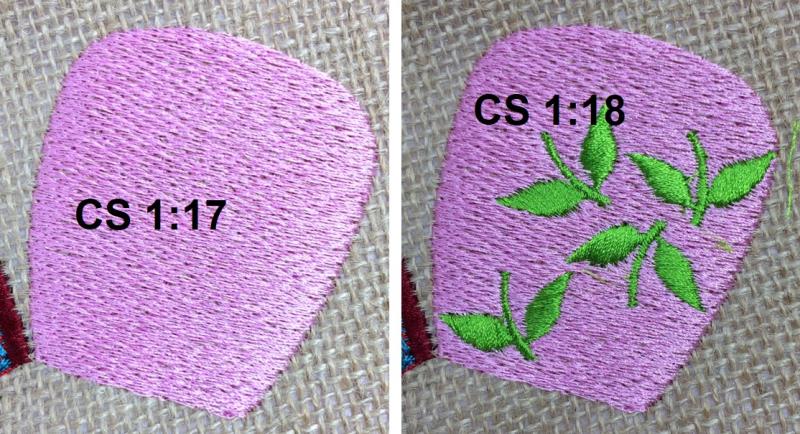
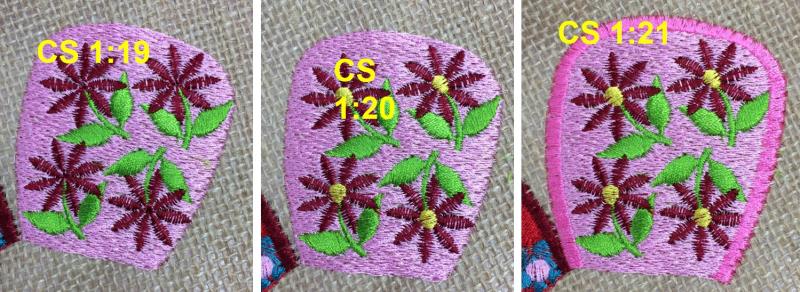
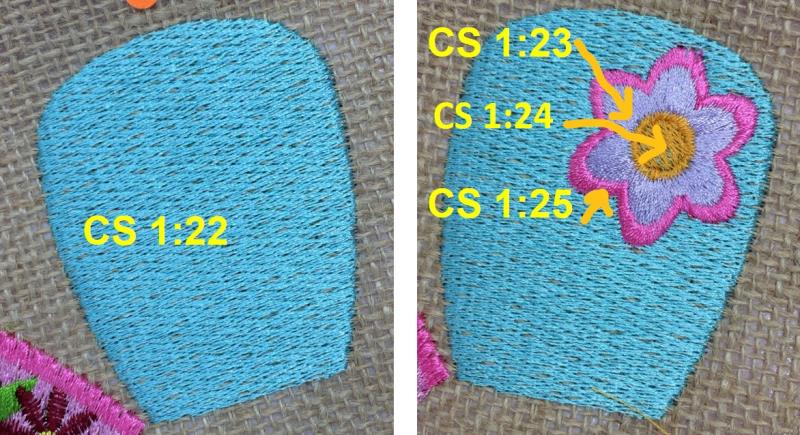
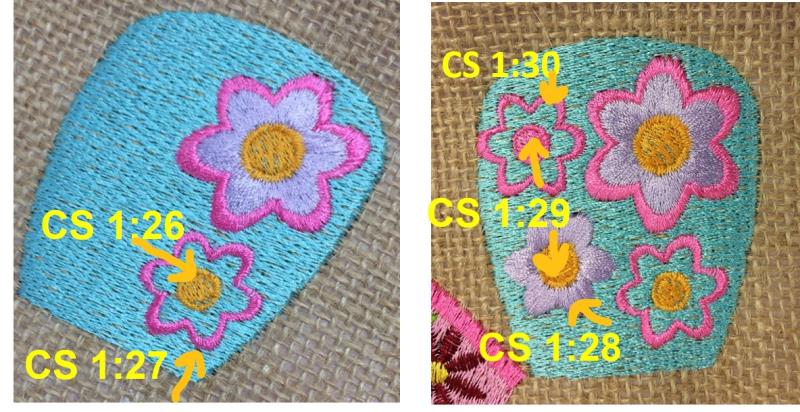
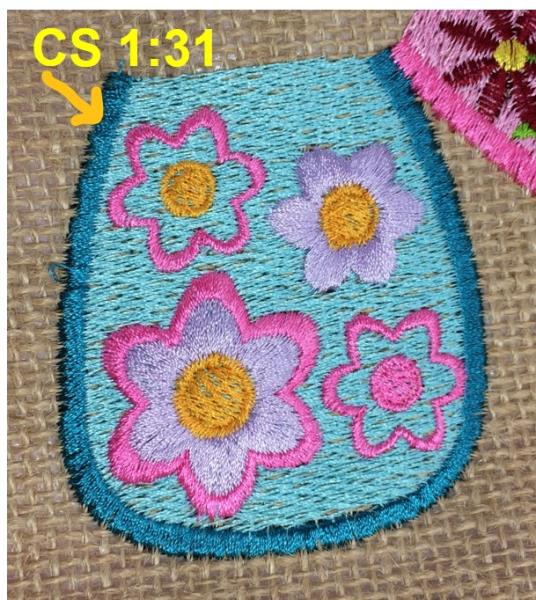
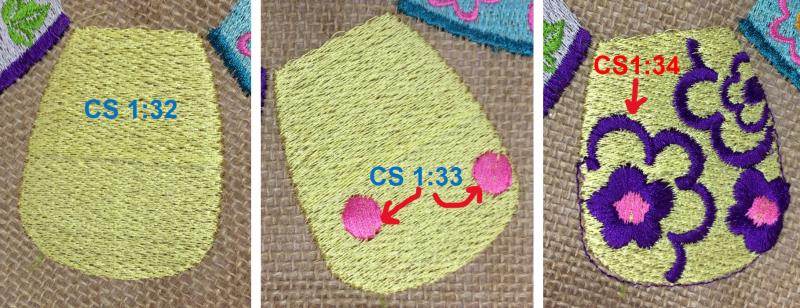
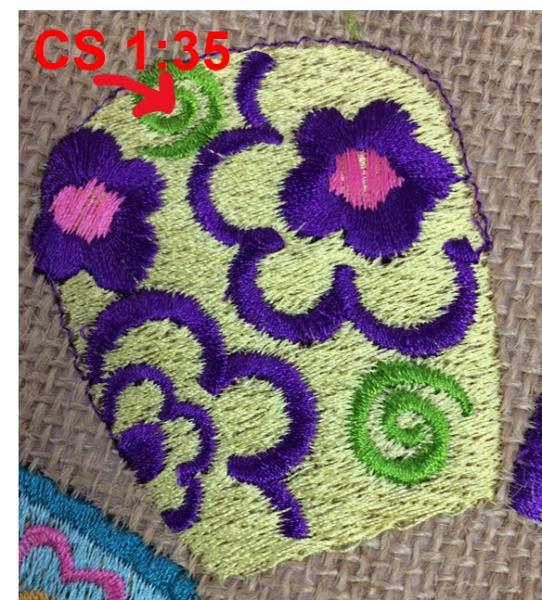
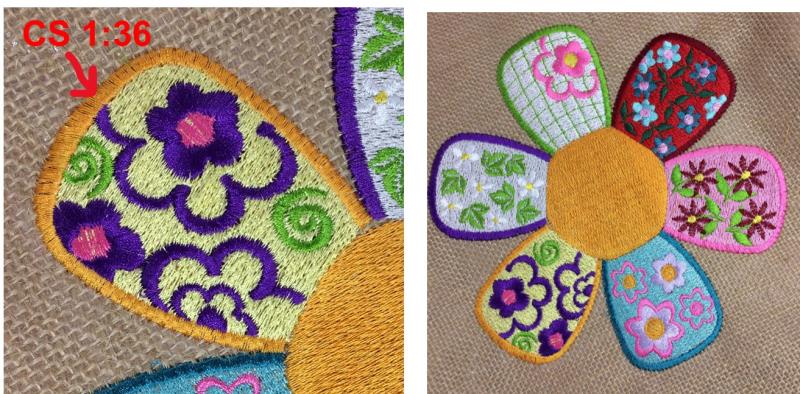
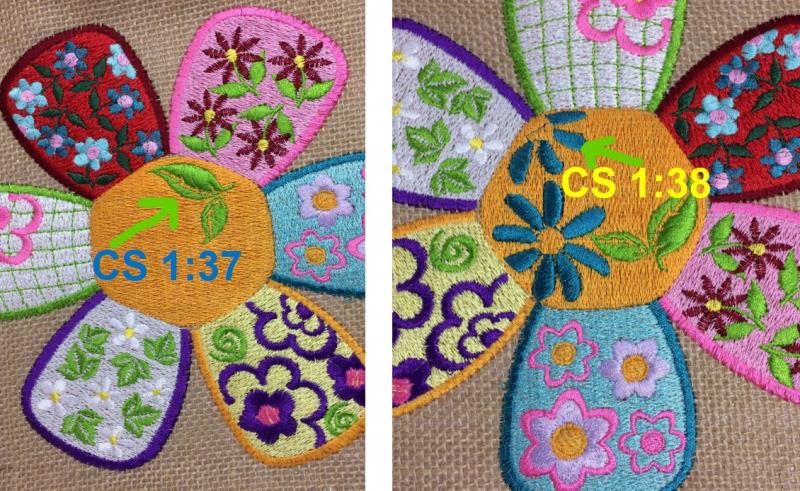
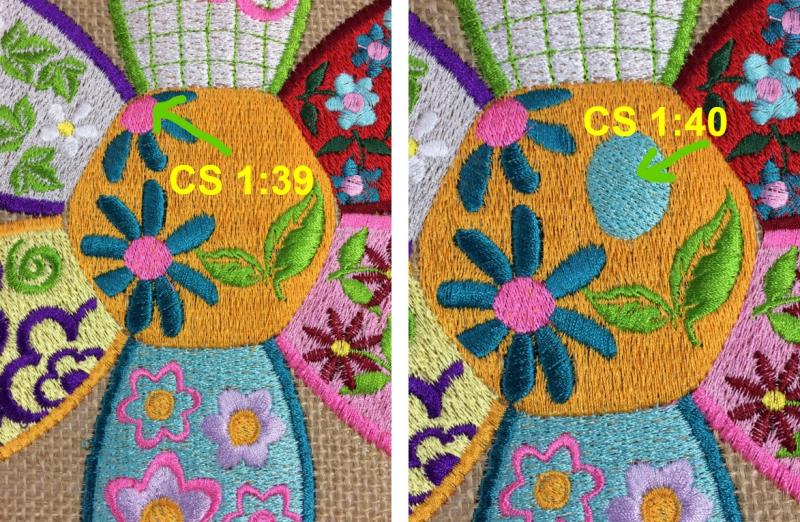
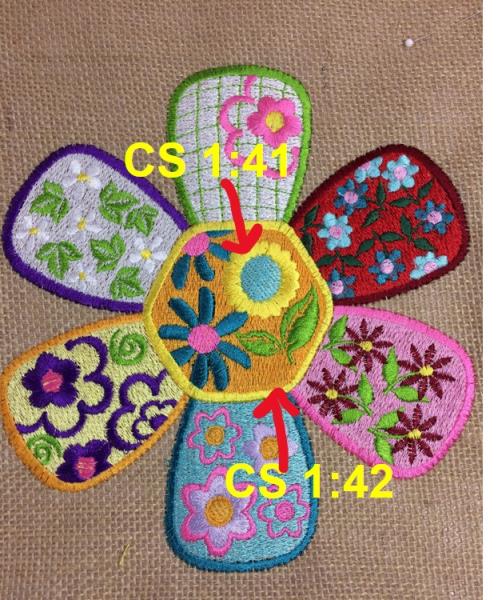
    Pictures of each color stop are shown to give more guidance and as visual aids. 
     
    Each color stop has been photographed and labeled. 
     
    Color Stops (CS) 1:1, 1:2, 1:3.

    (Click Image to Enlarge)


    Step 10:
    Color Stops (CS) 1:4, 1:5.

    (Click Image to Enlarge)


    Step 11:
    CS 1:6; CS 1:7

    (Click Image to Enlarge)


    Step 12:
    CS 1:8; CS 1:9; CS 1:10.

    (Click Image to Enlarge)


    Step 13:
    CS 1:11; CS 1:12.

    (Click Image to Enlarge)


    Step 14:
    CS 1:13, CS 1:14.

    (Click Image to Enlarge)


    Step 15:
    CS 1:15; CS 1:16.

    (Click Image to Enlarge)


    Step 16:
    CS 1:17; CS 1:18.

    (Click Image to Enlarge)


    Step 17:
    CS 1:19; CS 1:20, CS 1:21.

    (Click Image to Enlarge)


    Step 18:
    CS 1:22, CS 1:23; CS 1:24; CS 1:25.

    (Click Image to Enlarge)


    Step 19:
    CS 1:26; CS 1:27, CS 1:28; CS 1:29; CS 1:30.

    (Click Image to Enlarge)


    Step 20:
    CS 1:31.

    (Click Image to Enlarge)


    Step 21:
    CS 1:32, CS 1:33, CS 1:34.

    (Click Image to Enlarge)


    Step 22:
    CS 1:35.

    (Click Image to Enlarge)


    Step 23:
    CS 1:36.

    (Click Image to Enlarge)


    Step 24:
    CS 1:37, CS 1:38.

    (Click Image to Enlarge)


    Step 25:
    CS 1:39, CS 1:40.

    (Click Image to Enlarge)


    Step 26:
    CS 1:41, CS 1:42.

    (Click Image to Enlarge)


    Step 27:
    (Click Image to Enlarge)
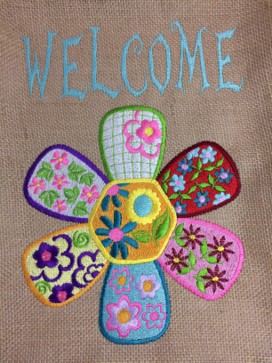
    Stitch the caption on the flag.
     
    Embroidering is complete for the flag.
     
    Remove the flag from the hoop.  Gently tear-away the stabilizer.


    Step 28:
    (Click Image to Enlarge)
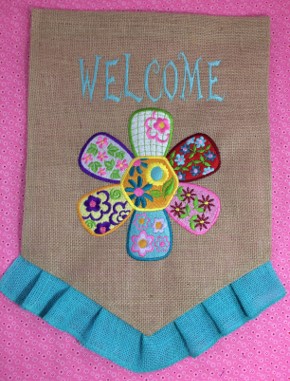
    Congrats!  You have completed a burlap flag!


    Step 29:
    (Click Image to Enlarge)
    Great as a wall hanging or a garden flag!

    We teach ourselves by teaching others.
     
    Marisa Littleton 
    Meet the Author: Marisa Littleton
    Marisa Littleton
    Marisa Littleton is a retired educator with a love for teaching and learning. Interests include machine embroidery, hand embroidery, quilting, cooking, and antiques.
    More From This Author
    Link is Broken, Please check the URL
    Exclusive Embroidery Offers!
    Copyright © {{ currentDate | date:'yyyy'}} - EmbroideryDesigns.com
    GET 50% OFF! ×