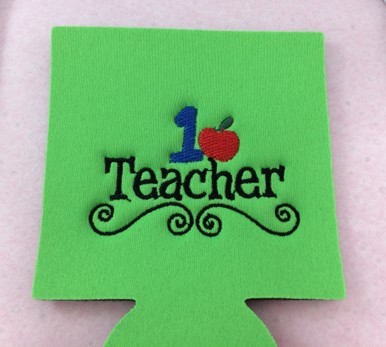
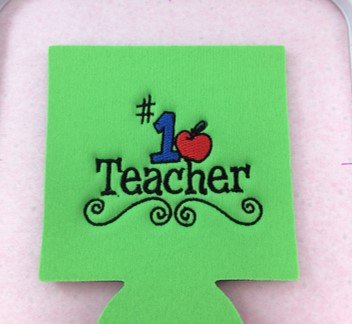
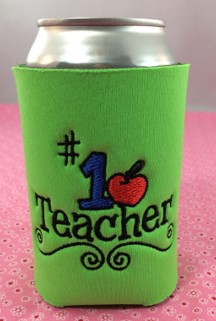
Embroider a koozie for teachers to show your appreciation! A quick, simple project with a big message that says #1 Teacher. Add some treats for a gift sure to please all teachers!
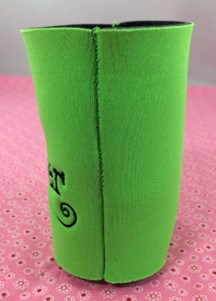
Embroider an unsewn neoprene koozie with a teacher appreciation design. Finish by sewing the sides together to make a fun and interesting project. Stitching must be reinforced as you start and finish each seam. Otherwise, the seams will come apart from use quickly.
Step 1:
(Click Image to Enlarge)
The embroidery design ‘School Teacher’ is by Concord Collections. The original embroidery design size was 3.22” x 2.23” and was reduced to 3 (1/4)” x 2 (1/2)” using Embrilliance Essentials embroidery software.
Print out a copy of the Design Template and Color Chart for both sizes.
Step 2:
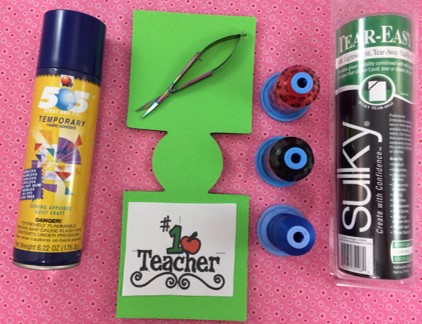
Gather the materials.
Read through the instructions before beginning.
Step 3:
(Click Image to Enlarge)
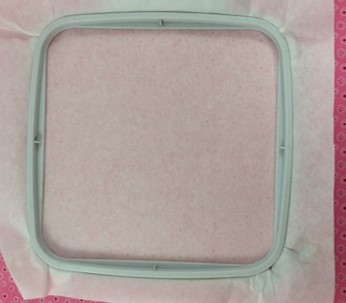
Tear-away Stabilizers are a temporary, paper-like stabilizer that comes in many different weights, from very soft to very crisp. Tear-away stabilizers
are carefully torn off after the embroidery design is completed. An option would be to use black tear-away to make the back look better after removing the stabilizer.
Hoop one sheet of tear-away stabilizer making sure it is taut and drum like in the hoop.
Step 4:
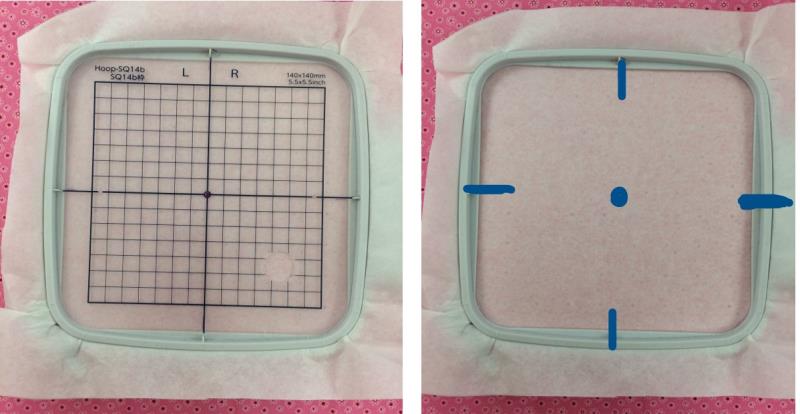
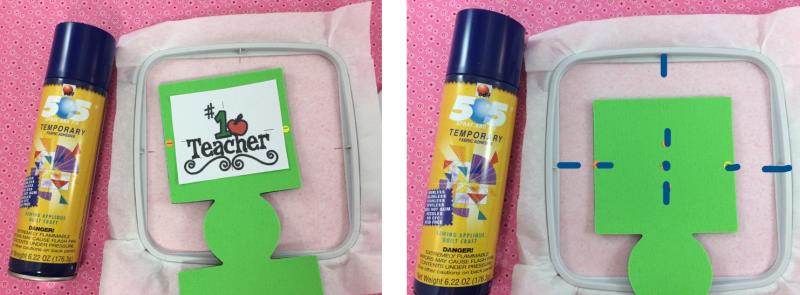
Use the grid template as a guide to mark the center point and axis on the stabilizer.
(Click Image to Enlarge)
Step 5:
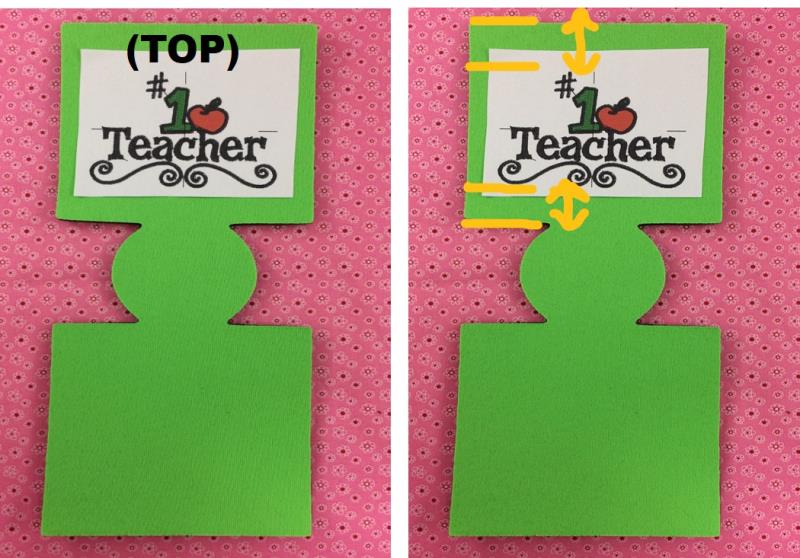
The paper template is the actual size of the stitch out. Use the paper design template as a guide for placement on the koozie.
Pay special attention to the direction you are placing the paper template.
Leave the same distance from each edge of the koozie on the top and bottom of the design.
(Click Image to Enlarge)
Step 6:
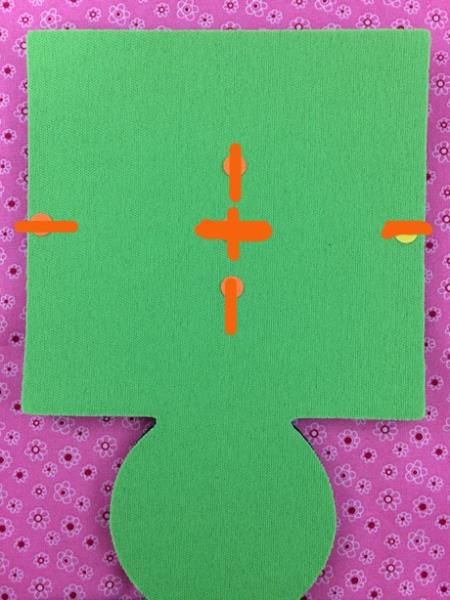
Measure to determine the center point and axis on the koozie.
The koozie in the example was 4 (2/8)" x 4 (2/8)”. The center point of this koozie was 2 (1/8)”.
(Click Image to Enlarge)
Step 7:
Match the center points and axis on the koozie with the ones on the stabilizer.
Temporarily attach the koozie onto the stabilizer using a very light spray of temporary adhesive.
(Click Image to Enlarge)
Step 8:
(Click Image to Enlarge)
Load the embroidery design onto your machine.
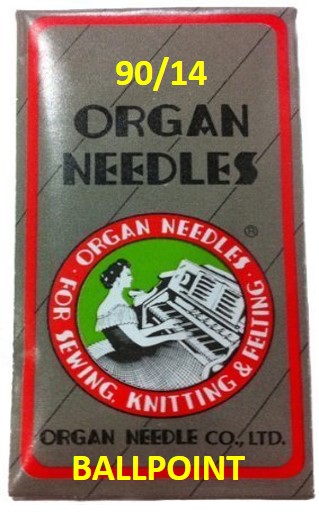
A size 90/14 ball point embroidery needle was used for stitching due to the thickness of the koozie.
Step 9:
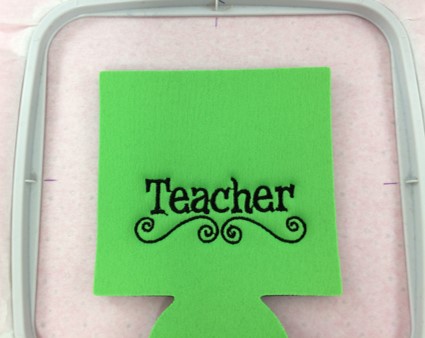
Begin stitching the embroidery design. Follow the color chart guide on your machine and the color chart print out.
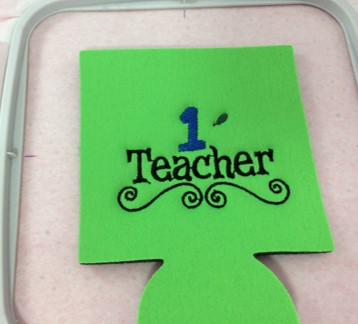
Color Stop (CS) 1 stitches ‘Teachers’.
Step 10:
(Click Image to Enlarge)
CS 2 stitches the fill for the number one and the leaf on the apple.
The design template uses the color green for the number 1 and the leaf. The koozie in the example is green; so the number one was stitched in blue. I stopped the machine after the one was stitched to change the color; and then stitched the leaf in a dark green.
Step 11:
(Click Image to Enlarge)
CS 3 embroiders the apple red.
Step 12:
(Click Image to Enlarge)
CS 4 will outline the number 1 and the apple.
The embroidery design is finished.
Step 13:
Remove the hoop from the machine.
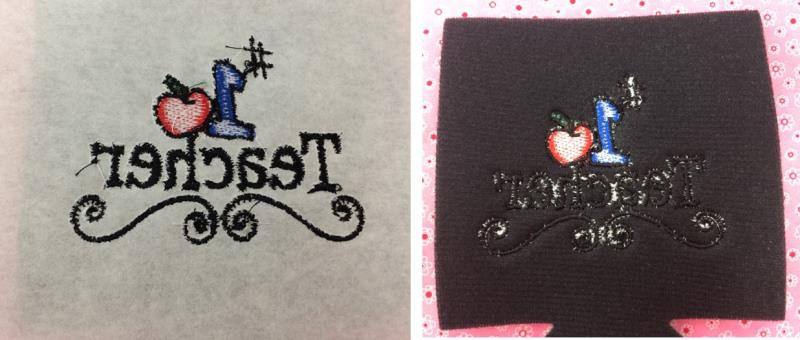
Gently remove the tear-away stabilizer from the back of the koozie.
Clip long threads on the back. Clip jump stitches on the front.
(Click Image to Enlarge)
Step 14:
(Click Image to Enlarge)
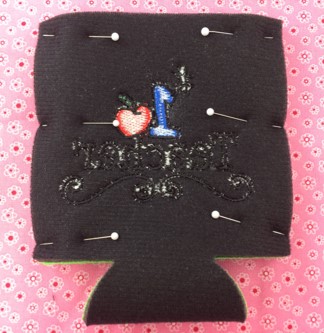
Line the sides up so that the top and bottom edges match.
Pin in place.
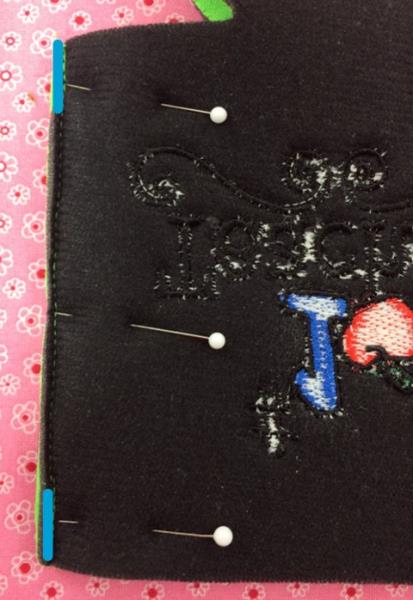
Step 15:
Sew a 1/8” straight seam along the edge.
Reinforce the stitching as you start and stop on the seam.
(Click Image to Enlarge)
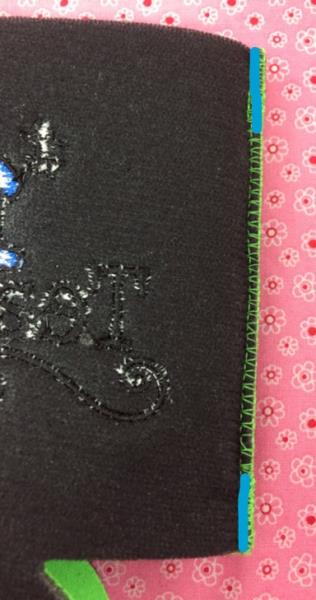
Step 16:
(Click Image to Enlarge)
Sew a 1/8” small zigzag seam on top of the straight seam.
Marisa Littleton is a retired educator with a love for teaching and learning. Interests include machine embroidery, hand embroidery, quilting, cooking, and antiques.