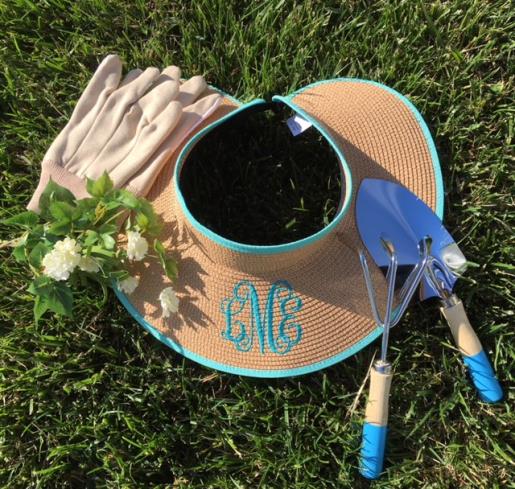
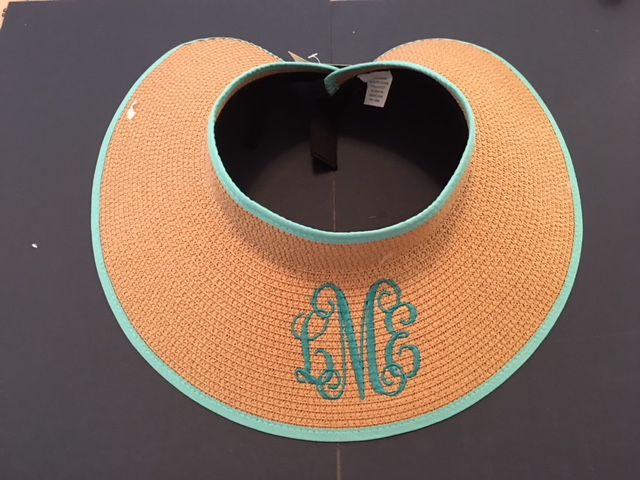
Fun in the sun with a personalized and trendy garden sun hat! A fun and fashionable way to express yourself. A great gift idea for Mothers Day!
Step 1:
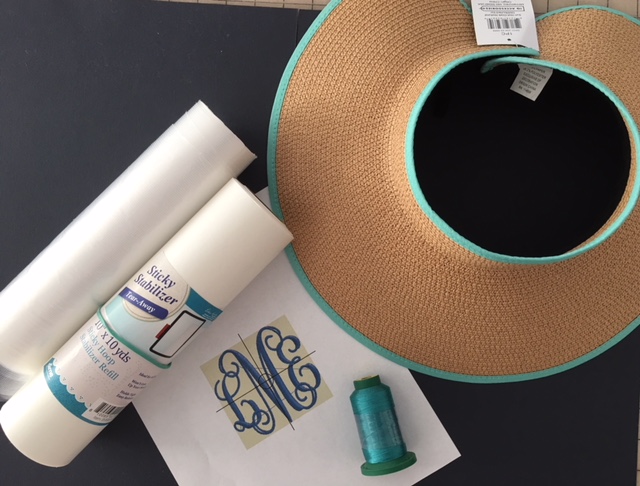
Gather all materials and review all steps before beginning. Print out and review instructions on How To Use 3 Inch Interlocking Monogrammed Font. Print out template of your monogram or each letter of your monogram.
(Click Image to Enlarge)
Step 2:
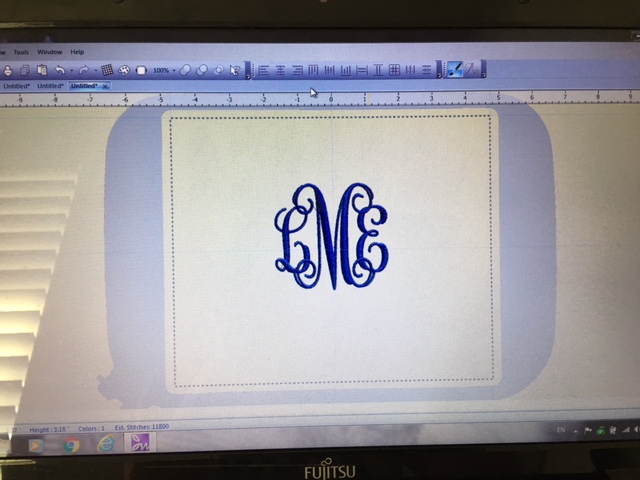
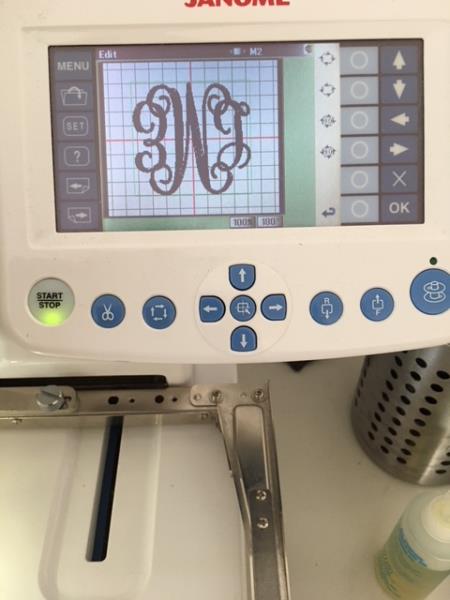
If you are using an embroidery software program, create your interlocking monogram per your software instructions. If you are not follow the"how to " instructions for placement and "interlocking" your letters for embroidering. Load design into your machine.
(Click Image to Enlarge)
Step 3:
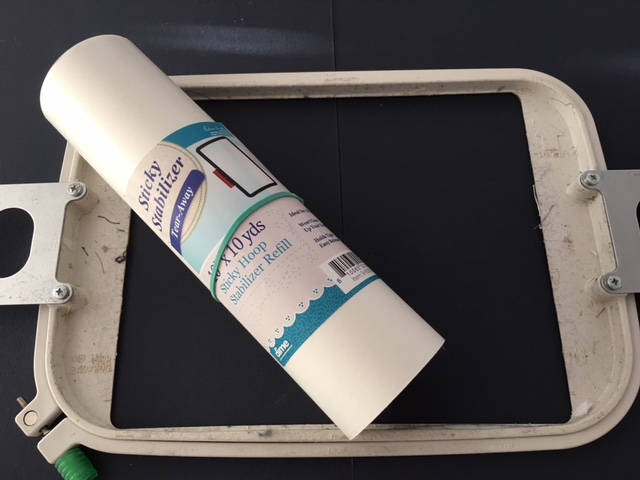
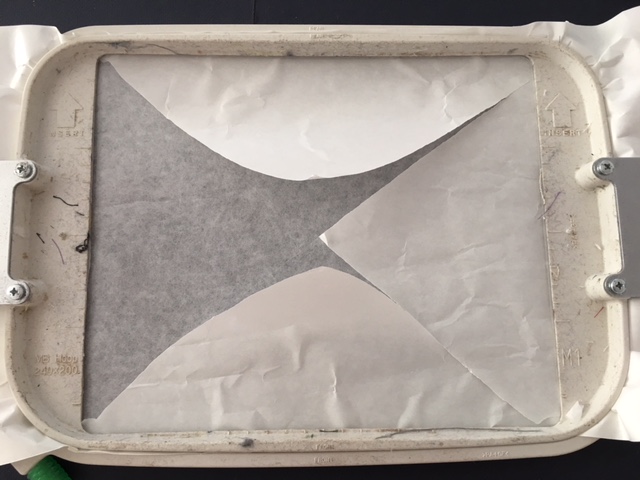
Hoop sticky stabilizer. Shiny side up. (I used a larger hoop as I wanted a larger area to secure the hat brim.) If you are not familiar with sticky stabilizer review your instructions on how to use. The next step will show how I removed the top layer paper to reveal the adhesive layer.
(Click Image to Enlarge)
Step 4:
Score the top shiny layer paper with a straight pin around the inside of your hoop. Score an "X" from corner to corner and pull away from the adhesive.
(Click Image to Enlarge)
Step 5:
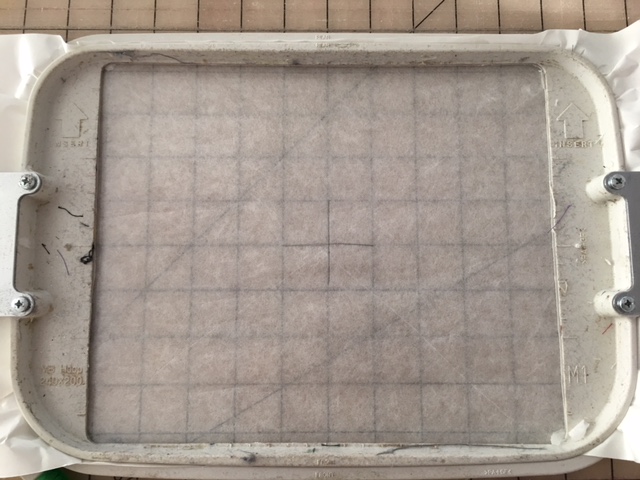
Center mark your adhesive side stabilizer with a crosshair.
(Click Image to Enlarge)
Step 6:
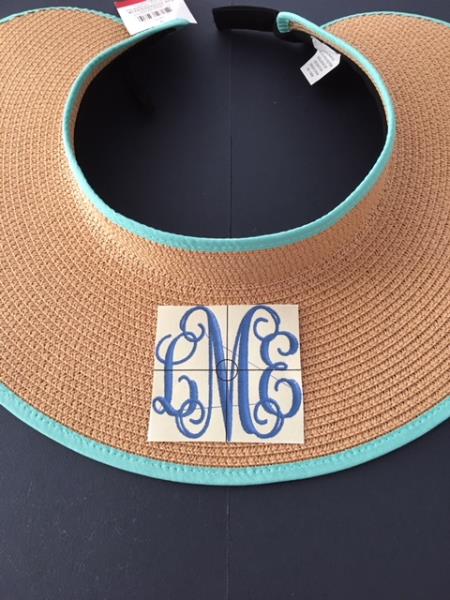
To mark brim for placement ,center your monogram/letter template on hat brim.
(Click Image to Enlarge)
Step 7:
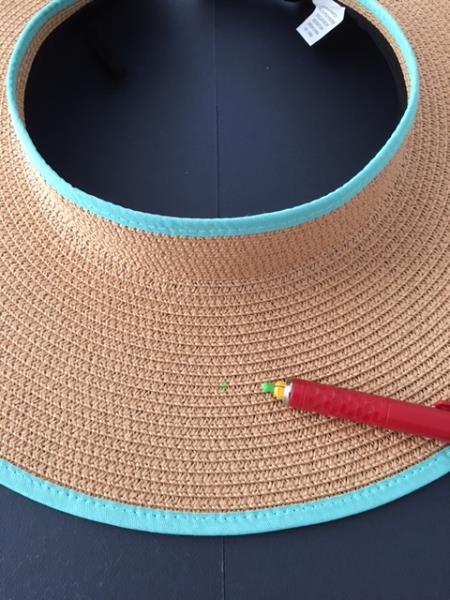
Mark center with chalk or fabric pen with a dot or crosshair.
(Click Image to Enlarge)
Step 8:
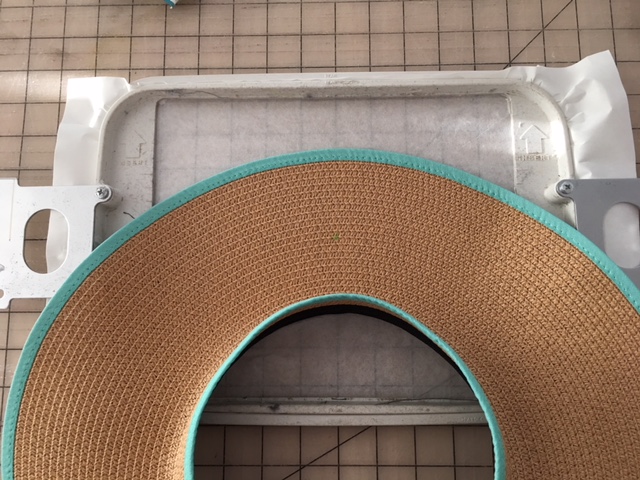
Place brim on top of center marked adhesive. (Upside down) Lining up with either your crosshair mark or dot with the markings on your hoop. Fingertip press onto adhesive to secure.
(Click Image to Enlarge)
Step 9:
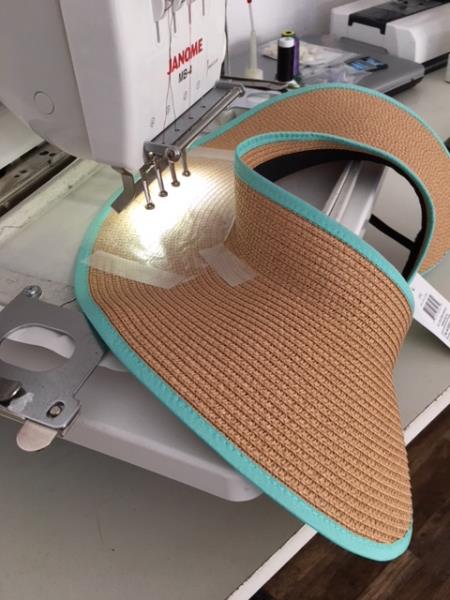
In this tutorial I wanted the hat to hang over front side of my machine while embroidering to avoid any bunching. Make sure you rotate your design 180*. ( Your design will stitch out upside down)
(Click Image to Enlarge)
Step 10:
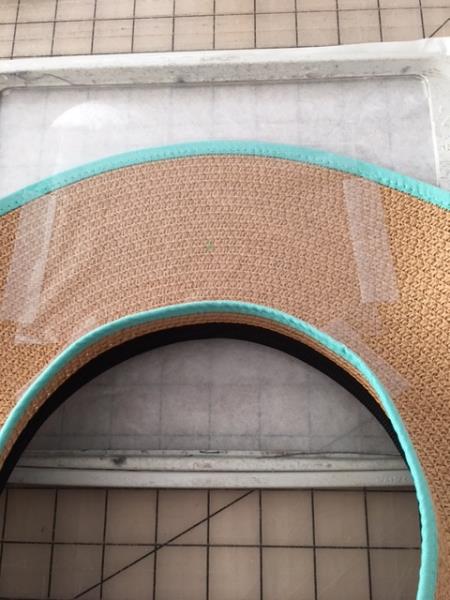
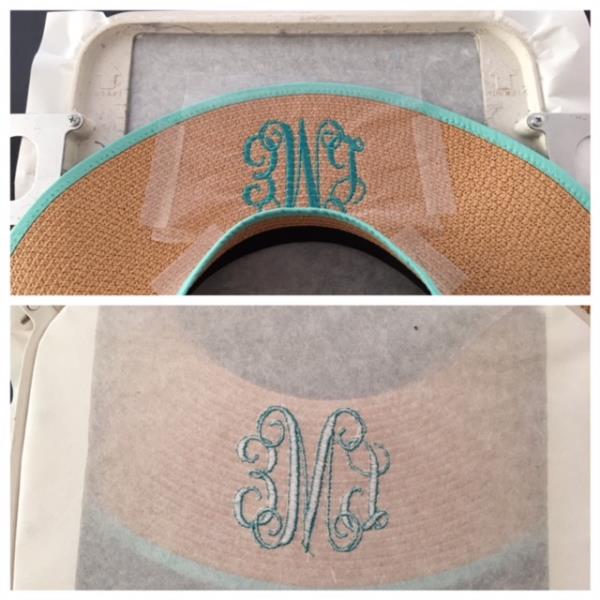
Cut an over-sized piece of water soluble stabilizer and place on top of brim to avoid any stitches "sinking" in to straw of hat brim. Tape down to hold in place.
(Click Image to Enlarge)
Step 11:
Attach hoop to machine and embroider design. If you did not use a software program you will need to repeat the above steps to create your monogram using the "how to" instructions.
(Click Image to Enlarge)
Step 12:
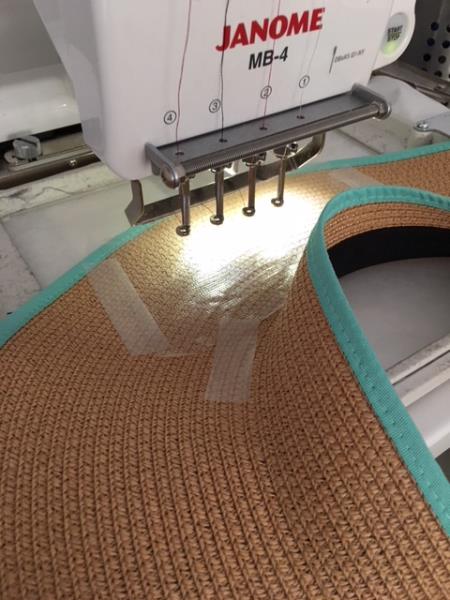
This picture shows how the hat hangs down in front of machine while embroidering.
(Click Image to Enlarge)
Step 13:
Embroidering complete. Remove hoop and cut away all jump stitches. Trim any loose threads. Remove all front and back stabilizer