














































PROJECT INSTRUCTIONS


PROJECT INSTRUCTIONS

FSL Mother bookmark Embroidery Project
By
Kylie Burke
on
April 16, 2018
Description
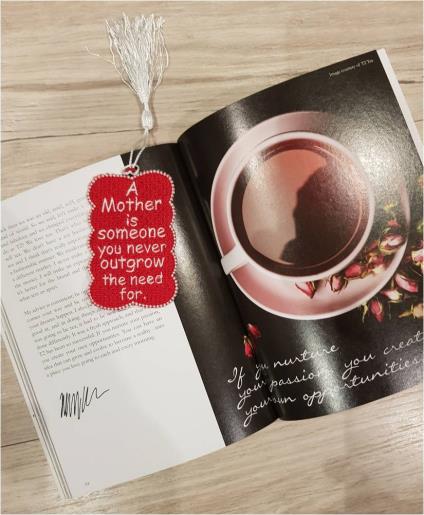
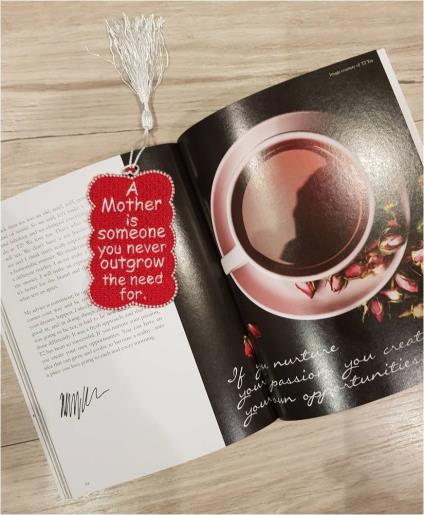
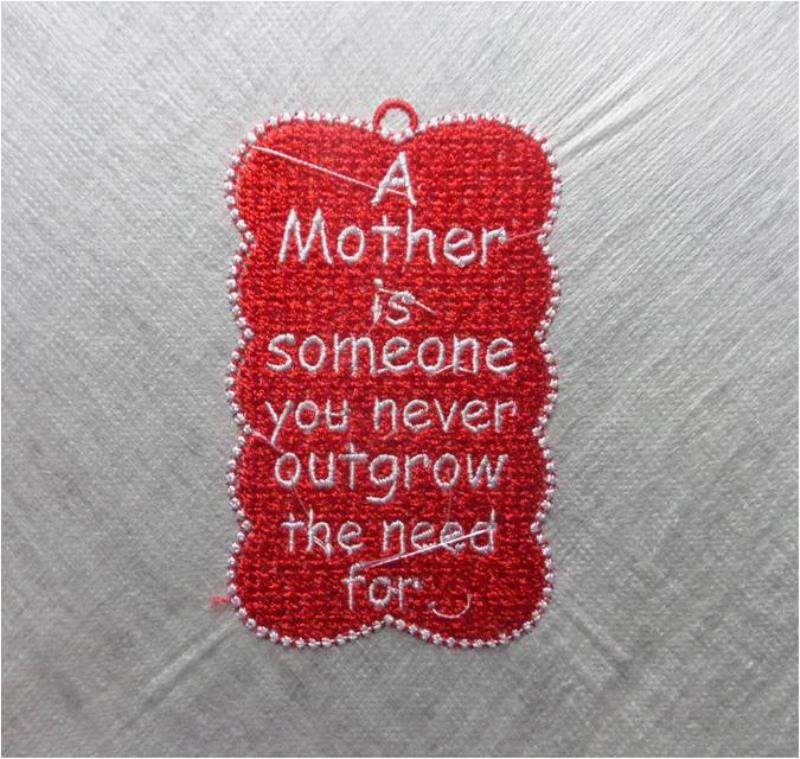
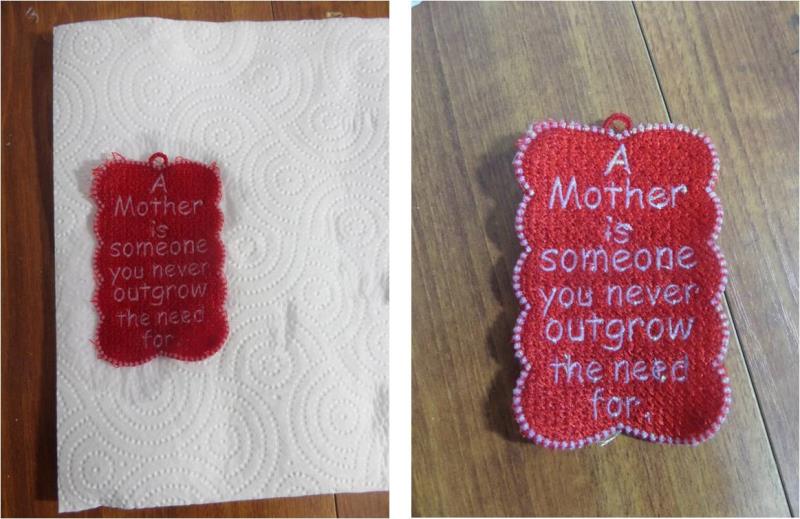
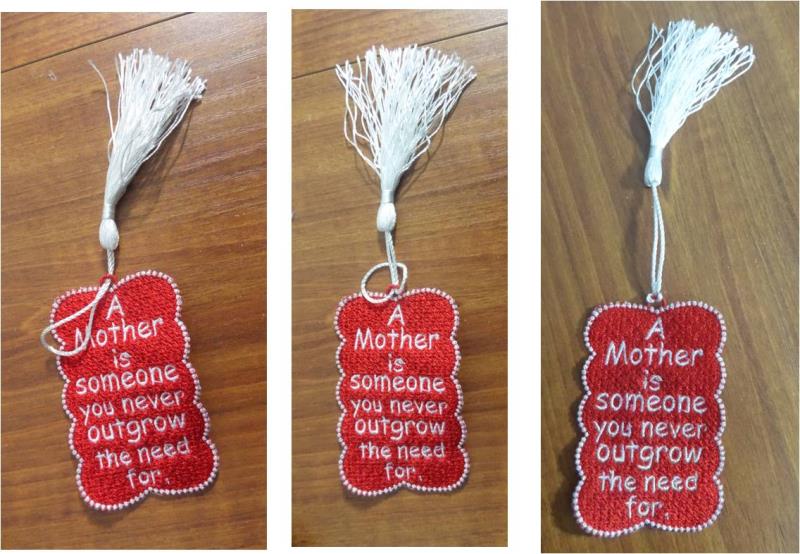
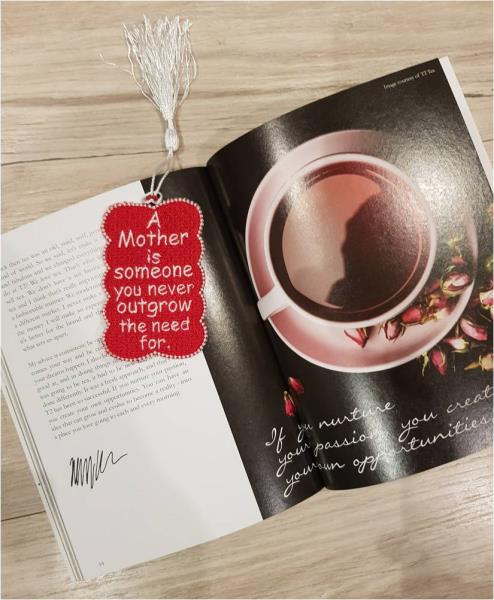
All moms love handmade pieces from their children and this FSL bookmark is a beautiful piece that mom can use for her favorite books. Pair it with a new book for a lovely Mothers Day gift.
Step
of
Materials
Project Preview Video

QUICK VIEW
FSL Mother Bookmark
$4.99
$1.99
Circle Price: $1.84

Water Soluble Stabilizer - 12" x 25 Yds
$32.46
Circle Price: $29.21
{{ item.name }}
{{ item.listPriceDisplay }}{{ item.salePriceDisplay }}
Circle Price:
{{ item.clubPriceDisplay }}


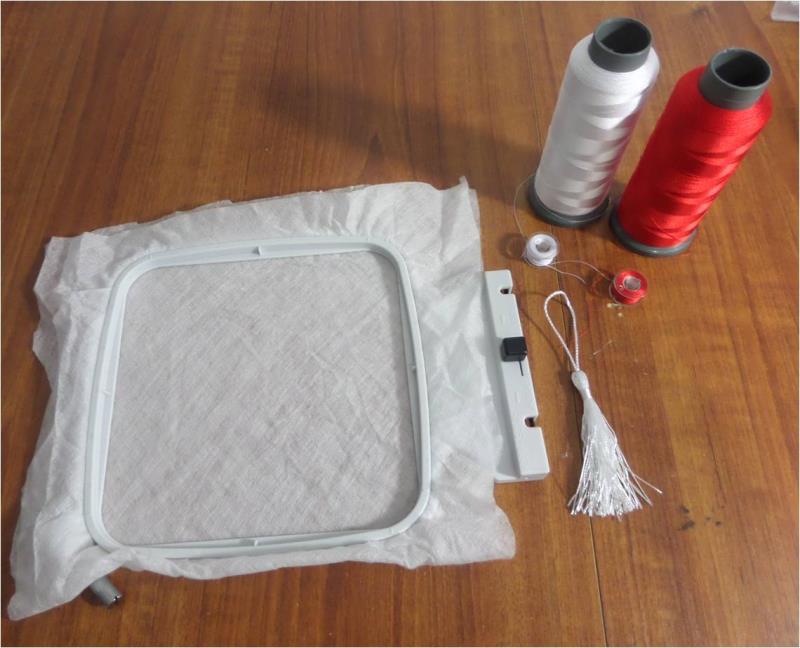
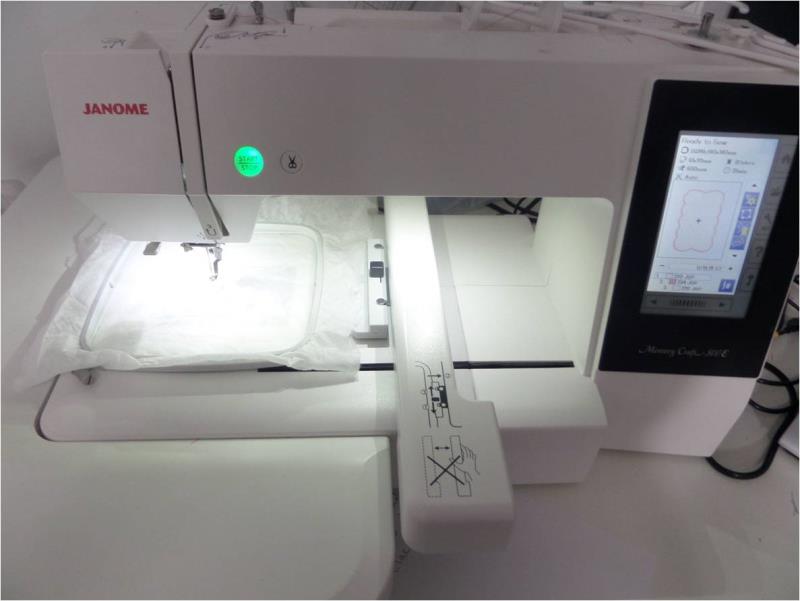
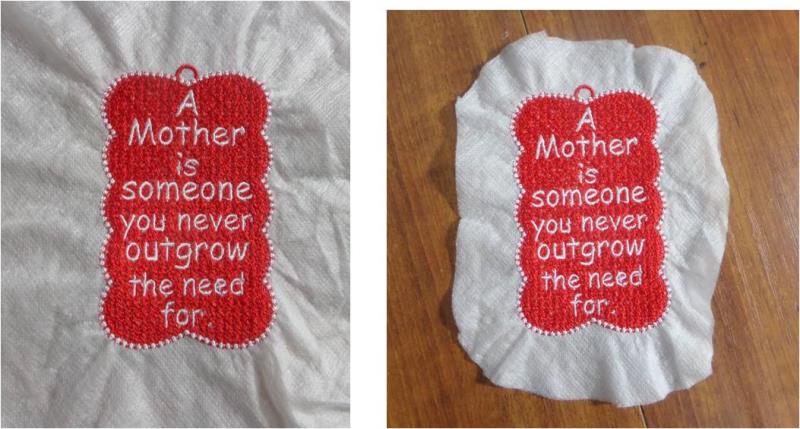
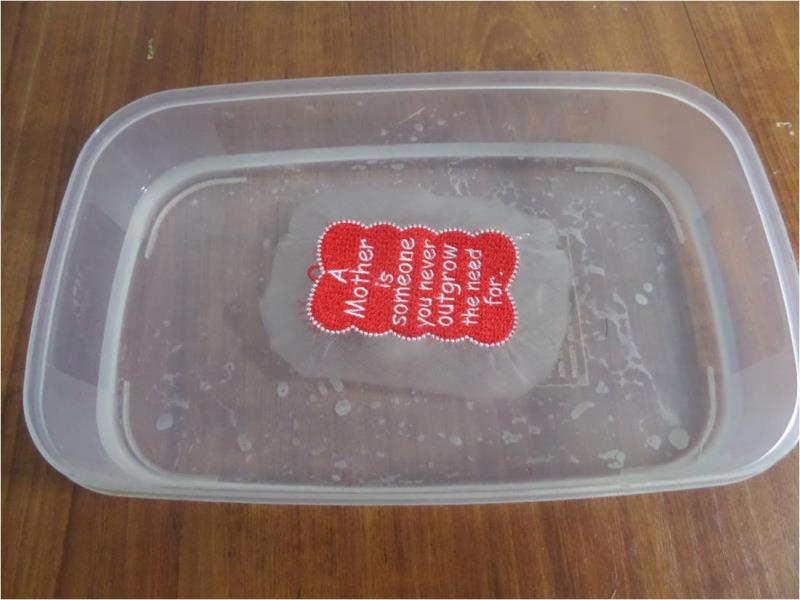
| Materials 4x4 hoop 2 layers of water dissolvable backing 3 thread colors of your choice (I have repeated 1 color) 1 tassle |
| Designs used in this project |
| Final Product: What You Will Create |
 |
|
Projects You May Like
Meet the Author:
Kylie Burke

Kylie is based in Australia and loves creating and sharing her unique pieces.
Feedback
Characters Remaining
Please Login to Submit a Feedback
Invalid Characters, Please enter a valid Comment
Please enter a valid Comment
Reviewed On
Link is Broken, Please check the URL