2026 Flash Sale
Live Chat
Embroidery Designs
Welcome, Embroiderer
Login
Mr. and Mrs. Pillowcases
{{mainImageAlt || (productInfo._source && productInfo._source.name) || ''}}

Mr. and Mrs. Pillowcases Embroidery Project

By   Linda Mills   on   March 27, 2018
  • SKILL LEVELIntermediate
  • TIME REQUIRED02:00
Description

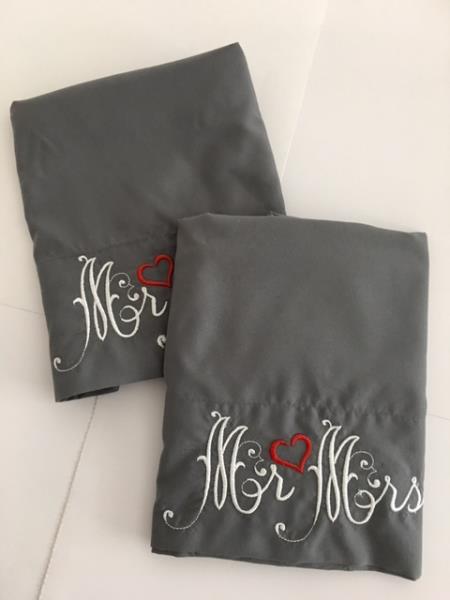
A set of pillowcases embroidered with a simple and elegant "Mr. and Mrs." font.

Step of

Materials

Project Preview Video

Materials
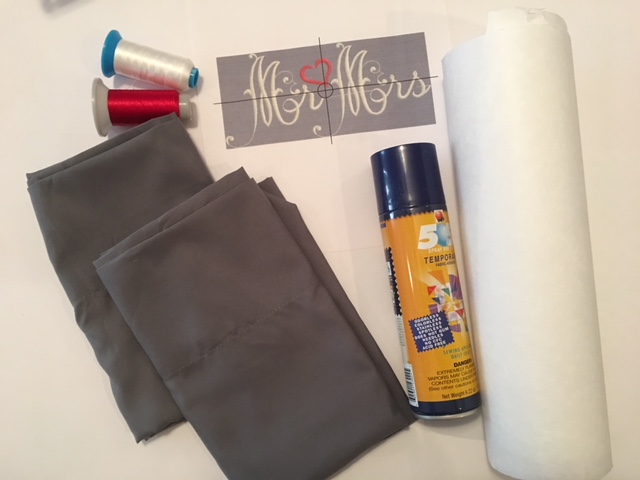
  • Two purchased pillowcases
  • Tear Away Stabilizer
  • Temporary Adhesive Spray
  • Embroidery Thread
  • Air fabric pen or chalk pen

  • Designs used in this project

    Preface:
    A simple and elegant "Mr. and Mrs. font embroidered on a set of pillowcases that will add that special traditional look in bedroom decor.  


    Step 1:
    Gather all materials and review instructions before beginning.

    (Click Image to Enlarge)


    Step 2:
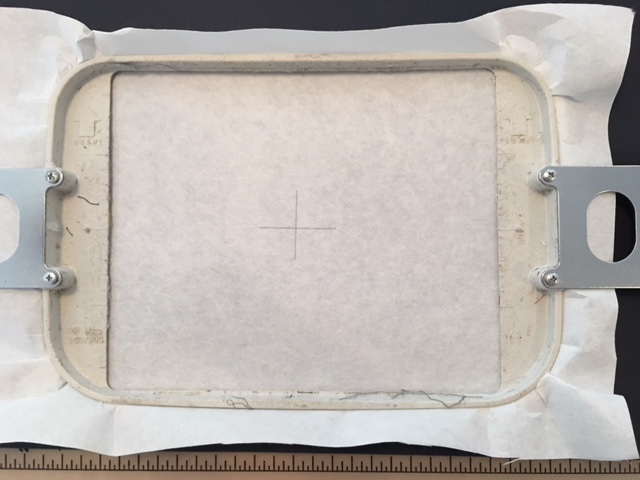
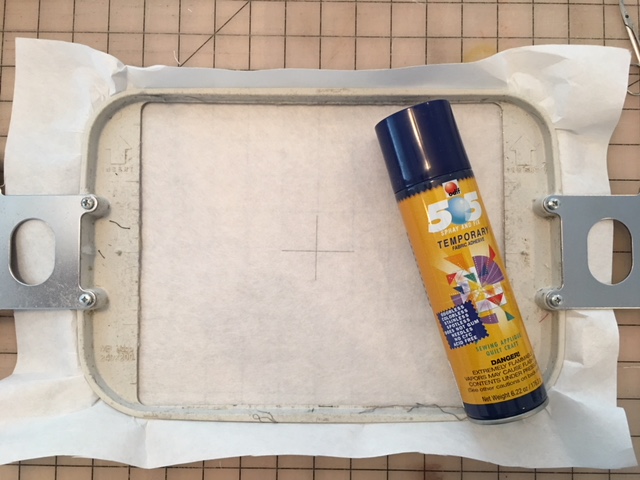
    Hoop tear away stabilizer and center mark with crosshair.

    (Click Image to Enlarge)


    Step 3:
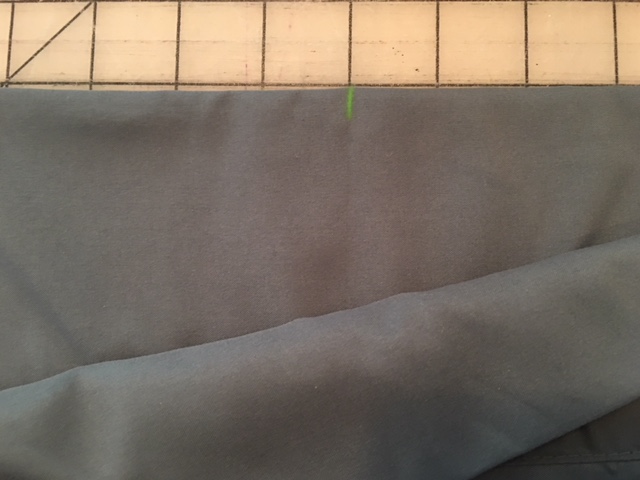
    Turn pillowcase inside out.  Center mark your pillowcase by folding in half, hand crease and mark with air or chalk pen.

    (Click Image to Enlarge)


    Step 4:
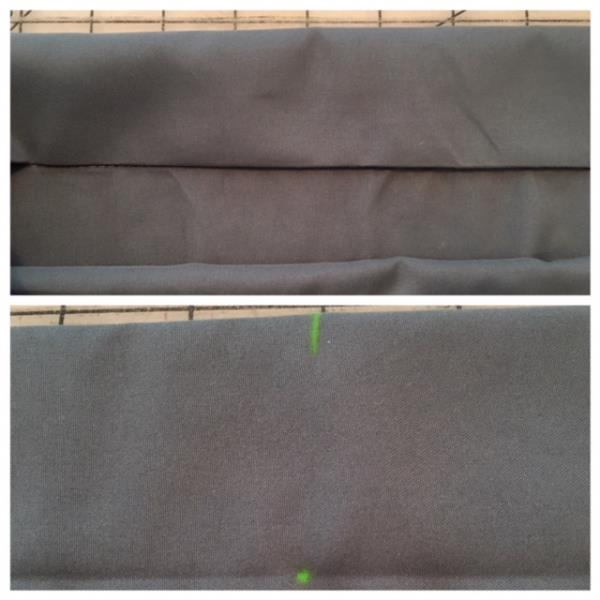
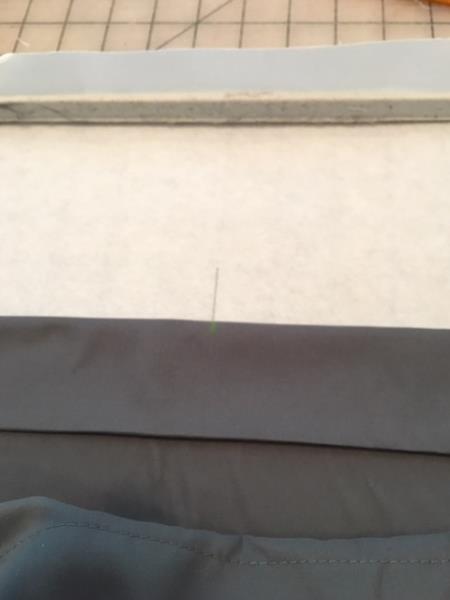
    Fold top of pillowcase down to stitched line of pillow band.  Crease with hand. Center mark.

    (Click Image to Enlarge)


    Step 5:
    Lightly spray temporary adhesive spray onto hooped stabilizer

    (Click Image to Enlarge)


    Step 6:
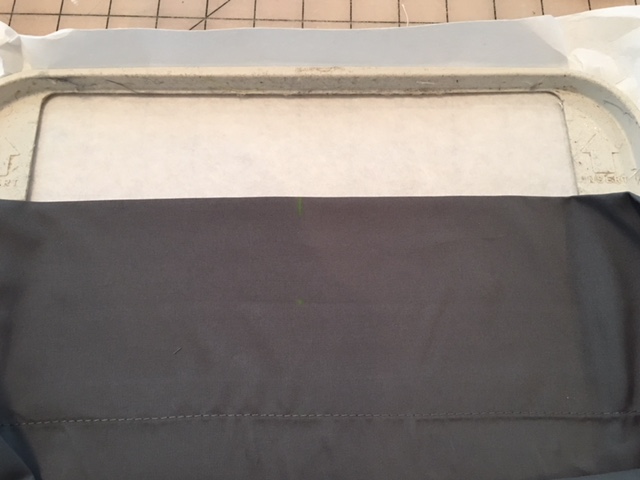
    Place folded center marked pillowcase onto center marked crosshair.

    (Click Image to Enlarge)


    Step 7:
    Unfold and press down with fingertips to secure ensuring a straight alignment onto stabilizer. Smooth out any wrinkles.

    (Click Image to Enlarge)


    Step 8:
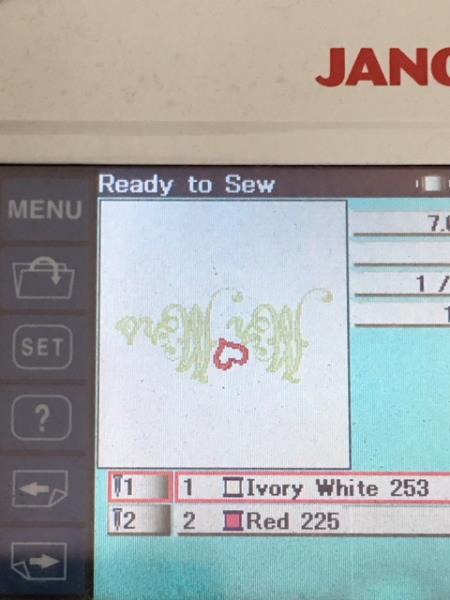
    In this tutorial I wanted the pillowcase to hang down in front of my machine to avoid any bulk while embroidering.  Make sure after you load your design in your machine to rotate 180* so that your design is upside down so that it stitches out correctly.   

    (Click Image to Enlarge)


    Step 9:
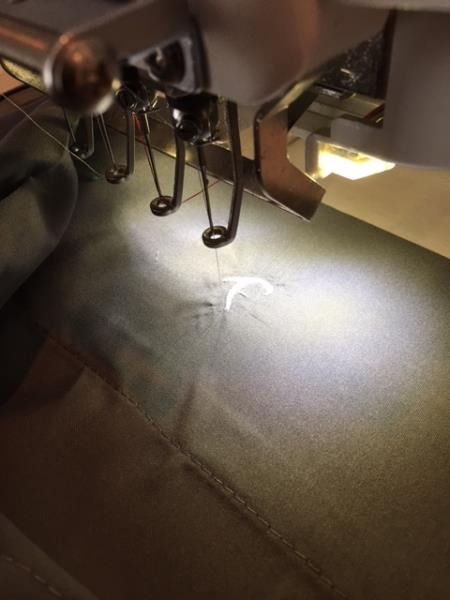
    Attach hoop to machine and begin embroidering. 

    (Click Image to Enlarge)


    Step 10:
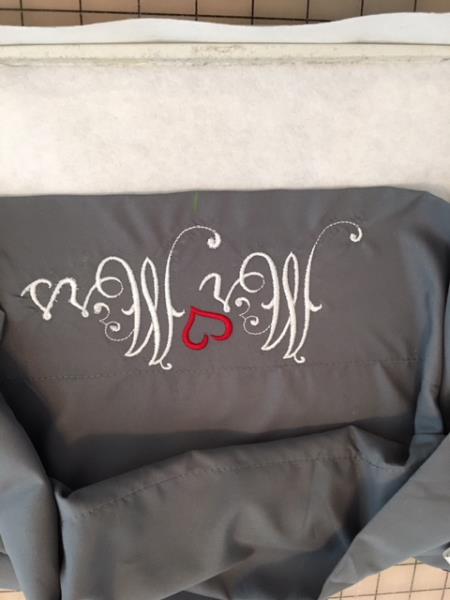
    When your embroidering is complete remove hoop from machine.   Cut all jump stitches and any thread ends.  Remove stabilizer.

    (Click Image to Enlarge)


    Step 11:
    Repeat steps to embroider second pillowcase.  Your embroidered set of "Mr. and Mrs." pillowcases are now finished.  Congratulations!

    (Click Image to Enlarge)

    Meet the Author: Linda Mills
    Linda Mills
    Linda loves to create by sharing her different sewing and machine embroidery techniques so others can utilize their machines to the fullest
    More From This Author
    Link is Broken, Please check the URL
    Exclusive Embroidery Offers!
    Copyright © {{ currentDate | date:'yyyy'}} - EmbroideryDesigns.com
    GET 50% OFF! ×