2026 Flash Sale
Live Chat
Embroidery Designs
Welcome, Embroiderer
Login
Wedding Handkerchiefs
{{mainImageAlt || (productInfo._source && productInfo._source.name) || ''}}

Wedding Handkerchiefs Embroidery Project

By   Marisa Littleton   on   March 27, 2018
  • SKILL LEVELSome Experience
  • TIME REQUIRED01:30
Description

Add a touch of elegance to handkerchiefs by using a heirloom border and elaborate font for customized wedding handkerchiefs.

Step of

Materials

Project Preview Video

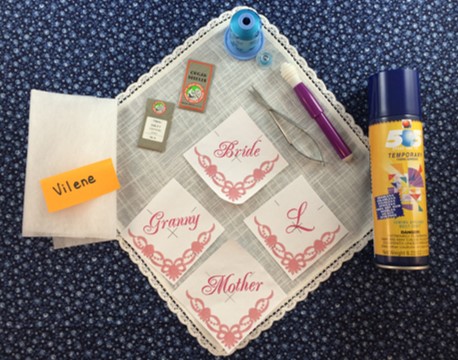
Materials
  • Design Template & Color Chart
  • Ladies handkerchiefs
  • Robison Anson Thread & matching bobbin
  • 65/9 Embroidery Needle
  • Temporary Adhesive Spray
  • Vilene Water Soluble Stabilizer
  • Magic Sizing spray starch

  • Designs used in this project

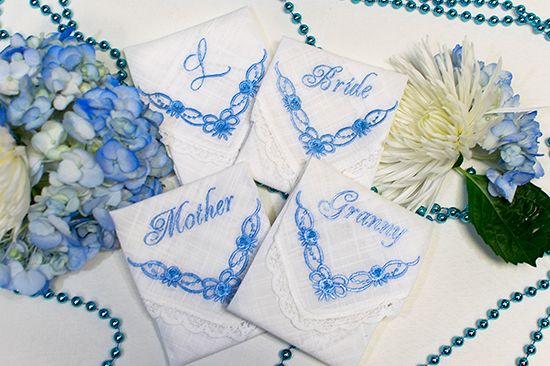
    Final Product: What You Will Create

    Preface:
    Many misty eyes are often seen at weddings.  An embroidered handkerchief makes a thoughtful gift for all guests.   
                                   May joy be in your tears today,
                                  As you share with me my wedding day!


    Step 1:
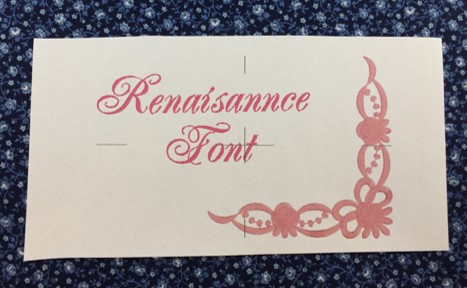
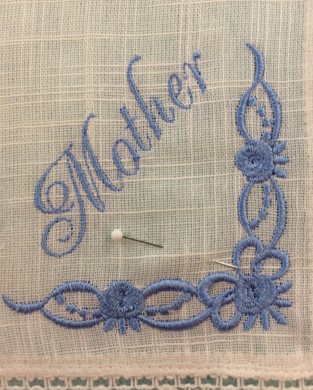
    The machine embroidery design featured in this project is the ‘Heirloom Ribbon Corner’ by Ace Points embroidery.  The font used was  'Renaissance Alphabet’.  Embrilliance Essentials embroidery software
    was used to slightly resize the design to 3” x 3” and to add the text. 
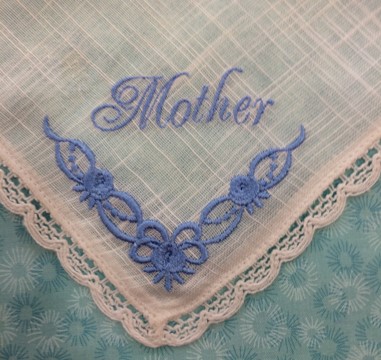
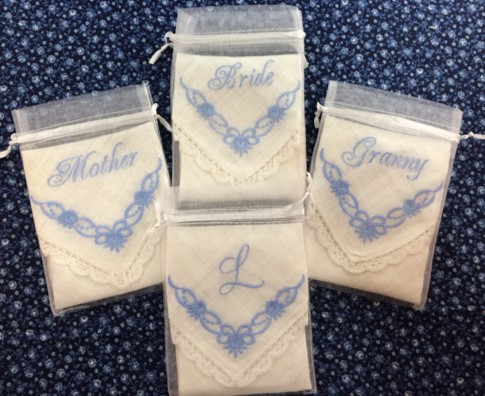
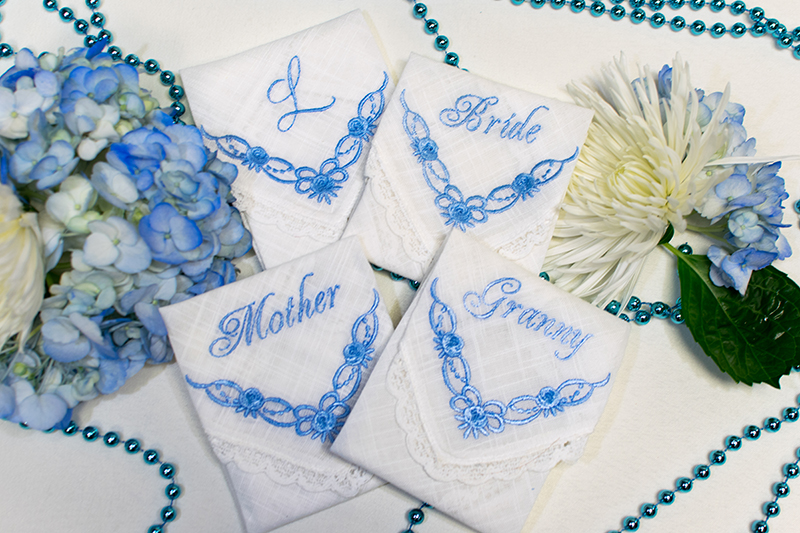
    Design templates were made for ‘Bride’, ‘Mother’, ‘Granny’, and ‘L’.
     
    Print out a copy of the Design Templates and Color Charts for each handkerchief you are making.


    Step 2:
    Gather the materials.
    Read through the instructions before beginning.


    Step 3:
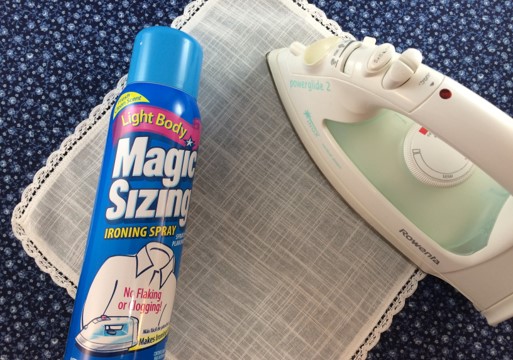
    Iron and starch the handkerchief.  Starching will also help stabilize the
    fabric.


    Step 4:
    Vilene wash-away stabilizers dissolve in water.  They’re only designed for temporary support for your embroidery.   A water-soluble stabilizer was used for this project.  A standard tear-away stabilizer was not the best choice because of the delicate fabric and stitching in the design.    A ‘floating’ technique will be used for this project.  Only the stabilizer is hooped.  The handkerchief is secured on top of the stabilizer with temporary adhesive spray.

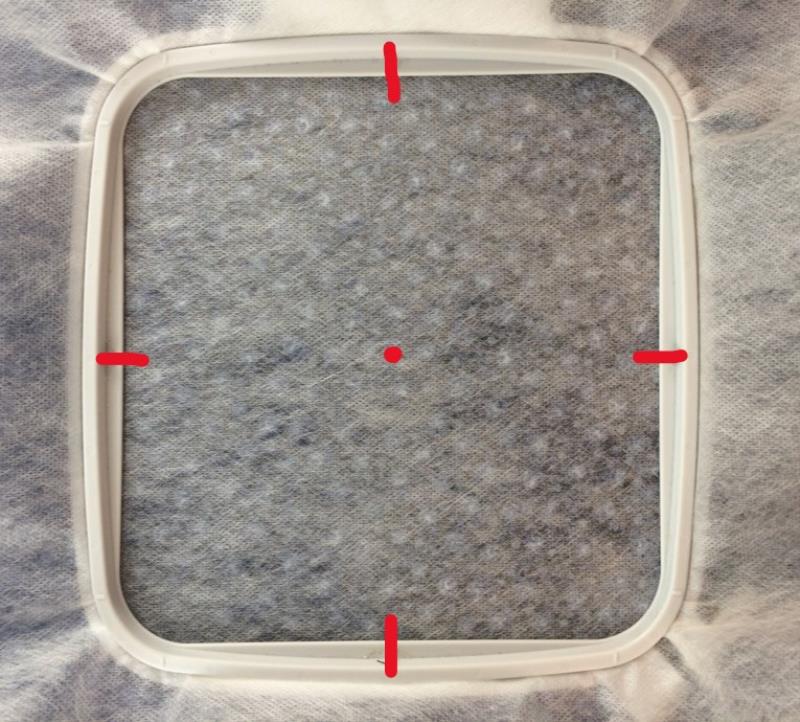
    Hoop one layer of Vilene wash-away stabilizer.
    Use the grid template to label the center and the axis on the stabilizer.

    (Click Image to Enlarge)


    Step 5:
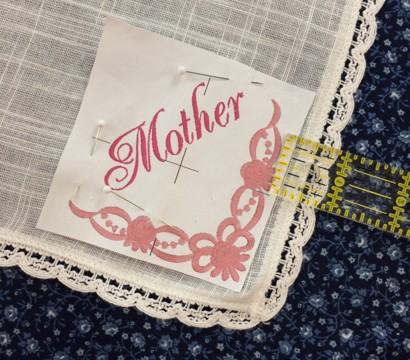
    The paper design template is the actual size of the stitch out.  Use the template as a guide for placement and positioning of the design on the handkerchief.  Placement was in the lower right corner of the handkerchief.
     
    Place the paper design template on top of the handkerchief.  The template should be ½” from the handkerchief edge.
    Use pins or stickers to label the center point and axis. Given the delicate nature of handkerchief fabric, I suggest avoiding the use of fabric markers.


    Step 6:
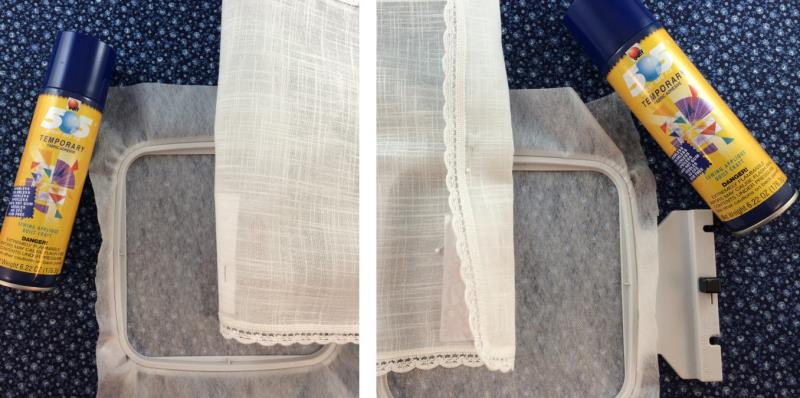
    Align the handkerchief with the center point and axis on the stabilizer.
    Use just a bit of temporary adhesive spray to adhere the handkerchief to the stabilizer.

    (Click Image to Enlarge)


    Step 7:
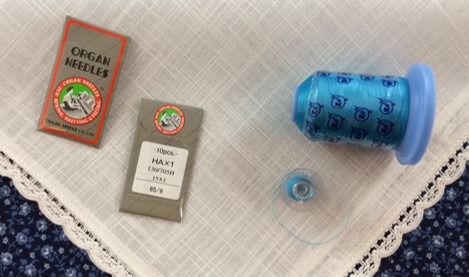
    A smaller needle is recommended based on fabric type.  A larger needle could cause holes in the fabric and around the design.  A 65/9 needle was used for this project.
     
    Match the bobbin thread color with the embroidery thread.
     
    Reduce the speed of stitches per minute on your machine.  Machines have different settings, so aim for a middle range.  Speed was reduced to 400 stitches per minutes for this design.


    Step 8:
    (Click Image to Enlarge)
    Embroider the design.


    Step 9:
    (Click Image to Enlarge)
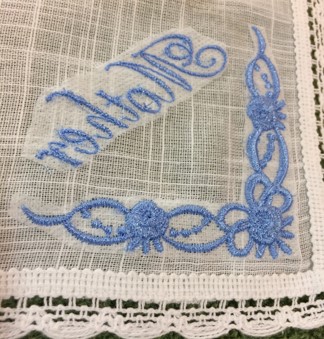
    Remove the handkerchief from the hoop.
    Trim long threads and jump stitches (if any).
    Trim the stabilizer to about 1/4"  to the stitching.


    Step 10:
    The remainder of the water-soluble stabilizer by may be removed by
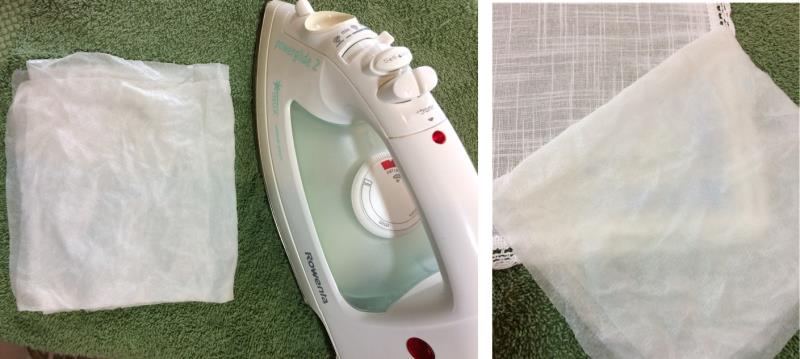
    following the directions on the package.  A very quick, efficient way to remove the remaining water-soluble stabilizer is with a hot iron and wet paper towel.
     
    Put a clean, dry old towel on your ironing board.
    Lay the handkerchief wrong side up on the towel.
    Place a wet paper towel over the embroidered area.


    (Click Image to Enlarge)


    Step 11:
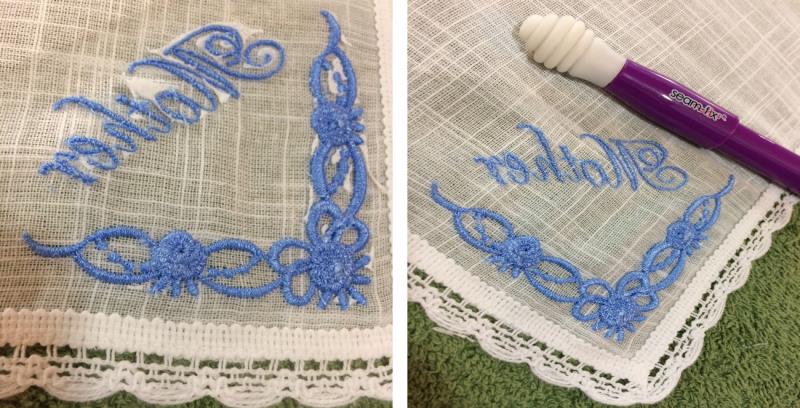
    Press the wet paper towel with a hot iron for about 1 minute.
    Most of the remaining stabilizer will be gone at this point.
    Brush off the loose pieces of water-soluble stabilizer.
    Repeat if necessary.

    (Click Image to Enlarge)


    Step 12:
    (Click Image to Enlarge)
    Congrats!  You have completed a ‘Wedding Handkerchief’!


    Step 13:
    Repeat this process for each ‘Wedding Handkerchief’.


    Step 14:
    Samples of wedding handkerchiefs include ‘Granny’, Mother, Bride, and ‘L’.

    (Click Image to Enlarge)


    Learn by teaching others...
     
    Marisa Littleton 
    Meet the Author: Marisa Littleton
    Marisa Littleton
    Marisa Littleton is a retired educator with a love for teaching and learning. Interests include machine embroidery, hand embroidery, quilting, cooking, and antiques.
    More From This Author
    Link is Broken, Please check the URL
    Exclusive Embroidery Offers!
    Copyright © {{ currentDate | date:'yyyy'}} - EmbroideryDesigns.com
    GET 50% OFF! ×