Border OptionsHugging border, circle, square, or rectangle — with a 3mm satin stitch.
Backing OptionsAvailable with iron-on, sew-on, or velcro backing.
Fast ShippingShipped quickly from the USA.
Free Online Tools
Powerful embroidery utilities that save time and prevent costly mistakes.
Stitch AssistantRECOMMENDED
Get the exact stabilizer, machine settings, needle, and thread color sequence for every embroidery design you purchase — based on that design's stitch density, dimensions, and color count.
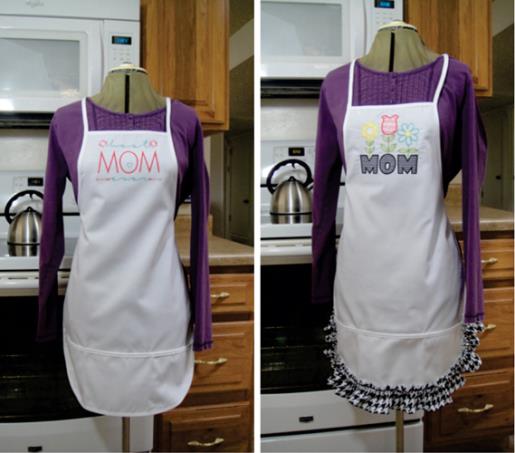
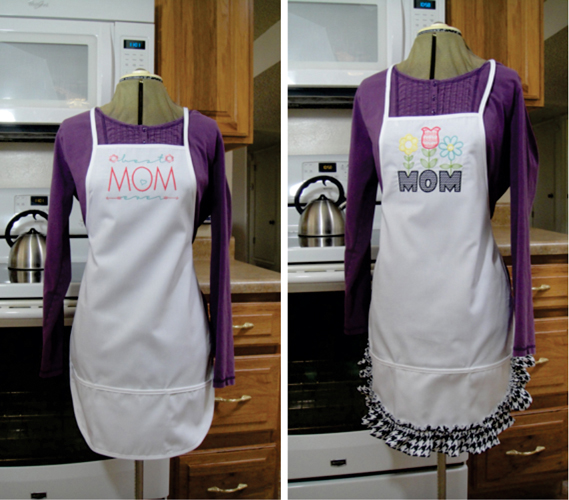
Create charming aprons perfect for Mother's Day, featuring personalized designs for a heartfelt touch. Ideal for gifting to moms or for grandchildren to present as special surprises. Step-by-step instructions are included.
The time requirement must be filled in for these projects, but how long the projects take really depends on the style that you pick. The MOM01, MOM03 and MOM04 designs only take about a quarter hour to sew, MOM04 takes 45 minutes to sew. Whether you choose to make your own ruffle or apply a premade ruffle is up to you, but will affect the time required to make the project. The instructions below will show you how to make the ruffled apron. I couldn’t resist this hounds tooth print from Hobby Lobby® which I thought mimicked the fill stitch used in the embroidery design.
Step 1:
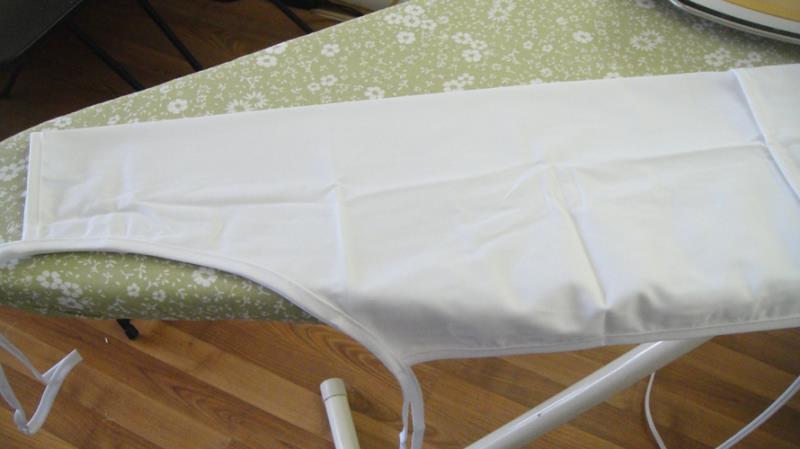
Fold a purchased apron in half and press a crease down the center from the top of the apron and down about 15” from the top.
(Click Image to Enlarge)
Step 2:
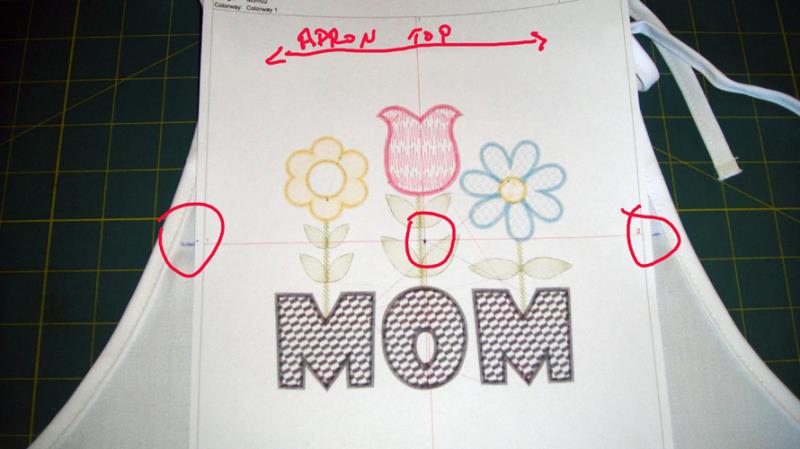
Print out a template of the design file with cross hairs. Position the template over the top of the apron positioning it to how close you want the top of the design to the top of the apron. With a Frixion® or other removable marking pen make a dot where the center of the design will be and make marks on each side of the horizontal cross hair. The vertical center of the design crosshair is placed on the crease you ironed into the apron.
(Click Image to Enlarge)
Step 3:
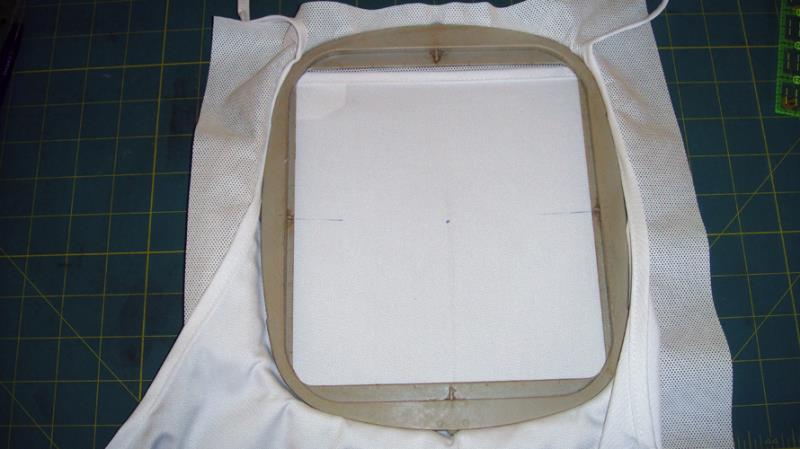
Place tear away stabilizer over your hoop bottom ring, place the apron over the stabilizer and align the center and sides of the apron with the marks on your embroidery hoop.
(Click Image to Enlarge)
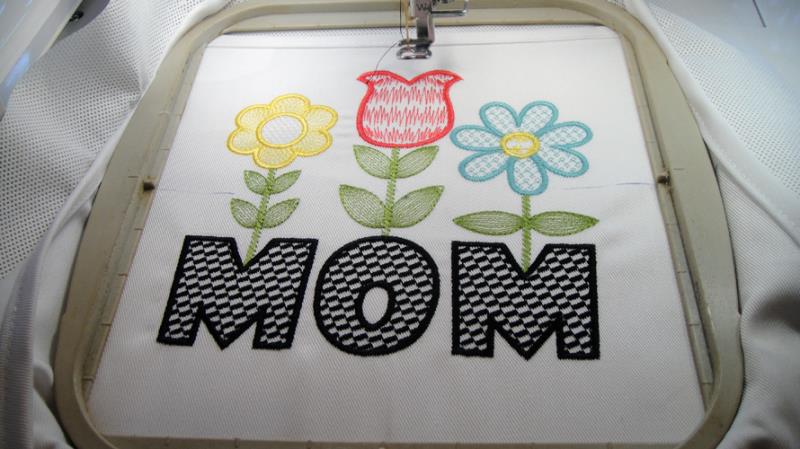
Step 4:
Following the color chart stitch the design.
(Click Image to Enlarge)
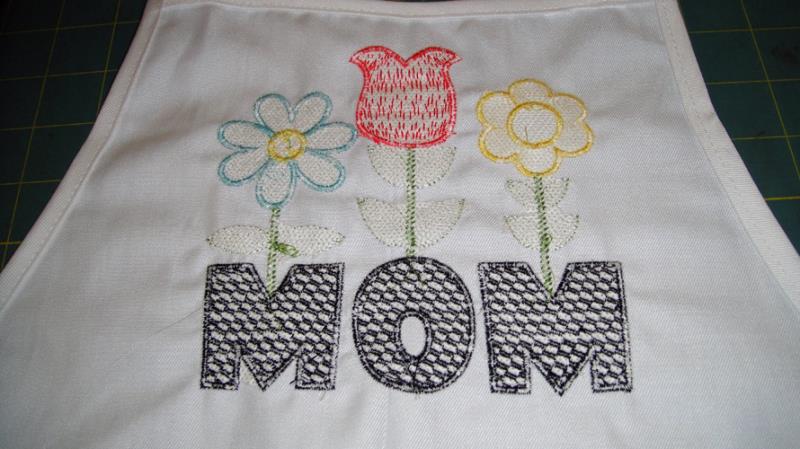
Step 5:
Tear away the stabilizer around the embroidered elements.
(Click Image to Enlarge)
Step 6:
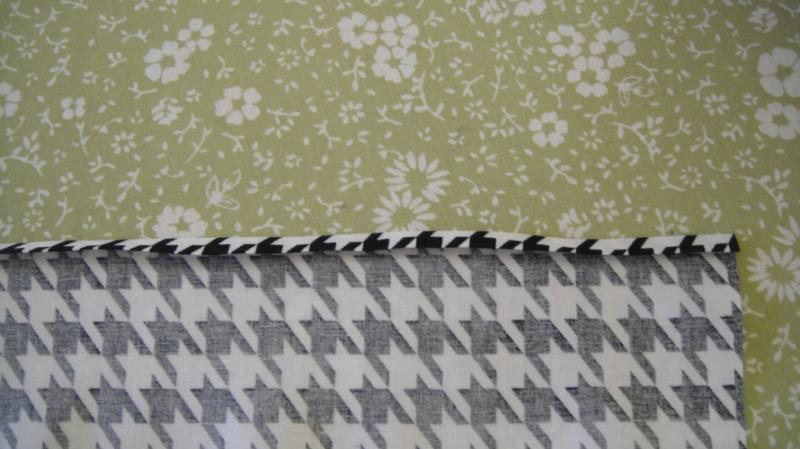
Cut two 3 1/2” strips of your ruffle fabric; trim off the fabric selvages and stitch the two strips together with a ¼” seam allowance; clean finish the seam with a serger or zigzag stitch. Press under ¼” along one long edge and then press over ¼” again to form a hem.
(Click Image to Enlarge)
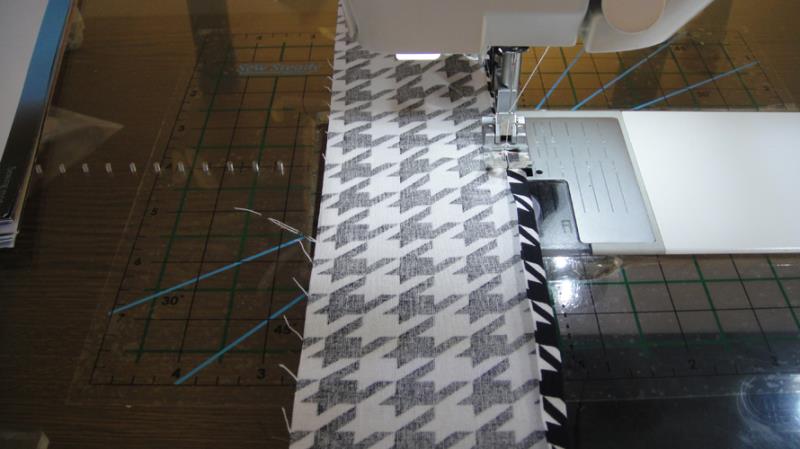
Step 7:
Stitch close to the inside edge of the ¼” folded hem.
(Click Image to Enlarge)
Step 8:
Finish the other long side of the ruffle with a serger or simply zigzag over the edge of the fabric without turning any fabric to the inside.
(Click Image to Enlarge)
Step 9:
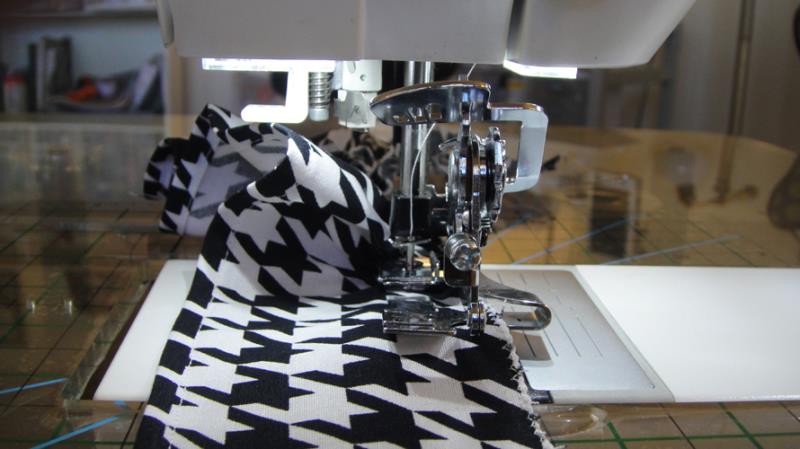
Use a ruffle attachment to gather your ruffle approximately ¾” from the zigzag finished edge of the ruffle. If you do not have a zigzag attachment gather by stitching two lines of stitching, one ¾” and one ½” from the zigzag edge of the ruffle. Use a stitch length or 4mm or longer. Back stitch at the ends of these rows of stitching. Pull the bobbin or the top threads of these two rows of stitching moving the fabric along to gather the ruffle.
(Click Image to Enlarge)
Step 10:
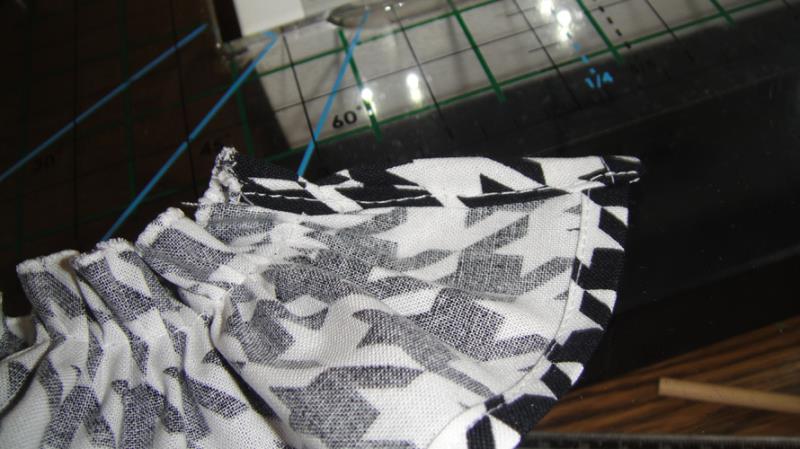
Fold under the edge that you back stitched if you gathered with rows of stitching, or either end of the ruffle you made with the ruffle marker, ¼” twice and stitch down. This will be the beginning of the ruffle.
(Click Image to Enlarge)
Step 11:
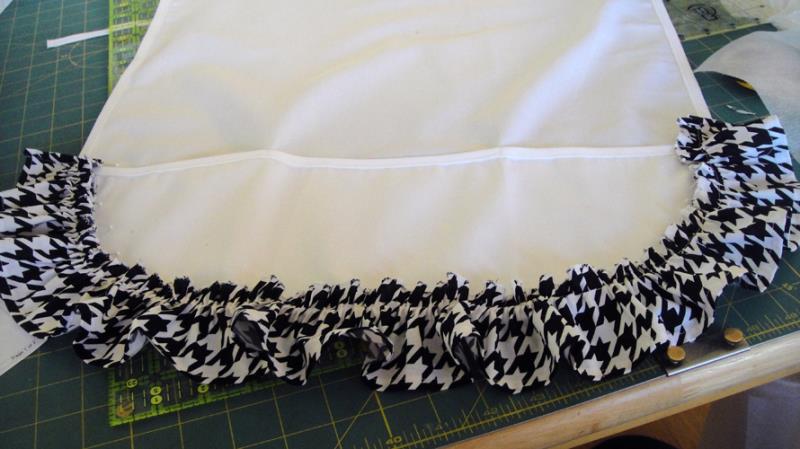
Pin the ruffle around the apron from the top of the pocket on one side to the top of the pocket on the other side pinning your ruffle stitch line just inside the bias tape that goes around the apron. Trim off any excess ruffle and finish the final end of the ruffle as you did the beginning end. Pin the finished end to the top of the pocket. Stitch the ruffle to the apron around the pocket on your gathering stitches.
(Click Image to Enlarge)
Step 12:
Congratulations your Mother’s Day aprons are complete!
Award winning Digitizer, Embroidery Educator, Author and a Consultant to the Industry, Pat Williams has 30 years of experience in the embroidery industry. Pat has won multiple awards for her digitizing expertise including the 2007 Impressions Awards Grand Championship, Best of Show as well as the 1st and 2nd Place Awards. Pat’s love of digitizing has afforded her the opportunity to write numerous articles for Impressions magazine in the United States and Images Magazine in Europe. In 2001 Pat was named “Embroidery Educator of the Year.” For many years Pat taught digitizing seminars at the ISS Shows in Long Beach, CA and for Compucon software. She now resides in Tucson, AZ.