















































PROJECT INSTRUCTIONS


PROJECT INSTRUCTIONS
Applique Monogrammed Wedding Napkins Embroidery Project
By
Linda Mills
on
March 14, 2018
Description
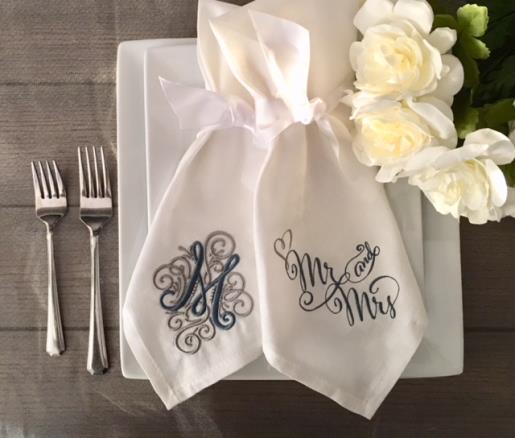
Enhance your wedding table setting with these elegant cloth napkins featuring a personalized applique monogram. Perfect for adding a touch of sophistication to your special day. Step-by-step instructions are included.
Step
of
Materials
Project Preview Video

Mr and Mrs
$5.99
Circle Price: $2.85
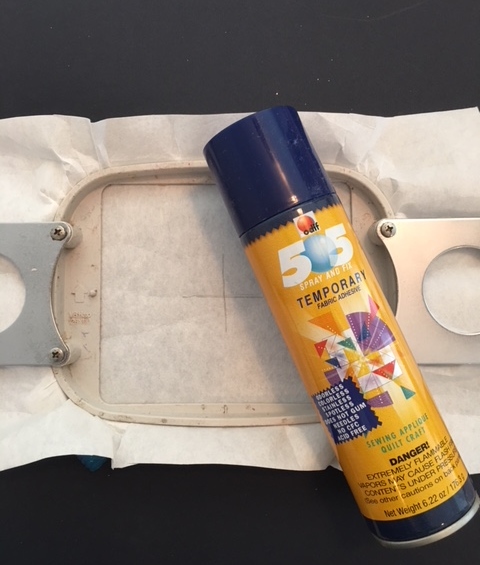
505 Spray Temporary Spray Adhesive
$19.99
Circle Price: $19.99

Cut Away Stabilizer - 2.5 Oz wt.
$8.94
Circle Price: $8.05

Cut Away Stabilizer - 2 oz wt.
$8.52
Circle Price: $7.67


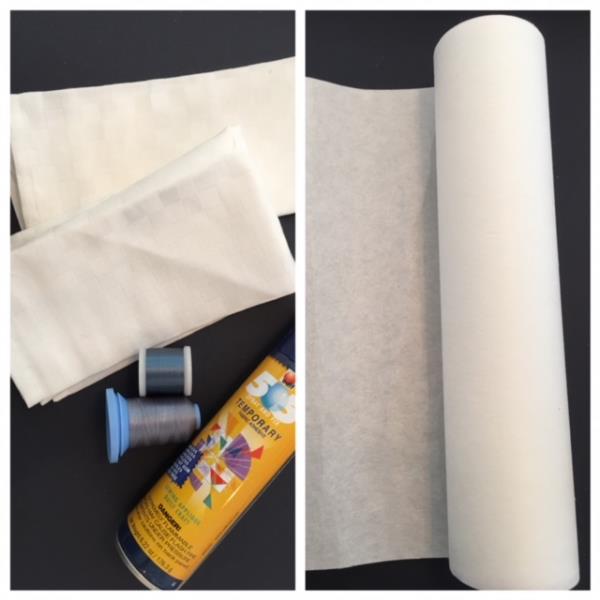
| Materials Purchased cloth napkins ( 2 for this tutorial) Embroidery Thread Temporary Adhesive Spray Tear Away Stabilizer |
| Designs used in this project |
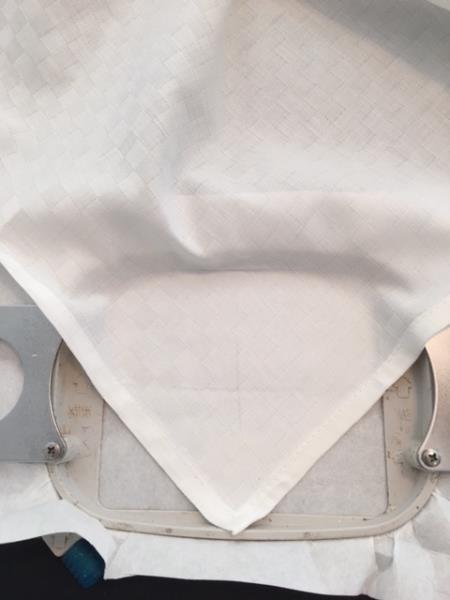
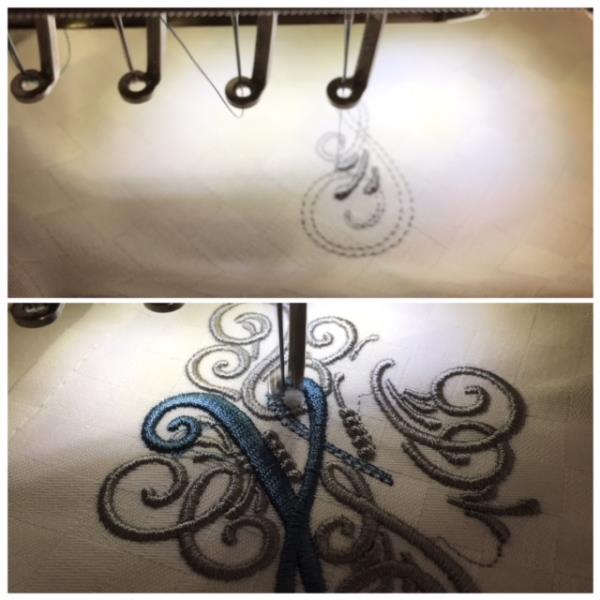
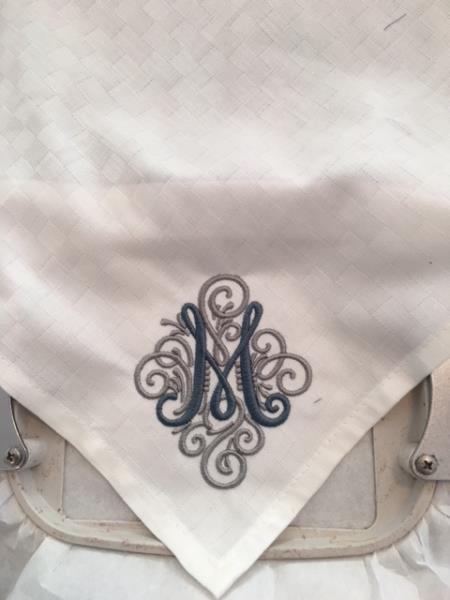
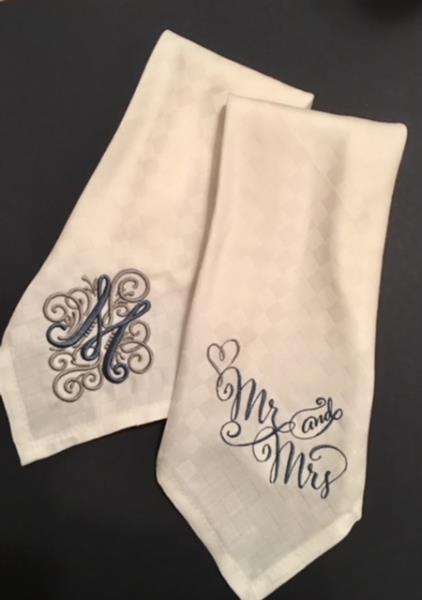
| Final Product: What You Will Create |
 |
|
Projects You May Like
Meet the Author:
Linda Mills

Linda loves to create by sharing her different sewing and machine embroidery techniques so others can utilize their machines to the fullest
Feedback
Characters Remaining
Please Login to Submit a Feedback
Invalid Characters, Please enter a valid Comment
Please enter a valid Comment
Reviewed On
Link is Broken, Please check the URL