{{superHeaderAds.title}}
Live Chat
Embroidery Designs
Welcome, Embroiderer
Login
Team Softball Towel
{{mainImageAlt || (productInfo._source && productInfo._source.name) || ''}}

Team Softball Towel Embroidery Project

By   Kylie Burke   on   March 14, 2018

PROJECT DETAILS

SKILL LEVEL
Beginner
TIME REQUIRED
01:10
Description

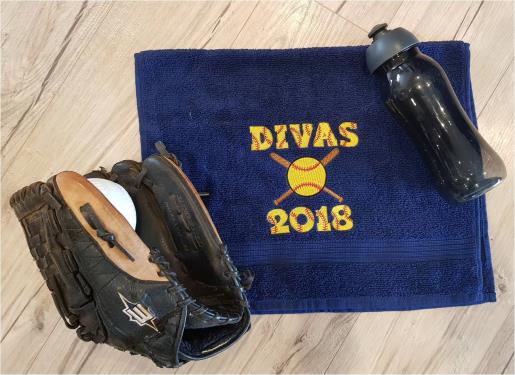
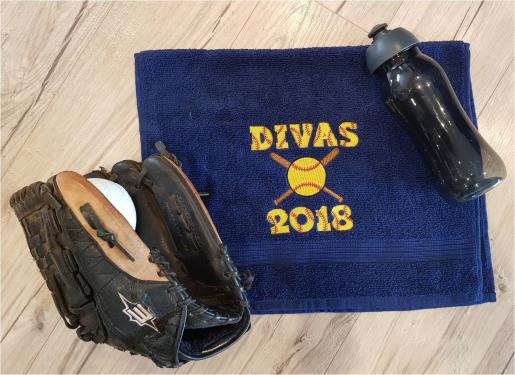
For when the game gets a little heated, this personalised team towel is great to have on hand. Also makes a great end of season gift for the team and could be personalised for players, MVP's and coaches.

Project Preview Video

Materials
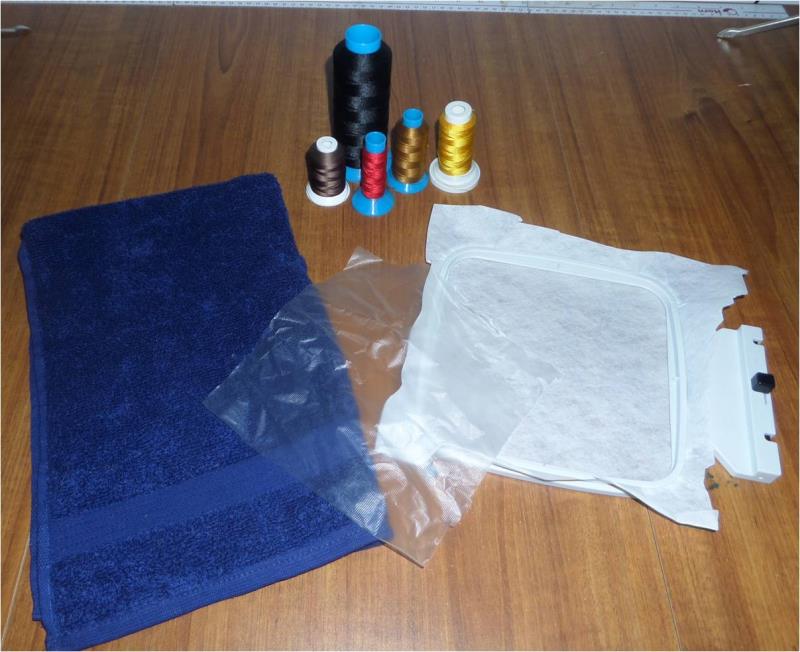
  • 1 hand towel (colour of your choice)
  • Tearaway stabilizer
  • Sulky fabri-solvy (topping film)
  • 7 colors of embroidery thread (I have used 5 as I repeated 2 colors)

  • Designs used in this project

    Final Product: What You Will Create

    Preface:
    These designs are quite dense so if your team name is long, you may want to choose the smaller sized lettering.


    Step 1:
    Gather the materials and read through the instructions before beginning. Have a copy of the color sequence on hand for reference

    (Click Image to Enlarge)


    Step 2:
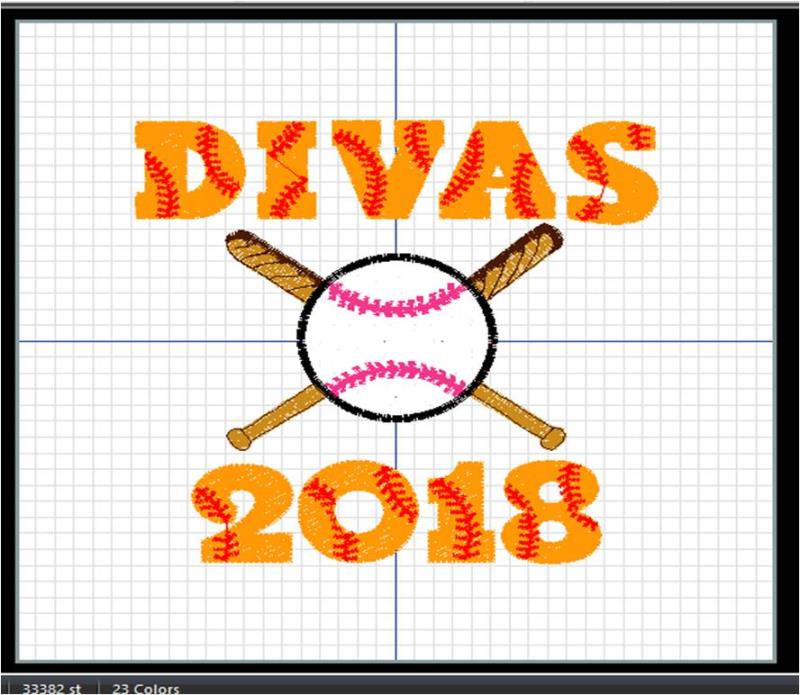
    If you have an embroidery software program, open up a new file and select your desired hoop size. Upload each design into the program and arrange the designs as desired then save as your new file. If you don’t have software, you can just load the designs onto your machine and arrange on the screen.

    (Click Image to Enlarge)


    Step 3:
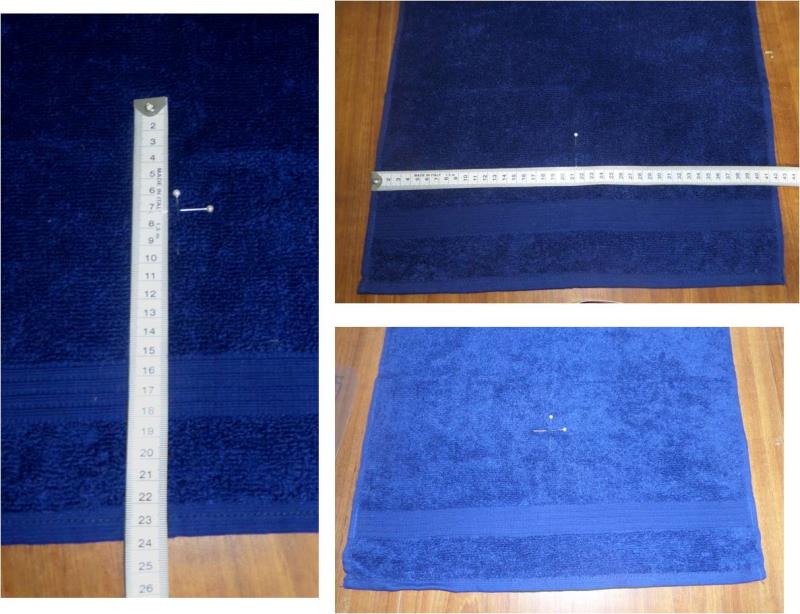
    On the hand towel, I have placed the design at the bottom of the towel so you need to mark where the centre of the embroidery will be. So measure across the width of the towel and place a pin at half way, then decide where you want the bottom of the design and measuring up from the bottom mark the half way point of the design. For example, my design is 140mm square and I want it to finish 1cm above the band so I measure up 15cm from the band then place the mark at 7cm which is halfway of the design.

    (Click Image to Enlarge)


    Step 4:
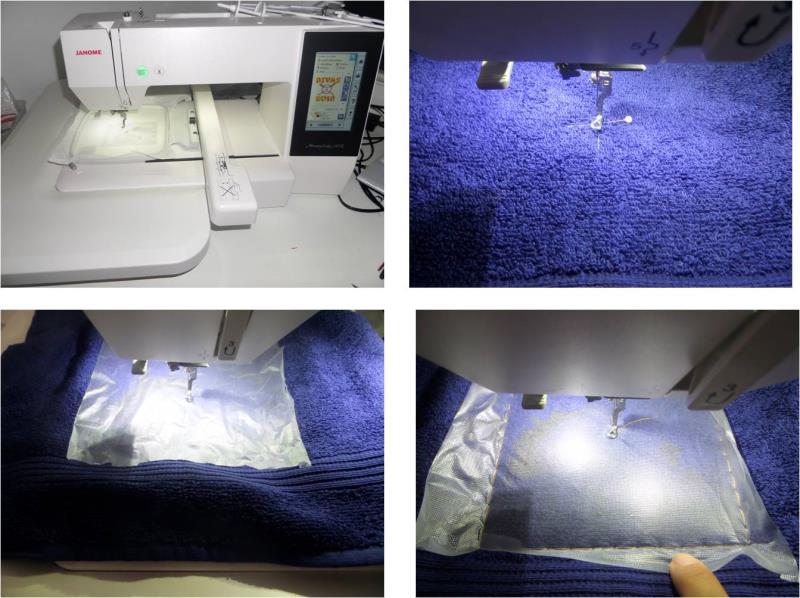
    For this design, I have “floated” the towel, you can hoop it if you prefer. Hoop the tearaway stabilizer and attach the hoop to the machine then place the towel under the foot, ensuring the foot is indicating the centre of the design and that your pin cross hair is underneath the foot. Then lay the fabri-solvy over the towel and using the tack down stitch on your machine, if you have it, tack down the solvy and towel to the stabilizer. If you don’t have the tack down option, you can pin down the towel to the stabilizer.

    (Click Image to Enlarge)


    Step 5:
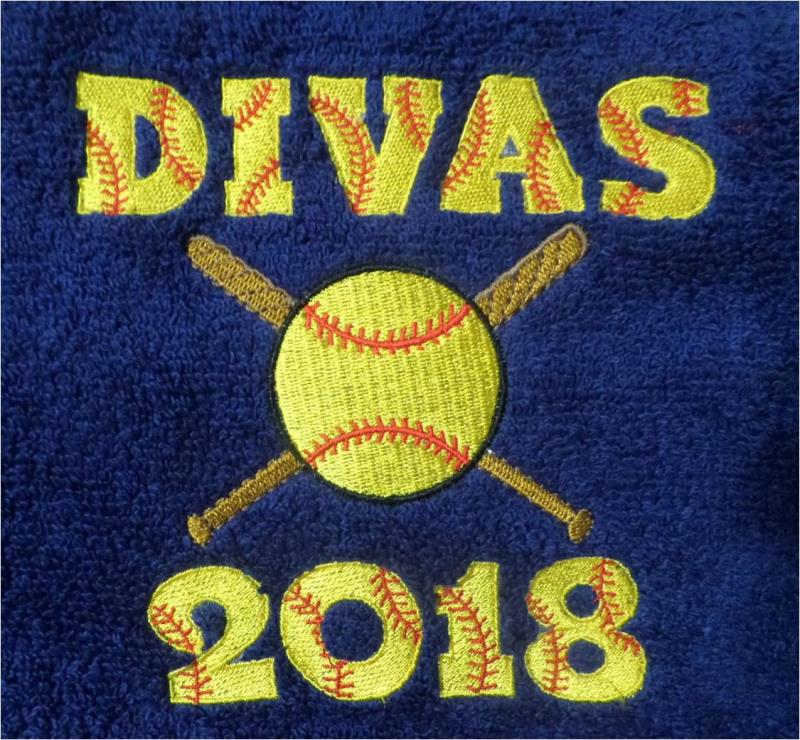
    Stitch out the 7 color design. Remove the hoop from the machine, unhoop and remove all stabilizers. Trim and press if needed

    (Click Image to Enlarge)


    Step 6:
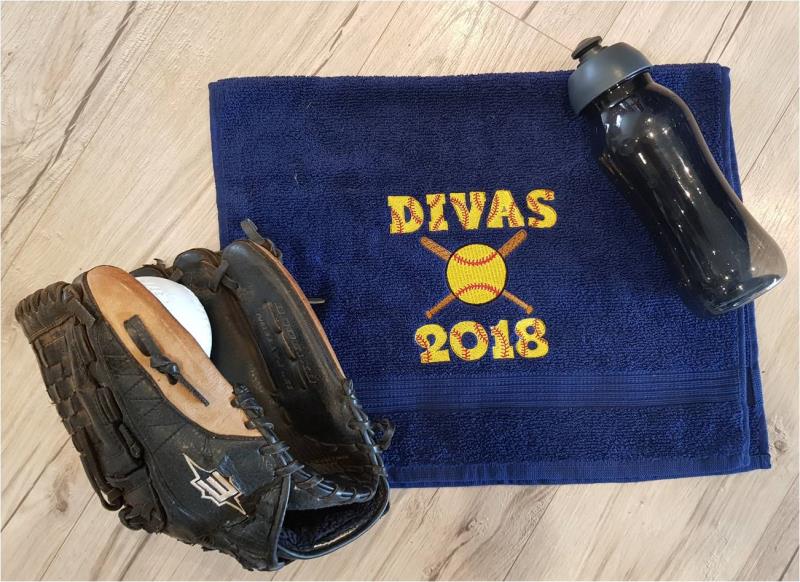
    Play ball!! You now have a personalized softball towel for when those games get a little heated

    (Click Image to Enlarge)

    Meet the Author: Kylie Burke
    Kylie Burke
    Kylie is based in Australia and loves creating and sharing her unique pieces.
    More From This Author
    Link is Broken, Please check the URL
    Exclusive Embroidery Offers!
    Copyright © {{ currentDate | date:'yyyy'}} - EmbroideryDesigns.com
    GET 50% OFF! ×