Live Chat
Embroidery Designs
Welcome, Embroiderer
Login
Wedding Table Number Hoops
{{mainImageAlt || (productInfo._source && productInfo._source.name) || ''}}

Wedding Table Number Hoops Embroidery Project

By   Linda Mills   on   March 22, 2018
  • SKILL LEVELSome Experience
  • TIME REQUIRED00:30
Description

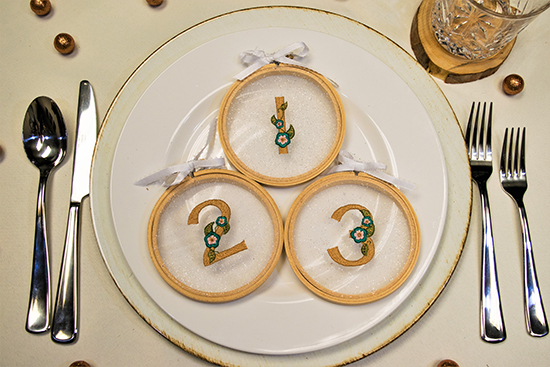
A simple and elegant embroidered number font stitched on organza to create table number hoops.

Step of

Materials

Project Preview Video

Materials
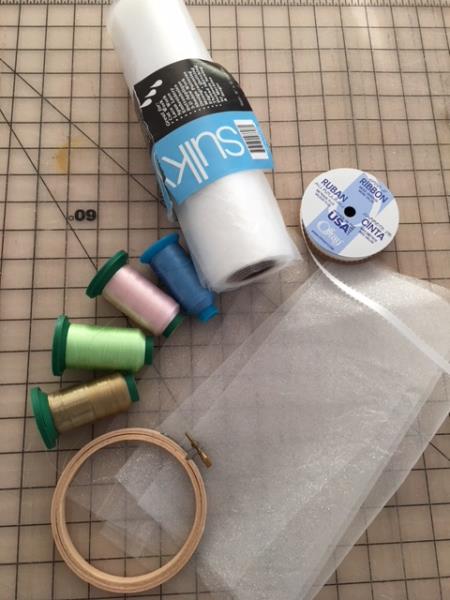
  • Embroidery thread
  • Organza ( For this tutorial I used a glitter organza)
  • Ribbon Trim
  • Water soluble Stabilizer
  • 4" round wooden hoop

  • Designs used in this project

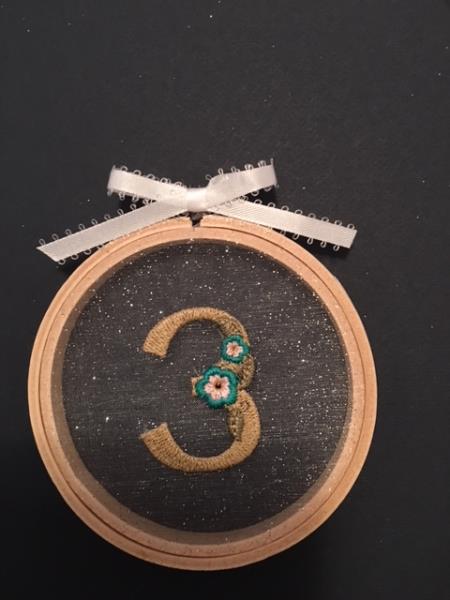
    Final Product: What You Will Create

    Preface:
    Cute, stylish, and elegant embroidered table number hoops to finish off your table decor for that special day!


    Step 1:
    Gather your materials and review instructions before beginning.

    (Click Image to Enlarge)


    Step 2:
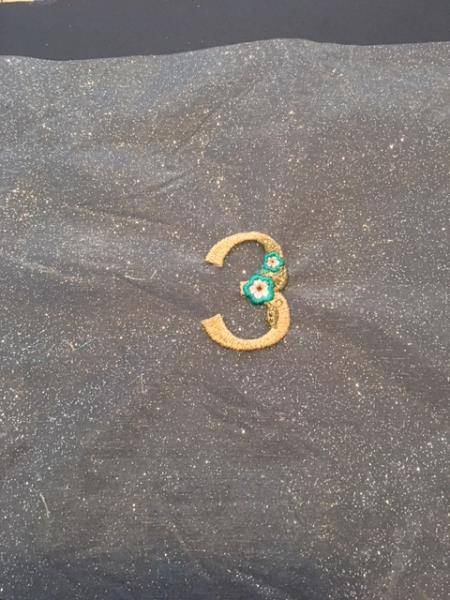
    Load design into your machine.  For this tutorial I chose the #3 font  


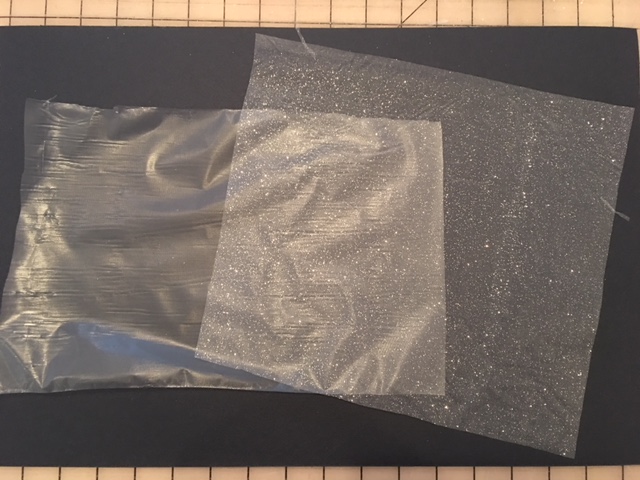
    Step 3:
    Cut one piece stabilizer and organza to fit your machine's  hoop.

    (Click Image to Enlarge)


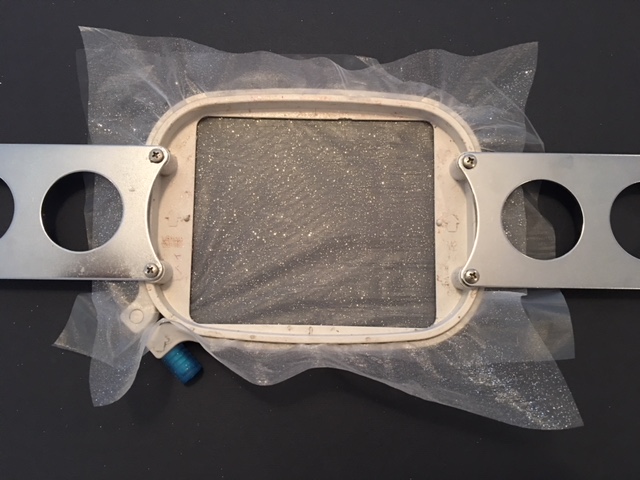
    Step 4:
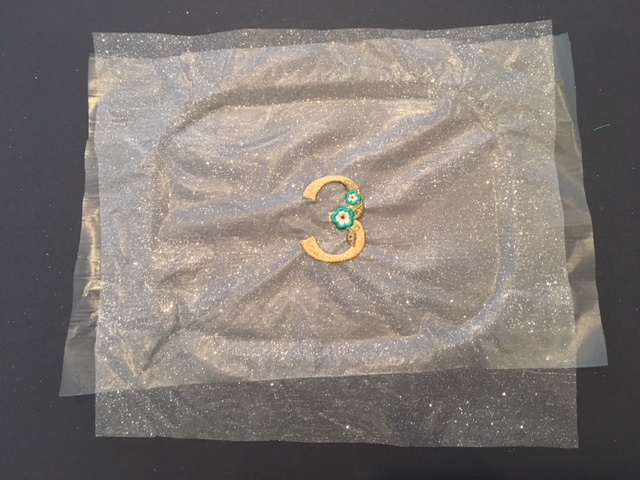
    Hoop both stabilizer and organza.

    (Click Image to Enlarge)


    Step 5:
    Attach hoop to your machine.

    (Click Image to Enlarge)


    Step 6:
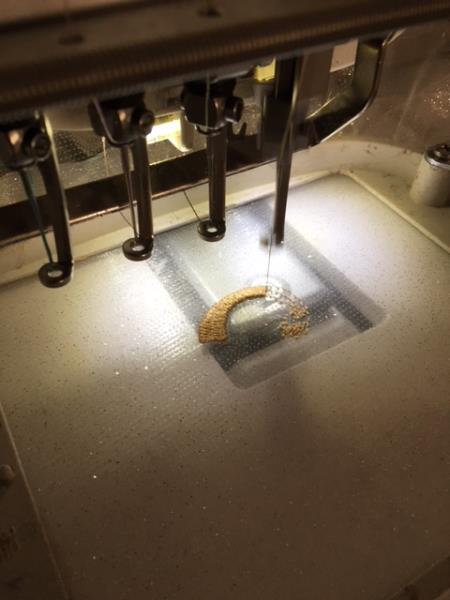
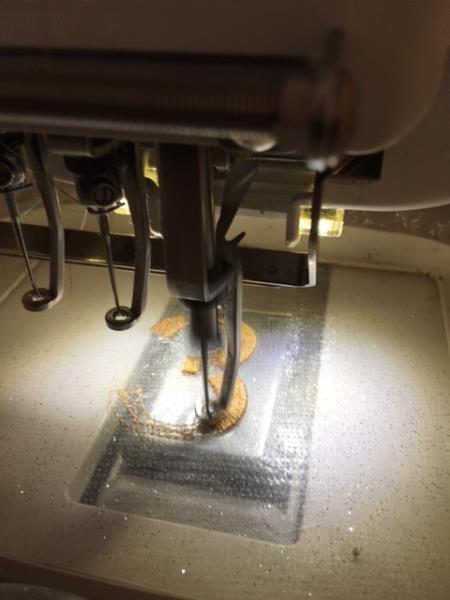
    Begin embroidering.  Enjoy the embroidering process!

    (Click Image to Enlarge)


    Step 7:
    When design is complete.  Remove hoop from machine and clip all loose thread ends and jump stitches. Front and back.

    (Click Image to Enlarge)


    Step 8:
    Remove stabilizer.   (Tip:  Soak in water to dissolve any remaining hard to remove stabilizer then blot the fabric with paper towel and let air dry.  Press with top cloth on low setting if needed)

    (Click Image to Enlarge)


    Step 9:
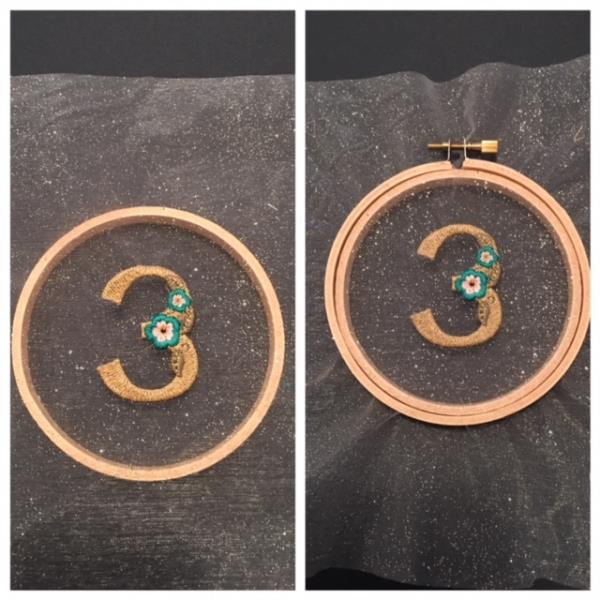
    Center your design onto smaller ring of wooden embroidery hoop.  Looses the tightening device at top on the larger ring and position larger ring over smaller ring.  Pushing down to hold fabric taut and in place.  Once centered, tighten using tightening device. 

    (Click Image to Enlarge)


    Step 10:
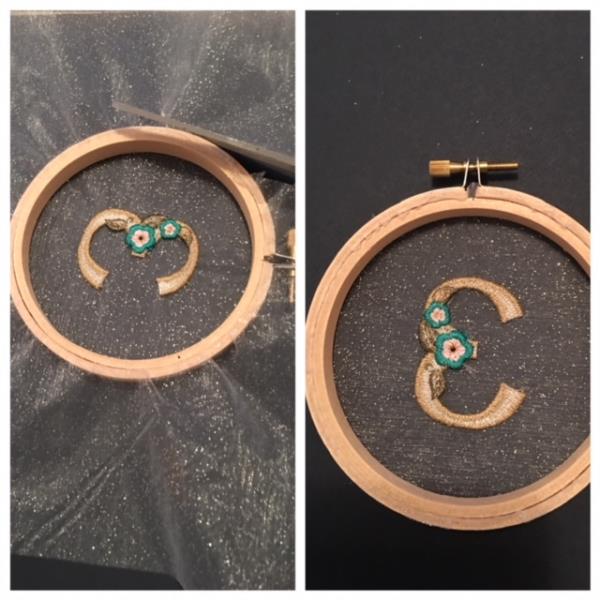
    Trim excess organza as shown in picture.

    (Click Image to Enlarge)


    Step 11:
    Add your ribbon to top at the tightening device by tying into a bow.  Your table number hoop is now complete!  Repeat steps when making numerous table number hoops.   Congratulations and Best Wishes!

    (Click Image to Enlarge)

    Meet the Author: Linda Mills
    Linda Mills
    Linda loves to create by sharing her different sewing and machine embroidery techniques so others can utilize their machines to the fullest
    More From This Author
    Link is Broken, Please check the URL
    Exclusive Embroidery Offers!
    Copyright © {{ currentDate | date:'yyyy'}} - EmbroideryDesigns.com
    GET 50% OFF! ×