{{superHeaderAds.title}}
Live Chat
Embroidery Designs
Welcome, Embroiderer
Login
Easter Mug Rug
{{mainImageAlt || (productInfo._source && productInfo._source.name) || ''}}

Easter Mug Rug Embroidery Project

By   Martha Montgomery   on   March 14, 2018

PROJECT DETAILS

SKILL LEVEL
Some Experience
TIME REQUIRED
03:00
Description

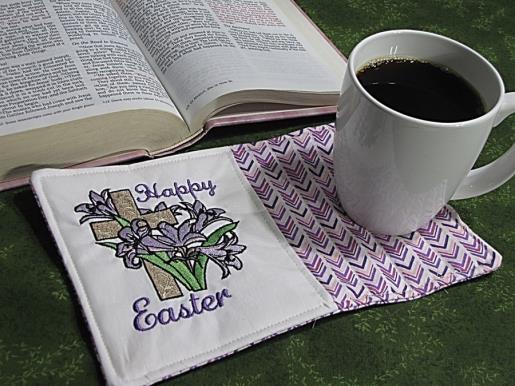
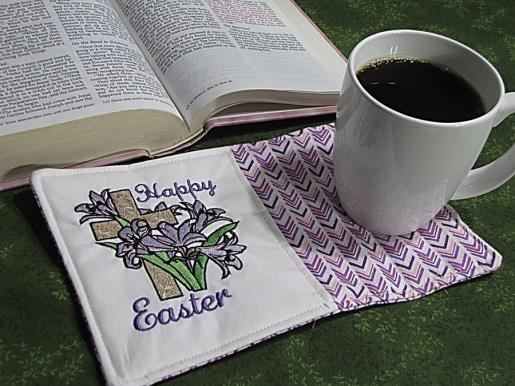
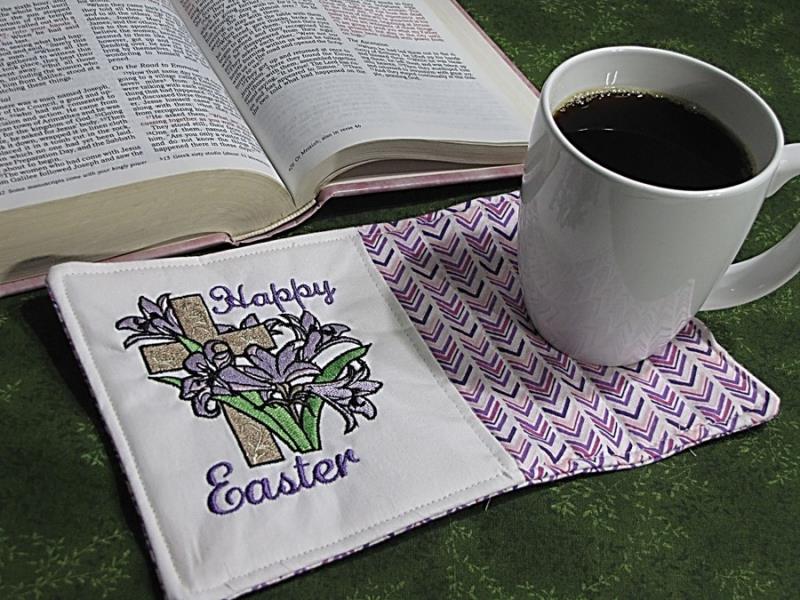
Create an Easter mug rug to celebrate the Easter season.

Project Preview Video

Materials
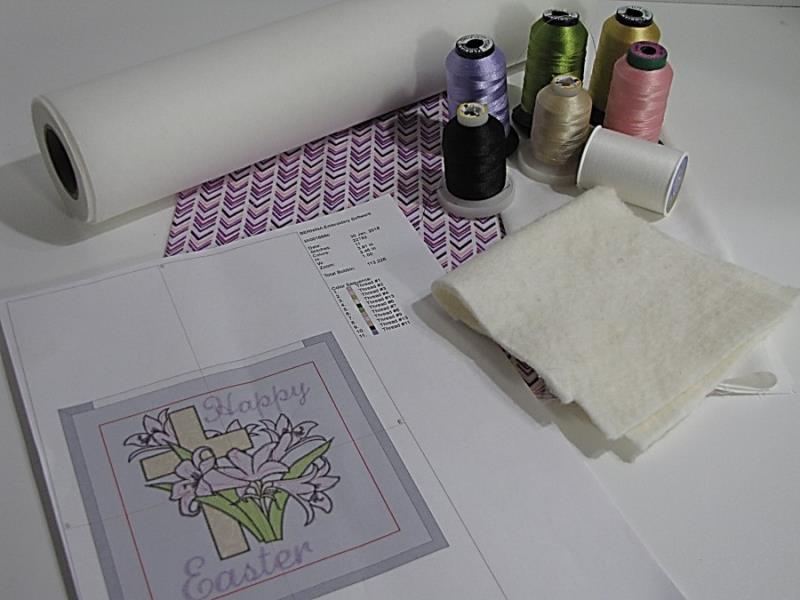
  • 1 - 6” x 10” piece of solid fabric for the embroidery design area
  • 1 - 5” x 10” piece of print fabric for top of mug rug
  • 1 - 6” x 10” piece of print fabric for back of mug rug (optional – you can use the same fabric as the print top and cut 1 6” x 10” piece of the print fabric for the back.)
  • 1 - 6” x 10” piece of cotton batting
  • Embroidery thread
  • Cutaway stabilizer

  • Designs used in this project

    Final Product: What You Will Create

    Preface:
    This Easter mug rug is a nice reminder of the Easter season. You can use it at your desk or table to enjoy for yourself or gift it to someone as a greeting and reminder of the season.

    This project will create a 5” x 9” mug rug.


    Step 1:
    Gather the materials and read through the instructions before beginning. Print out a paper template of the design and color sequence.

    (Click Image to Enlarge)


    Step 2:
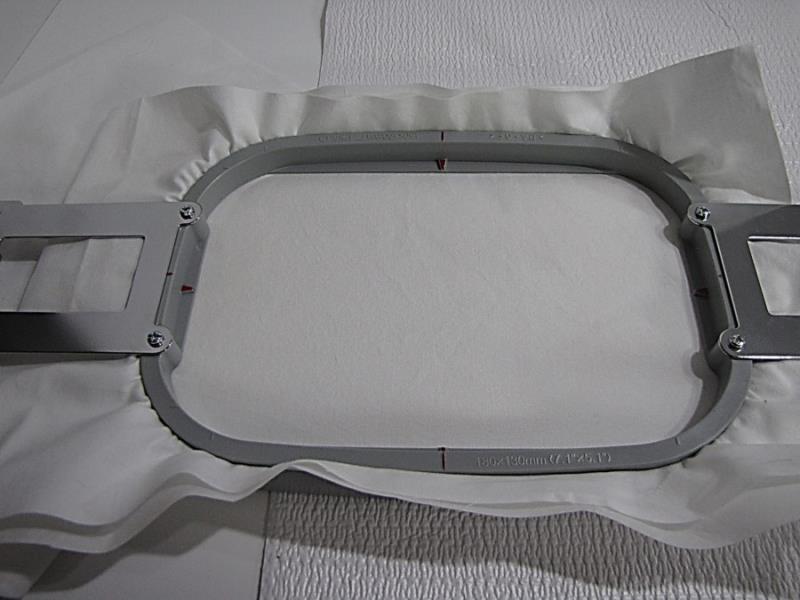
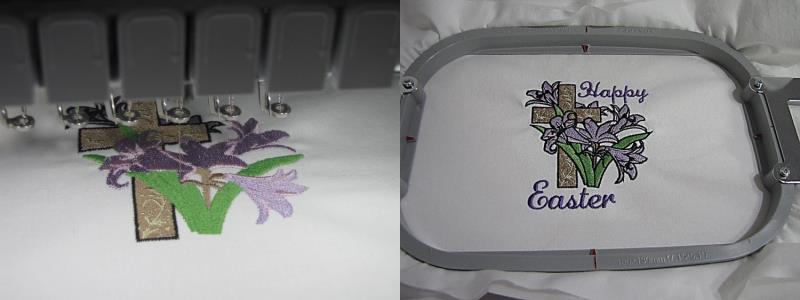
    Hoop the solid fabric with the cutaway stabilizer.

    (Click Image to Enlarge)


    Step 3:
    Place the hooped fabric on your machine and stitch the design, following the color sequence.

    (Click Image to Enlarge)


    Step 4:
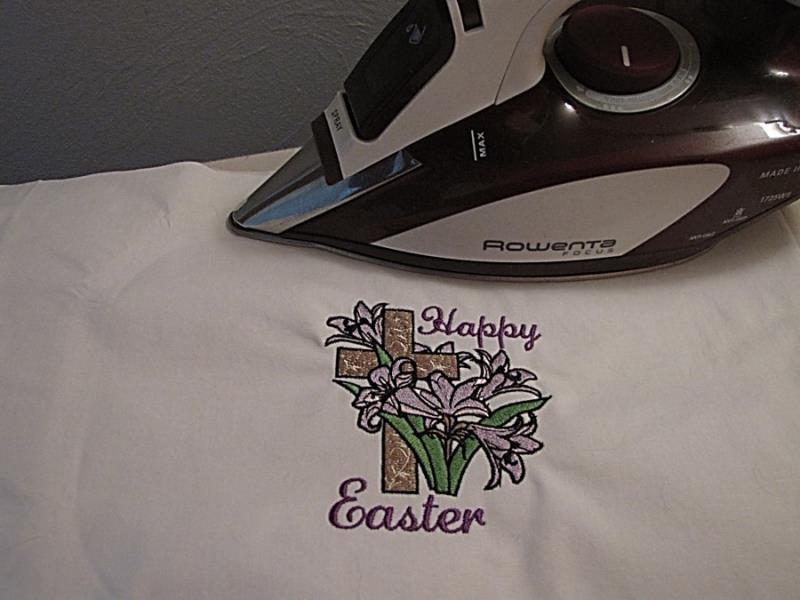
    Remove the project from the hoop and press the fabric and stabilizer. I did not trim the excess stabilizer from around the design as I wanted to leave it for added body to the design fabric.

    (Click Image to Enlarge)


    Step 5:
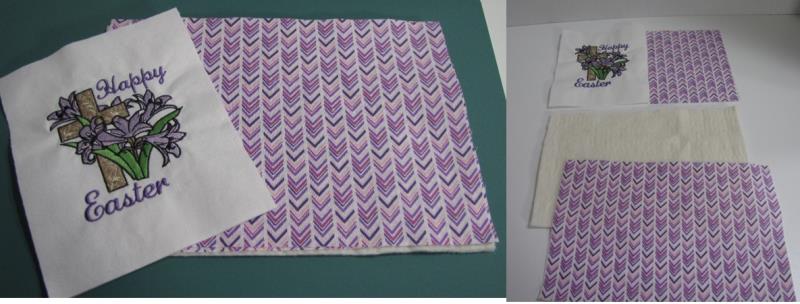
    Trim the fabric around the design to the desired size for the top of the mug rug. It may be slightly less than half of the area of the mug rug, depending upon the size you choose to make.

    (Click Image to Enlarge)


    Step 6:
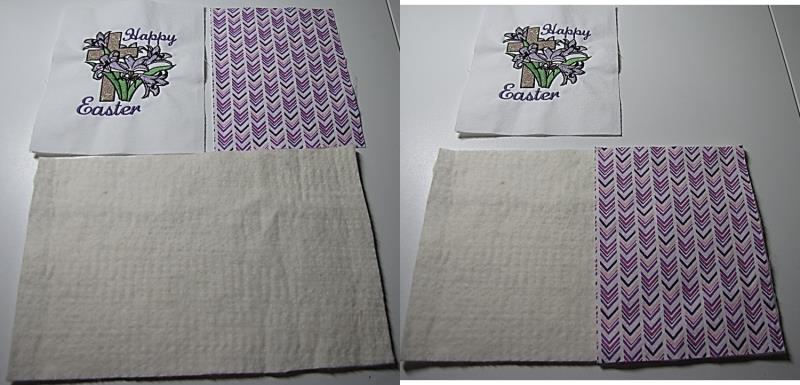
    Place the print fabric onto the batting, right side up.

    (Click Image to Enlarge)


    Step 7:
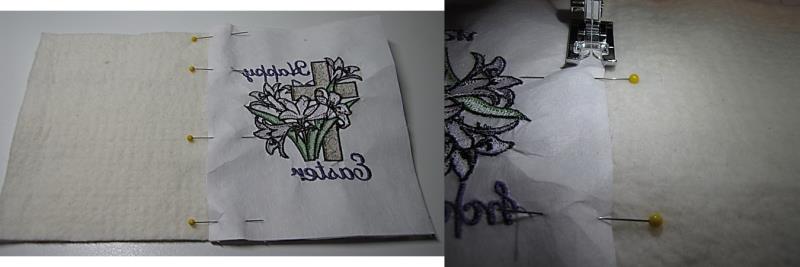
    Place the embroidered design over the print fabric, matching the raw edges and pin at the center of the mug rug. Stitch through all layers of fabric and batting along the pinned edge.

    (Click Image to Enlarge)


    Step 8:
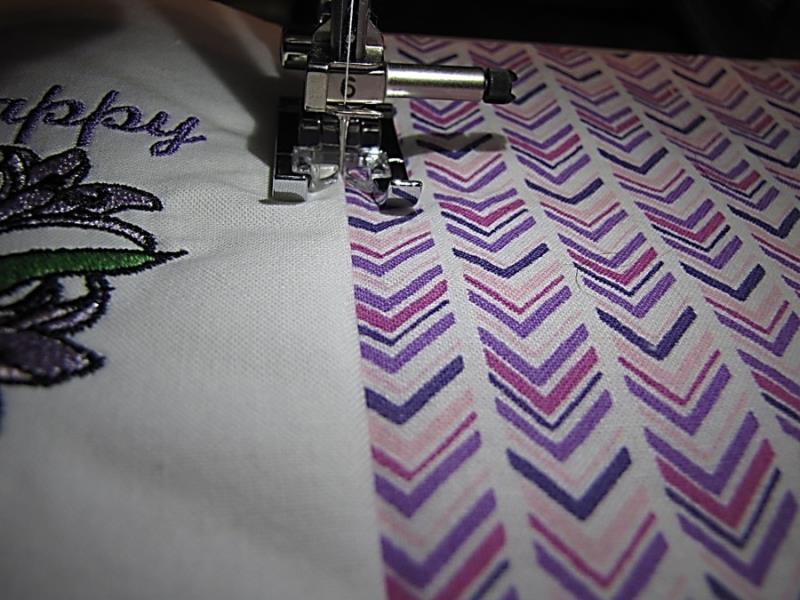
    Open the embroidered fabric to the left of the mug rug and press. Stitch in the ditch along this line.

    (Click Image to Enlarge)


    Step 9:
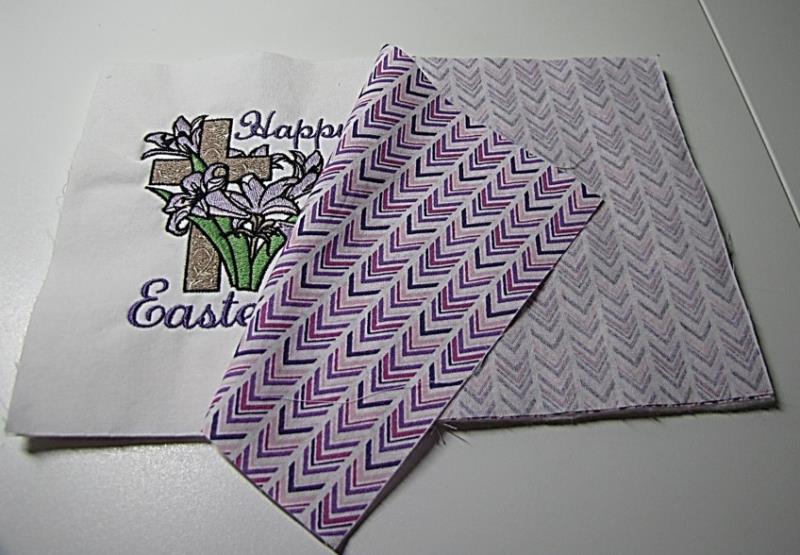
    Place the back fabric of the mug rug onto the stitched top, right sides together, and pin around the edges of the “sandwich.” 

    (Click Image to Enlarge)


    Step 10:
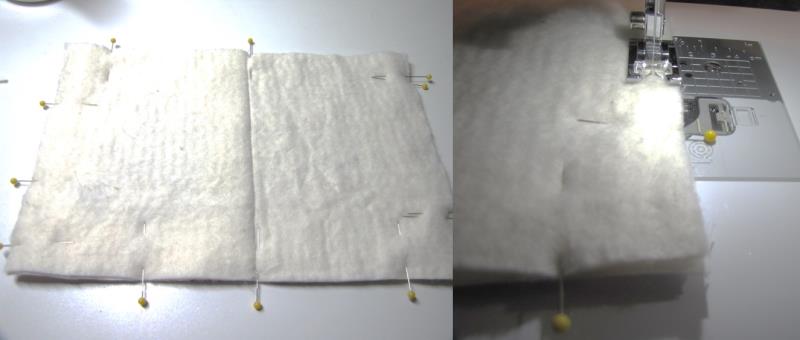
    Stitch around the edges of the mug rug, leaving a section open to turn the project right side out.

    (Click Image to Enlarge)


    Step 11:
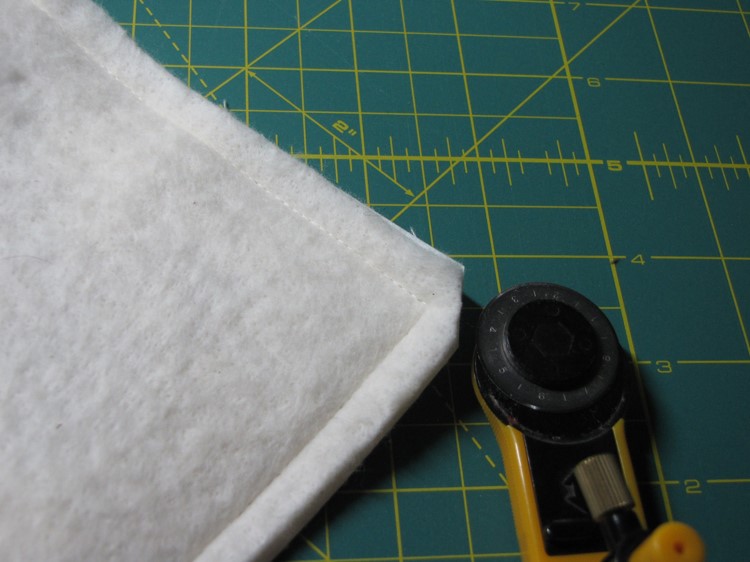
    Trim the corners of the project, turn the mug rug right side out and press.
     

    (Click Image to Enlarge)


    Step 12:
    Pin the open edge closed, folding the raw edges to the inside. Top stitch along the outside edge of the mug rug. You will catch the open edge in this top stitching, thus finishing the edge.
     
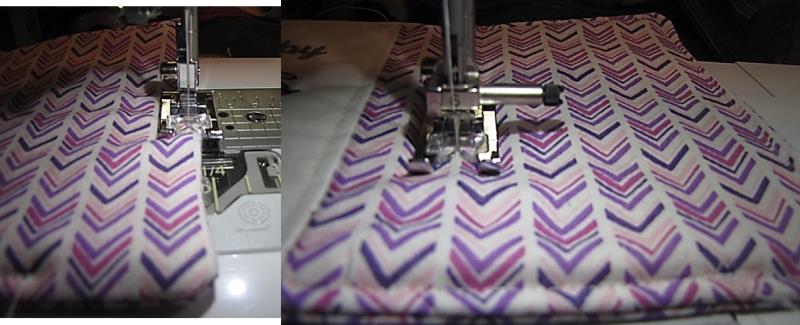
    If you would like, you may quilt the print fabric half of the mug rug. I did so in this project, using the stripes of the fabric as my quilt lines.

    (Click Image to Enlarge)


    Step 13:
    Good job! You now have a beautiful mug rug to celebrate the Easter season or to give as a greeting to a loved one. This project can be made for any occasion or holiday. Enjoy!

    (Click Image to Enlarge)

    Meet the Author: Martha Montgomery
    Martha Montgomery
    Martha has been sewing since childhood. She is a maker of garments, quilter and machine embroiderer. Martha loves all things fabric and fabric-related.
    More From This Author
    Link is Broken, Please check the URL
    Exclusive Embroidery Offers!
    Copyright © {{ currentDate | date:'yyyy'}} - EmbroideryDesigns.com
    GET 50% OFF! ×