Border OptionsHugging border, circle, square, or rectangle — with a 3mm satin stitch.
Backing OptionsAvailable with iron-on, sew-on, or velcro backing.
Fast ShippingShipped quickly from the USA.
Free Online Tools
Powerful embroidery utilities that save time and prevent costly mistakes.
Stitch AssistantRECOMMENDED
Get the exact stabilizer, machine settings, needle, and thread color sequence for every embroidery design you purchase — based on that design's stitch density, dimensions, and color count.
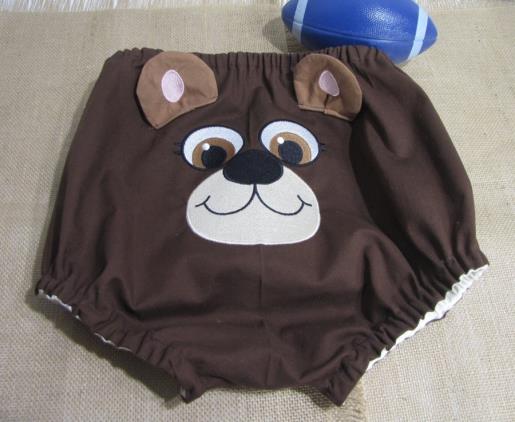
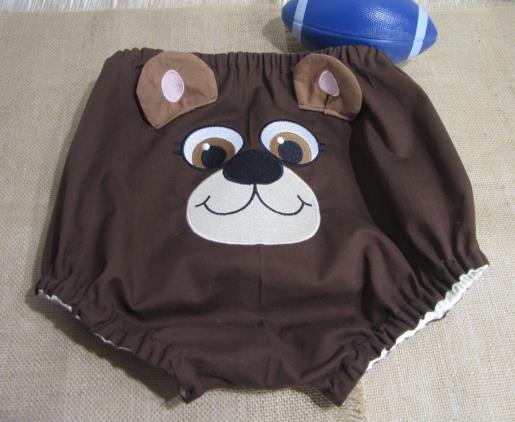
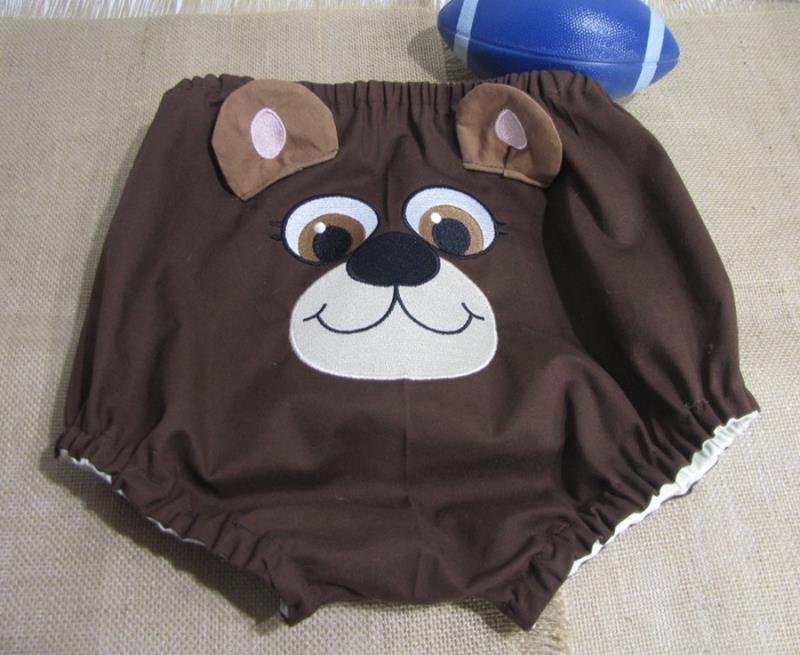
Create an adorable bear-themed diaper cover featuring charming 3D ears. Perfect for adding a playful touch to your baby's wardrobe. Step-by-step instructions are included.
Step
of
Bear Diaper Cover with 3D Ears
By Martha Montgomery
Your little one will be “unbearably” cute in this adorable bear diaper cover with 3D ears!
Step 1:
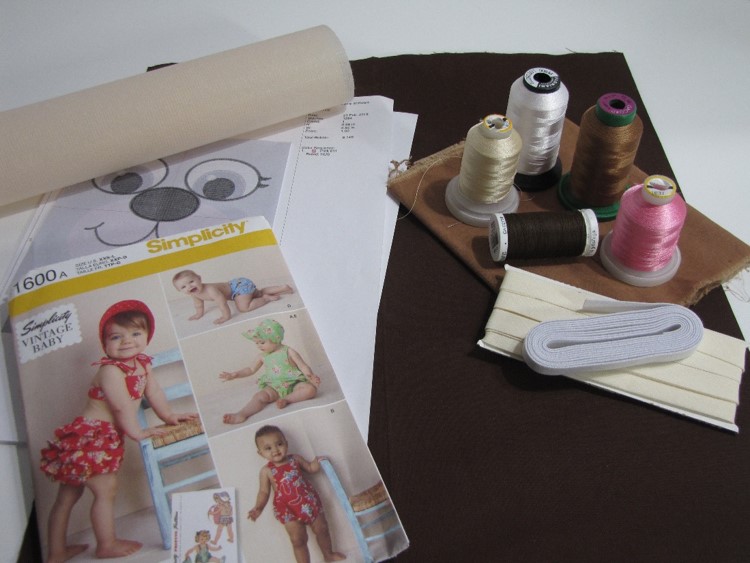
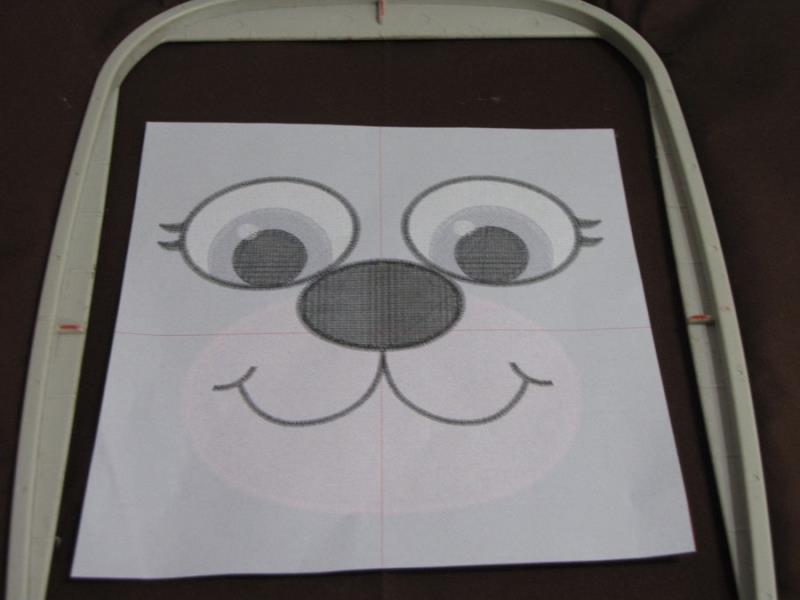
Gather the materials and read through the instructions before beginning. Print out a paper template of the design and color sequence.
(Click Image to Enlarge)
Step 2:
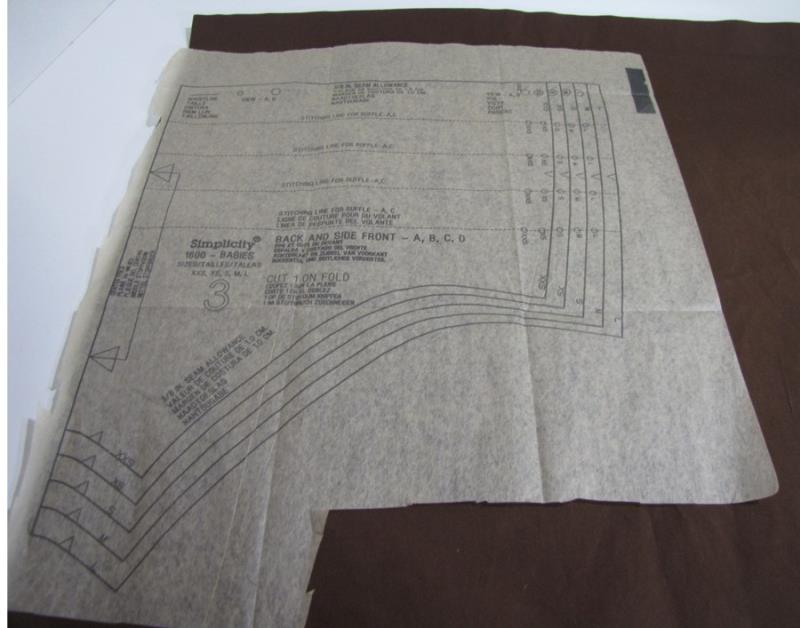
Cut a piece of fabric large enough for the back of the diaper cover, referring to your pattern for the amount needed. Use the pattern piece to determine placement of your design. You will hoop the fabric first and cut the back of the diaper cover, following the pattern, once the design has been embroidered. In this project, I measured down 5” from the top edge of the back of the diaper cover to the center of the embroidery design. Your measurements will depend on the size and style diaper cover you are making.
(Click Image to Enlarge)
Step 3:
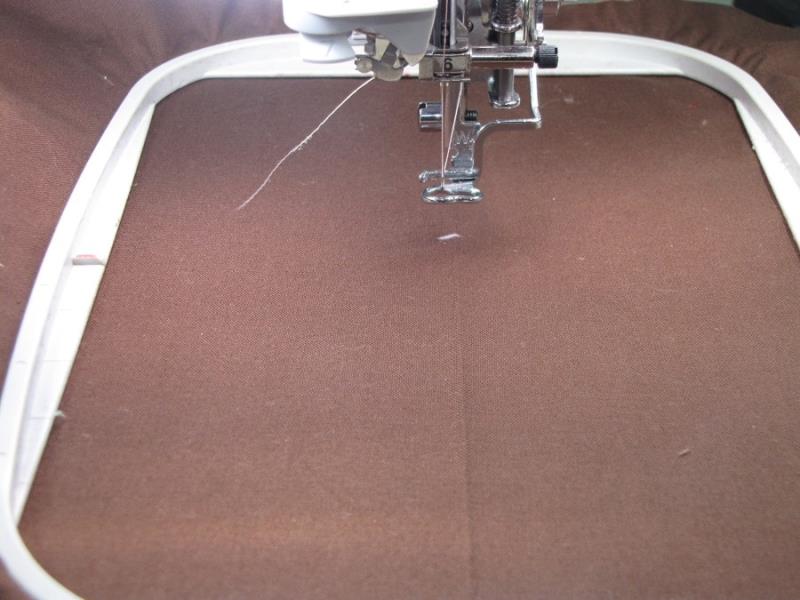
Following the manufacturer’s instructions, iron the fusible cutaway stabilizer to the wrong side of the fabric. Fold the fabric in half and press a light crease to use as the vertical center line of the fabric. Using the measurement determined in Step 2, make a light, horizontal mark at the center of the design area.
(Click Image to Enlarge)
Step 4:
Hoop the fabric and stabilizer, using the fold line for the vertical placement and the mark from your measurement for the cross-wise placement. Using the paper template, confirm the placement of the fabric within the hoop.
(Click Image to Enlarge)
Step 5:
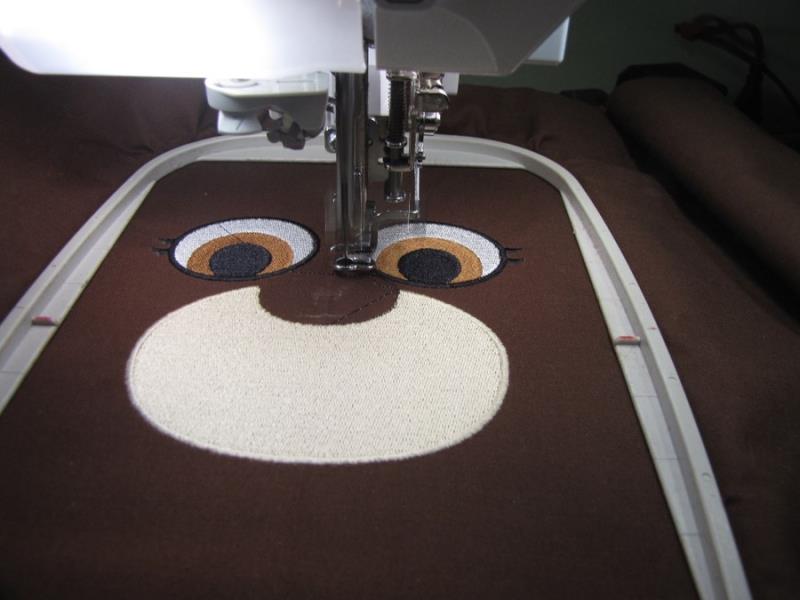
Place the hooped fabric on your machine and stitch the design following the color sequence.
(Click Image to Enlarge)
Step 6:
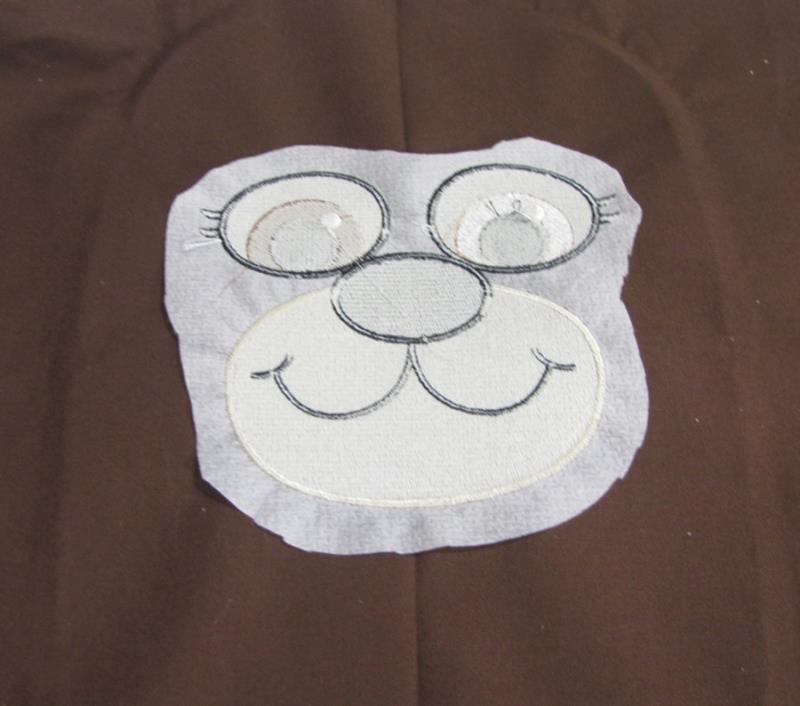
When stitching is complete, remove your design from the machine and trim excess stabilizer.
(Click Image to Enlarge)
Step 7:
Following your pattern, you will now cut the diaper cover back and diaper cover front pieces from your fabric. The pattern will need to be placed on the back fabric low enough on the fabric to allow room for the ears to be sewn above the embroidery design. This placement will vary depending upon the size of the diaper cover.
Step 8:
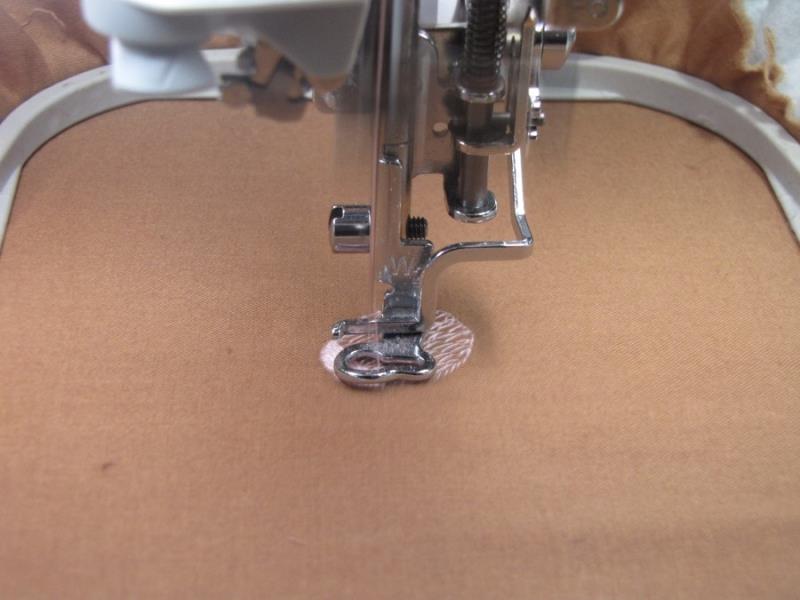
To make the 3D ears, hoop the fabric for the inner ear (in this project it is the lighter brown fabric) and stitch two pink bear ears, allowing enough room between them to cut the circles for the ear pieces. The size of the circle will vary depending on which size diaper cover you are making. You can decide how large or small you want them.
(Click Image to Enlarge)
Step 9:
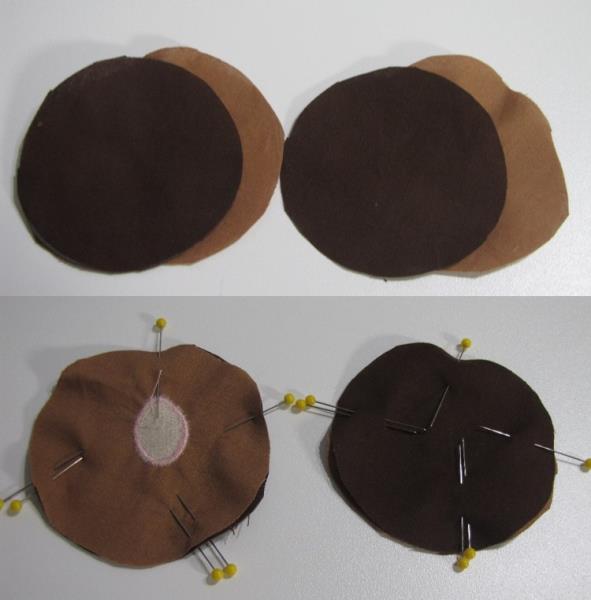
Each of the bear ears takes one dark brown circle and one lighter brown circle. When done stitching the embroidery design on the bear ears, you will need to cut two circles out of the dark brown fabric for the outside of each of the ears and two circles with the pink bear ear stitching for the inside of each of the ears. In this project, I used a 3” diameter circle to make the ears.
Pin the outside (dark brown) of each ear to the inside (lighter brown) of each ear right sides together.
TIP: To designate the area I will leave open to turn the ears, I mark either side of the opening with double pins.
(Click Image to Enlarge)
Step 10:
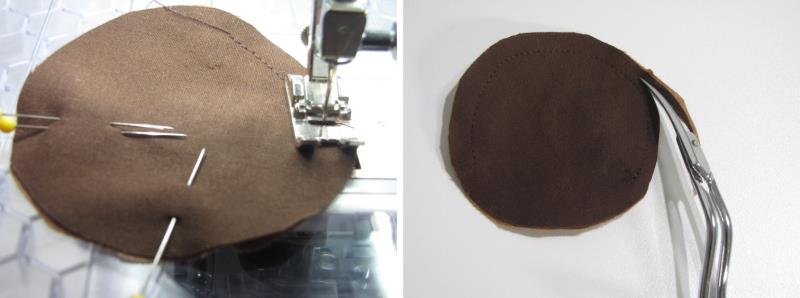
Stitch around the the ears (being sure to leave an opening to turn them) using a 1/4” seam. Trip the seam and clip around the curve of the ears, being careful not to clip your stitches.
(Click Image to Enlarge)
Step 11:
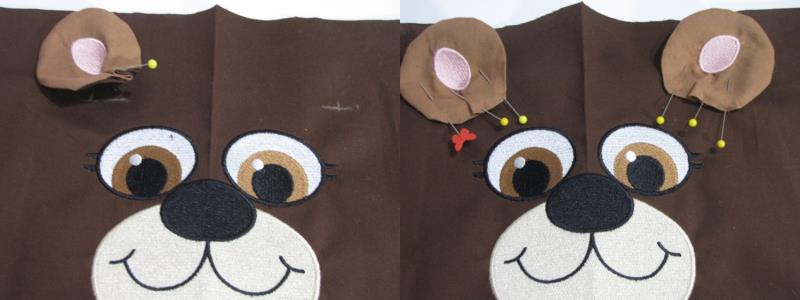
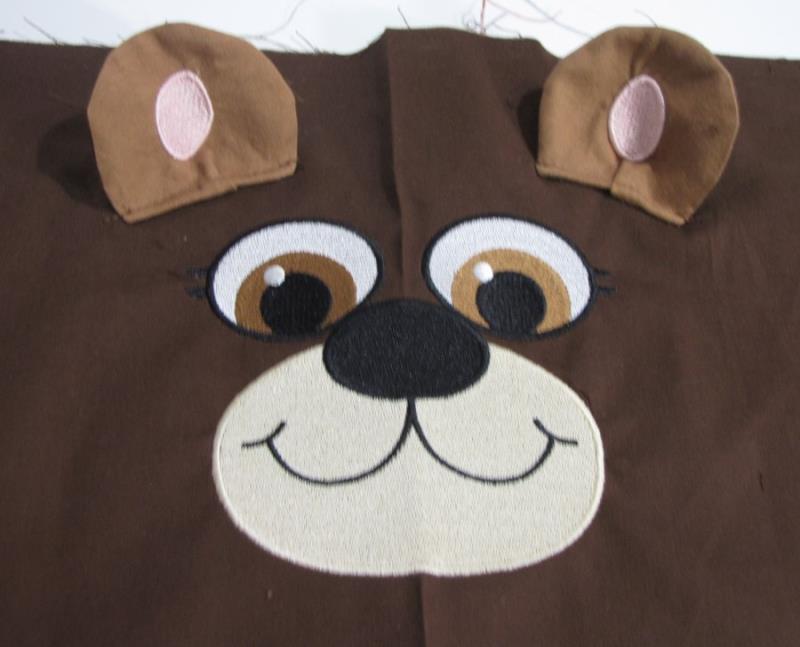
Turn each ear right side out, rounding out the curve of the ear, and press each ear. Press the open edge used to turn the ear toward the inside of the ear. Measure an equal distance on either side of the center fold of the diaper back piece and pin the ears at this location. In this project, the ears were 2.5” away from the center fold and 2” from the top edge of the cover.
You will stitch the ears on the bear making sure the opening is positioned as the base of the ear where you sew to attach the ears to the diaper cover. This will close the opening you used for turning the ears when you stitch the ear to the diaper cover.
(Click Image to Enlarge)
Step 12:
When you have decided on a placement for the ears that suits you, stitch them to the diaper cover back, being sure to catch the opening you used to turn the ears in the stitching.
(Click Image to Enlarge)
Step 13:
Following the pattern instructions, you are now ready to finish your diaper cover.
Step 14:
Congratulations on a job well done! You have now completed this adorable bear diaper cover with 3D ears. Your little one will be "unbearably" adorable!
Martha has been sewing since childhood. She is a maker of garments, quilter and machine embroiderer. Martha loves all things fabric and fabric-related.