Blackwork Jesus Portrait on Linen

Blackwork Jesus Portrait on Linen Embroidery Project

By   Pat Williams   on   March 06, 2018
  • SKILL LEVELBeginner
  • TIME REQUIRED01:00
  • FINISHED SIZE7 x 9 inches
Description

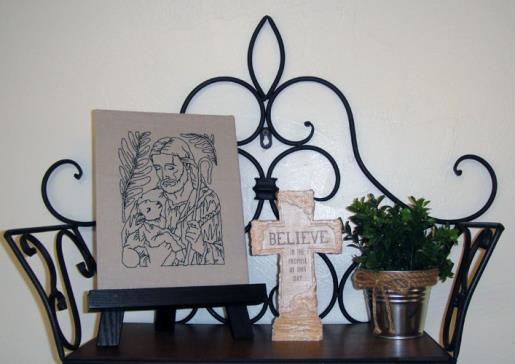
This blackwork depiction of Jesus on linen offers a simple yet elegant touch to any room. Ideal for Easter gifts or as a meaningful addition to altar cloths. Step-by-step instructions are included.

Step of

Materials

Project Preview Video

Materials
  • 5” x 7” embroidery hoop
  • 10 ½” x 9” black wooden easel (Hobby Lobby)
  • Yarnology® Self Sticking Mounting Board 11” x 14” (Hobby Lobby)
  • 12” x 15” Fusible no show stabilizer
  • 12” x 15” Natural mid-weight linen
  • Black Bobbin for your embroidery machine or Black 60 wt embroidery thread to load onto your bobbin
  • Black embroidery thread
  • Cellophane tape
  • Optional:
  • Printed craft paper
  • Tacky glue

  • Designs used in this project

    Final Product: What You Will Create

    Preface:
    Fusible no show stabilizer is used in this project in order for the embroidered fabric to be applied to the self-sticking matting board. If you are embroidering these designs on another project stabilizer suitable to that project may be used.


    Step 1:
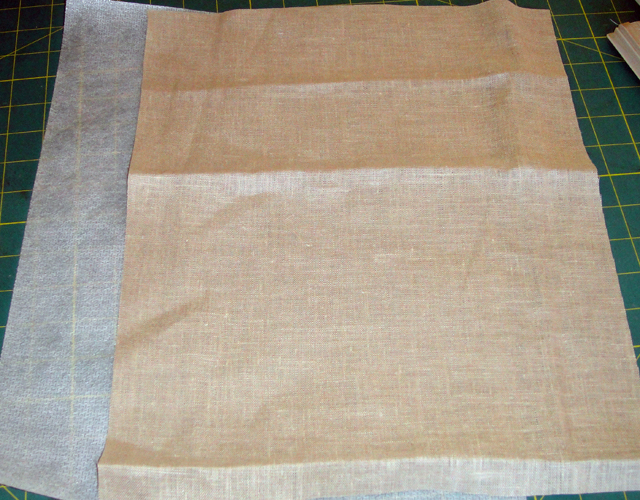
    Cut linen and fusible no show stabilizer to 12” x 15”. Fuse the no show stabilizer to the linen.

    (Click Image to Enlarge)


    Step 2:
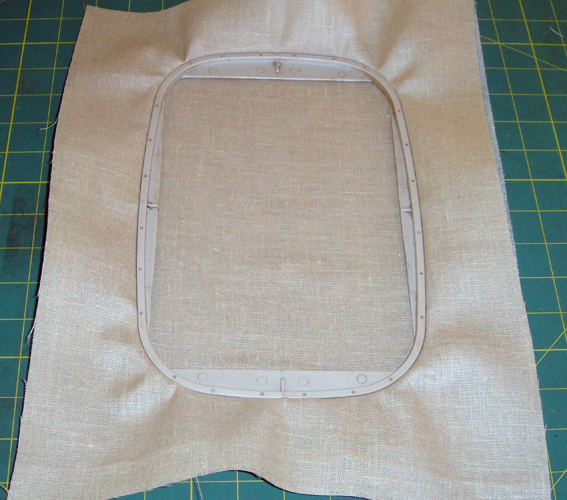
    Tautly hoop the fused linen fabric approximately in the middle of the fabric. No other stabilizer is required.

    (Click Image to Enlarge)


    Step 3:
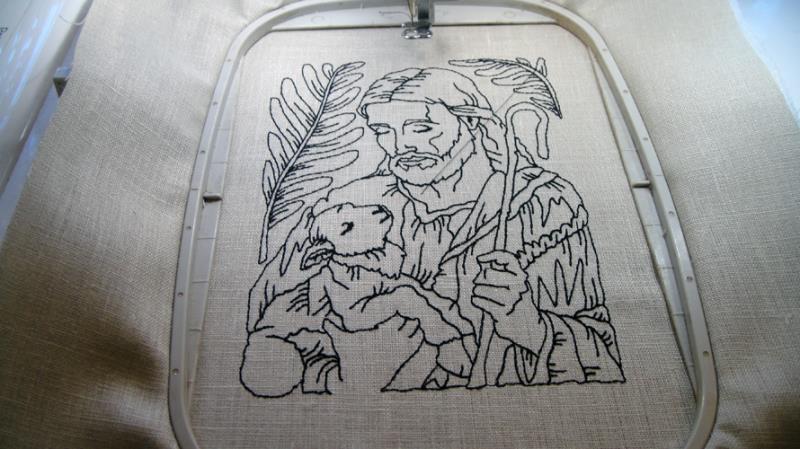
    Put the black bobbin in your embroidery machine and black embroidery thread in the top of the machine. Stitch the design.

    (Click Image to Enlarge)


    Step 4:
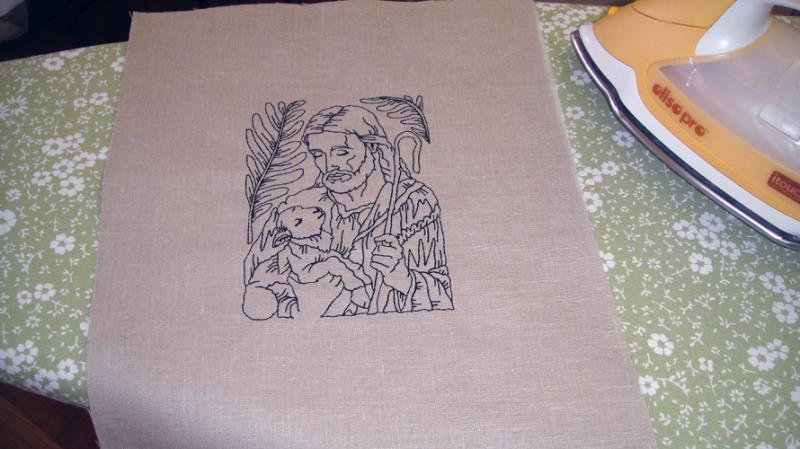
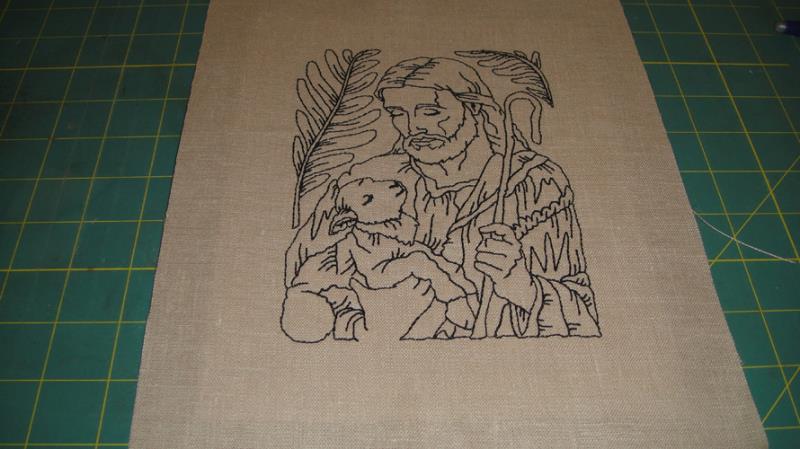
    Remove the project from the hoop and press to remove the hoop marks.

    (Click Image to Enlarge)


    Step 5:
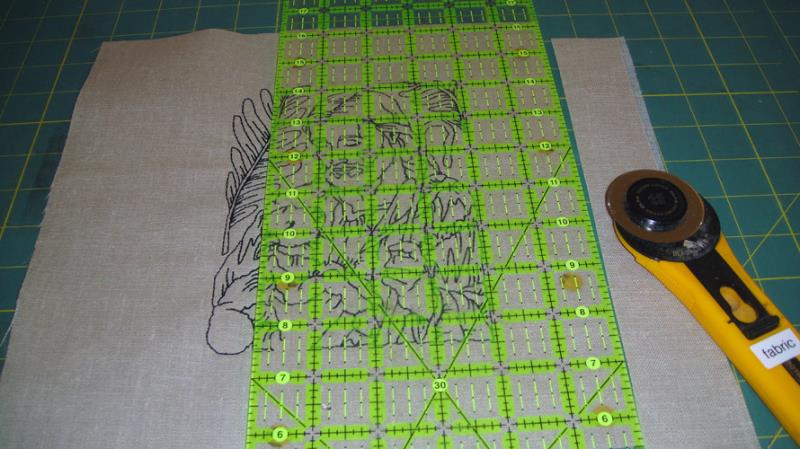
    Lay the two inch mark of a see through ruler along all edges of the embroidery and cut away the excess fabric.

    (Click Image to Enlarge)


    Step 6:
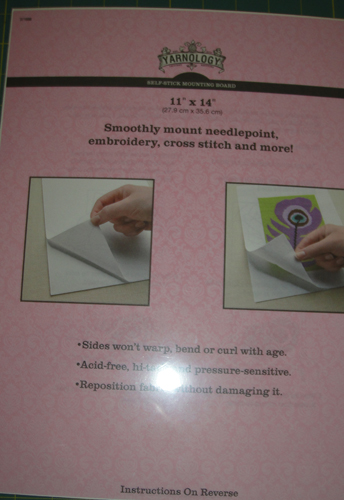
    (Click Image to Enlarge)
    This is what the package of the Yarnology® self-sticking mounting board looks like when you purchase it. It is 11” x 14”. 


    Step 7:
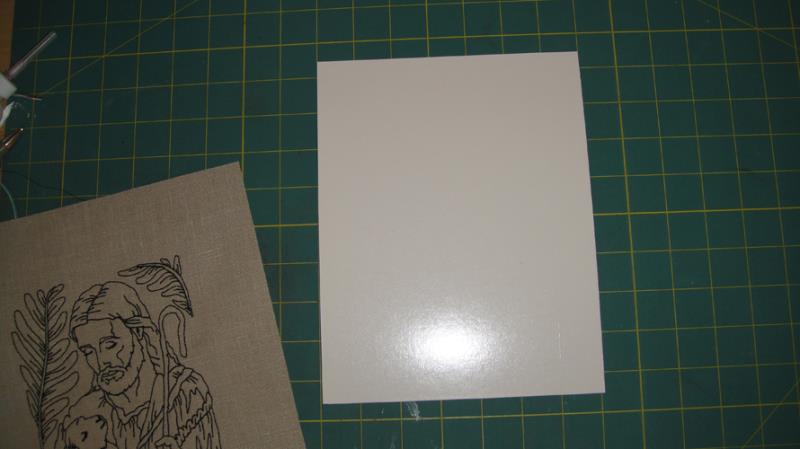
    Cut the mat in half horizontally and then trim the 11” x 7” panels down to 9” x 7”. I used a rotary cutter kept specifically for cutting paper. It took a little pressure and about 3 swipes to cut the matting board, but it is very doable. 

    (Click Image to Enlarge)


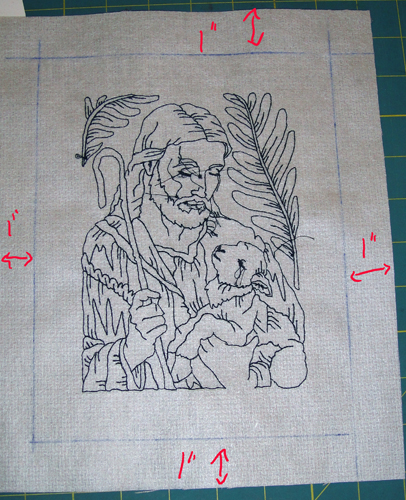
    Step 8:
    To center the embroidery on the board it is easiest to turn the embroidery face down on the table and on the back measure in a 1” line on all sides and mark with a Frixion® pen.


    Step 9:
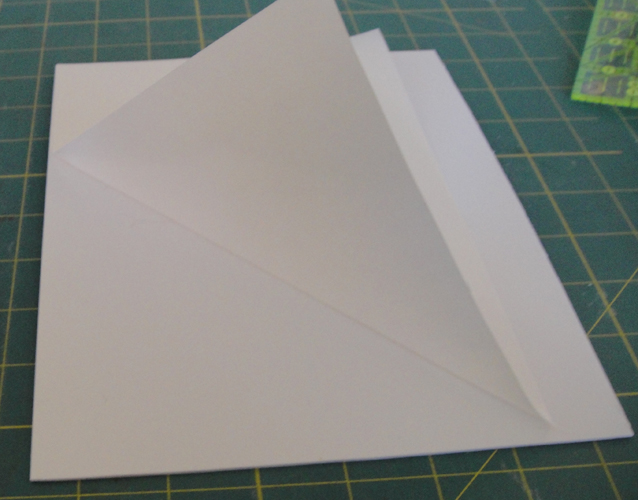
    Peel the paper from the self-sticking mounting board to expose the tacky side.

    (Click Image to Enlarge)


    Step 10:
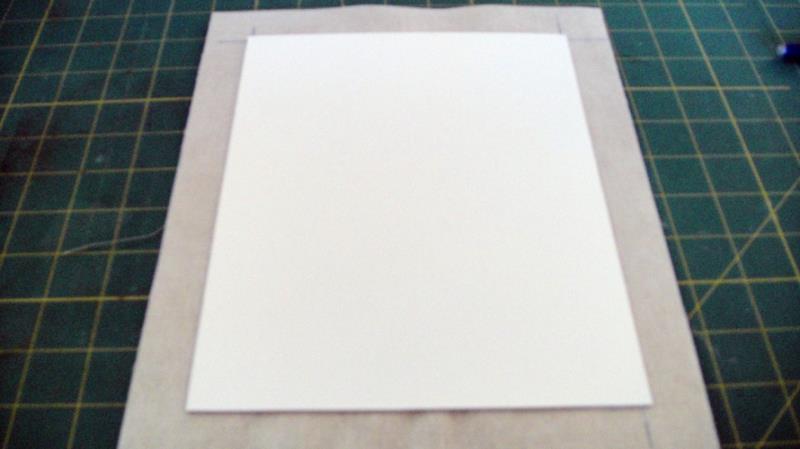
    With the embroidery face down on your work surface, place the tacky side of the mat over the embroidery using the drawn lines as your guide.

    (Click Image to Enlarge)


    Step 11:
    Turn the project over and smooth the fabric over the board starting in the center and working outwards.

    (Click Image to Enlarge)


    Step 12:
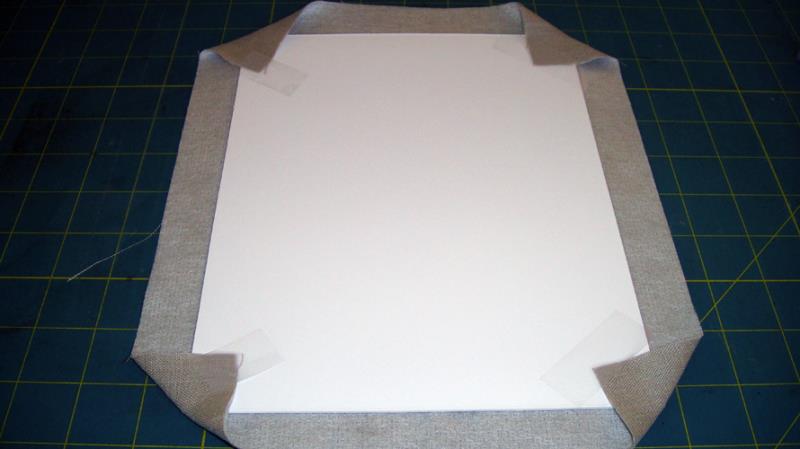
    Turn the work face down again. Pull the corners of the fabric over the board and tape down with cellophane tape. Then fold the fabric in on all sides and securely tape to the mounting board.

    (Click Image to Enlarge)


    Step 13:
    (Click Image to Enlarge)
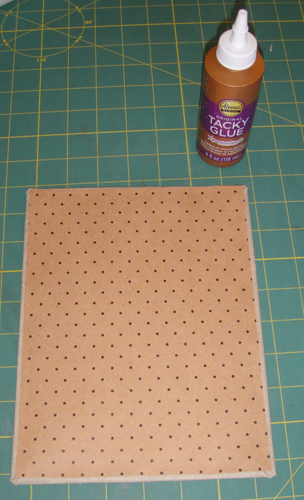
    To clean-up the back you can cut a piece of printed craft paper to 6 ¾” x 8 ¾”; run a thin bead of tacky glue around the edges of the paper and position over the back of the project.


    Step 14:
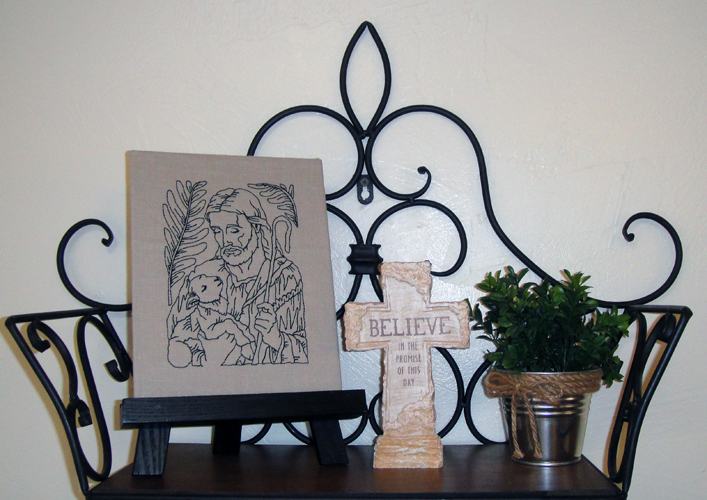
    Place your embroidered picture on the black wooden easel to complete your project!

    (Click Image to Enlarge)


    For the love of embroidery…
    Pat Williams
    Meet the Author: Pat Williams
    Pat Williams
    Award winning Digitizer, Embroidery Educator, Author and a Consultant to the Industry, Pat Williams has 30 years of experience in the embroidery industry. Pat has won multiple awards for her digitizing expertise including the 2007 Impressions Awards Grand Championship, Best of Show as well as the 1st and 2nd Place Awards. Pat’s love of digitizing has afforded her the opportunity to write numerous articles for Impressions magazine in the United States and Images Magazine in Europe. In 2001 Pat was named “Embroidery Educator of the Year.” For many years Pat taught digitizing seminars at the ISS Shows in Long Beach, CA and for Compucon software. She now resides in Tucson, AZ.
    More From This Author
    Link is Broken, Please check the URL
    Exclusive Embroidery Offers!
    Copyright © {{ currentDate | date:'yyyy'}} - EmbroideryDesigns.com
    GET 50% OFF! ×