Border OptionsHugging border, circle, square, or rectangle — with a 3mm satin stitch.
Backing OptionsAvailable with iron-on, sew-on, or velcro backing.
Fast ShippingShipped quickly from the USA.
Free Online Tools
Powerful embroidery utilities that save time and prevent costly mistakes.
Stitch AssistantRECOMMENDED
Get the exact stabilizer, machine settings, needle, and thread color sequence for every embroidery design you purchase — based on that design's stitch density, dimensions, and color count.
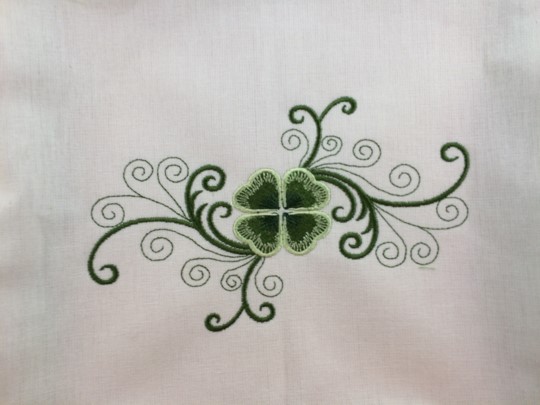
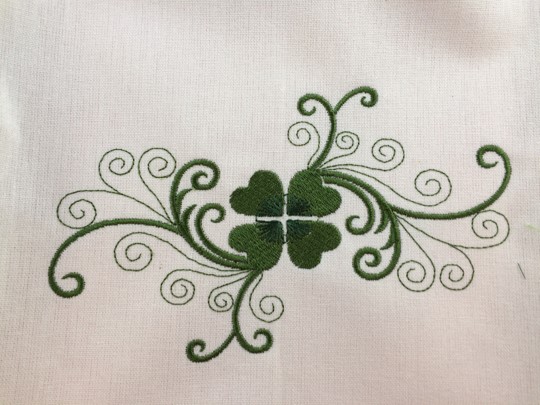
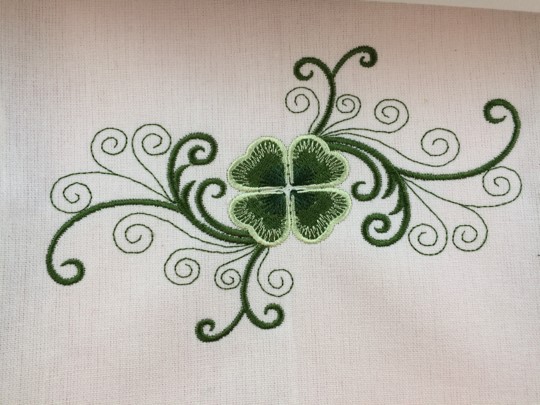
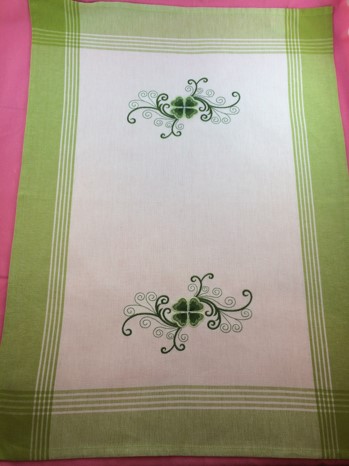
A festive touch for St. Patrick’s Day shenanigans! A table topper featuring a ‘Shamrock Swirl’ embroidery design. Remember, never iron a four-leaf clover because you never want to press your luck!
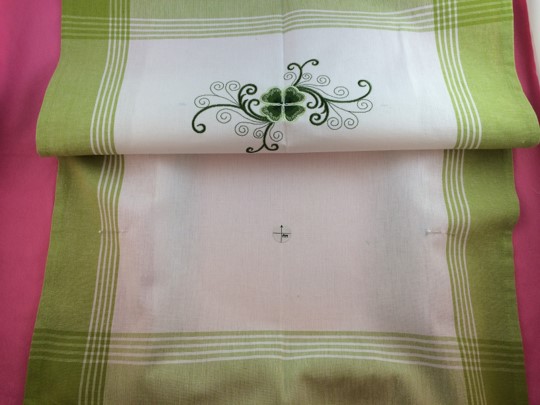
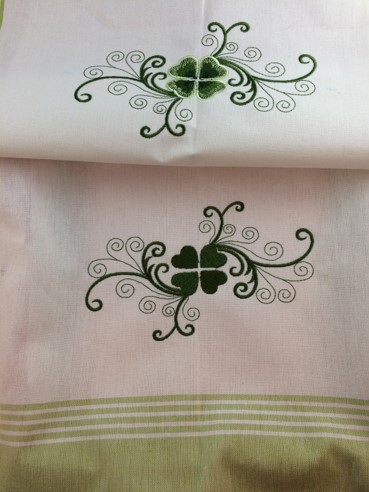
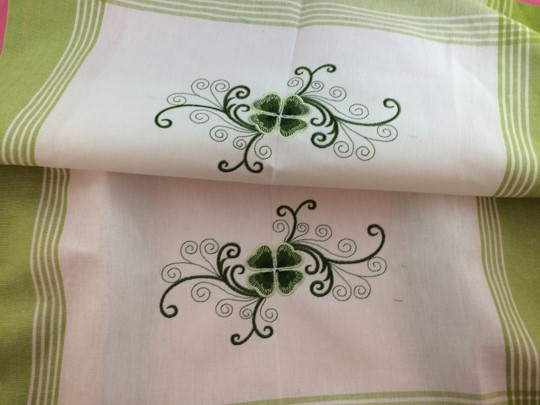
A festive touch for St. Patrick’s Day shenanigans! A table topper featuring a ‘Shamrock Swirl’ embroidery design. A 20" x 28" vintage tea towel from Dunroven House was used to make a table topper for this project. A design was embroidered on each end of the tea towel. The stitch count for each design is 9,599. An 8" x 8" hoop was used with a single needle embroidery machine.
Step 1:
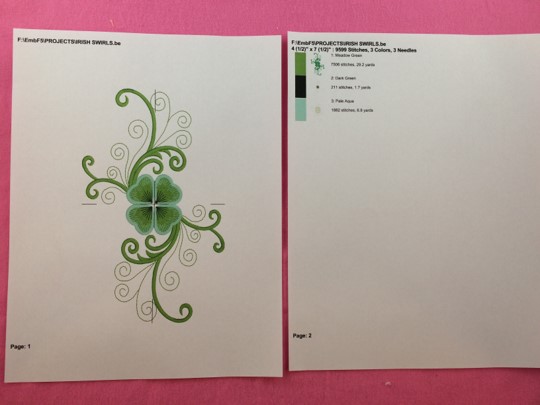
The machine embroidery design featured in this project is the ‘Shamrock Swirl’ by Wind Bell embroidery. The largest design size was used for the project. Embrilliance Essentials embroidery software was used to slightly resize the design.
Print out a copy of the Design Template and Color Chart.
(Click Image to Enlarge)
Step 2:
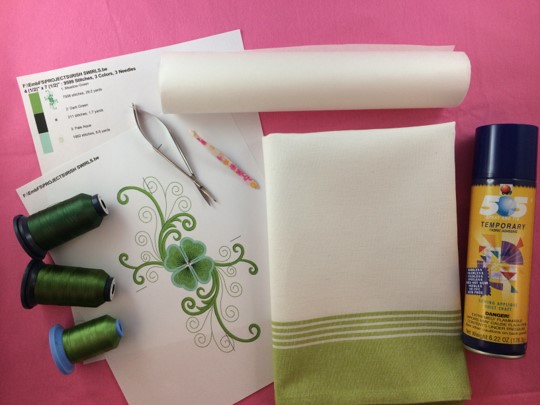
Gather the materials.
Read through the instructions before beginning.
(Click Image to Enlarge)
Step 3:
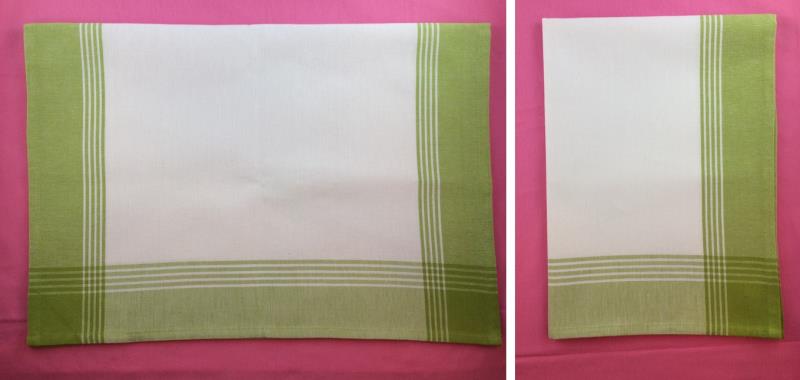
Iron and starch the tea towel. Starching will also help stabilize the fabric.
Fold the tea towel in half. Then, fold the tea towel again to a quarter fold.
(Click Image to Enlarge)
Step 4:
Aqua Mesh Wash-away stabilizers dissolve in water. They’re only designed for temporary support for your embroidery. An aqua mesh wash-away stabilizer was used for this project. A standard tear-away stabilizer was not the best choice because of the delicate stitching on the swirls in the design. A low stitch count and fabric choice (light weight cotton) made the wash-away an appropriate choice of stabilizer.
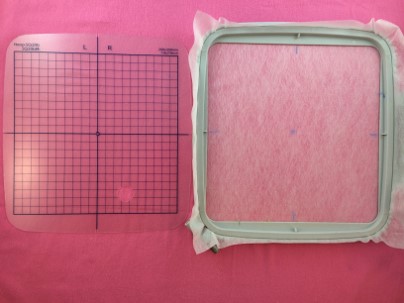
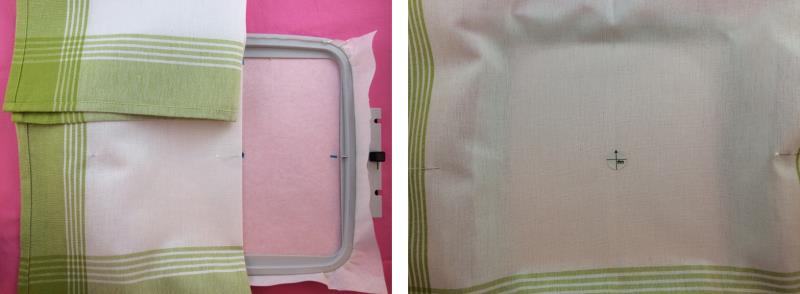
A ‘floating’ technique will be used for this project. Only the stabilizer is hooped while using the floating technique. The tea towel is secured on top of the stabilizer with temporary adhesive spray.
Hoop Aqua Mesh Wash-away stabilizer.
Use the grid template to mark the center and the axis on the stabilizer.
Step 5:
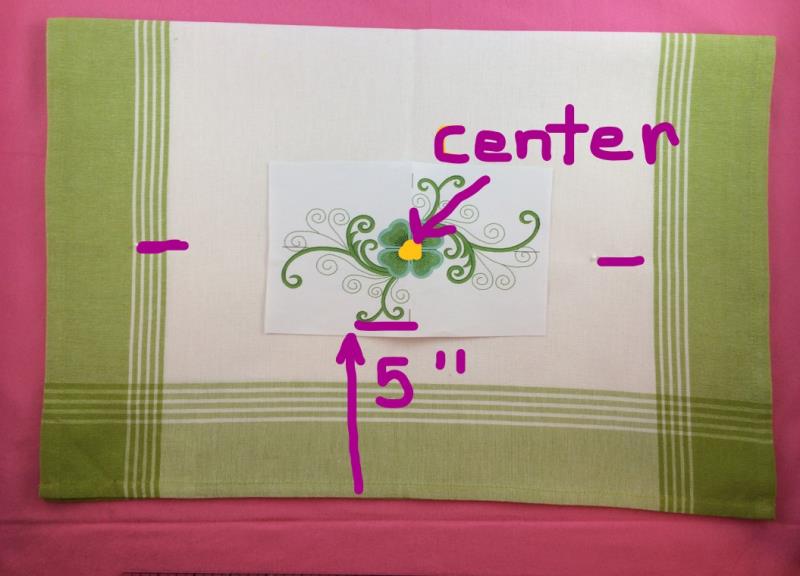
The paper design template is the actual size of the stitch out. Use the template as a guide for placement and positioning of the design on the tea towel.
Decide the position for placement of the design. The example measures 5” up from the towel edge. The center point of the towel is 10”.
Use a water dissoluble marker or pins to mark the center point and axis on the tea towel.
(Click Image to Enlarge)
Step 6:
Align the tea towel with the center point and axis on the stabilizer.
Spray the stabilizer on the opposite side with a temporary adhesive spray.
Fold tea towel down onto the stabilizer. Press gently and smooth fabric. Repeat for the other side of the tea towel.
(Click Image to Enlarge)
Step 7:
Using matching embroidery and bobbin thread, embroider color 1. This step will be the largest part of the design.
Step 8:
Using matching embroidery and bobbin thread, embroider color 2. This step will add dark detail to the center of the shamrocks.
(Click Image to Enlarge)
Step 9:
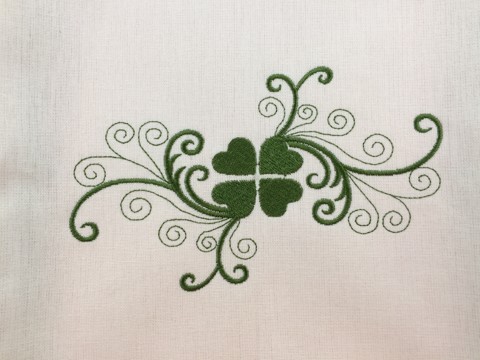
Using matching embroidery and bobbin thread, embroider color 3. This step will outline the outer edges of the shamrocks.
This completes the stitching for the first design. Remove the hoop from the machine. Remove the fabric from hoop.
(Click Image to Enlarge)
Step 10:
The same steps will be repeated for the design on the other end of the tea towel.
Repeat Step 4: Hoop the stabilizer. Mark the center point and axis.
Repeat Step 5: Mark the center point and axis on the tea towel.
Repeat Step 6: Align the center point and axis on the tea towel to the stabilizer. Spray temporary adhesive onto the stabilizer. Fold tea towel onto stabilizer. Gently press and smooth fabric. Repeat for the other half of the tea towel.
(Click Image to Enlarge)
Step 11:
(Click Image to Enlarge)
Using matching embroidery and bobbin thread, embroider color 1. This step will be the largest part of the design.
Step 12:
Using matching embroidery and bobbin thread, embroider color 2. This step will add dark detail to the center of the shamrocks.
(Click Image to Enlarge)
Step 13:
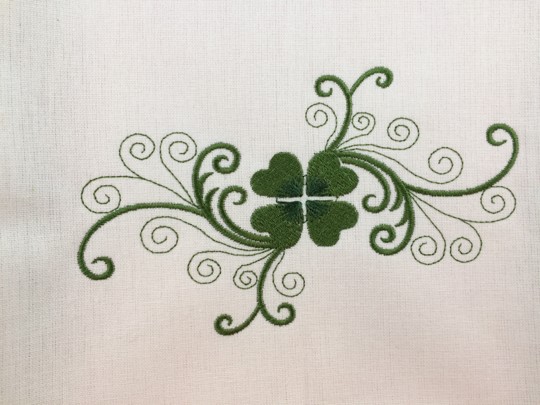
Using matching embroidery and bobbin thread, embroider color 3. This step will outline the outer edges of the shamrocks.
This completes the stitching for the second design.
(Click Image to Enlarge)
Step 14:
Remove the hoop from the machine. Remove fabric from hoop.
Follow the directions on the stabilizer package to remove the wash-away stabilizer.
(Click Image to Enlarge)
Step 15:
(Click Image to Enlarge)
'Tis the Luck of the Irish! A four-leaf clover! Great job!
Marisa Littleton is a retired educator with a love for teaching and learning. Interests include machine embroidery, hand embroidery, quilting, cooking, and antiques.