Border OptionsHugging border, circle, square, or rectangle — with a 3mm satin stitch.
Backing OptionsAvailable with iron-on, sew-on, or velcro backing.
Fast ShippingShipped quickly from the USA.
Free Online Tools
Powerful embroidery utilities that save time and prevent costly mistakes.
Stitch AssistantRECOMMENDED
Get the exact stabilizer, machine settings, needle, and thread color sequence for every embroidery design you purchase — based on that design's stitch density, dimensions, and color count.
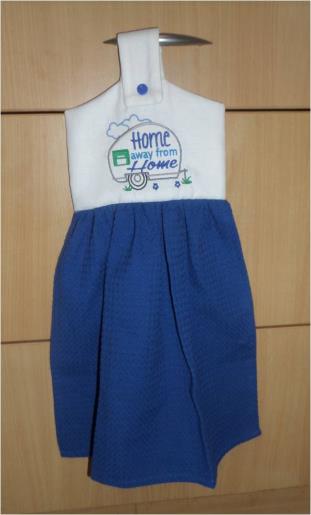
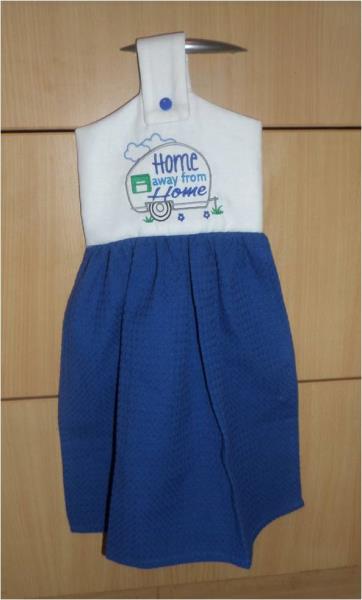
If like me, you are always looking for great ideas for your caravan then this project is a must. A hanging tea towel with the "home away from home" design in colors to match the caravan decor.
Feel free to play around with any colors in order to match your caravan decor. I have used snap fasteners but you could also do a button and button hole if you wish
Step 1:
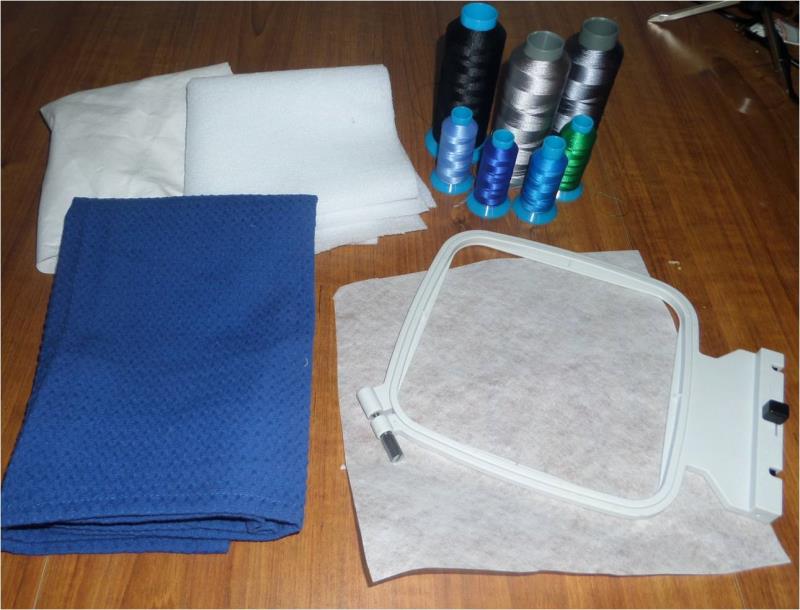
Gather the materials and read through the instructions before beginning. Print out a paper template of the design and color sequence.
(Click Image to Enlarge)
Step 2:
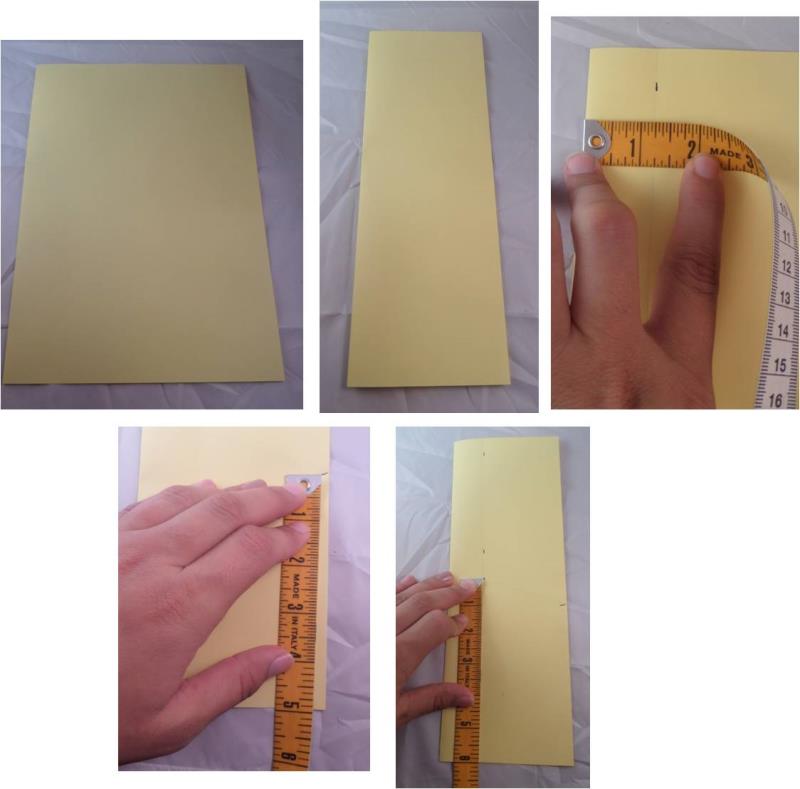
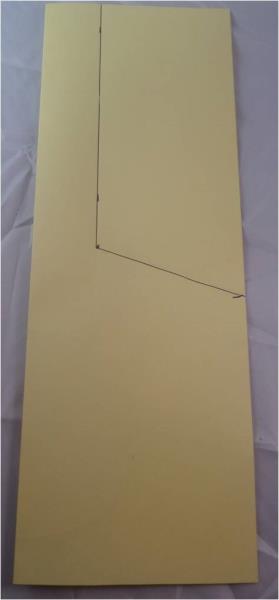
Using an A4 piece of paper, fold it in half width wise. Across the top, measure in from the fold 1 ¼” and mark, 3” down measure and mark in 1 ¼” again. From the bottom along the open edge, measure up 5” and mark. From the bottom, 1 ¼” in from the folded edge, measure up 6” and mark.
(Click Image to Enlarge)
Step 3:
(Click Image to Enlarge)
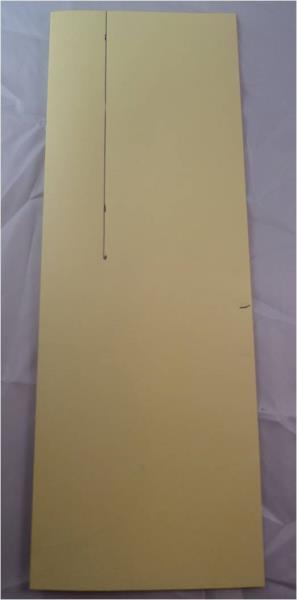
Now using a ruler, draw from the top edge down to the 6” mark
Step 4:
(Click Image to Enlarge)
Then place your ruler on the 6” mark and line it up with the 5” mark on the open edge of the paper and draw a line
Step 5:
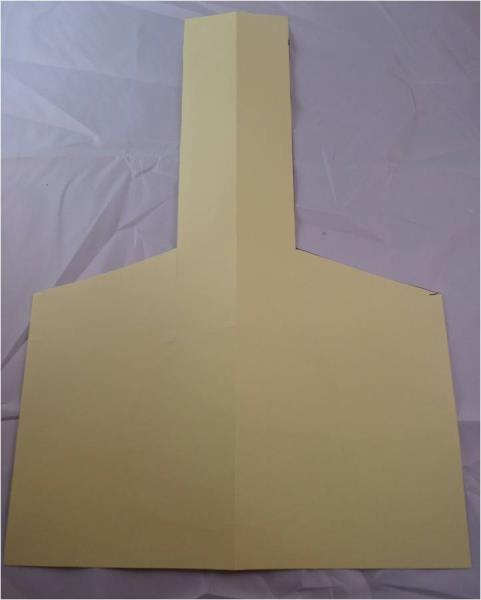
Cut along the draw lines, through both layers of paper and you have your template.
(Click Image to Enlarge)
Step 6:
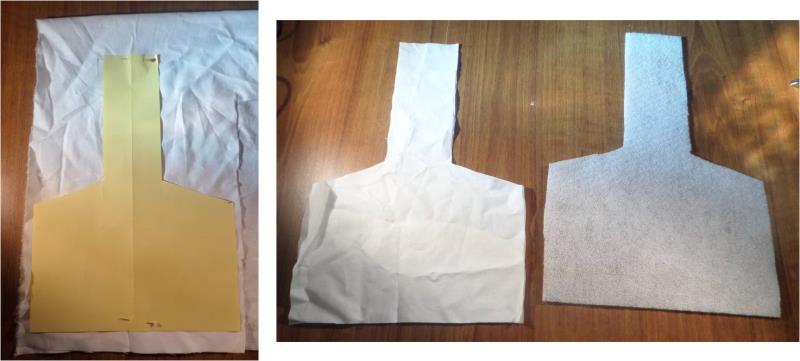
Fold your white cotton in half so you have 2 layers and place the paper template ontop. Pin down and cut around the template. Also cut 1 piece from the fusible fleece
(Click Image to Enlarge)
Step 7:
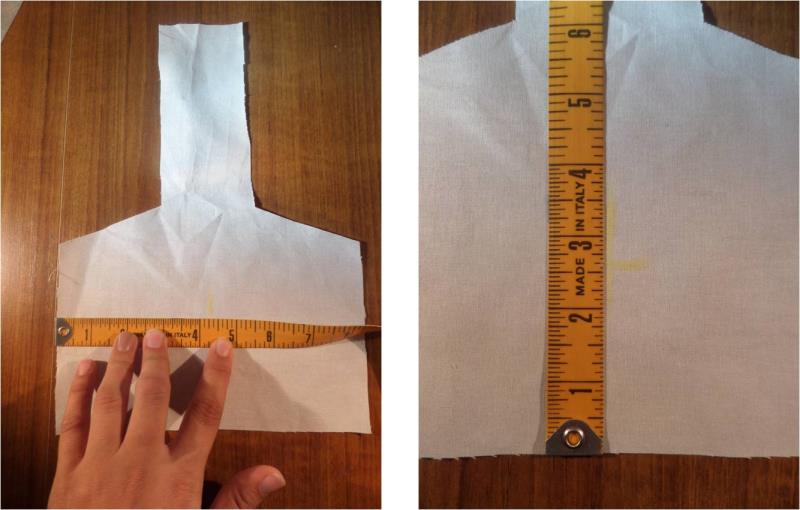
On one piece of the white cotton, measure across the centre and place a mark at 4 ¼”. Then from the bottom up measure up 2 ½” and mark. This cross hair will be the centre of the embroidery design
(Click Image to Enlarge)
Step 8:
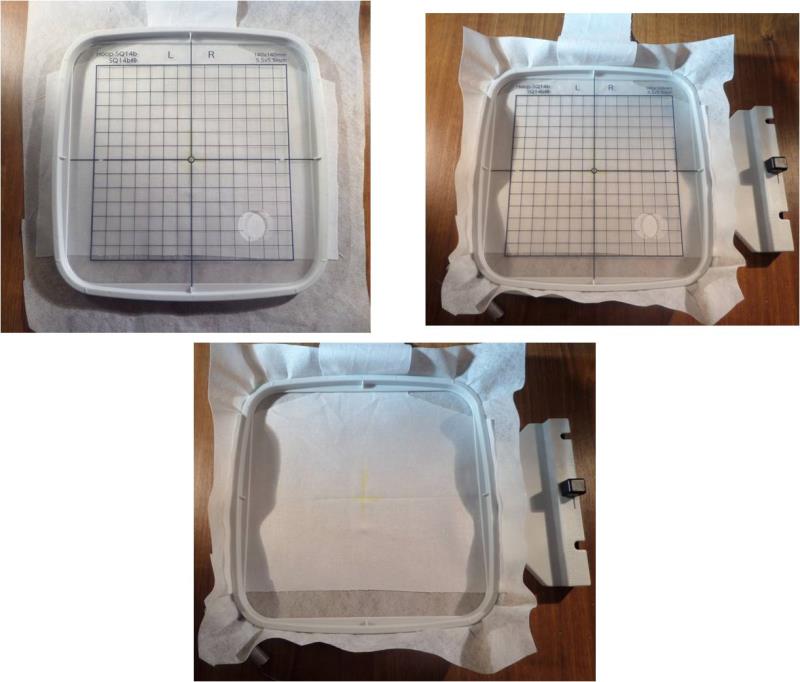
Using some spray adhesive, spray the back of the white cotton. Allow it to go tacky then press down onto the stabilizer. If you have a grid for your hoop, lay it over the white cotton and center the cross hair you just marked then hoop the stabilizer/fabric
(Click Image to Enlarge)
Step 9:
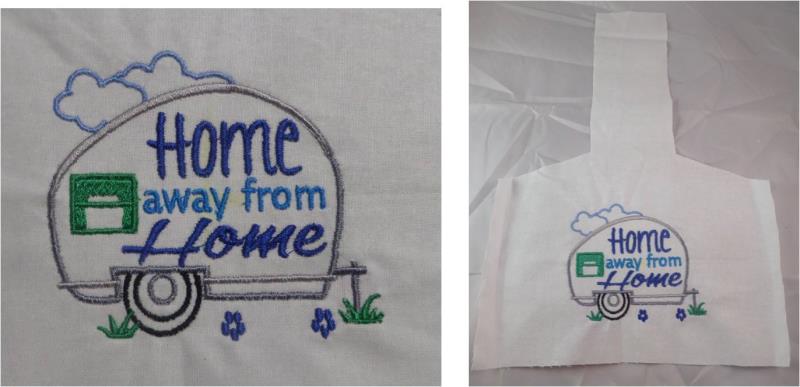
Stitch out the 8 color design. Remove the fabric from the hoop and tearaway the stabilizer
(Click Image to Enlarge)
Step 10:
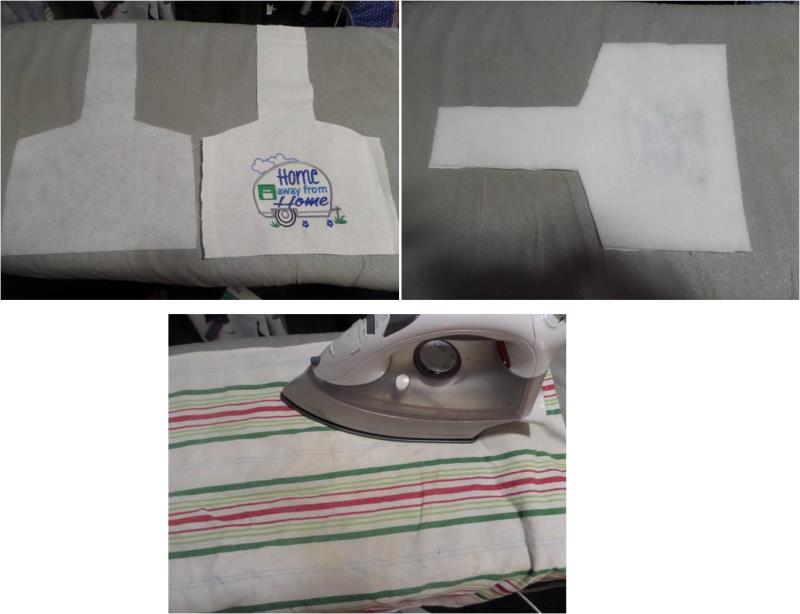
Now you need to fuse the fleece onto the back of the embroidered panel. Lay the embroidered panel face down and lay the fleece on the back of the panel. Lay a cloth over the top and press down with an iron to fuse them together, as per fleece manufactures instructions
(Click Image to Enlarge)
Step 11:
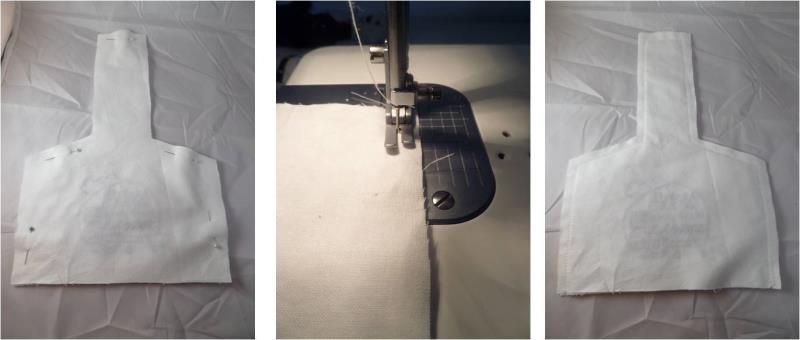
Now with the embroidered panel face up, lay the 2nd piece of white cotton over the top of the embroidered panel and pin around the edges, except for the bottom edge. Sew around, using a 10mm seam and ensure you leave the bottom open
(Click Image to Enlarge)
Step 12:
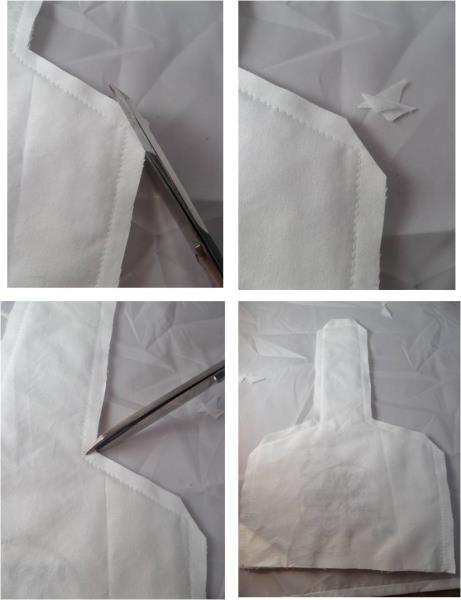
Cut on an angle at the corners to remove the excess which will allow the corners to turn out with a nice point. Also make a small snip inwards towards the stitching line at the bottom of the strap
(Click Image to Enlarge)
Step 13:
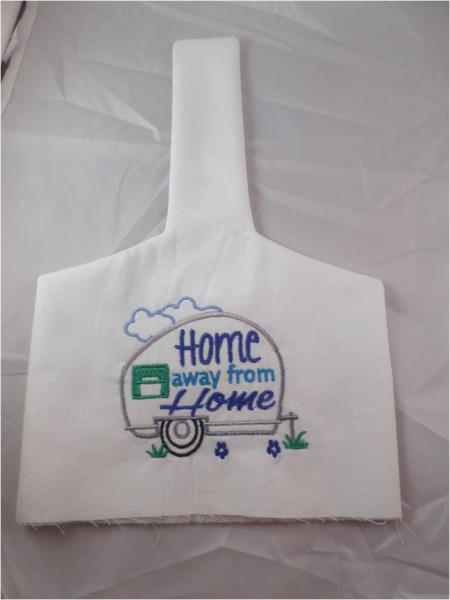
Turn the fabric right side out ensuring you gently push out the corners. it is best to iron at this point so the edges are flat
(Click Image to Enlarge)
Step 14:
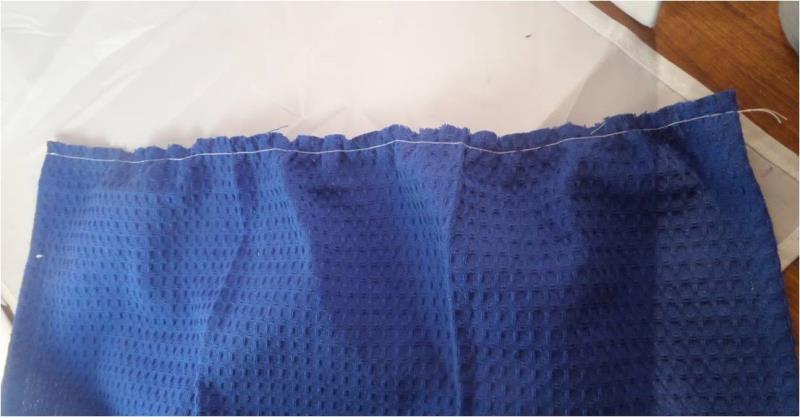
I have cut my tea towel down to 19 ½” wide x 15” long. On the sewing machine, run a gathering stitch across the width (which for me is the cut edge)
(Click Image to Enlarge)
Step 15:
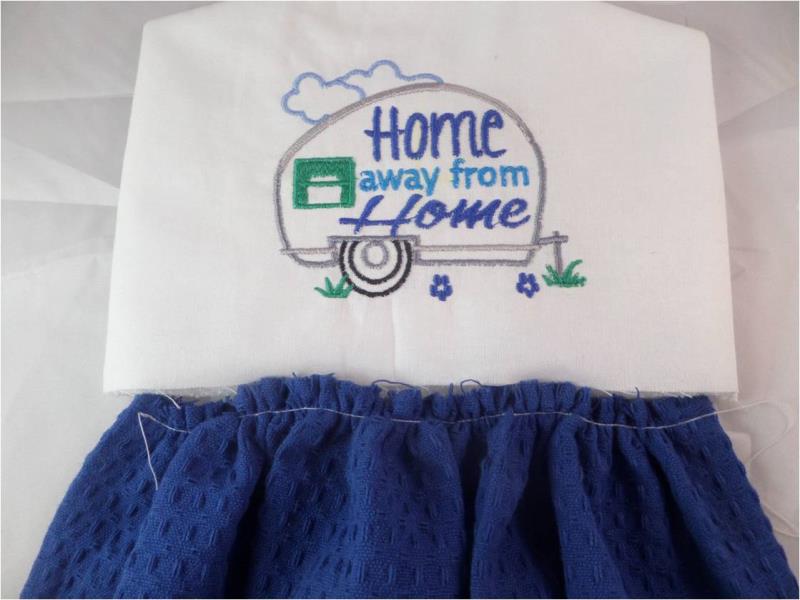
Gather the top of the tea towel till it is the same width as the embroidered piece which you just stitched together
(Click Image to Enlarge)
Step 16:
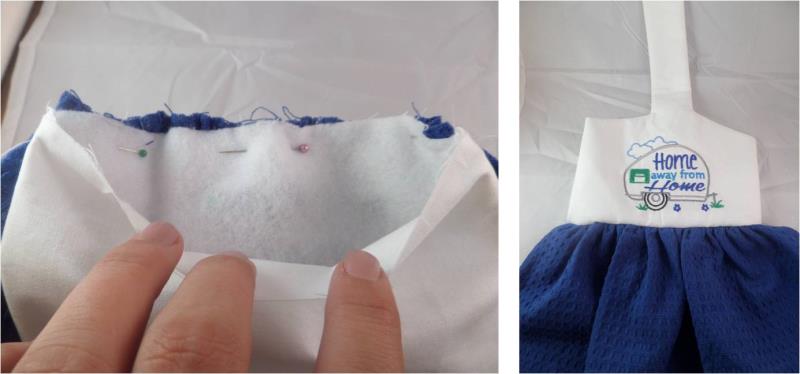
Place the embroidery face down on the front of the tea towel, then pin the front layer of the cotton to the tea towel and stitch using a 15mm seam
(Click Image to Enlarge)
Step 17:
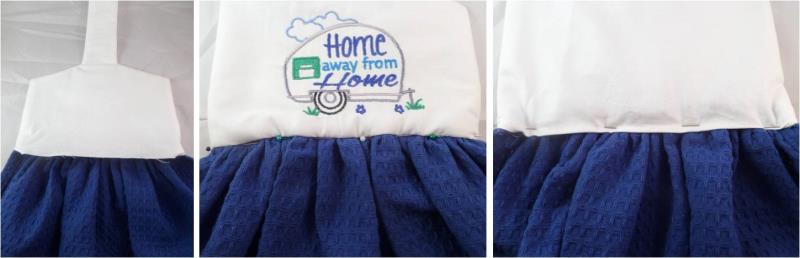
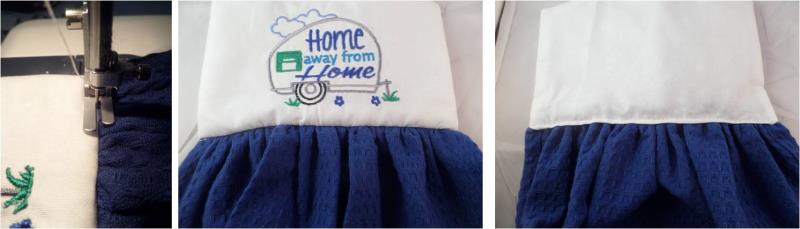
Now on the back, turn under 10mm of the white cotton and whilst holding it in place to cover the seam, pin from the front through the join ensuring you catch the fabric at the back. This is the “stitch in the ditch” method where from the front you won't see a stitch line and on the back it will look like a top stitch
(Click Image to Enlarge)
Step 18:
Using the sewing machine, with the front side up stitch in the ditch all the way along the join.
(Click Image to Enlarge)
Step 19:
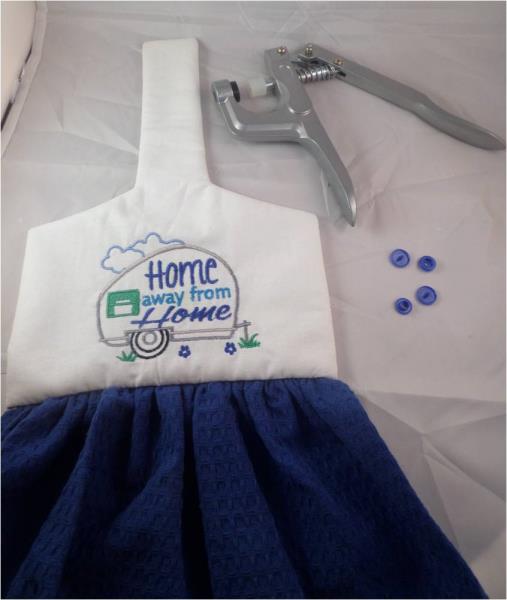
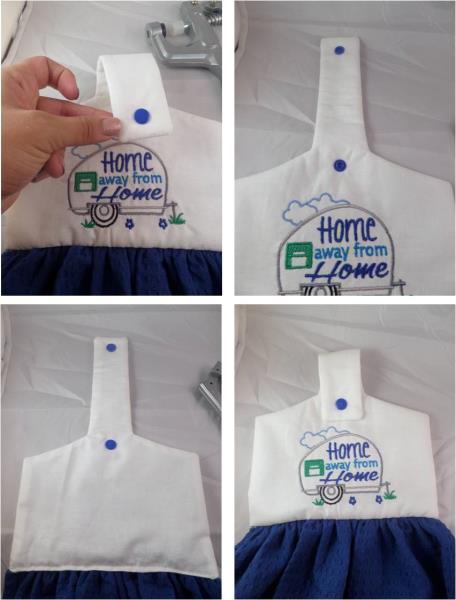
I have used snap fasteners on the strap, you could also do a button and button hole. If using snaps, you will need 2 caps, 1 socket and 1 stud and a pair of snap pliers
(Click Image to Enlarge)
Step 20:
On the back side of the top of the strap, press a cap through the center of the strap and place a socket on, the use the pliers to clamp it on. Then press a cap through the back in the center at the base of the strap and place on the stud then clamp it on. Your snaps are complete
(Click Image to Enlarge)
Step 21:
(Click Image to Enlarge)
Lets go camping! Enjoy your newest addition to your beloved caravan