














































PROJECT INSTRUCTIONS
.jpg)


PROJECT INSTRUCTIONS

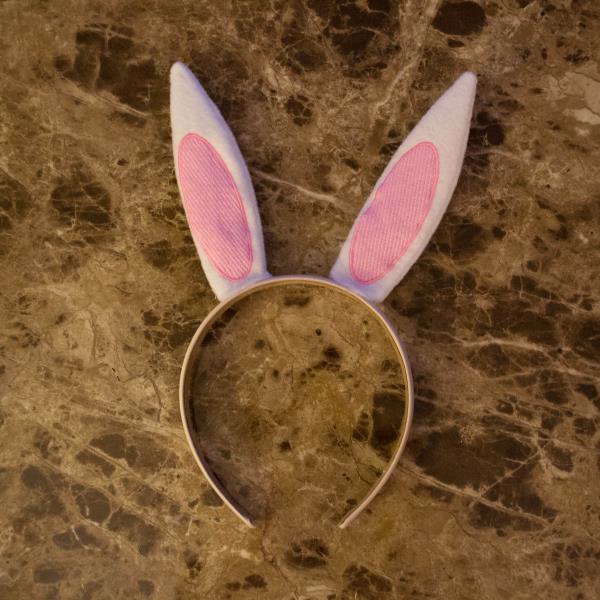
Bunny Ear Flower Crown Embroidery Project
By
Amber Stevens
on
February 21, 2018
Description
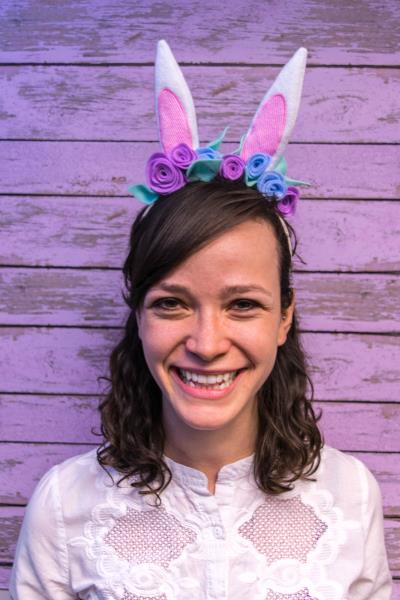
Every Easter bunny smiles a little bigger with a special flower crown! Learn how to craft a crown worthy of your favorite bunny.
Step
of
Materials
Project Preview Video

Oval (Light Fill)
$4.24
$2.12
Circle Price: $1.97

Cut Away Stabilizer - 2.5 Oz wt.
$8.94
Circle Price: $8.05

Cut Away Stabilizer - 2 oz wt.
$8.52
Circle Price: $7.67

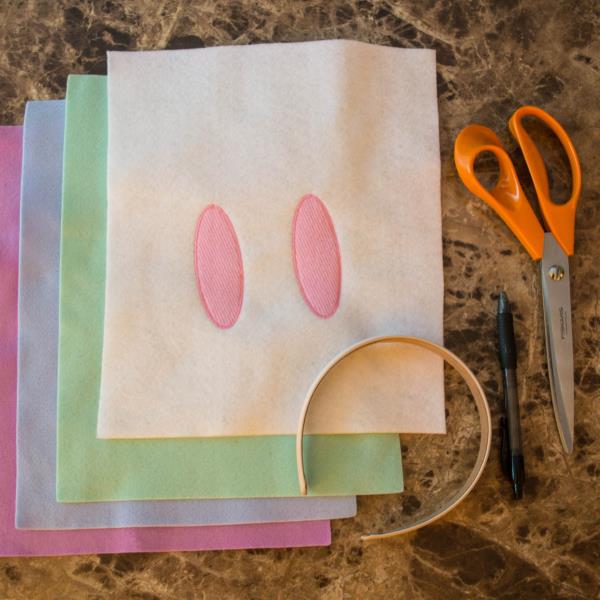
| Materials Purple Felt Blue Felt Green Felt White Felt 1 in Wide Headband Scissors Pen Oval Embroidery Design Pink Thread Hot Glue Gun Hot Glue Sticks |
| Designs used in this project |
| Final Product: What You Will Create |
.jpg) |
|
Projects You May Like
Meet the Author:
Amber Stevens

Amber, the Designer Extraordinaire over at Adventures in Stitcherland, has been sewing since she was 9 years old. When she's not creating stunning embroidery designs, she is elbow-deep in all things fashion.
Feedback
Characters Remaining
Please Login to Submit a Feedback
Invalid Characters, Please enter a valid Comment
Please enter a valid Comment
Reviewed On
Link is Broken, Please check the URL