Border OptionsHugging border, circle, square, or rectangle — with a 3mm satin stitch.
Backing OptionsAvailable with iron-on, sew-on, or velcro backing.
Fast ShippingShipped quickly from the USA.
Free Online Tools
Powerful embroidery utilities that save time and prevent costly mistakes.
Stitch AssistantRECOMMENDED
Get the exact stabilizer, machine settings, needle, and thread color sequence for every embroidery design you purchase — based on that design's stitch density, dimensions, and color count.
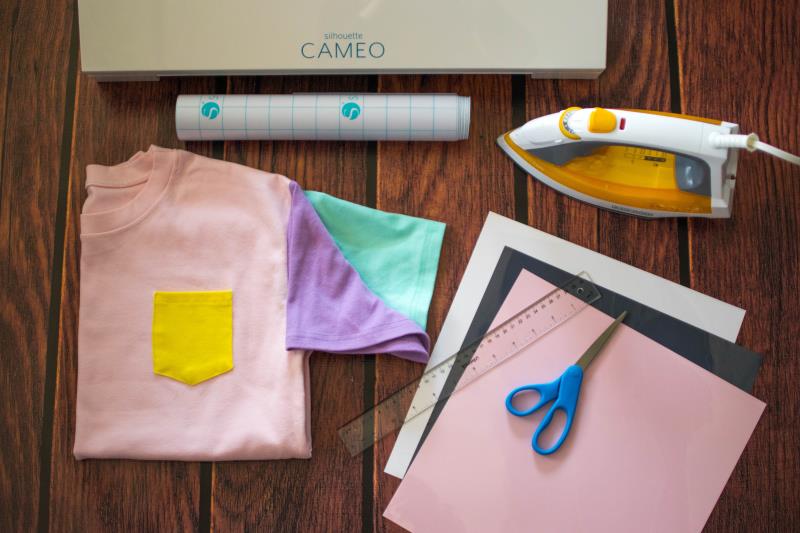
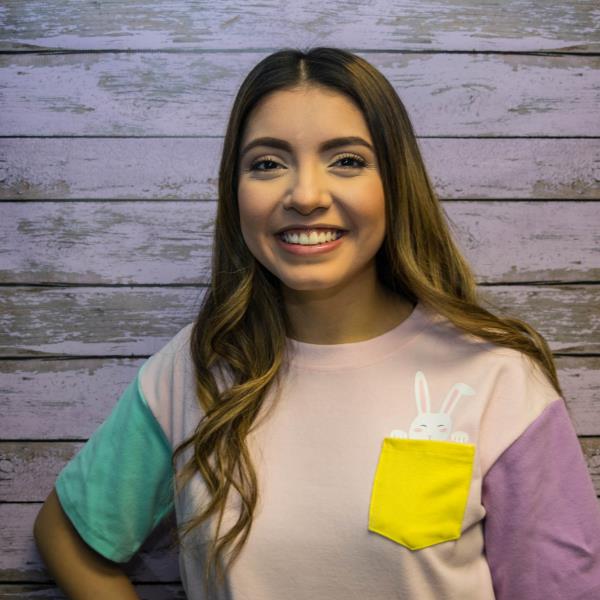
Create a charming Easter bunny accent using vinyl to enhance any pocket. This delightful addition is perfect for seasonal outfits and won't hop away. Step-by-step instructions are included.
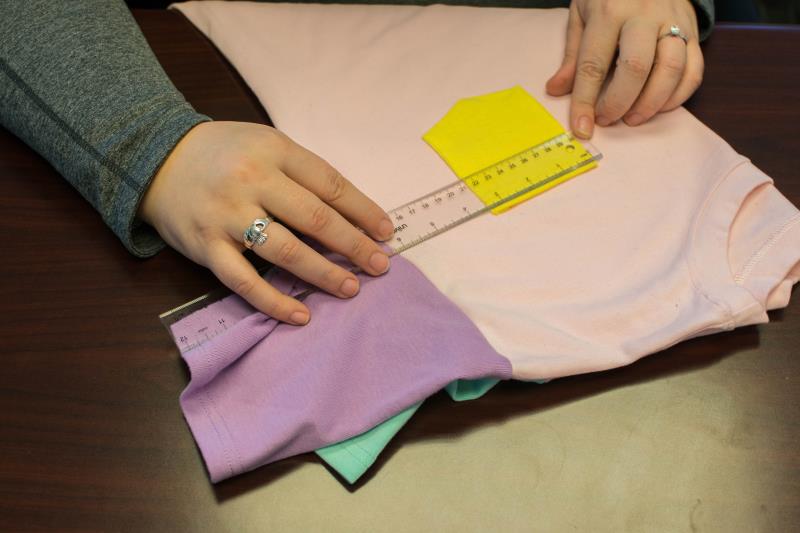
Measure the pocket of your shirt to determine the size of your pocket topper. The shirt in the example is 3.5 in wide.
To make sure your design appears to be sitting inside your pocket, it needs to be smaller than the pocket itself. Subtract .5 in from your pocket measurement.
(Ex: 3.5 - .5 = 3 in) This will be the new width of your design.
(Click Image to Enlarge)
Step 3:
Size Design to Pocket
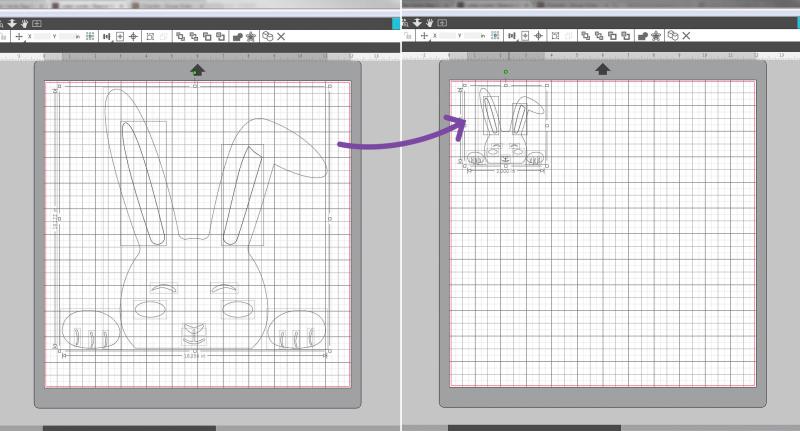
Using Silhouette Studio Designer Edition, scale down your design to the size from step 2. Use the rulers and the grid as your guide.
(Click Image to Enlarge)
Step 4:
Prep Design for Cutting
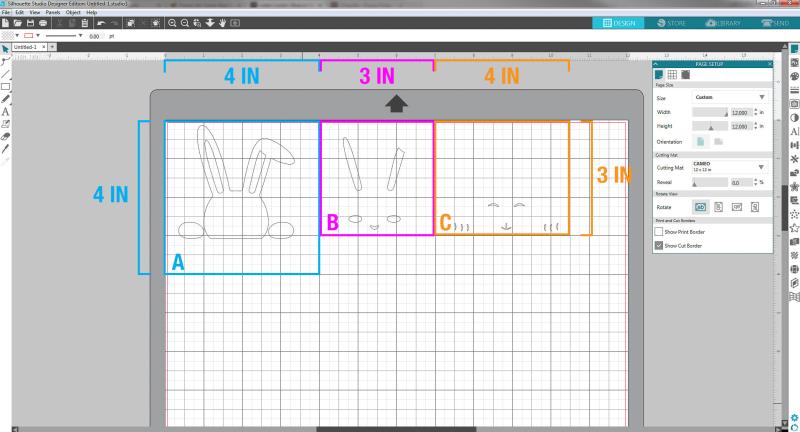
Using Silhouette Studio Designer Edition, pull apart design per color group. Make sure to maintain the alignment of each shape. This makes it easier to transfer the final design. To do so, hold down the shift key and select the shapes for each color group. Then drag each group to their own section.
This design breaks down into three color groups: White (Group A), Light Pink (Group B), and Charcoal (Group C).
White (Group A) should consist of the head and two paws.
Light Pink (Group B) should consist of two inner ears, two cheeks, and nose.
Charcoal (Group C) should consist of two eyes, lines for the snout, and 6 claws.
(Click Image to Enlarge)
Step 5:
Prep Vinyl
Still in Silhouette Studio Designer Edition, use the rulers and grid to determine the height and width of each color group. Round to the nearest inch* to determine the size to cut each piece of vinyl. Example (width x height): White (Group A) is 4 in x 4 in, Light Pink (Group B) is 3 in x 3 in, and Charcoal (Group C) is 4 in x 3 in.
We used Siser EasyWeed heat transfer vinyl from Expressions Vinyl in white, light pink, and charcoal. It has a plastic carrier on the back. DO NOT REMOVE the carrier.
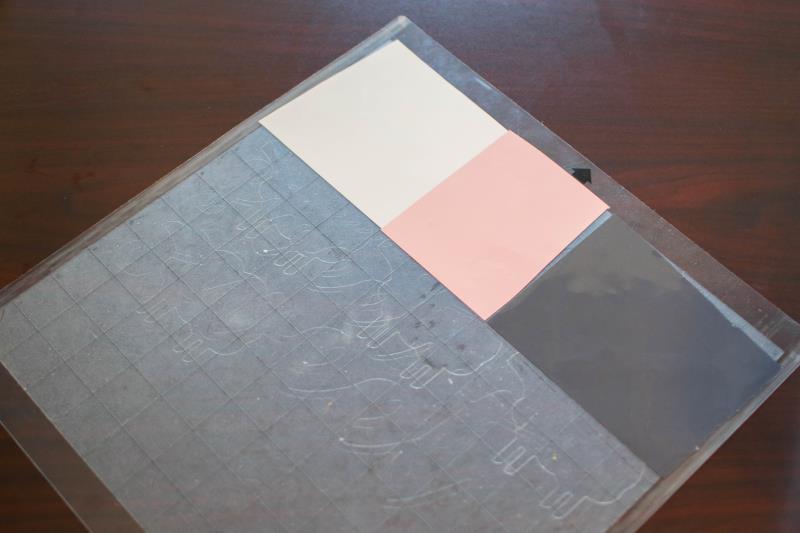
Once your pieces are cut, arrange the vinyl on your cutting mat in the same color order and placement as design on the grid of Silhouette Studio Designer Edition.
*Why round to the nearest inch you ask? You want to make sure your vinyl is larger than the design you are cutting. You don't want to cut out half of a piece do you?
For any other questions, this tutorial is great for those starting out in vinyl: https://www.youtube.com/watch?v=bPkiFEj3RVc
(Click Image to Enlarge)
Step 6:
Cut Design
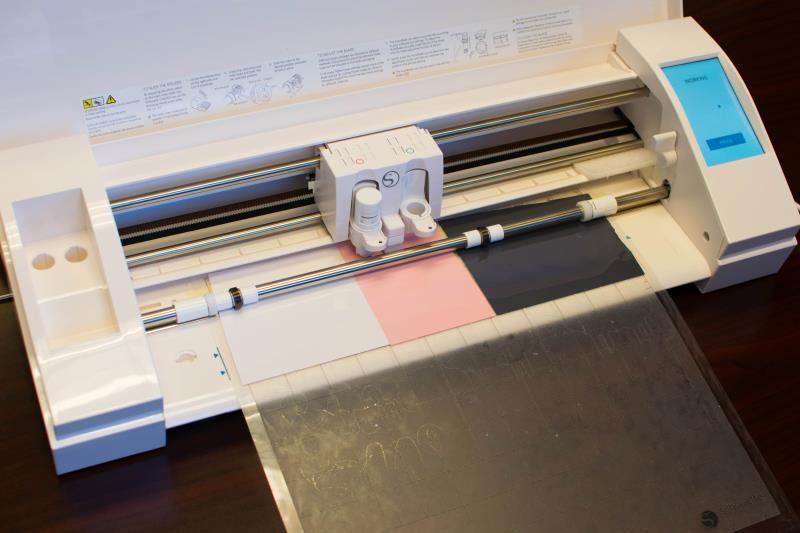
Load your cutting mat into your Silhouette Cameo and send your design to cut.
(Click Image to Enlarge)
Step 7:
Peel Off Excess Vinyl
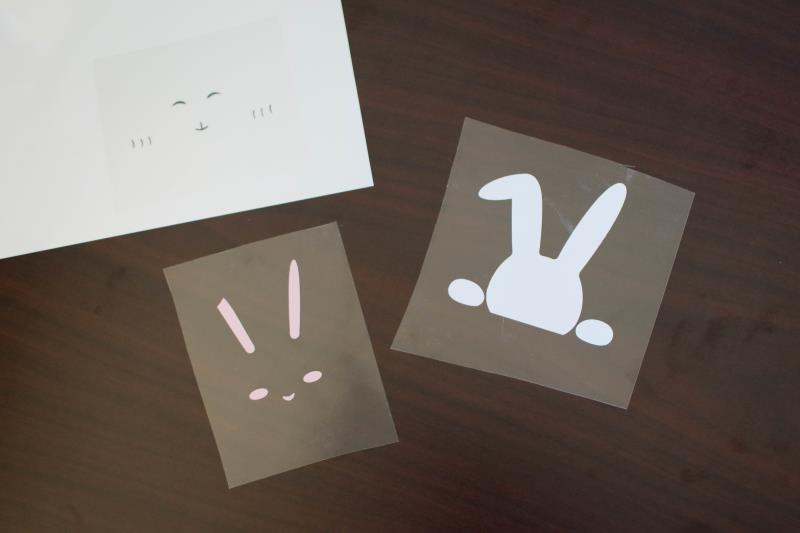
After the design is cut, peel off the excess vinyl. Each of the bunny parts should remain on the plastic carrier.
(Click Image to Enlarge)
Step 8:
Iron Vinyl onto Shirt Layer by Layer
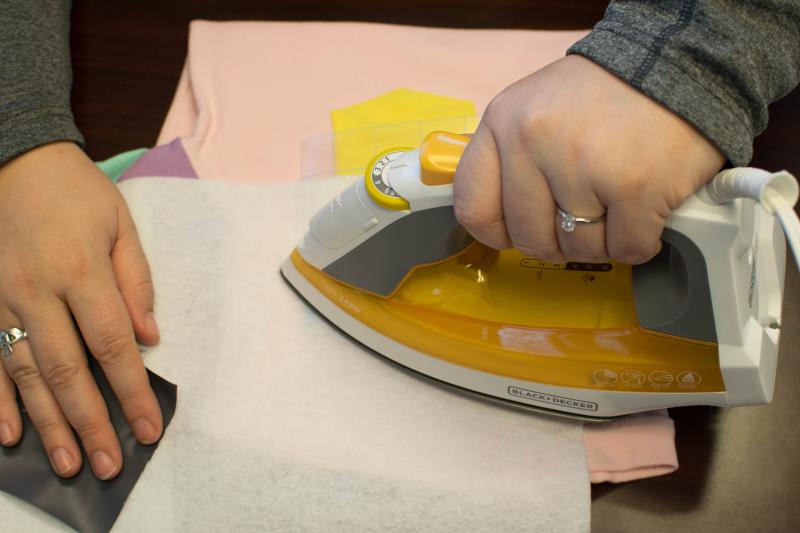
Align the design of White (Group A) with the top of your pocket carrier side up. Then using a medium hot iron, press down on the design for 10 seconds. If the design is too large to iron all at once, move the iron to the next section and press again for 10 seconds. Try not to overlap to avoid over heating. Remove carrier after pressing.
Align the design of Light Pink (Group B) and press for 10 second, then remove carrier. Press Charcoal (Group C) for 10 seconds then remove carrier.
Amber, the Designer Extraordinaire over at Adventures in Stitcherland, has been sewing since she was 9 years old. When she's not creating stunning embroidery designs, she is elbow-deep in all things fashion.