Border OptionsHugging border, circle, square, or rectangle — with a 3mm satin stitch.
Backing OptionsAvailable with iron-on, sew-on, or velcro backing.
Fast ShippingShipped quickly from the USA.
Free Online Tools
Powerful embroidery utilities that save time and prevent costly mistakes.
Stitch AssistantRECOMMENDED
Get the exact stabilizer, machine settings, needle, and thread color sequence for every embroidery design you purchase — based on that design's stitch density, dimensions, and color count.
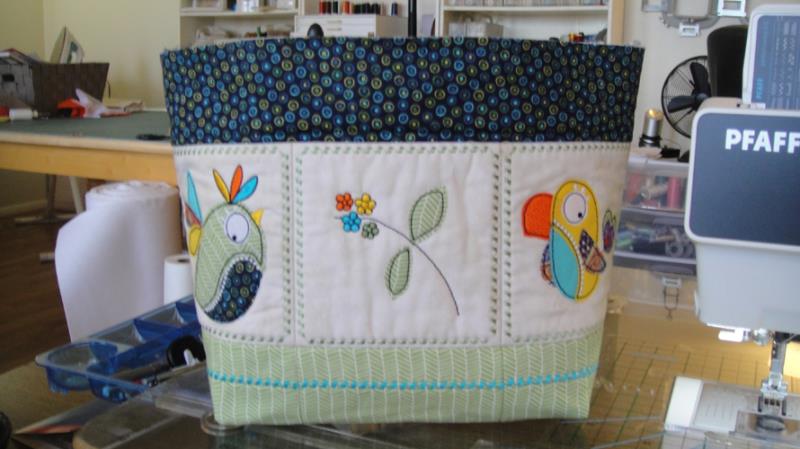
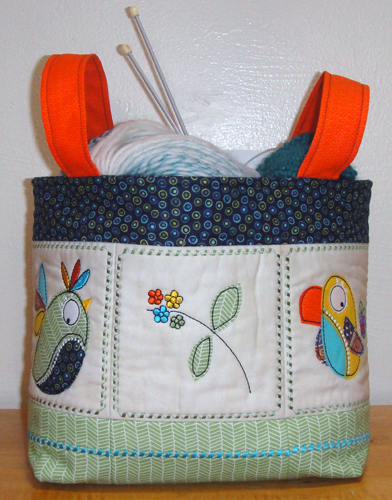
Create a vibrant fabric basket featuring applique bird designs, perfect for storing sewing and knitting supplies. This easy-to-assemble basket combines in-the-hoop appliqued blocks with additional sewing for a sturdy and functional container. Step-by-step instructions are included.
Step
of
Applique Colorful Bird Fabric Basket
By Pat Williams
Each block is appliqued to the fabric and batting in the hoop with the batting removed from the seam allowances to reduce bulk in the seams. The blocks are joined together, the borders and handles are added at your sewing machine. Then lining is inserted into the basket. This is fun way to create a useful project.
Step 1:
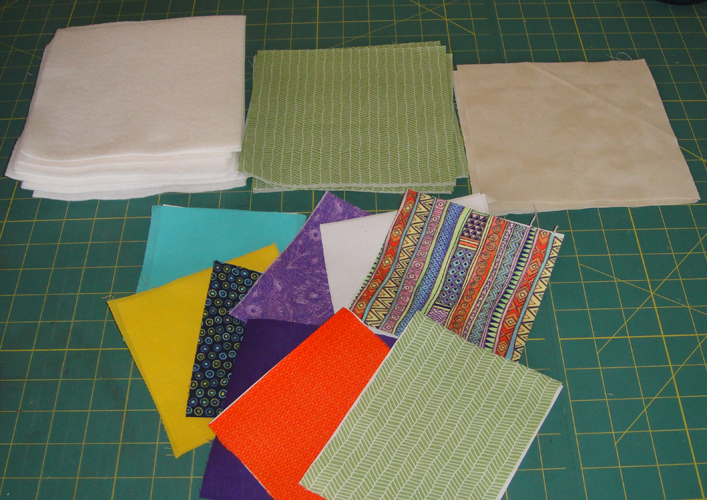
To start your basket cut: a. 12 7” squares of Battilizer® or low loft batting b. 6 7” squares of Lime print fabric c. 6 7” squares of Navy print fabric d. 10 5” squares of applique fabrics – make one of them white e. 10 5” squares of Heat N Bond Lite® back the applique fabrics f. No show stabilizer for 12 hoopings Fuse the Heat N Bond Lite® to the back of the applique fabric following the manufacturer’s instructions.
(Click Image to Enlarge)
Step 2:
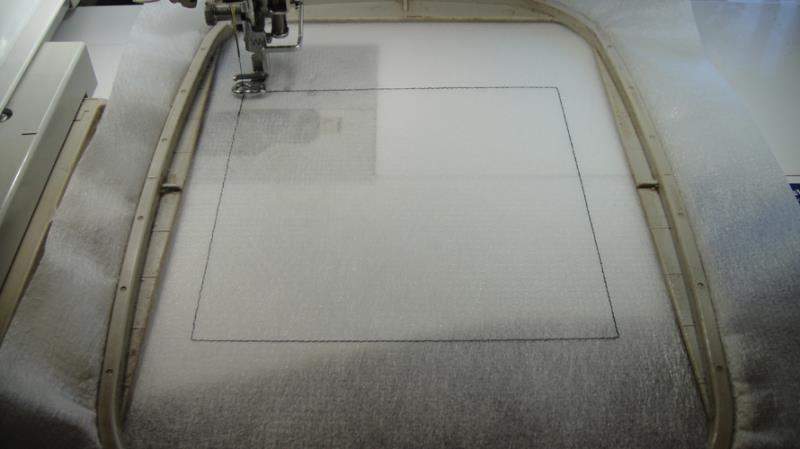
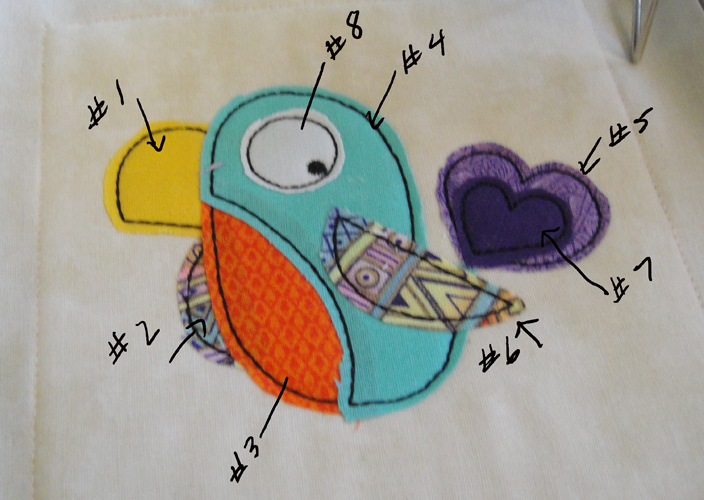
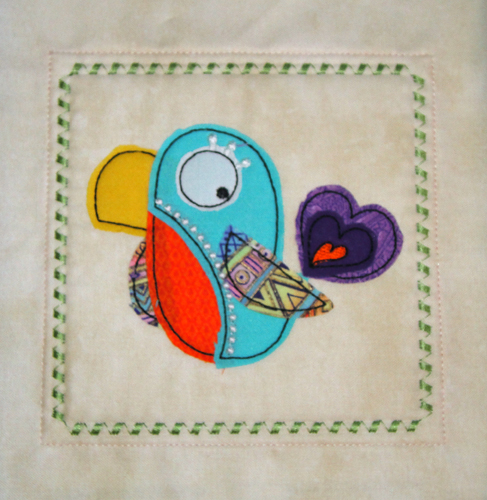
To make the appliqued blocks hoop the stabilizer tautly in the hoop, load design FBB01 and run color stop (CS) 1 in a colored thread to serve as a placement line.
(Click Image to Enlarge)
Step 3:
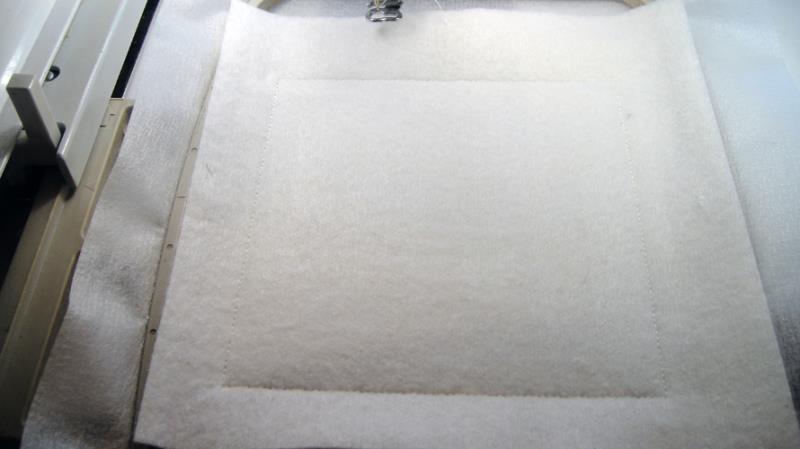
Spray adhesive on a square of the Battilizer® and position over the placement line. Tack down with CS 2 using any neutral thread.
(Click Image to Enlarge)
Step 4:
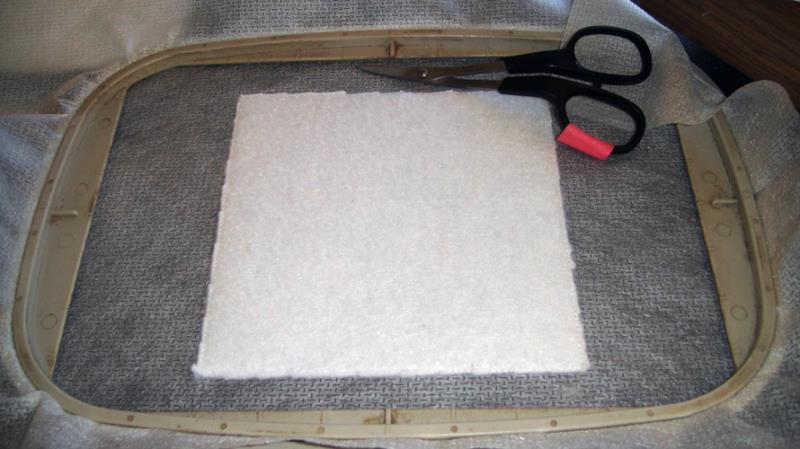
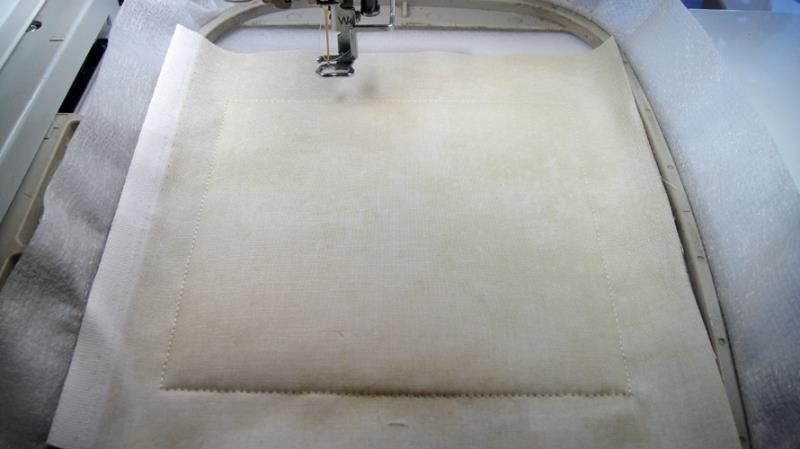
Remove the hoop from the machine, do not unhoop, place the hoop on a flat surface and trim the excess Battilizer® as close as possible around the tack down lines. Removing the excess Battilizer® at this time will reduce the bulk when the blocks are joined together.
(Click Image to Enlarge)
Step 5:
Spray adhesive on the back of a beige square and place over the Battilizer® ensuring that the fabric exceeds the placement lines by ½” on all sides. Tack down the fabric with water soluble thread and CS 3.
(Click Image to Enlarge)
Step 6:
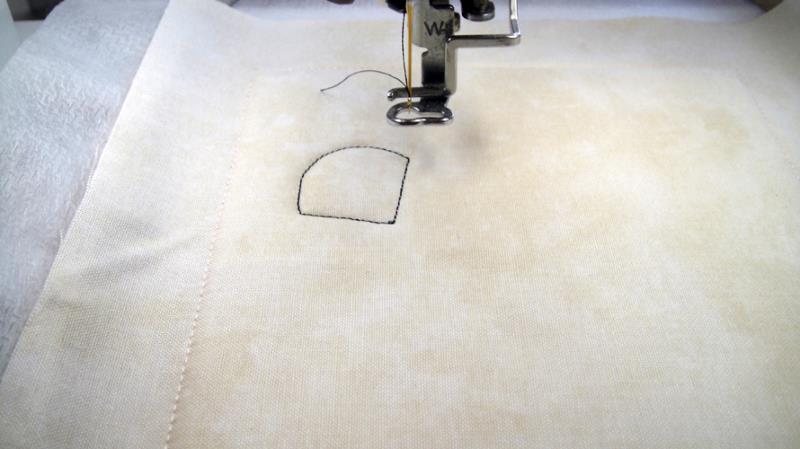
Run CS 4 in Black (all color stops listed as placement lines can be stitched in black thread) as a placement line for the beak.
(Click Image to Enlarge)
Step 7:
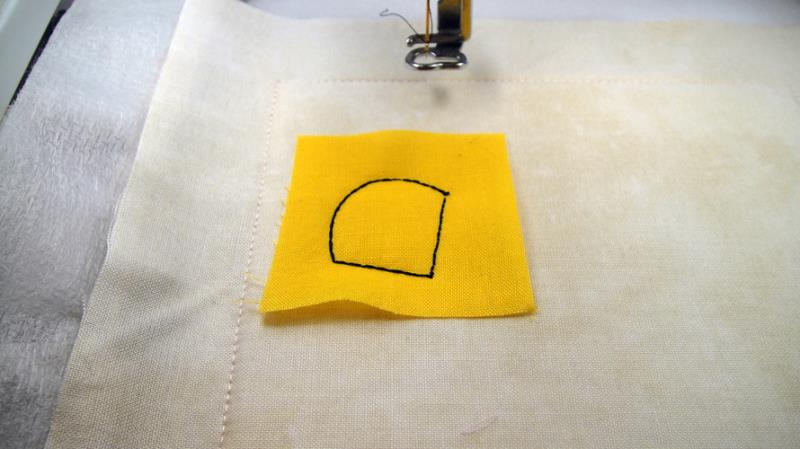
Cut a little square of yellow fabric larger than the placement line. Remove the Heat N Bond Lite® paper backing, spray a little adhesive on the applique and position over the placement lines. Tack down with CS 5 in black.
(Click Image to Enlarge)
Step 8:
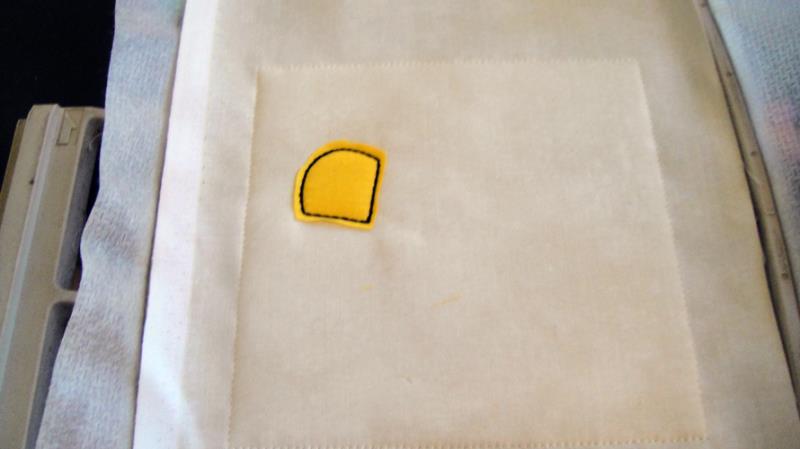
Remove the hoop from the machine, do not unhoop, and trim the applique about 2 mm away from the tack down stitches. IMPORTANT: Press the applique with an applique iron. You need to press each applique after it is trimmed to keep the edges from flipping up and over as each successive applique is applied.
(Click Image to Enlarge)
Step 9:
Continue adding appliques in the order outlined in this picture with CS 6 through 19.
(Click Image to Enlarge)
Step 10:
Follow the color chart for the last 3 color stops and remove the project from the hoop make a second block from the same design using different fabrics for the appliques.
Step 11:
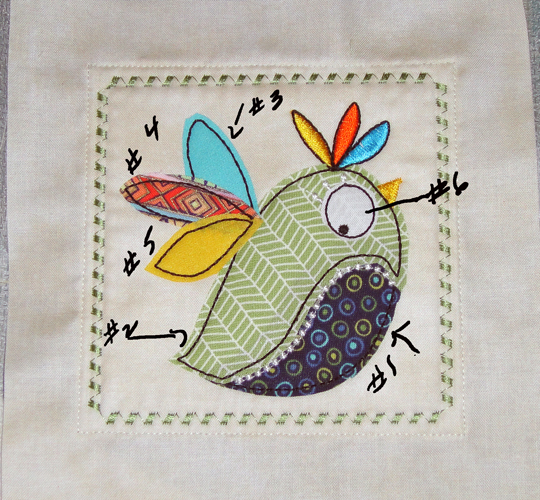
Load design FBB02 into your machine. Place and trim the Battilizer® and position the background fabric as in Steps 2 and 3. Applique the bird with CS 4 through 13. Embroidery detail following with CS 14 through 20 to embroidery detail on the bird. Use the colors as listed on the color chart or switch them up coordinate with your fabrics. The eye is appliqued with CS 21 and 22. Follow the color chart for CS 23 and 24 to complete the block. Make a second block from the same design using different fabrics.
(Click Image to Enlarge)
Step 12:
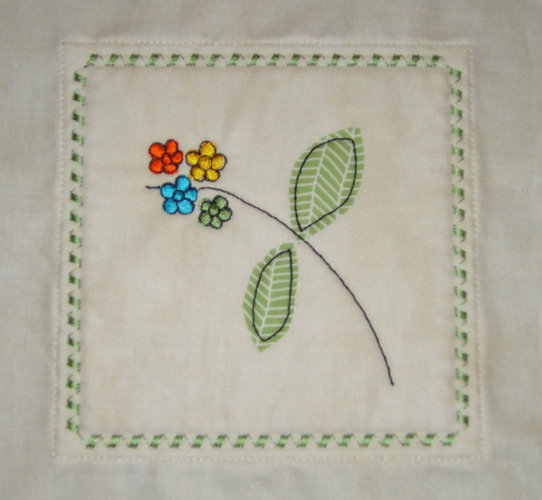
Load design FBB03 into your machine. Place and trim the Battilizer® and position the background fabric as in Steps 2 and 3. Follow the color chart to embroider the flowers through CS 7. The leaves are appliqued using CS 8 through 11. Complete the block by following the color chart. Make a second block from the same design.
(Click Image to Enlarge)
Step 13:
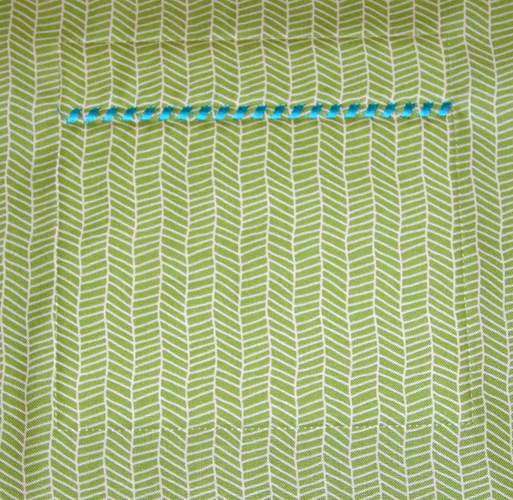
Load design FBB04 into your machine. Place and trim the Battilizer® and position the background fabric as in Steps 2 and 3 using the lime fabric as the background and using color stops 1 through 3. CS 4 is the decorative stitching on this block, stitch in Turquoise or a color to coordinate with your fabrics. Make a total of 6 of these blocks.
Step 14:
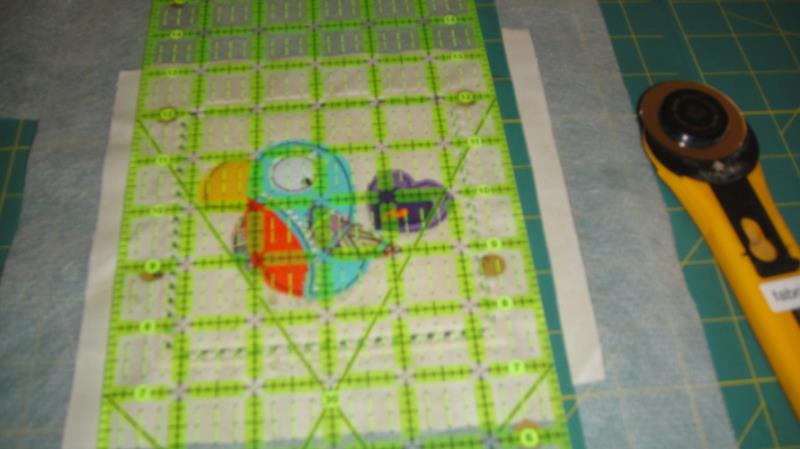
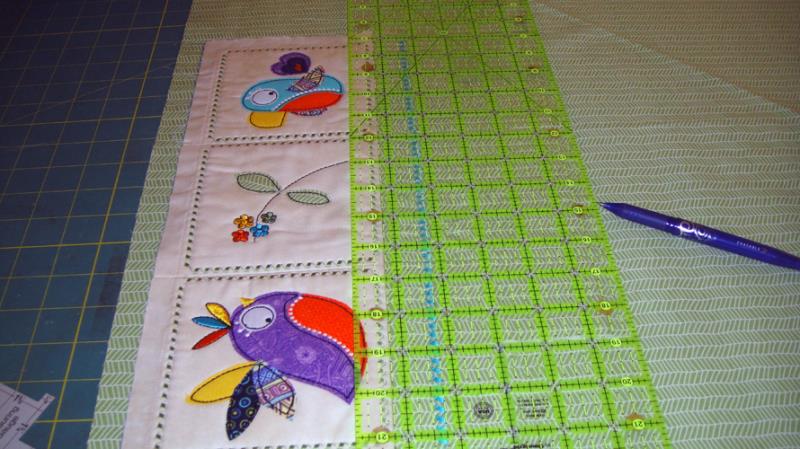
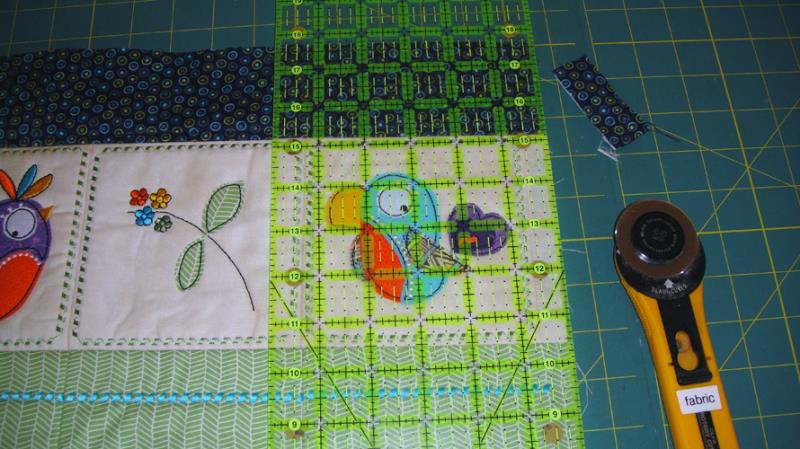
Lay the ½” mark on see through ruler on the water soluble tack down lines and trim the fabric to ½” seam allowances on all sides of all of the blocks. Hint, if you used a colored thread for that 1st placement line, you might be able to see them better from the back of the blocks. If that is the case turn all of the blocks face down on your mat to trim the seam allowances.
(Click Image to Enlarge)
Step 15:
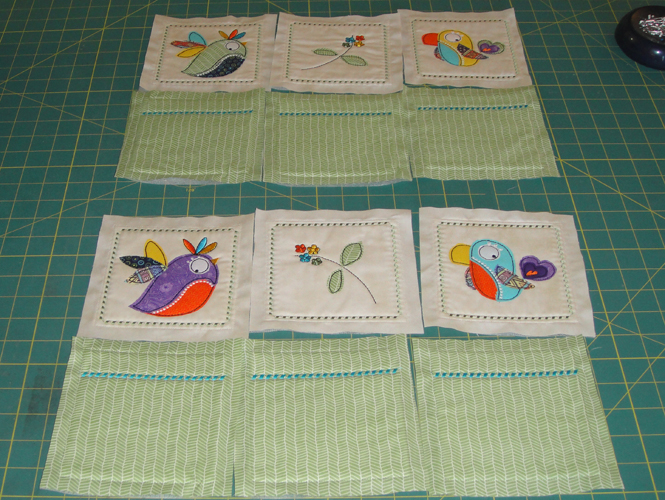
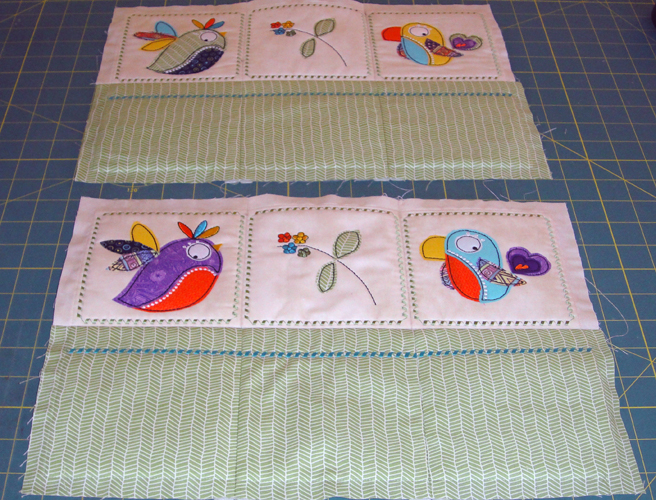
Lay out the blocks as shown with three top blocks and three bottom blocks for each side of the basket.
(Click Image to Enlarge)
Step 16:
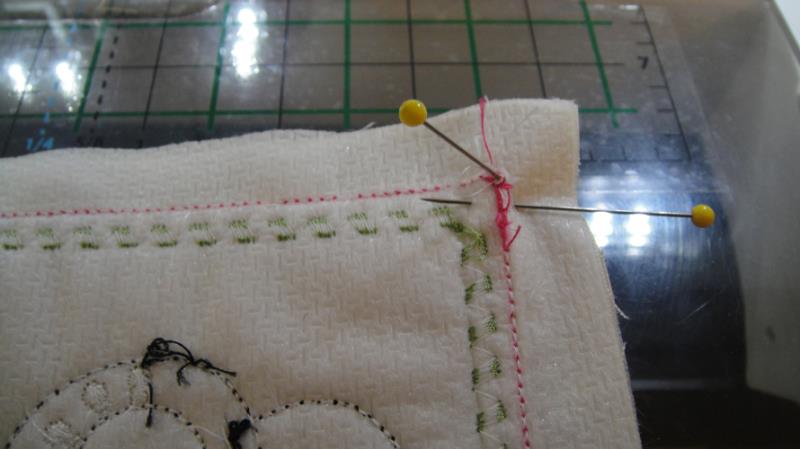
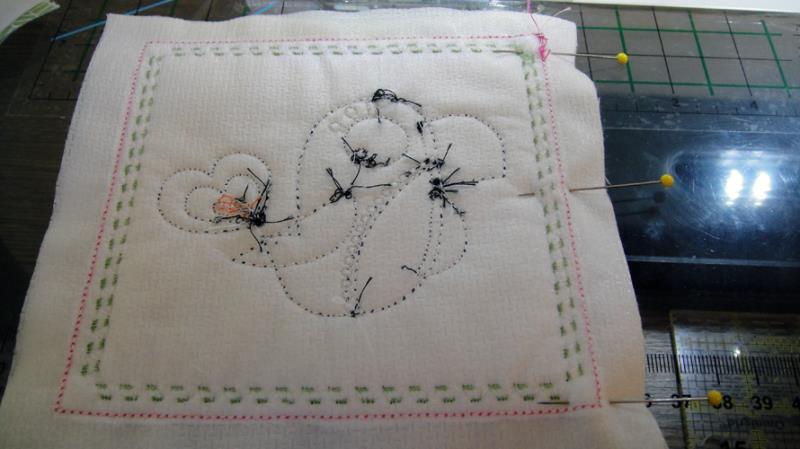
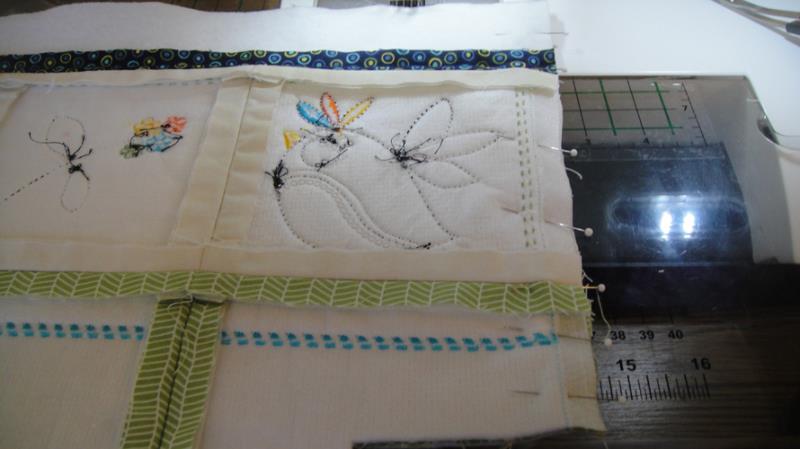
Accurate seaming and alignment of the blocks is important in this project. To get the placement lines to line up perfectly use a double pinning method. That is, place two of the top blocks right sides together. Push a pin vertically through the top corner stitch of the top block; push the same pin through the top corner stitch of the second block, when the two corners are perfectly aligned use a second pin horizontally through both blocks to keep them aligned. Remove the vertical pin.
(Click Image to Enlarge)
Step 17:
Place the pins as described above in each corner and in the middle of the block.
(Click Image to Enlarge)
Step 18:
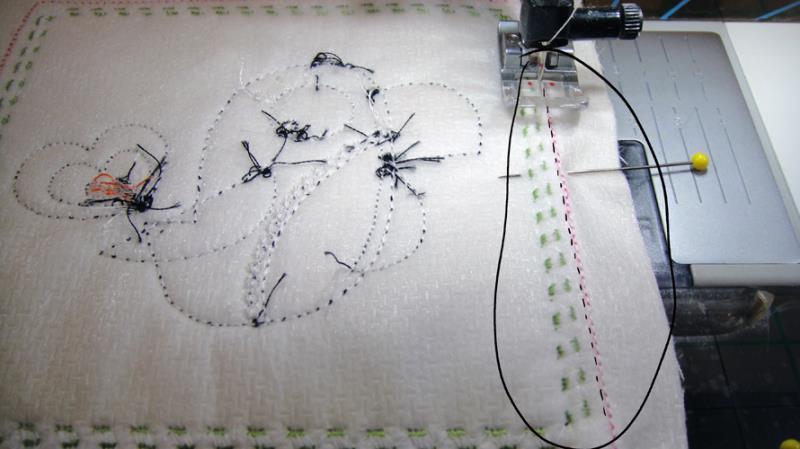
With a stitch length of 3mm stitch just inside the placement line stitches to join the blocks.
(Click Image to Enlarge)
Step 19:
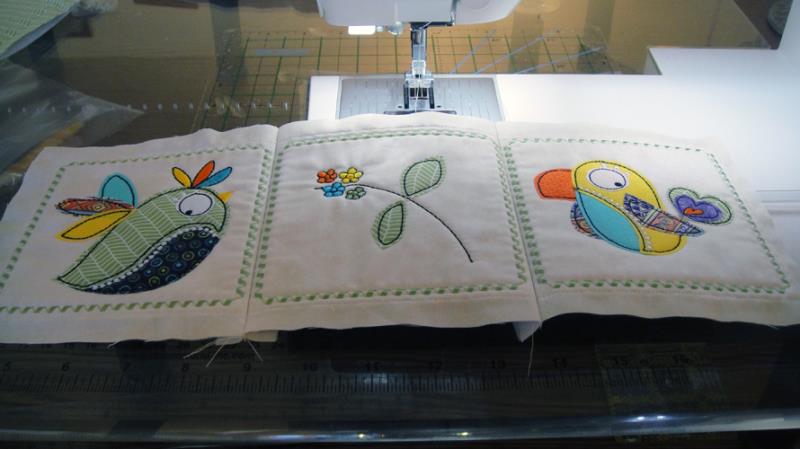
Stitch the second bird block to the flower block using the same techniques. Press the seams open.
(Click Image to Enlarge)
Step 20:
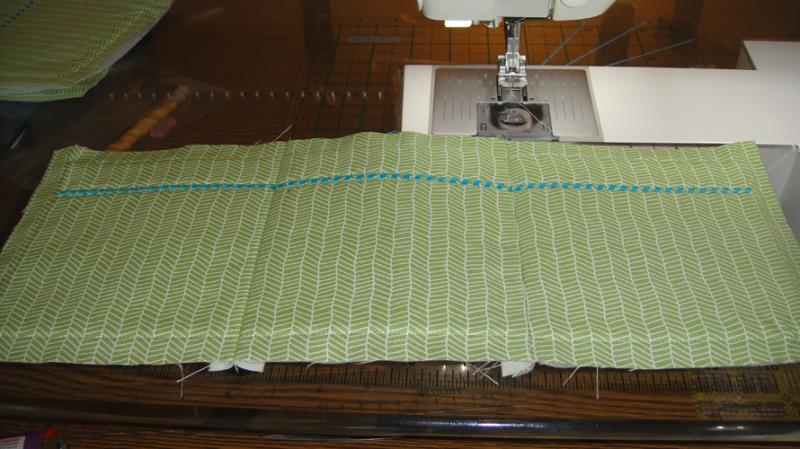
Join three of the lime blocks using the same techniques as outlined in Steps 16 through 19, press the seams open.
(Click Image to Enlarge)
Step 21:
Join the row of bird blocks to the row of lime blocks using the same techniques.
(Click Image to Enlarge)
Step 22:
Join the blocks for the other side of the basket in the same manner.
(Click Image to Enlarge)
Step 23:
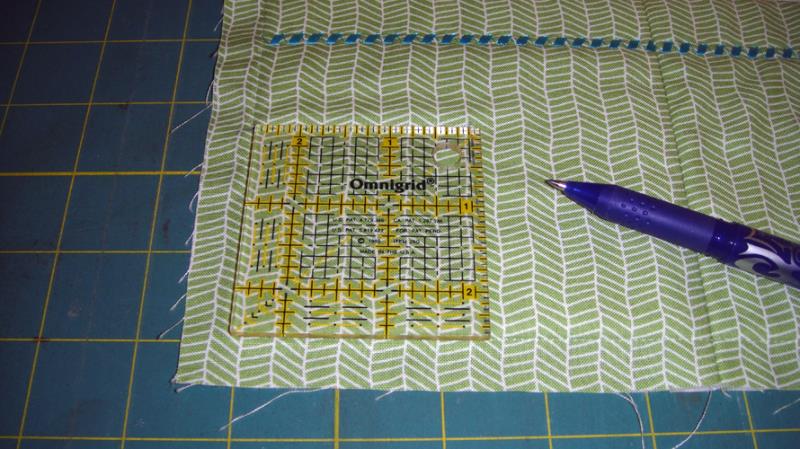
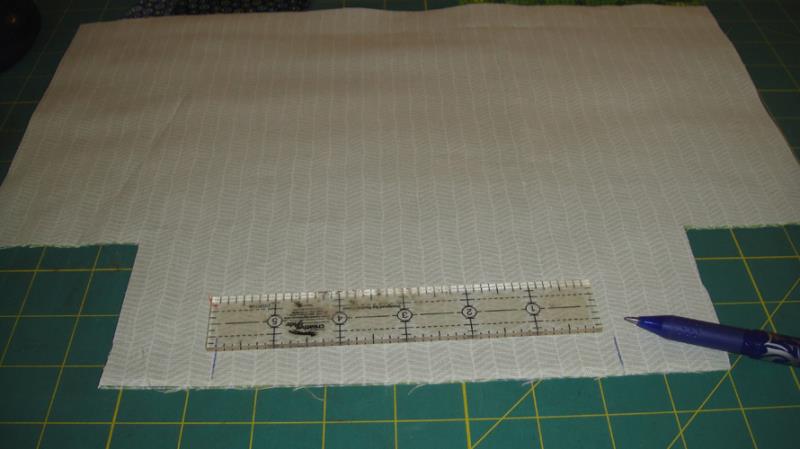
Draw a 2 ½” square on each bottom corner of the basket sides measuring in from the tack down lines as those are properly squared.
(Click Image to Enlarge)
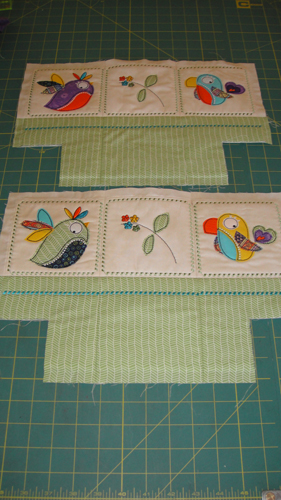
Step 24:
(Click Image to Enlarge)
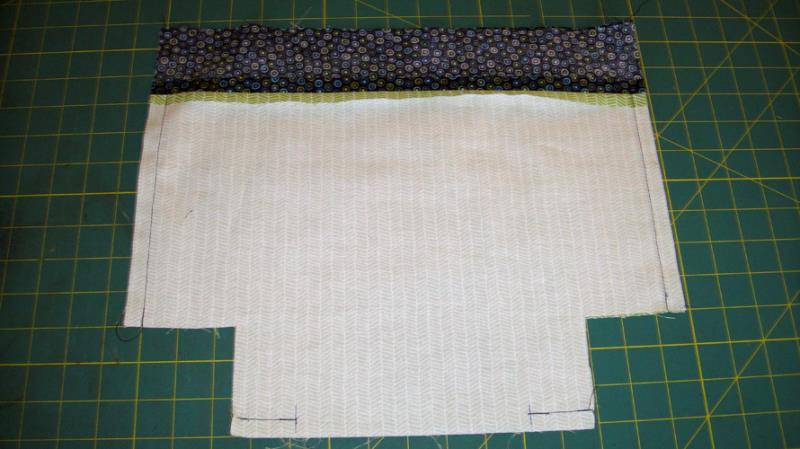
Cut out the squares that you drew. Your basket sides will now look like this picture.
Step 25:
Lay one of the basket sides on 2 layers of your lining fabric. Trace around the basket side and then cut out the two layers of lining.
(Click Image to Enlarge)
Step 26:
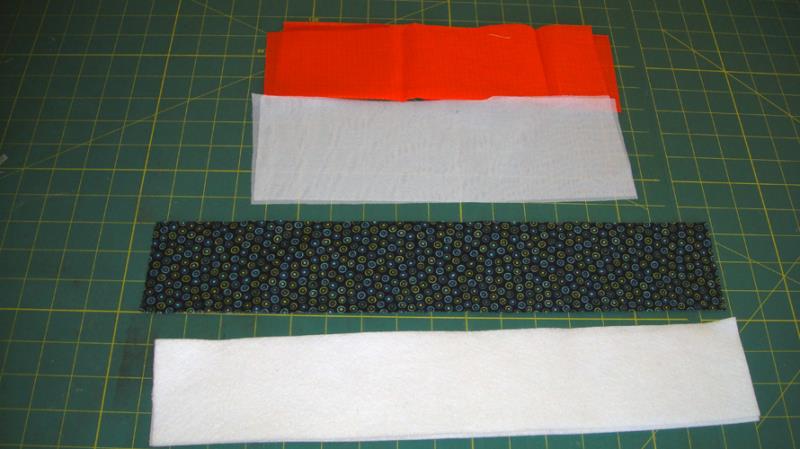
Cut: a. 2 strips of the handle fabric and fusible interfacing 4” x 12” b. 4 strips of the border fabric 3” x 17” c. 2 strips of Battilizer 3” x 17”
(Click Image to Enlarge)
Step 27:
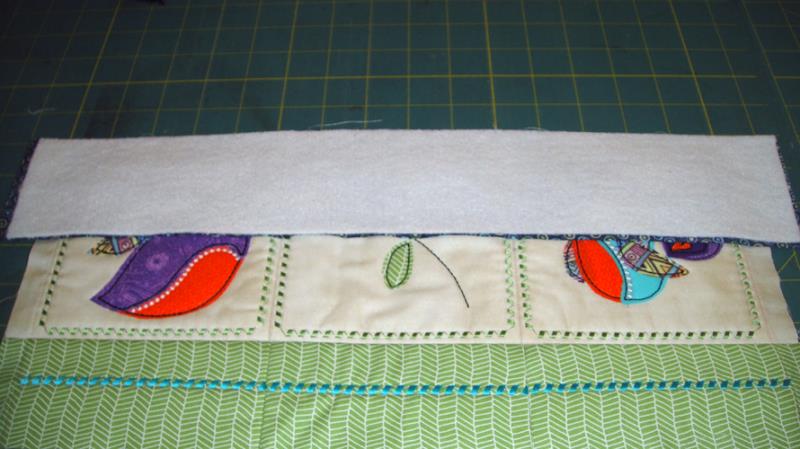
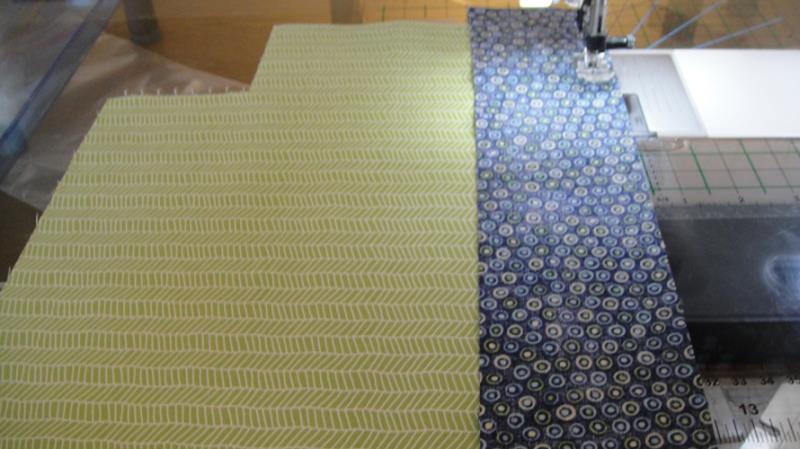
Place a border strip, face down, and a strip of Battilizer® aligned with the top of a basket side having the border and Battilizer® extend about ½” beyond the sides of the basket. Pin in place.
(Click Image to Enlarge)
Step 28:
Stitch the border and Battilizer® to the basket from the basket side so that you can see to stitch right inside the tack down stitches on the bird blocks. Press the seam open. Repeat to attach the border to the other side of the basket.
(Click Image to Enlarge)
Step 29:
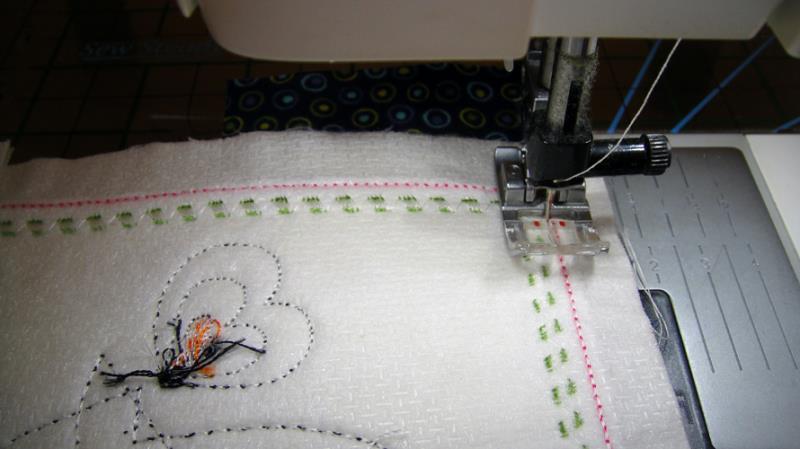
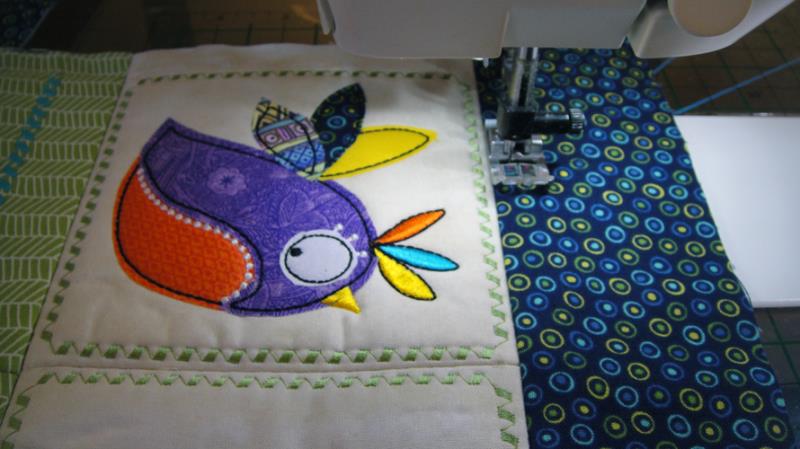
Top stitch the border.
(Click Image to Enlarge)
Step 30:
Trim the excess border from the basket sides.
(Click Image to Enlarge)
Step 31:
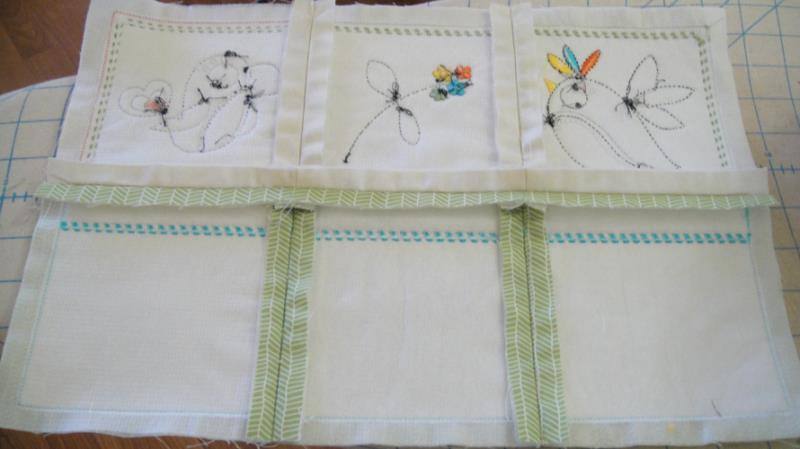
Using the double pinning techniques described above, pin the sides of the basket together and stitch. Pin across the bottom of the basket and stitch. Do not the areas yet where you cut out the squares at the bottom corners. Press the seams open.
(Click Image to Enlarge)
Step 32:
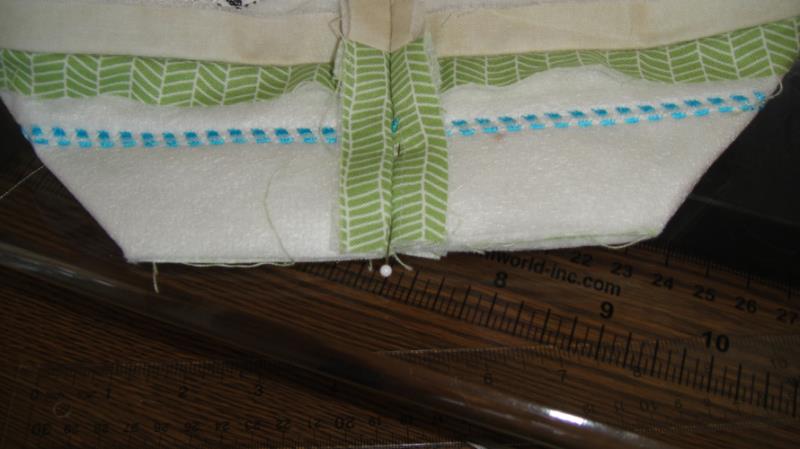
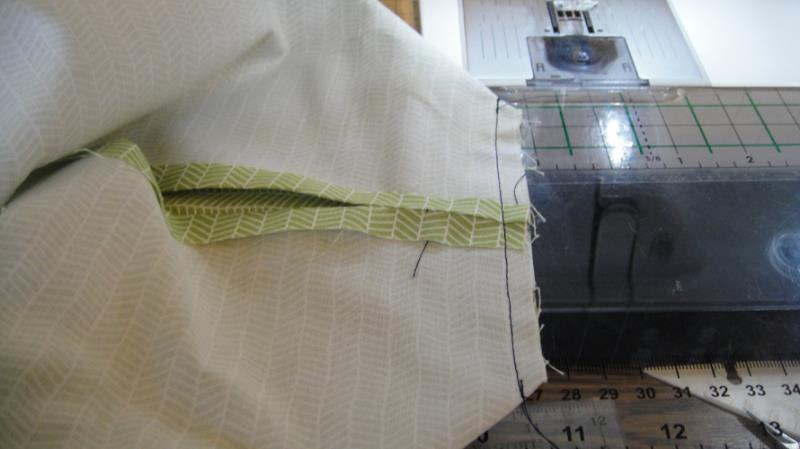
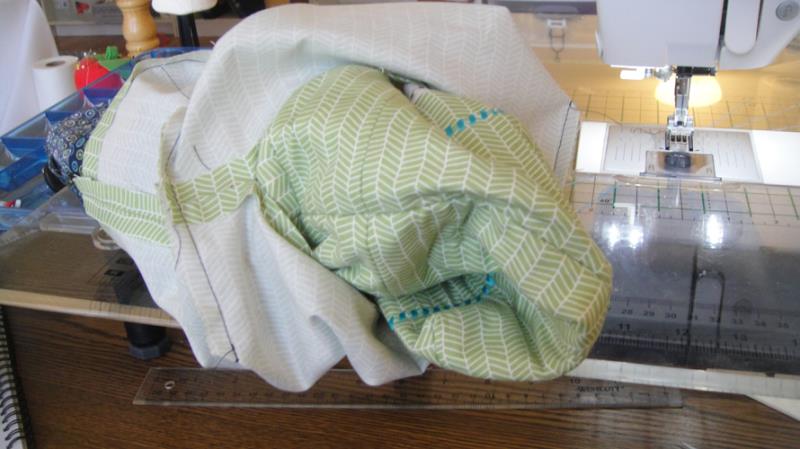
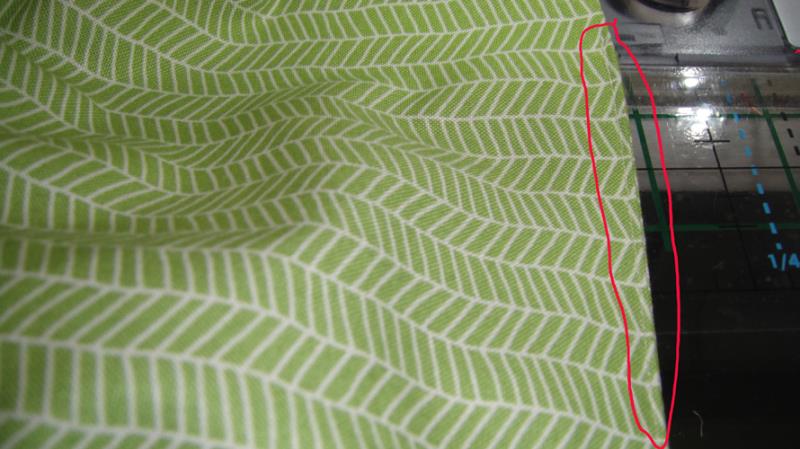
Fold the corner squares so that the side seam and the bottom seam line up and stitch across the corner with a ¼” seam.
(Click Image to Enlarge)
Step 33:
Turn your basket right side out.
(Click Image to Enlarge)
Step 34:
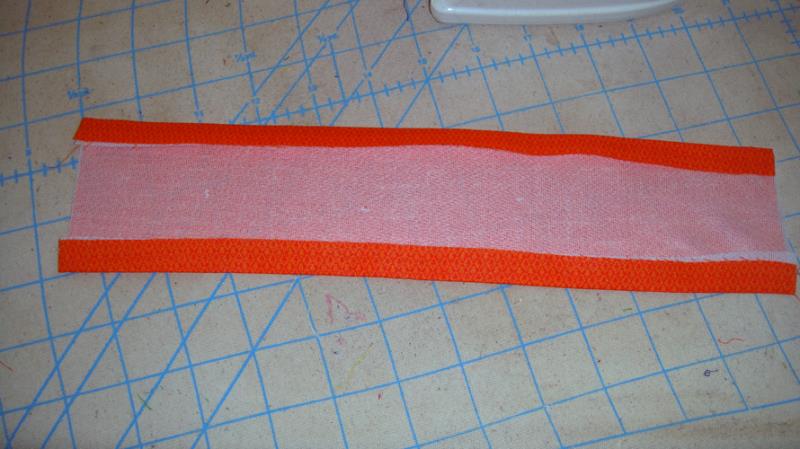
Fuse the interfacing to a handle strip then fold in the lengthwise sides ½” and press. Fold in half lengthwise and top stitch down both sides of the handle. Repeat for the second handle.
(Click Image to Enlarge)
Step 35:
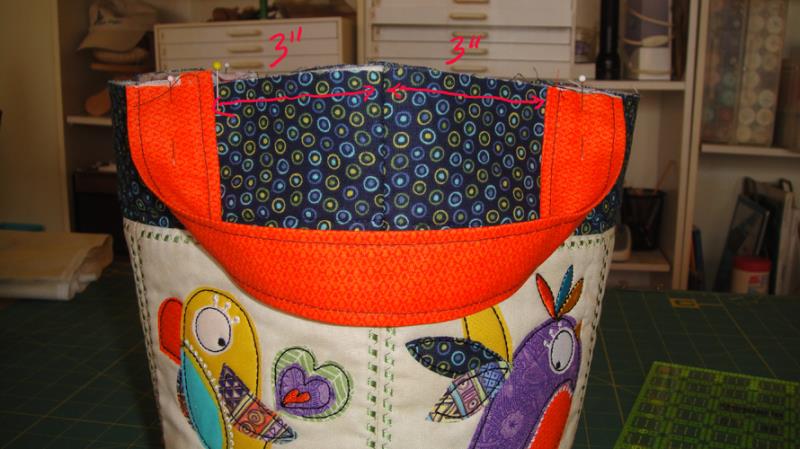
Pin the ends of the handles 3” from the side seams of the basket. Stitch to the basket with ¼” seams.
(Click Image to Enlarge)
Step 36:
Place the two lining fabrics right sides together. Mark a 6” segment on the bottom for the section you will leave unstitched for turning the basket.
(Click Image to Enlarge)
Step 37:
Place a border strip across the top of the lining and stitch in place with a ½” seam. Press the seam open. Repeat for the other side of the lining. Trim the edges of the border even with the lining.
(Click Image to Enlarge)
Step 38:
Stitch the sides of the lining and stitch the bottom of the lining, leaving the 6” open at the bottom of the bag. Press all seams open.
(Click Image to Enlarge)
Step 39:
Fold the corners of the basket so that the side seam and the bottom seams meet. Stitch the corners with a ¼” seam allowance.
(Click Image to Enlarge)
Step 40:
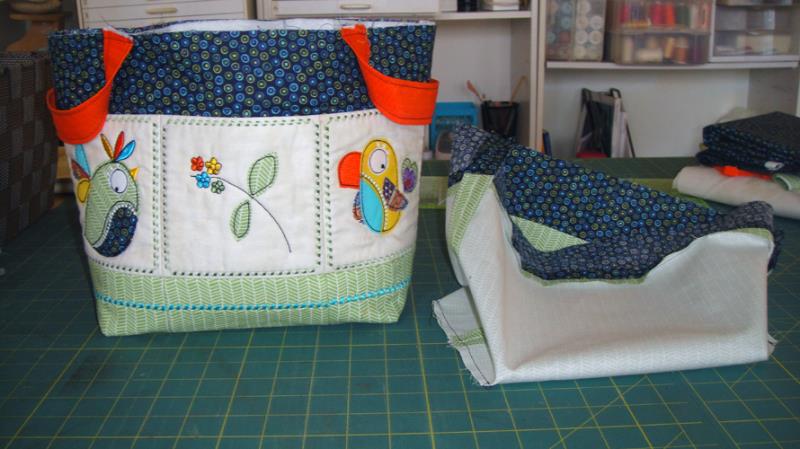
Have the basket turned right side out and the lining wrong side out. Slip the basket inside the lining.
(Click Image to Enlarge)
Step 41:
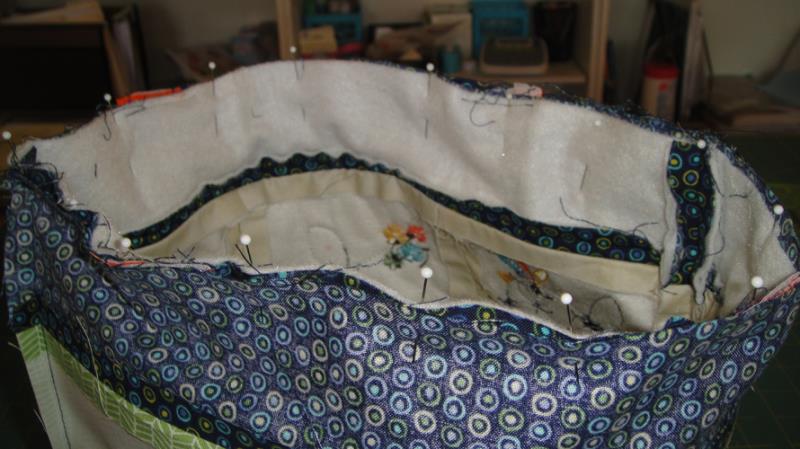
Aligning the side seams, pin the lining and the basket around the top having the handles inside between the lining and the basket. Stitch around the top with a ½” seam.
(Click Image to Enlarge)
Step 42:
Turn the basket right side out through the opening in the lining.
(Click Image to Enlarge)
Step 43:
Align the two folded in seam allowances at the opening in the lining and edge stitch the opening shut.
(Click Image to Enlarge)
Step 44:
Press the lining border to the inside of the basket then top stitch around the top of the basket.
(Click Image to Enlarge)
Step 45:
(Click Image to Enlarge)
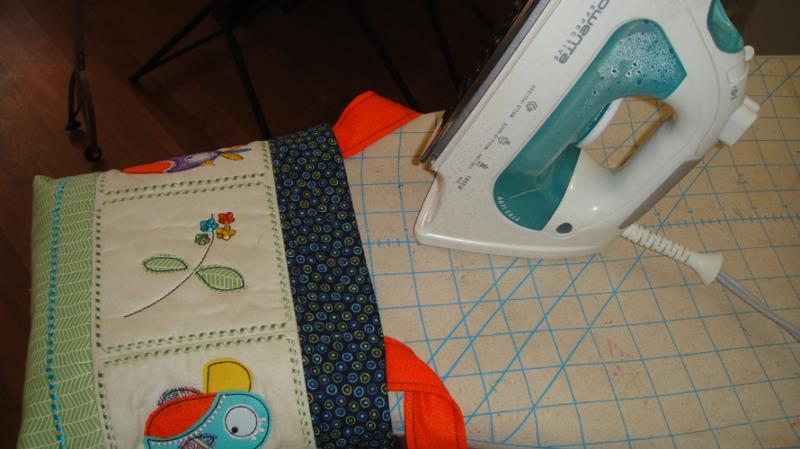
Congratulations, your Whimsical Bird Fabric Basket is complete. A great way to carry around your knitting or sewing projects.
Award winning Digitizer, Embroidery Educator, Author and a Consultant to the Industry, Pat Williams has 30 years of experience in the embroidery industry. Pat has won multiple awards for her digitizing expertise including the 2007 Impressions Awards Grand Championship, Best of Show as well as the 1st and 2nd Place Awards. Pat’s love of digitizing has afforded her the opportunity to write numerous articles for Impressions magazine in the United States and Images Magazine in Europe. In 2001 Pat was named “Embroidery Educator of the Year.” For many years Pat taught digitizing seminars at the ISS Shows in Long Beach, CA and for Compucon software. She now resides in Tucson, AZ.