Border OptionsHugging border, circle, square, or rectangle — with a 3mm satin stitch.
Backing OptionsAvailable with iron-on, sew-on, or velcro backing.
Fast ShippingShipped quickly from the USA.
Free Online Tools
Powerful embroidery utilities that save time and prevent costly mistakes.
Stitch AssistantRECOMMENDED
Get the exact stabilizer, machine settings, needle, and thread color sequence for every embroidery design you purchase — based on that design's stitch density, dimensions, and color count.
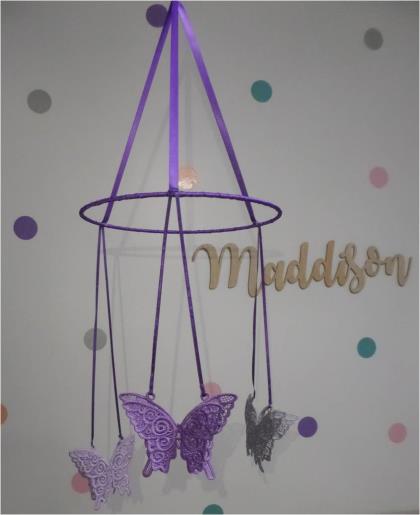
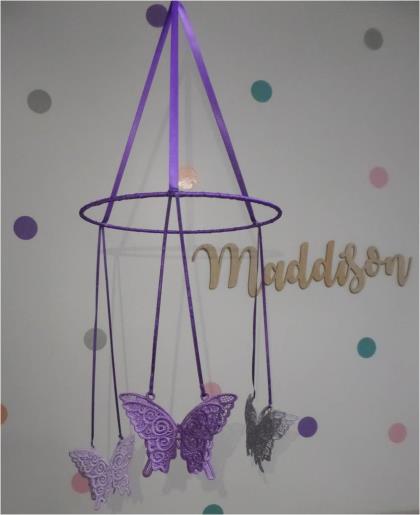
I have kept the mobile clean and simple to allow the fsl to stand out. I have used a hot glue gun to hold everything together, you could also hand sew the fsl and ribbon together if you would like.
Step 1:
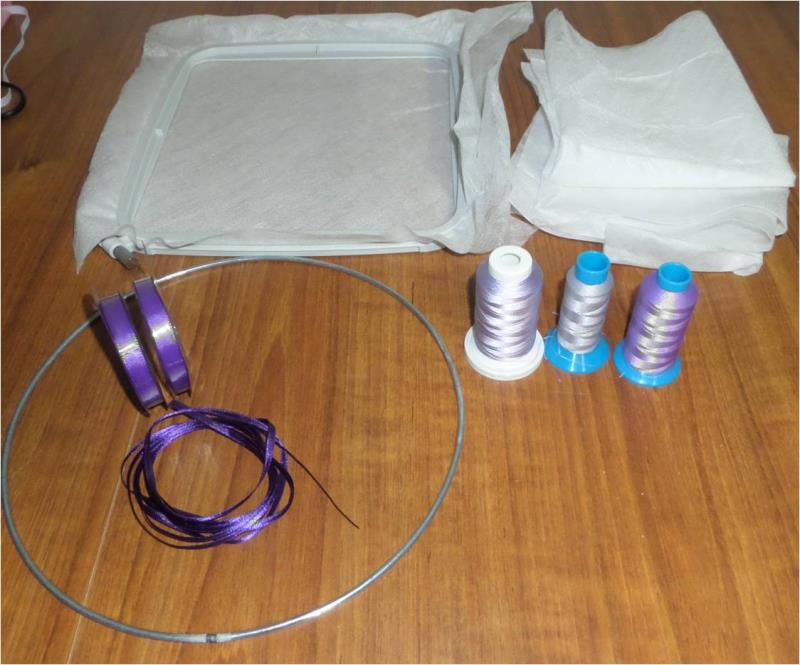
Gather the materials and read through the instructions before beginning.
(Click Image to Enlarge)
Step 2:
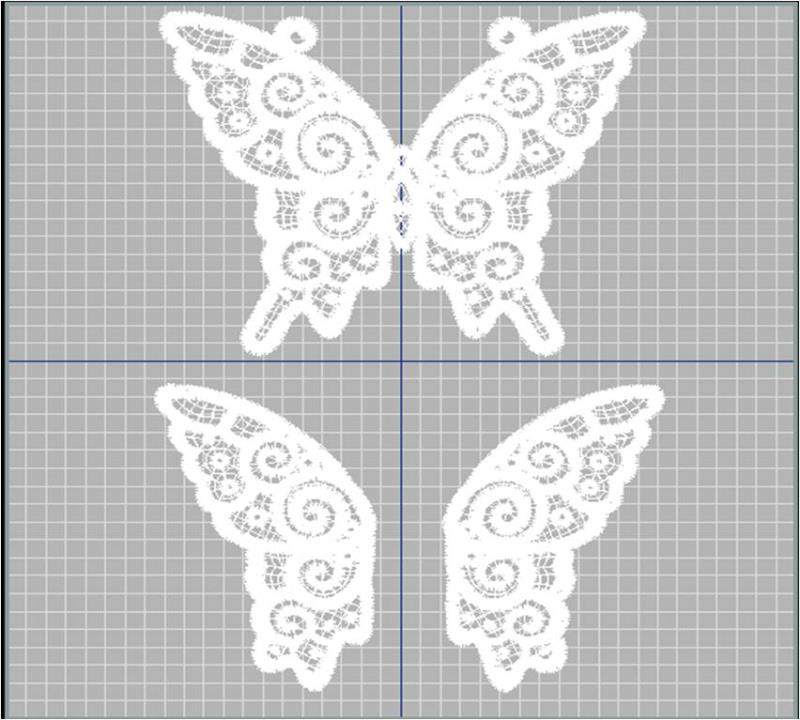
If you have embroidery software, it is easiest if you load the 3 designs into the appropriate sized hoop and save it as one file. If you don’t have software to do this, you can stitch each design separately
(Click Image to Enlarge)
Step 3:
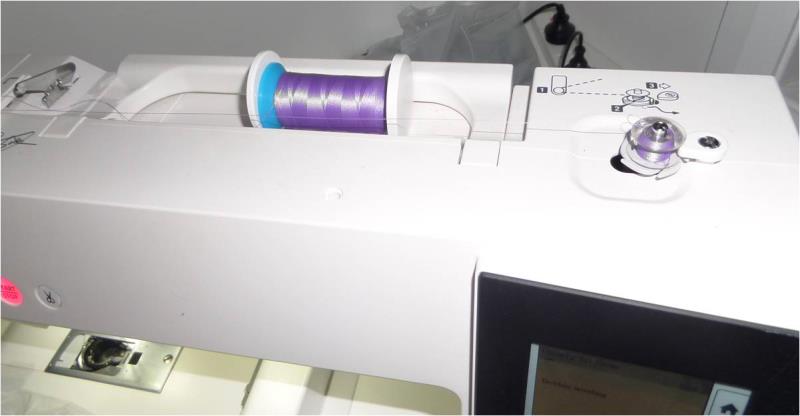
As these butterflies can be seen from both sides, wind the same color thread onto your bobbin
(Click Image to Enlarge)
Step 4:
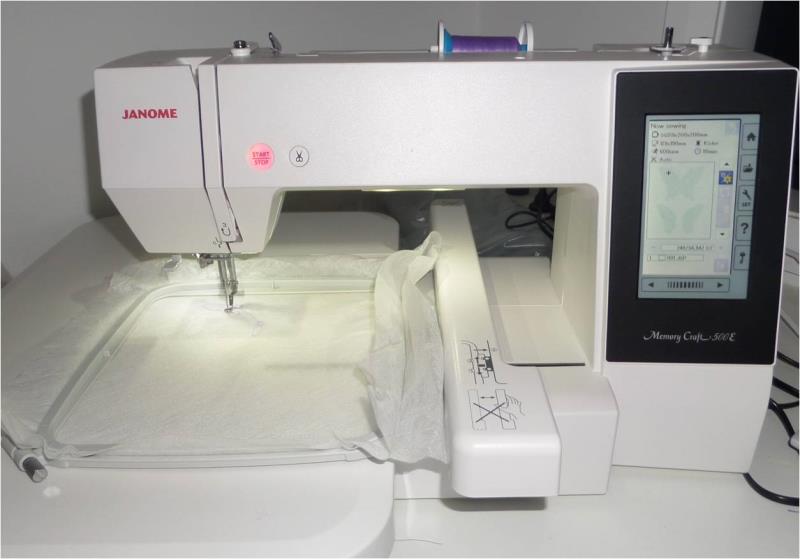
Hoop 2 layers of the wash away stabilizer, attach the hoop to the machine, load the design then stitch the first color butterfly. Remember if you need to stitch them separately, you need 3 pieces to make 1 butterfly.
(Click Image to Enlarge)
Step 5:
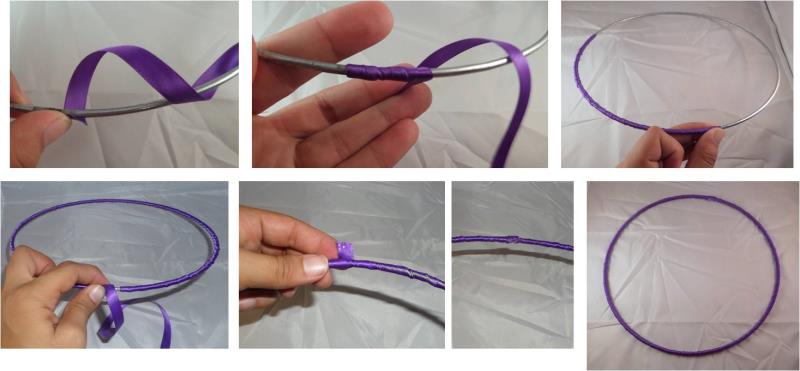
Whilst the butterfly is stitching, you can start on decorating the hoop. Using the 10mm wide ribbon, start to wrap it around the hoop ensuring that it is tight and that the start of the ribbon is covered (do this by wrapping it over itself a few times to begin with to hold it in place). Continue to wrap the ribbon around the hoop, tightening it each time you wrap around. Once you are back to the start, continue to wrap over the beginning of the ribbon then cut off the excess ribbon and glue down the end with a hot glue gun.
(Click Image to Enlarge)
Step 6:
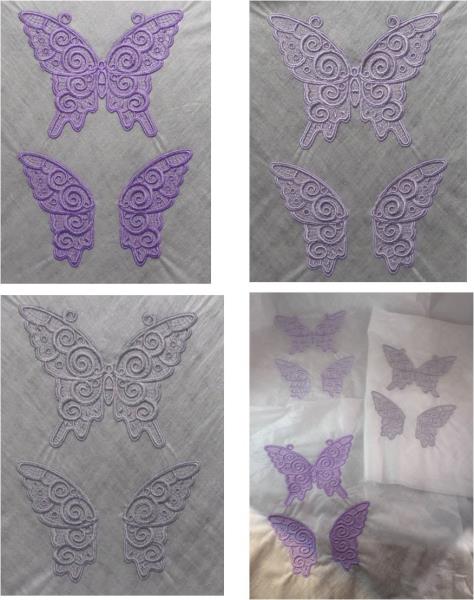
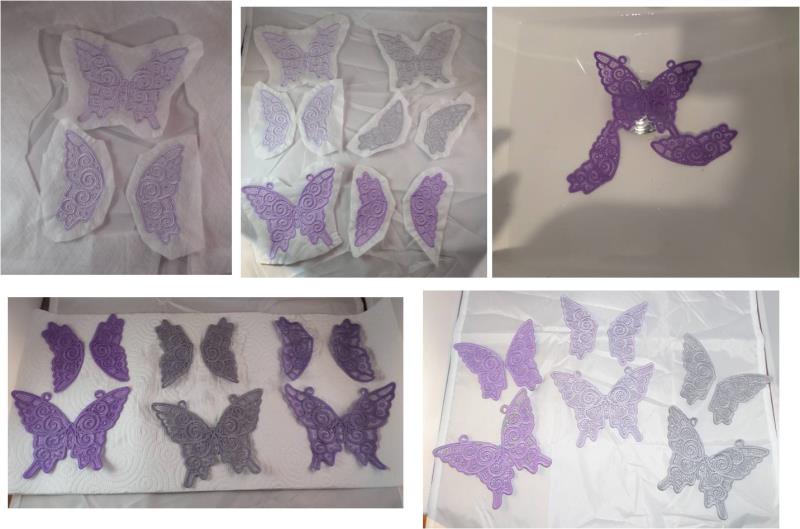
Stitch out the other 2 butterflies. You will now have 6 pieces of fsl
(Click Image to Enlarge)
Step 7:
Cut freely around each fsl piece and following the instructions for the wash away stabilizer, submerge in water to dissolve the excess stabilizer. Then lay the designs on paper towel and pat with additional paper towel to help them dry out. Then leave them to dry, preferably overnight
(Click Image to Enlarge)
Step 8:
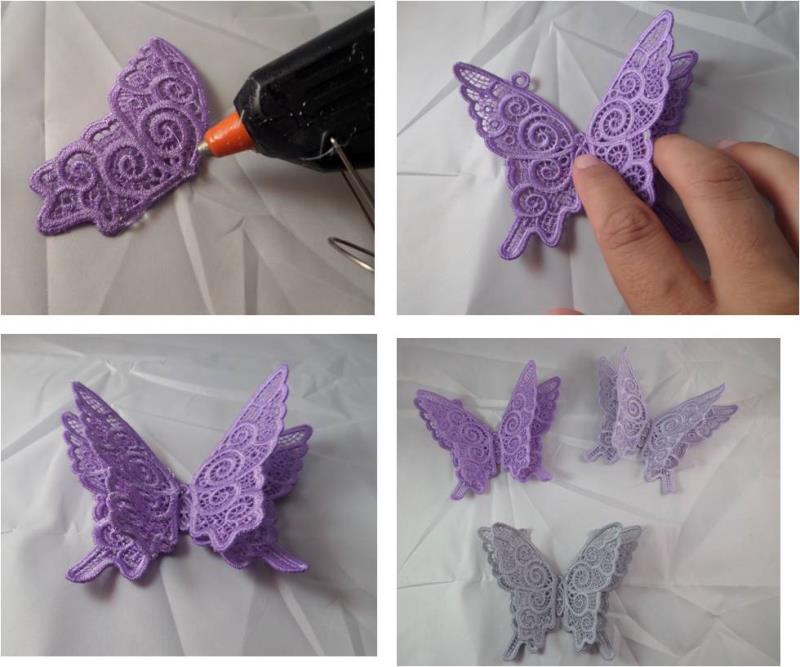
Now pair up the pieces for each color and using a hot glue gun, apply a small amount of glue to the inner edge of the butterfly wings and attach to the main butterfly, ensuring you hold them on an angle to form a 3D butterfly. Hold the pieces in place until the glue dries. Repeat for the other colors.
(Click Image to Enlarge)
Step 9:
(Click Image to Enlarge)
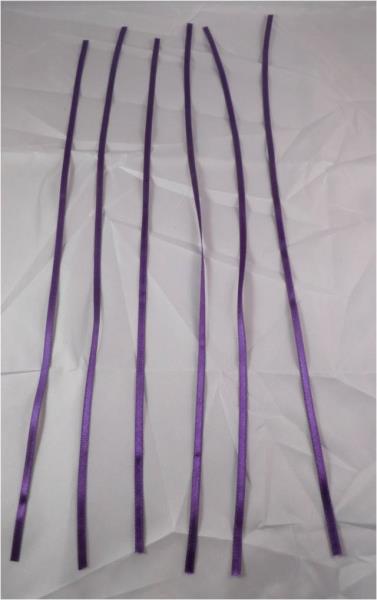
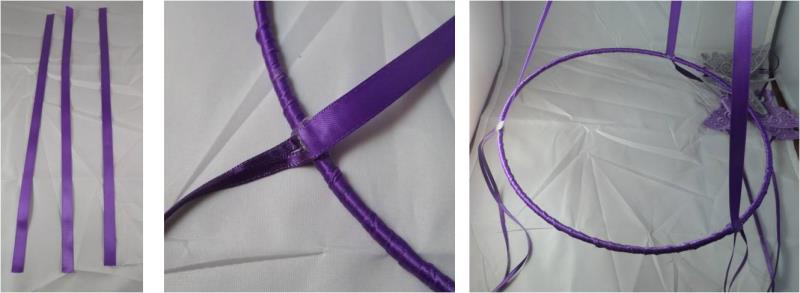
Cut the 3mm ribbon into 6 pieces. 3 @ 13”, 3 @ 11” and 3 @ 9”. These will be used to hang the butterflies from the hoop
Step 10:
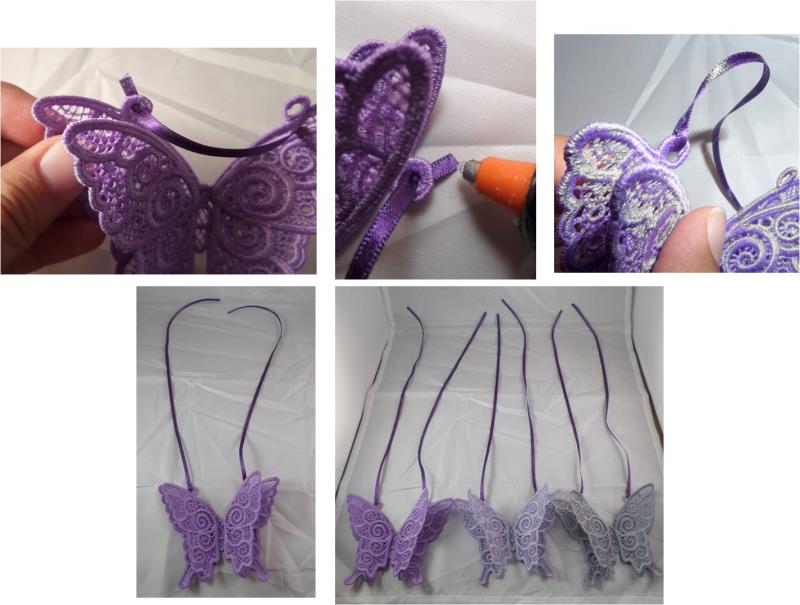
Thread one end of the ribbon through the hole of the butterfly and apply a small amount of glue to the end and press the ribbon together. Repeat for all butterflies
(Click Image to Enlarge)
Step 11:
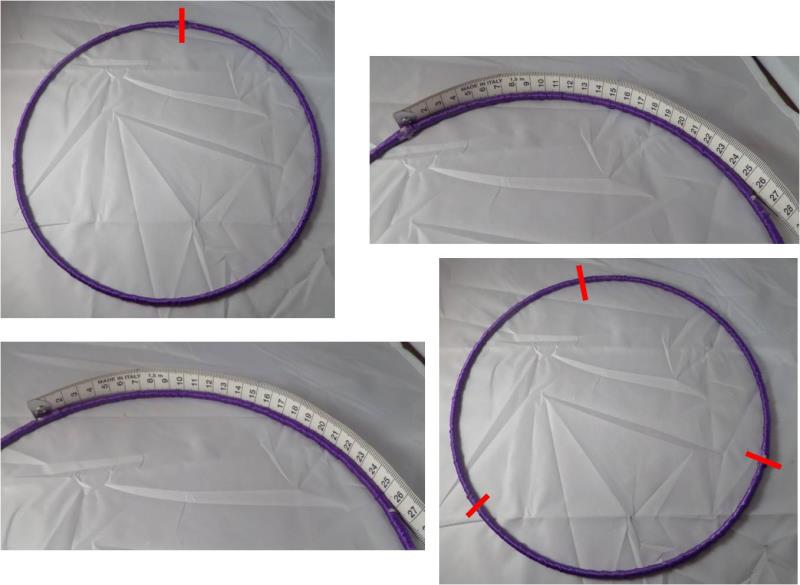
On the metal hoop at the ribbon join, place a mark. From that mark measure around 26cm and mark, then measure around 26cm again and mark. This gives you 3 points on the hoop, this is the ribbon placement marks to hang the butterflies
(Click Image to Enlarge)
Step 12:
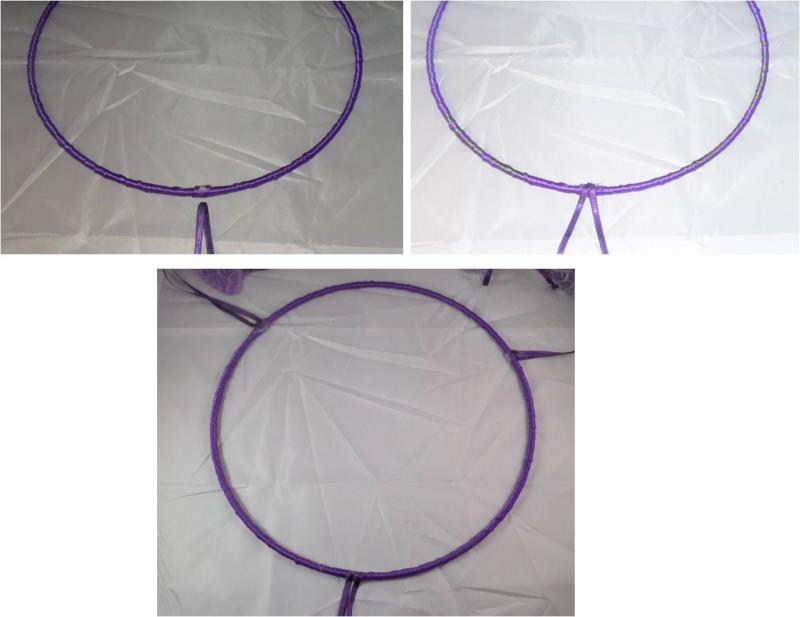
Lay butterfly right side up and lay ribbon flat, position it on the marking on the hoop then glue down. Repeat for all butterflies
(Click Image to Enlarge)
Step 13:
Cut 3 x 12” strips of 10mm ribbon. These will be used to hang the hoop. Apply a small amount of glue on the hoop at the same point as the ribbon which holds the butterflies, from step 12, and attach the 10mm ribbon at that point. Repeat for the other 2 pieces
(Click Image to Enlarge)
Step 14:
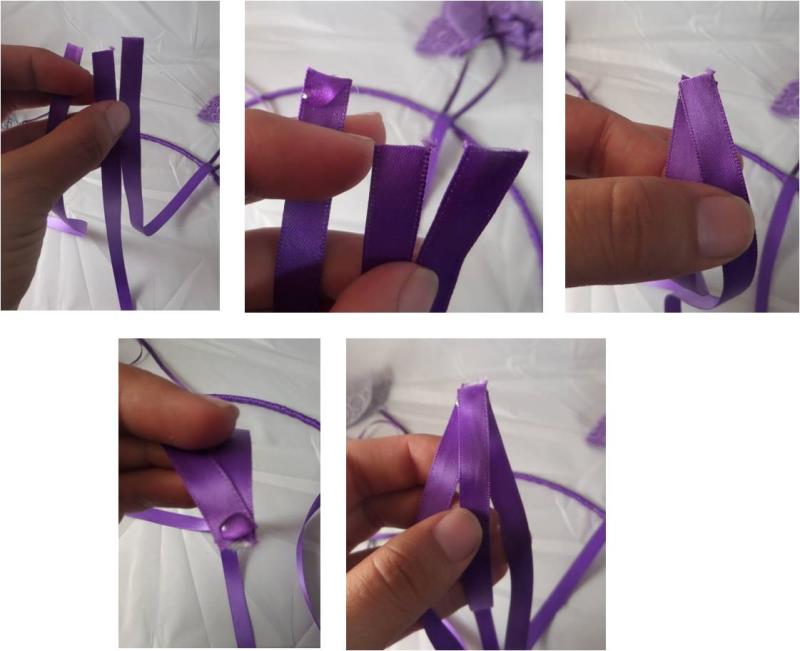
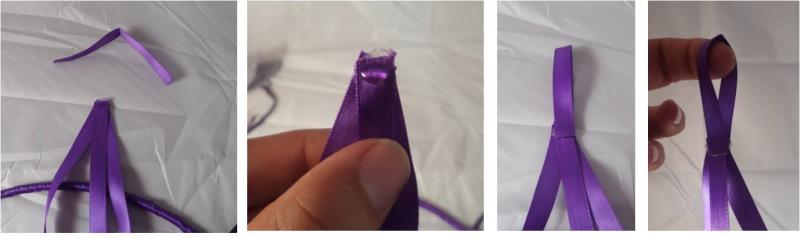
Now to join those 3 pieces of ribbon together at the top. Apply a small amount of glue to the front of 1 piece at the top and lay another piece on top and allow to dry. Then apply a small amount of glue to the back of the first piece of ribbon and attach the last piece, allow to dry
(Click Image to Enlarge)
Step 15:
From the 10mm ribbon, cut a strip 4” long. This will form the loop at the top so you can hang the mobile. Apply a small amount of glue to the front and back of the ribbon which was glued together in step 14 and attach the loop, allow to dry
(Click Image to Enlarge)
Step 16:
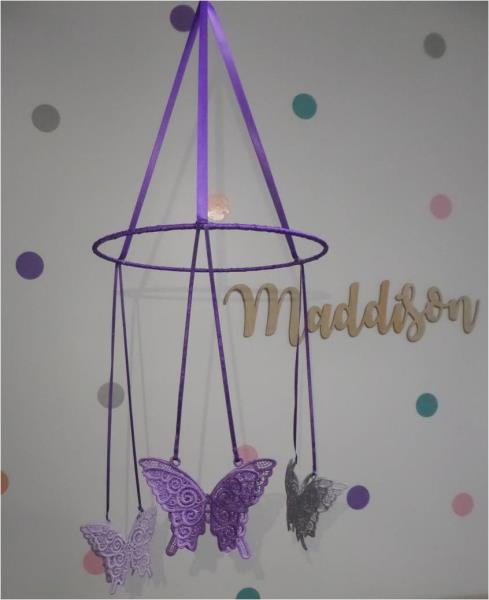
Your beautiful FSL mobile is now complete! NOTE: For safety reasons, do not hang this mobile directly over a babies cot. Use for decorative purposes only.