Border OptionsHugging border, circle, square, or rectangle — with a 3mm satin stitch.
Backing OptionsAvailable with iron-on, sew-on, or velcro backing.
Fast ShippingShipped quickly from the USA.
Free Online Tools
Powerful embroidery utilities that save time and prevent costly mistakes.
Stitch AssistantRECOMMENDED
Get the exact stabilizer, machine settings, needle, and thread color sequence for every embroidery design you purchase — based on that design's stitch density, dimensions, and color count.
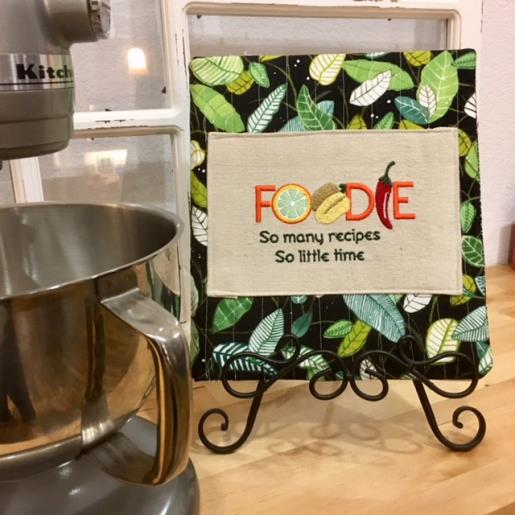
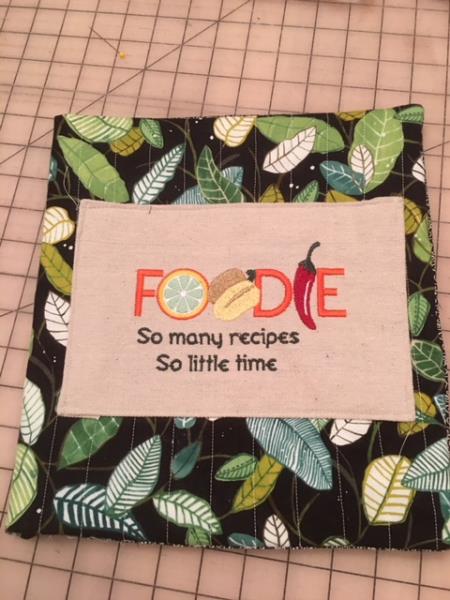
Keep your recipes organized with this quilted applique binder cover, designed to fit most standard 1-inch binders. Featuring a fun and colorful design, it adds a touch of style to your kitchen. Step-by-step instructions are included.
Step
of
Applique Quilted Binder Cover for Recipes
By Linda Mills
A fun stylish way to display your recipe book and to organize all your favorite recipes by creating a quilted binder cover using your favorite fabric and personalizing with a fun embroidery design. Fabric binder covers are perfect to store all your recipes you print online. ( Don't forget to pick up some paper protector sheets!) Makes a great gift and or a cute addition to your kitchen.
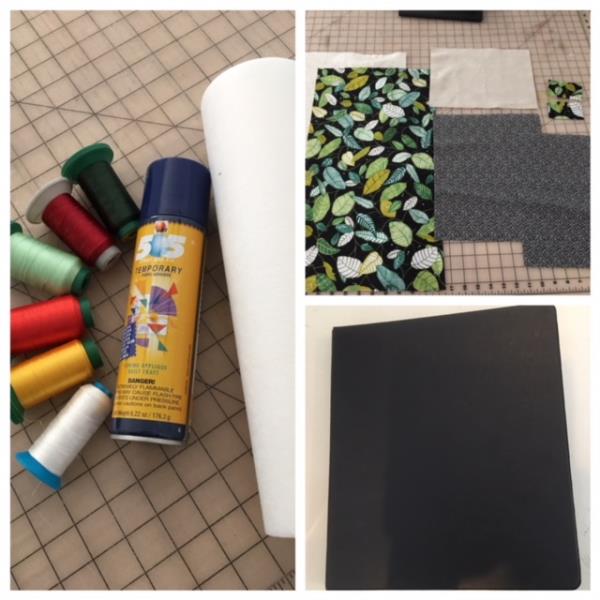
Step 1:
Gather all materials and review instructions before beginning.
(Click Image to Enlarge)
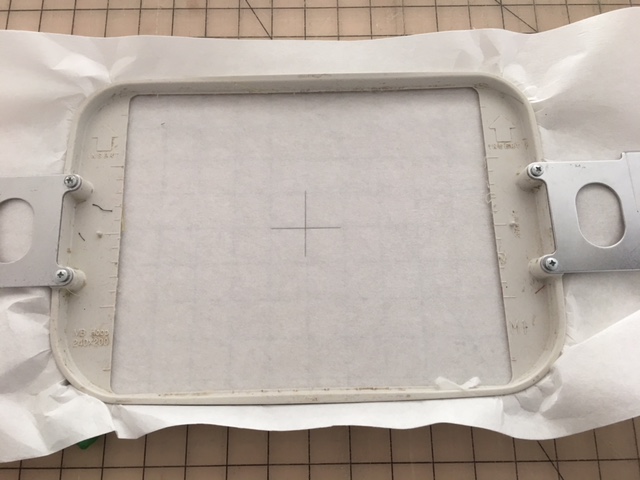
Step 2:
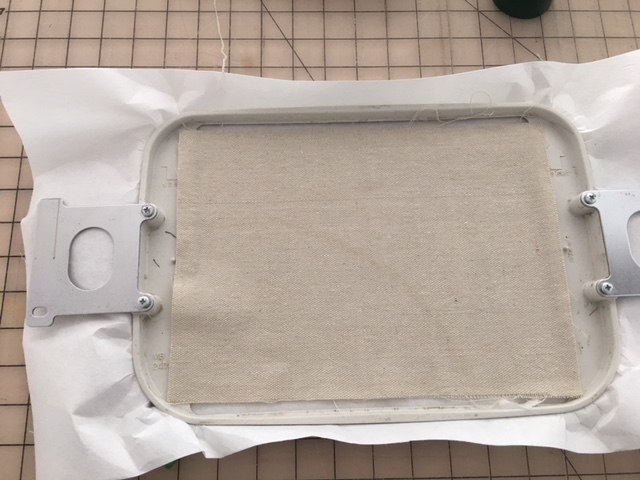
To embroider design. Hoop tear away stabilizer and mark center with cross hair.
(Click Image to Enlarge)
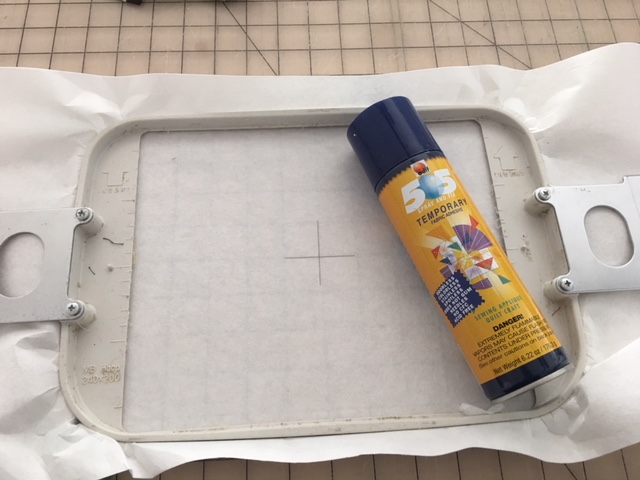
Step 3:
Spray temporary adhesive spray.
(Click Image to Enlarge)
Step 4:
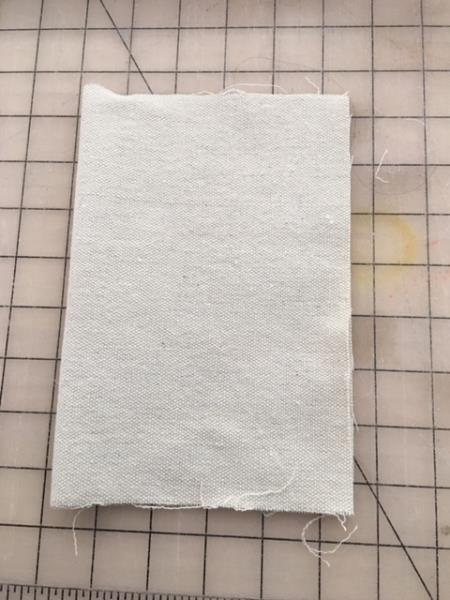
Using your 11"x 7" cut fabric. To find center. Fold in half as per shown picture.
(Click Image to Enlarge)
Step 5:
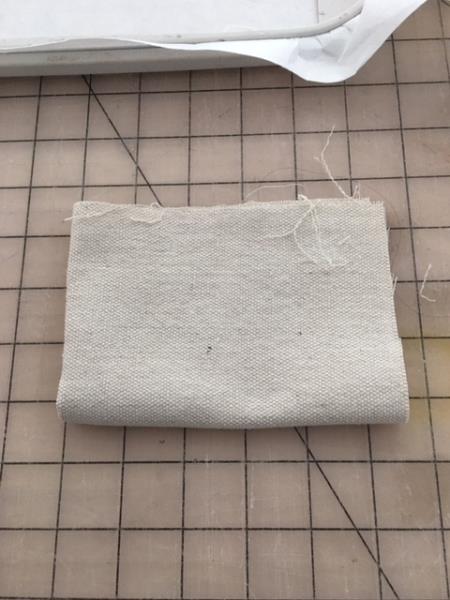
Fold up in half again as show in picture
(Click Image to Enlarge)
Step 6:
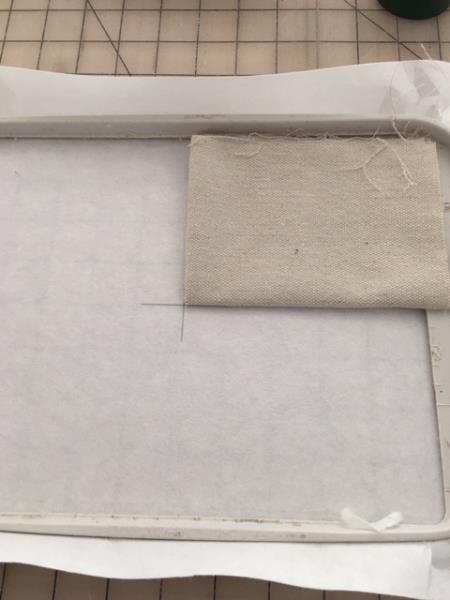
Place folded corner onto stabilzer matching up with corner of cross hair as shown in picture.
(Click Image to Enlarge)
Step 7:
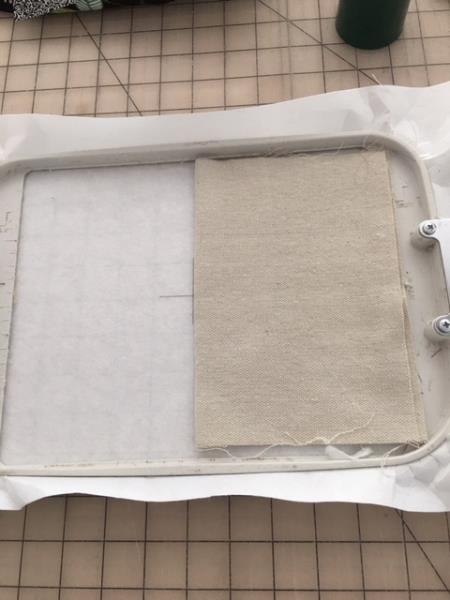
Unfold quarter fold as shown.
(Click Image to Enlarge)
Step 8:
Open half fold and press down with fingertips and smooth out any wrinkles.
(Click Image to Enlarge)
Step 9:
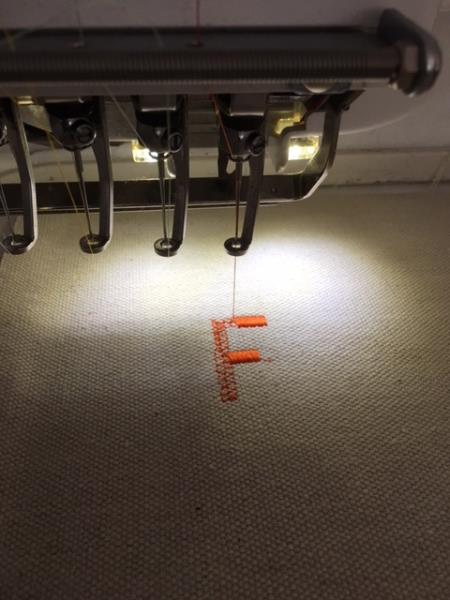
Load embroidery design into your machine. Attach hoop. Begin stitching out your design. Enjoy the embroidering process!
(Click Image to Enlarge)
Step 10:
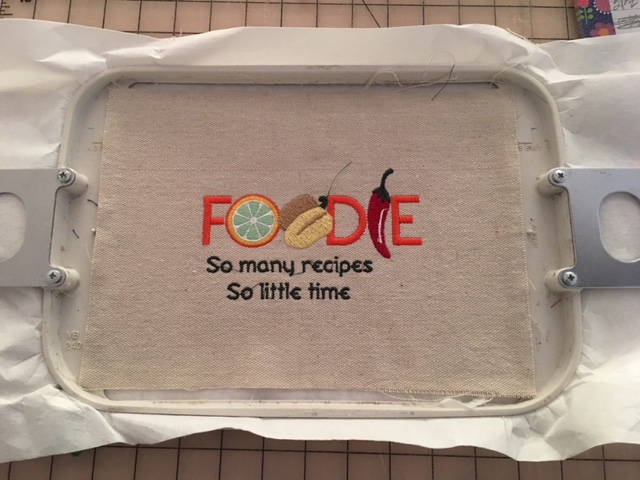
Once design is complete. "Clean" by cutting all jump stitches and any loose thread ends.
(Click Image to Enlarge)
Step 11:
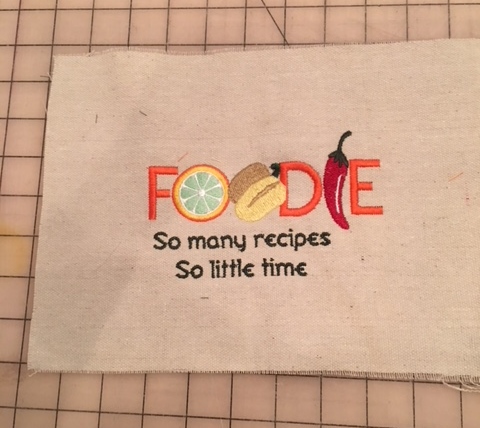
Remove from hoop. Remove tear away stabilizer. Set aside as we construct cover.
Step 12:
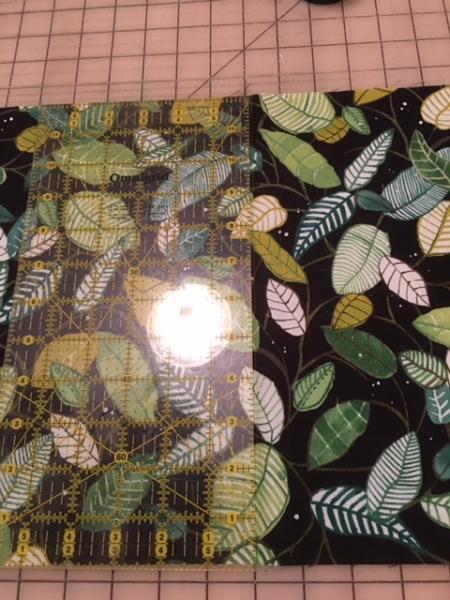
Next we will be quilting top of cover. Using your cut 21 1/2 " x 12" piece. Draw a straight line down from top to bottom marking center of cut piece. You can do this by folding your cut piece in half. Fingertipe press to show crease. Unfold and draw line on crease using your disappearing fabric ink pen.
(Click Image to Enlarge)
Step 13:
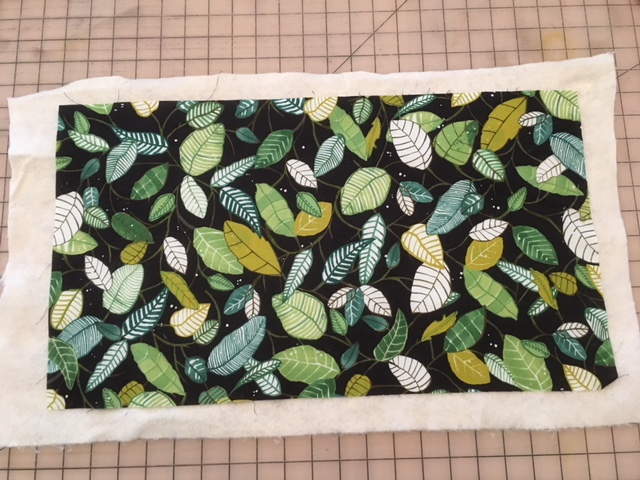
Using your cut piece of cotton batting. Lightly spray temporary adhesive spray. Place your cut 21 1/2 x 12" piece on top and press down and smooth out to hold in place.
(Click Image to Enlarge)
Step 14:
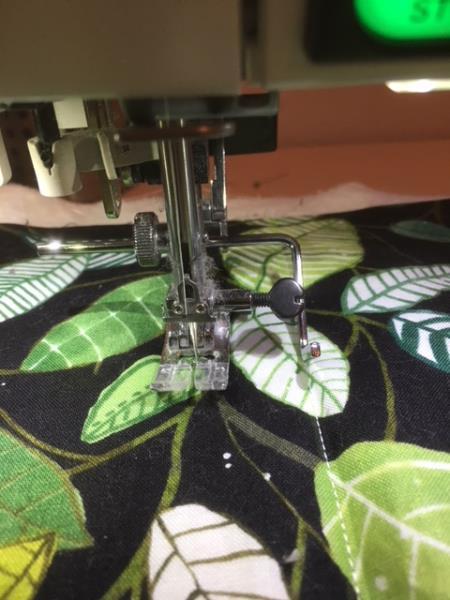
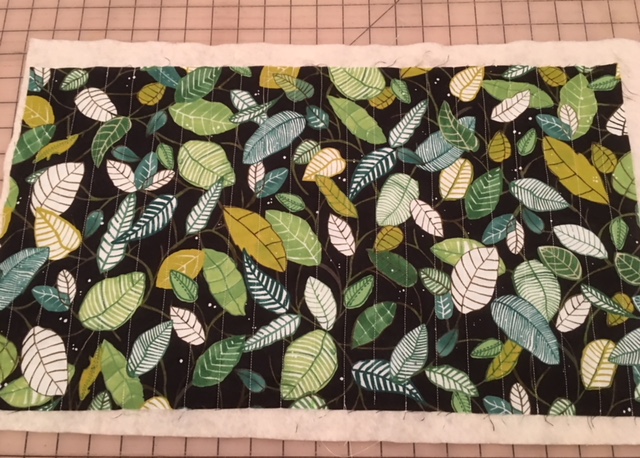
To quilt. Stitch center drawn line from top to bottom. Using a quilt spacing bar. Set 1" apart and continue stitching top to bottom until area is completely quilted. If your do not have a quilt spacing bar... draw lines using your disappearing fabric pen spacing lines 1" apart.
(Click Image to Enlarge)
Step 15:
Quilting complete.
(Click Image to Enlarge)
Step 16:
Trim away excess batting.
(Click Image to Enlarge)
Step 17:
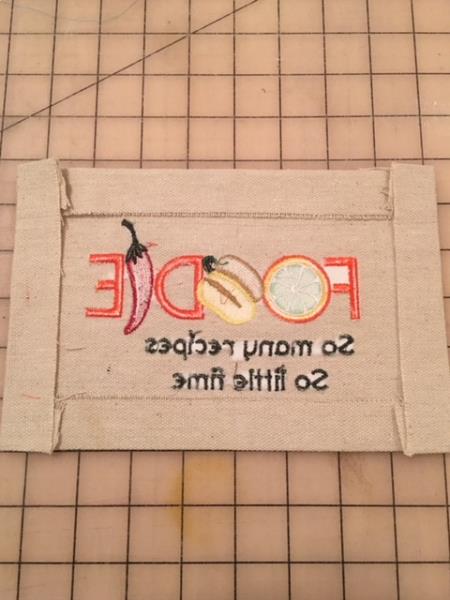
Using your embroidered design piece that we had set aside. Fold under all sides 1" and press in place.
(Click Image to Enlarge)
Step 18:
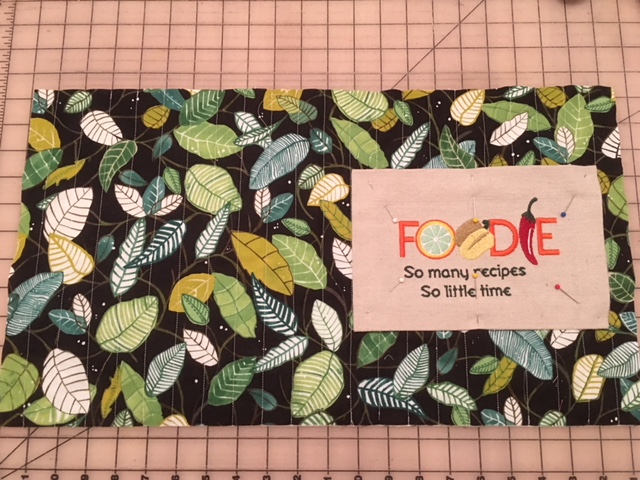
Place onto right side of quilted piece. Centering 1" from outer edge and 3" from top and up from bottom. Pin in place.
(Click Image to Enlarge)
Step 19:
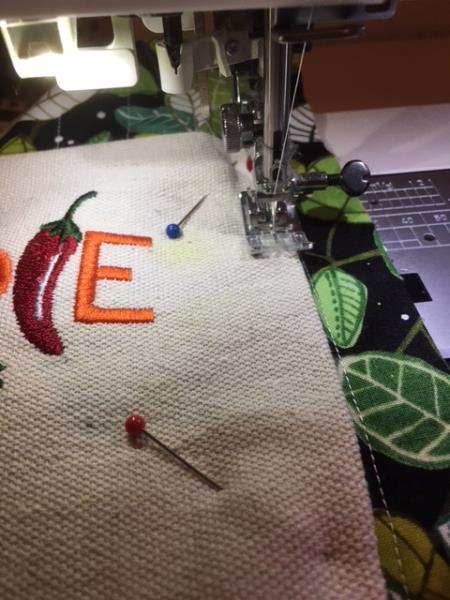
Top stitch 1/4" all sides, top and bottom to secure in place. Remove pins.
(Click Image to Enlarge)
Step 20:
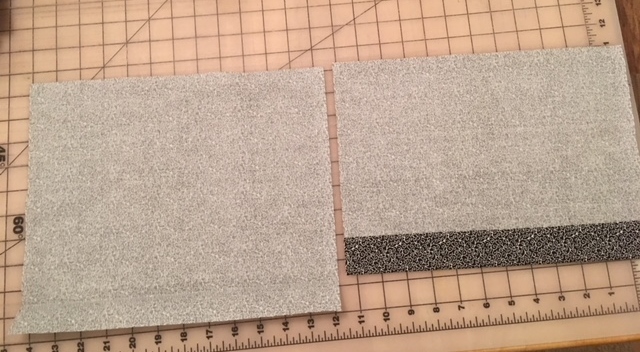
Using your (2) 12' x 10 1/2" cut contrasting pieces. Fold in 1" on longer side. Press in place.
(Click Image to Enlarge)
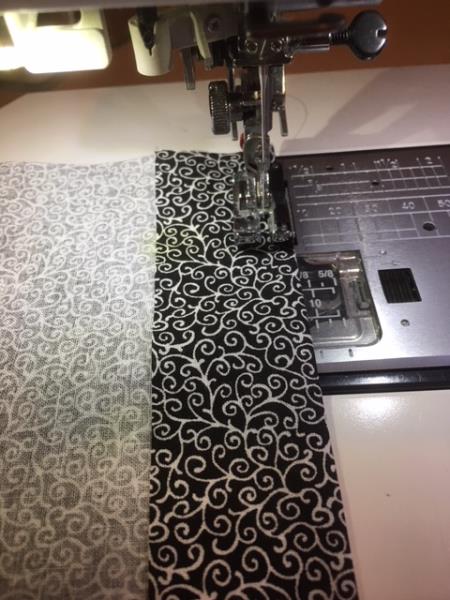
Step 21:
Stitch 1/4" from folded edge to secure in place.
(Click Image to Enlarge)
Step 22:
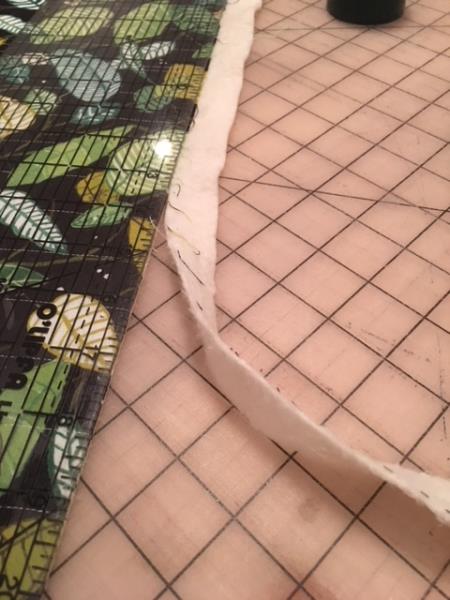
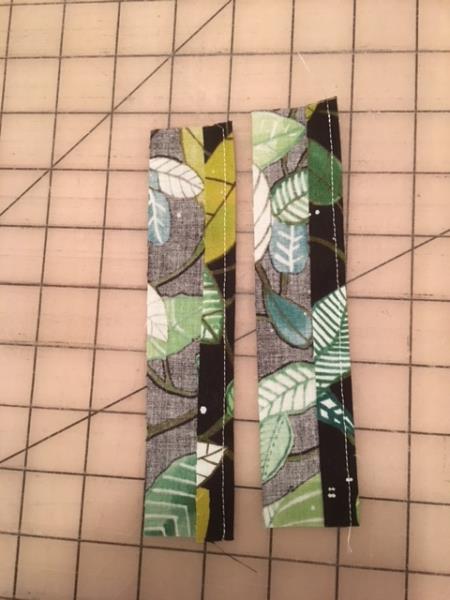
Using your strip. Fold in 1/2" lengthwise. Press in place and stitch to secure.
(Click Image to Enlarge)
Step 23:
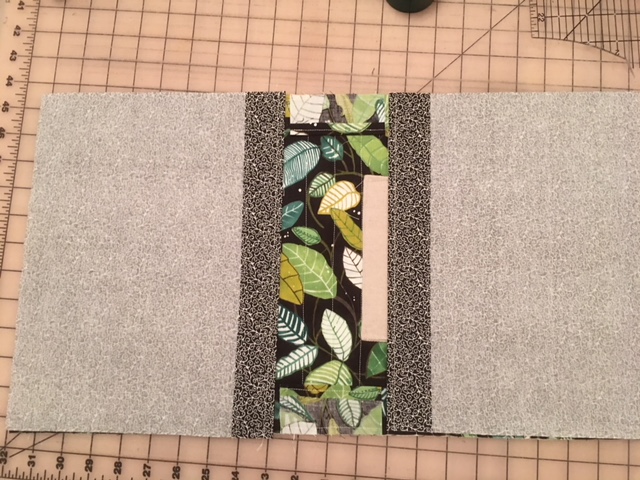
Take your two contrasting pieces and place on top of quilted piece. Right sides together with the folded edges facing towards the middle. Pin in place.
(Click Image to Enlarge)
Step 24:
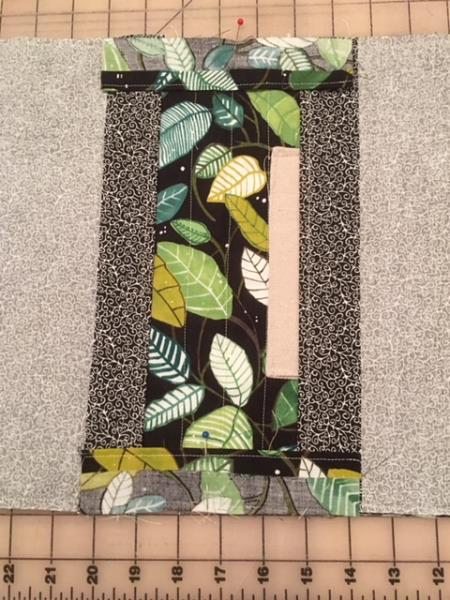
Now take your two strips . Center and place on top. The sides will overlap on the folded edges of your contrasting pieces as shown. Pin in place.
(Click Image to Enlarge)
Step 25:
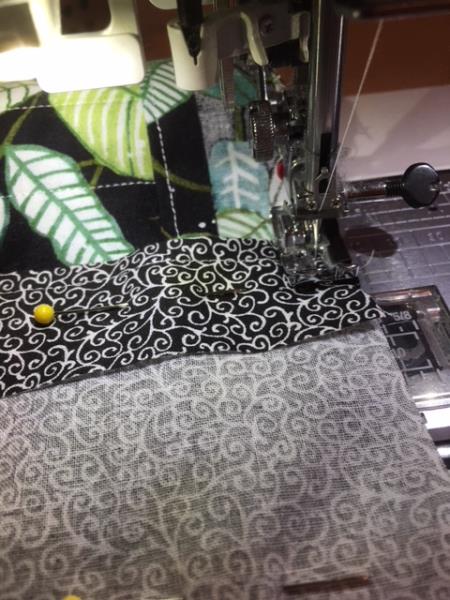
Using 1/4" seam allowance. Stitch all sides, top and bottom.
(Click Image to Enlarge)
Step 26:
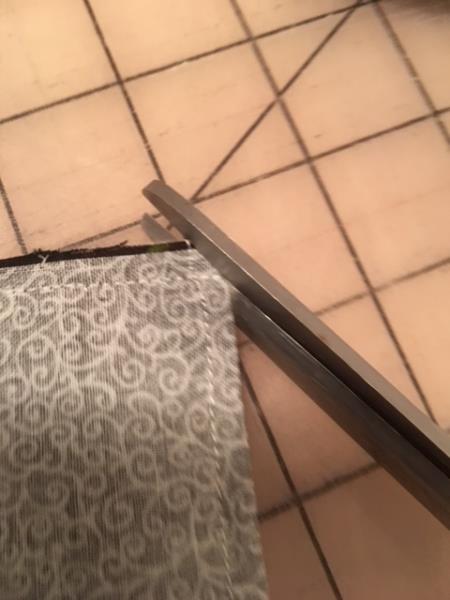
Clip all four corners as shown.
(Click Image to Enlarge)
Step 27:
Turn sides right side out and press. Viola! Congratulations! Your quilted binder cover is now complete! Just "add" the binder and you'll be cooking/baking in style!