Border OptionsHugging border, circle, square, or rectangle — with a 3mm satin stitch.
Backing OptionsAvailable with iron-on, sew-on, or velcro backing.
Fast ShippingShipped quickly from the USA.
Free Online Tools
Powerful embroidery utilities that save time and prevent costly mistakes.
Stitch AssistantRECOMMENDED
Get the exact stabilizer, machine settings, needle, and thread color sequence for every embroidery design you purchase — based on that design's stitch density, dimensions, and color count.
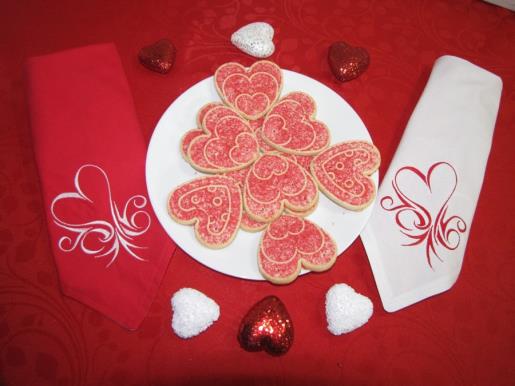
Create elegant reversible napkins with heart applique designs perfect for Valentine's Day celebrations. These napkins feature a charming heart motif on each side, adding a festive touch to your dining table. Step-by-step instructions are included.
Step
of
Applique Reversible Valentine's Day Napkins
By Martha Montgomery
These simple, yet elegant, reversible cloth napkins can dress up any Valentine’s Day place setting. The napkins are a generous 17” x 17” and can be made for any holiday or special occasion by choosing suitable fabrics and designs to add a decorative touch to any table.
Step 1:
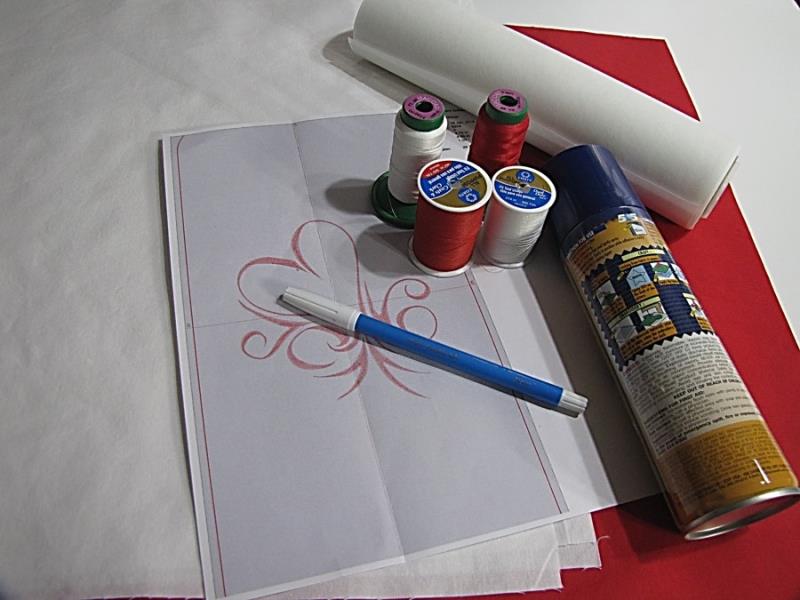
Gather the materials and read through the instructions before beginning. Print out a paper template of the design and color sequence. The swirling heart design on these napkins is designed to stitch out in one color.
(Click Image to Enlarge)
Step 2:
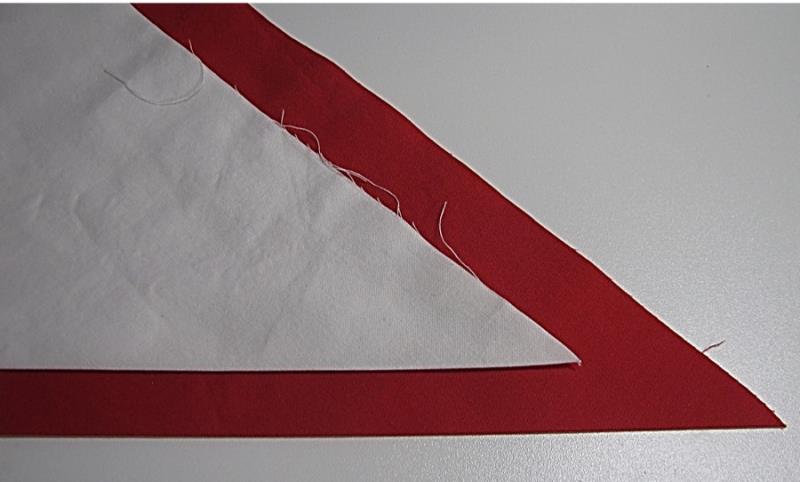
To make one napkin, fold one red square and one white square into a triangle, right sides together, and press the crease.
(Click Image to Enlarge)
Step 3:
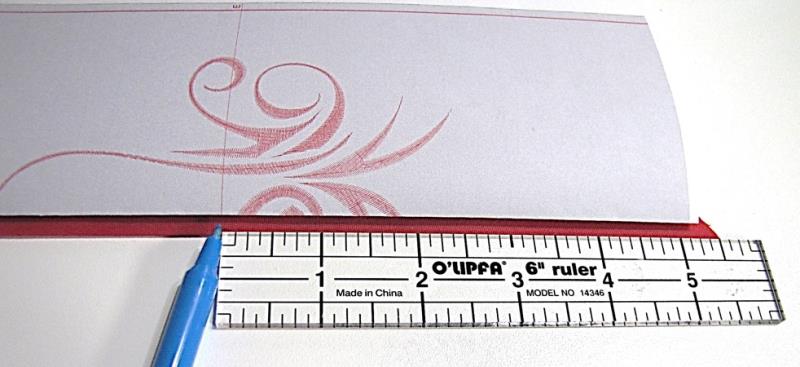
Fold your template in half along the vertical center line and set it along the folded edge of the napkin. Use your ruler and marker to measure and mark the center point of the design. This design works best 5.5” from the point of the napkin.
(Click Image to Enlarge)
Step 4:
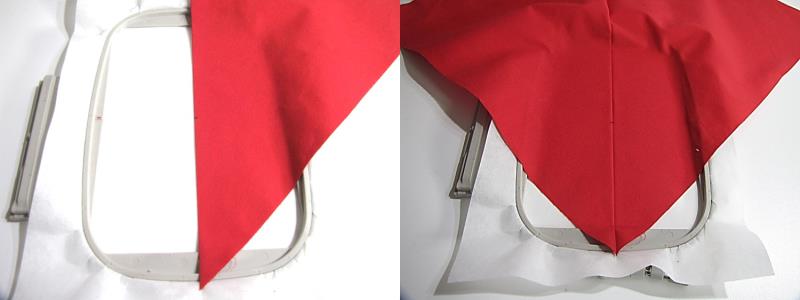
Hoop the tear away stabilizer in a 5” x 7” hoop. Following the manufacturer’s directions, spray the stabilizer with the temporary embroidery spray adhesive. Center the fold of the napkin along the vertical center markings of the hoop and press the first side onto the adhesive. Open the napkin piece and press it onto the other half of the hooped stabilizer.
(Click Image to Enlarge)
Step 5:
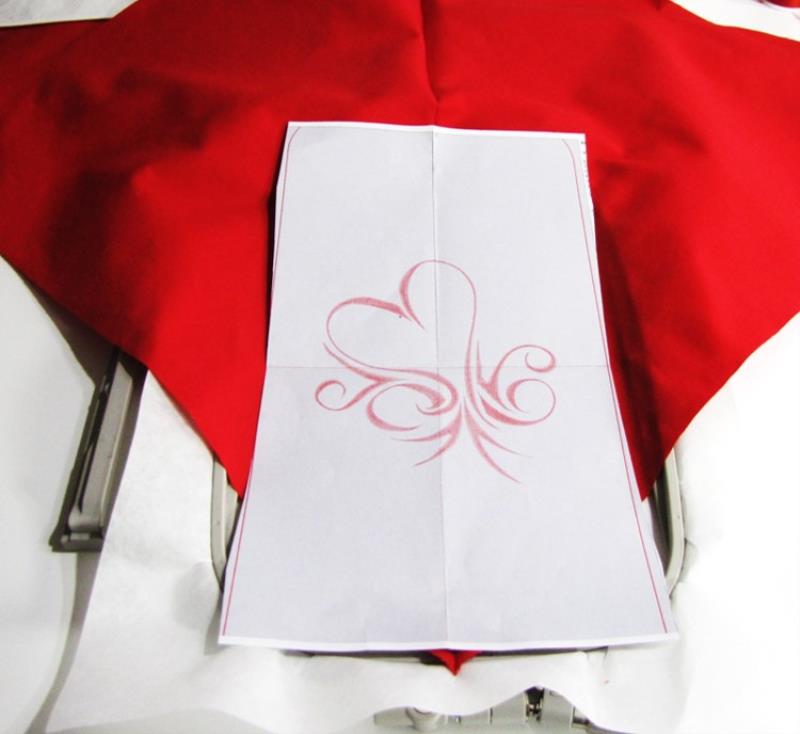
Confirm the design is placed properly by placing the template on the hooped fabric and matching the horizontal and vertical center points on the template to the corresponding center markings on the hoop.
(Click Image to Enlarge)
Step 6:
Place the hooped fabric onto the sewing machine and confirm the center alignment on the paper template with the needle placement.
TIP: Don’t forget to remove the paper template before starting the machine.
(Click Image to Enlarge)
Step 7:
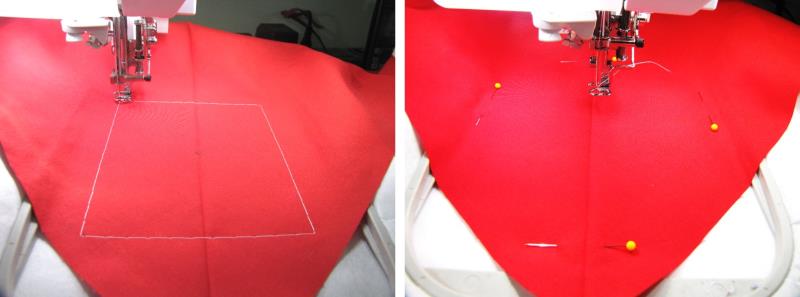
If your machine has a basting stitch, you may use it now to help secure the fabric to the stabilizer. If your machine does not have a basting stitch, simply pin the fabric to the stabilizer before placing it on the machine.
(Click Image to Enlarge)
Step 8:
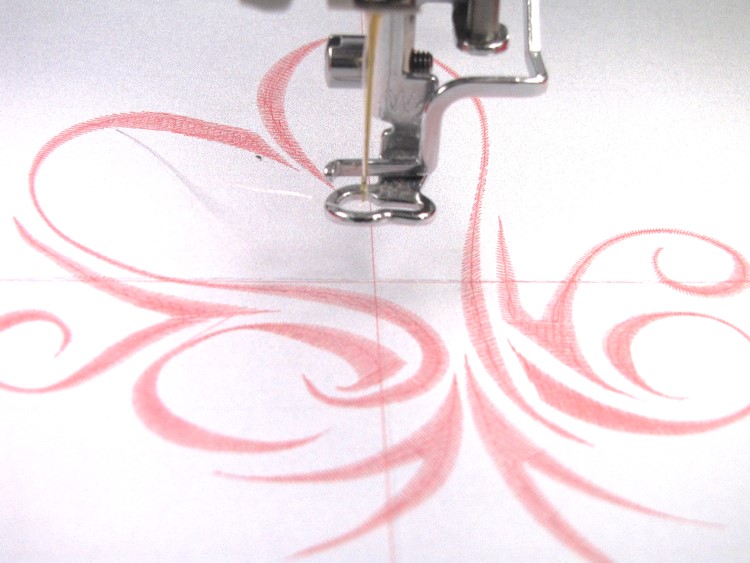
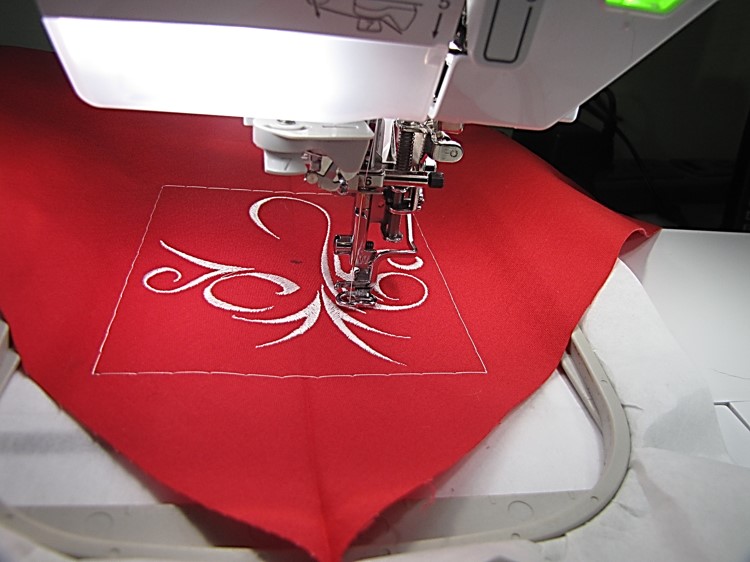
Stitch the design following the color sequence.
(Click Image to Enlarge)
Step 9:
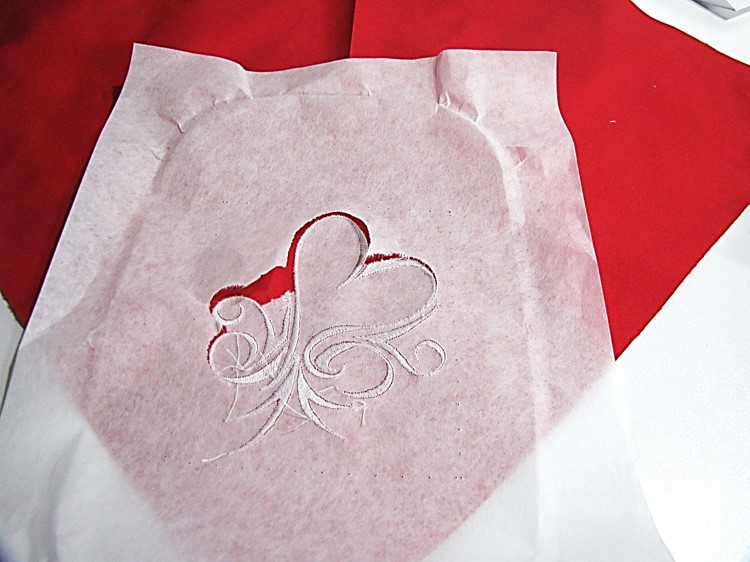
When the design is complete, remove the hoop from the machine, remove the fabric from the hoop and gently tear away the excess stabilizer from the back of the napkin.
(Click Image to Enlarge)
Step 10:
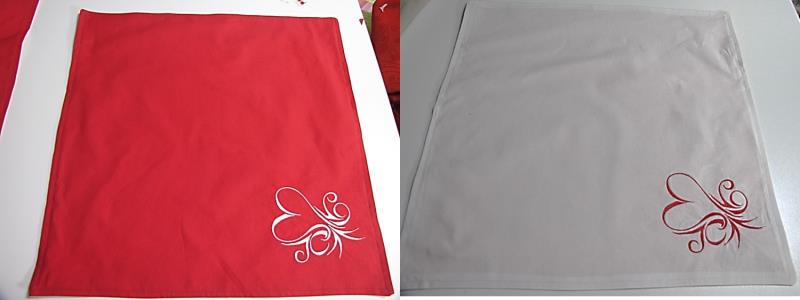
Repeat steps 2 – 9 for the white side of the napkin. REMINDER: You will make a set of 4 napkins in this project, so you will repeat the same steps for each of the 4 napkins.
Step 11:
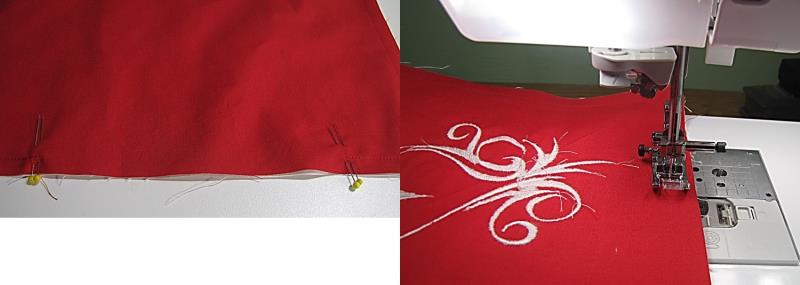
Pin the red and white embroidered pieces together, right sides together, and pin all around, leaving a 4” to 6” opening so you can turn the napkin right side out when you have finished stitching. Stitch around the napkins, using a ½” seam allowance and making sure to leave the opening on one side.
TIP: I use double pins at either side of the opening so I will know where to begin and end my sewing to leave the opening to turn the napkin.
(Click Image to Enlarge)
Step 12:
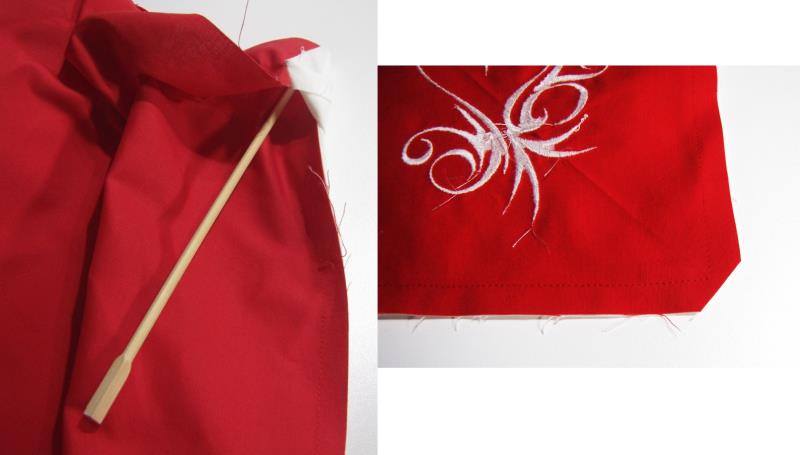
Turn the napkins right side out through the opening. You can use a point turner or other similar item to help have a nice turn at the corners. I used a wooden chopstick.
Clip each of the four corners diagonally, close to the corner seam, but being careful not to clip the seam itself. This will make a sharper corner on the napkin.
(Click Image to Enlarge)
Step 13:
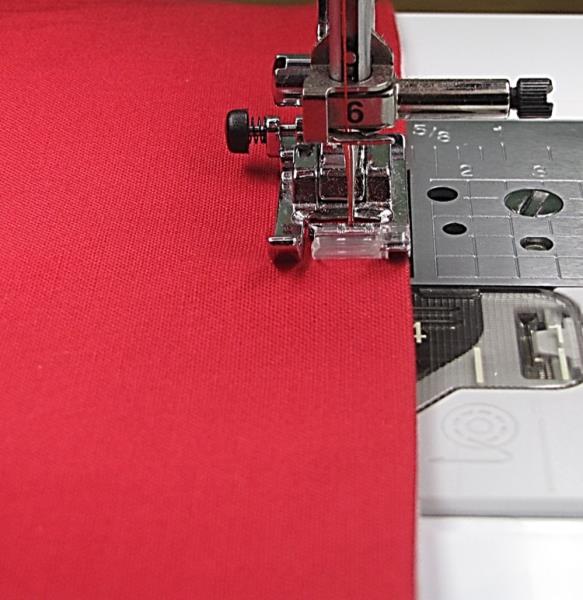
Press the napkins and topstitch around the napkin, using a ¼” seam. This will give the napkins a nice finish and will close the opening you used to turn the napkins.
(Click Image to Enlarge)
Step 14:
You will now have one finished napkin. Repeat these instructions for the remaining three napkins.
(Click Image to Enlarge)
Step 15:
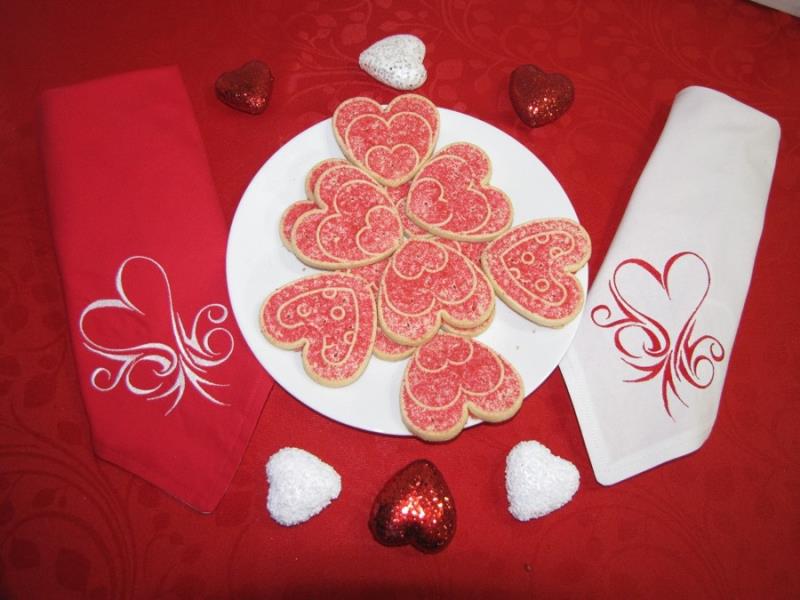
Exciting! You have now made a beautiful set of napkins to brighten your Valentine’s Day table. Remember, you can make as many napkins as you need. They make any table festive and they make great, quick gifts!
Martha has been sewing since childhood. She is a maker of garments, quilter and machine embroiderer. Martha loves all things fabric and fabric-related.