2026 Flash Sale
Live Chat
Embroidery Designs
Welcome, Embroiderer
Login
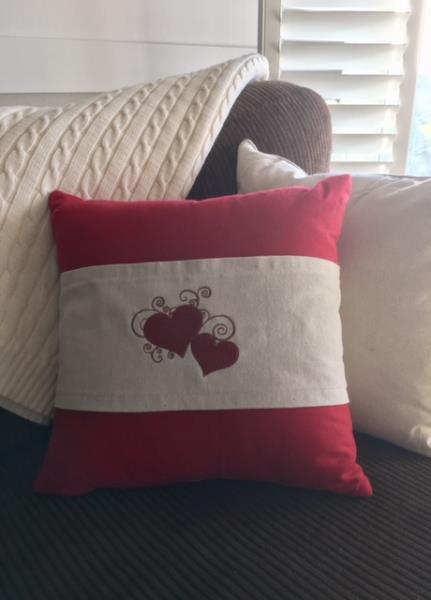
Valentine Pillow Wrap
{{mainImageAlt || (productInfo._source && productInfo._source.name) || ''}}

Valentine Pillow Wrap Embroidery Project

By   Linda Mills   on   January 29, 2018
  • SKILL LEVELSome Experience
  • TIME REQUIRED03:15
  • FINISHED SIZE38 x 7 inches
Description

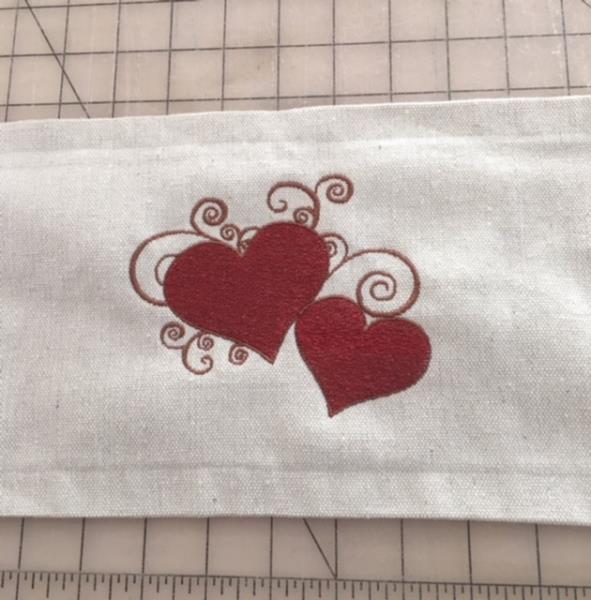
A stylish Valentine Pillow wrap with an embroidered heart swirl design. This pillow wrap will capture the "love" in your home decor.

Step of

Materials

Project Preview Video

Materials
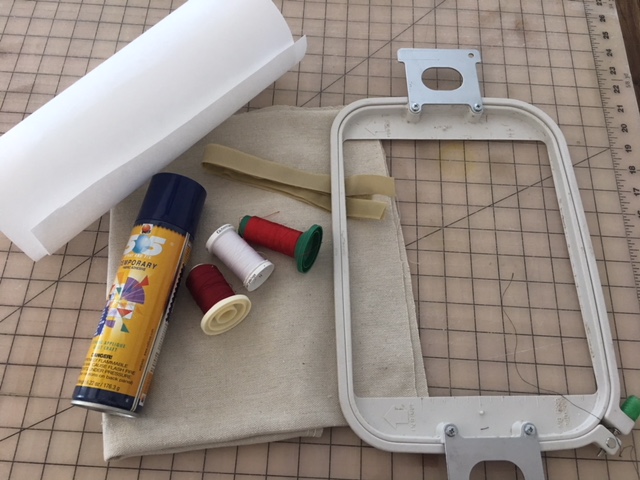
  • Durable cotton canvas ( I purchased a drop cloth from local hardware store)
  • Temporary Adhesive Spray
  • Embroidery thread and/or Metallic Thread
  • Sewing thread ( contrasting or matching color)
  • Hook and Latch tape

  • Designs used in this project

    Preface:
    Time to put away those Christmas pillows and you have no storage room!   A  very chic and stylish Valentine Pillow Wrap to fit your existing 16" x 16" pillow which will showcase the "love" in your home decor.    Create and make other pillow wraps for daily use just by changing the embroidery design.


    Step 1:
    Gather the materials and read through the instruction before beginning.  Print out a paper template of the design for review. 

    (Click Image to Enlarge)


    Step 2:
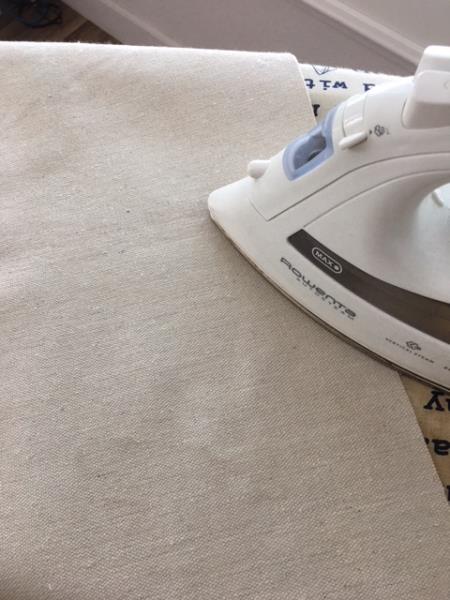
    Cut one piece of cotton canvas 9" x 40" and iron to press out all wrinkles.

    (Click Image to Enlarge)


    Step 3:
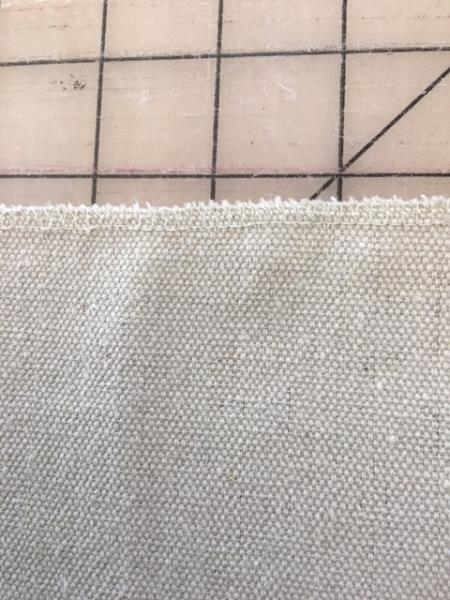
    Serge /zig zag all raw edges.

    (Click Image to Enlarge)


    Step 4:
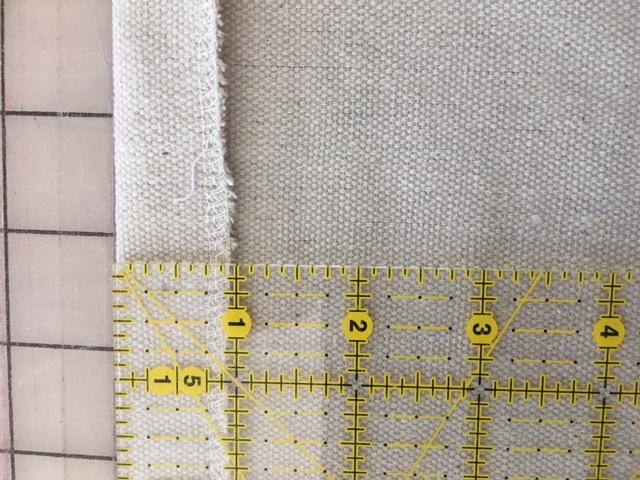
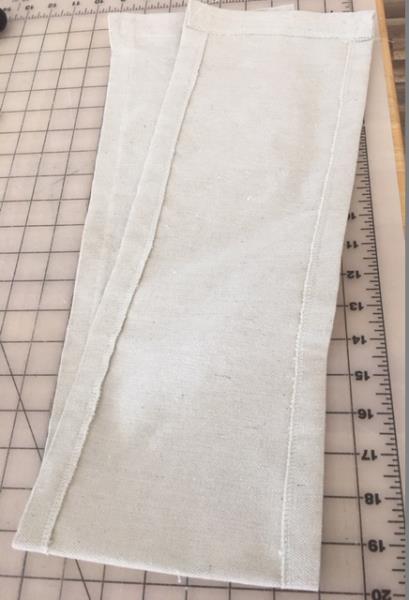
    Turn under 1" on all sides

    (Click Image to Enlarge)


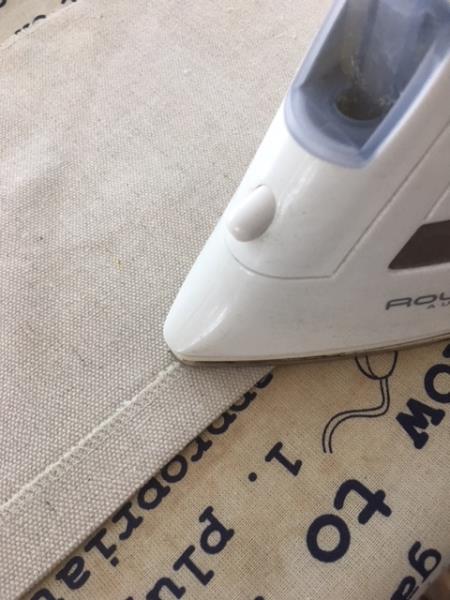
    Step 5:
    Press all sides 

    (Click Image to Enlarge)


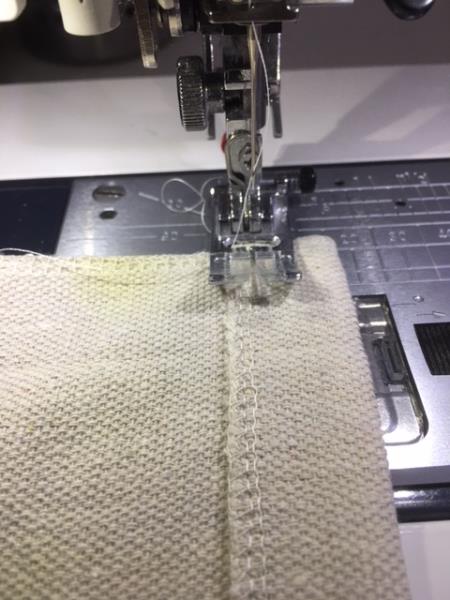
    Step 6:
    Stitch all four sides in place 1/4" from each serged/zig zag edge.

    (Click Image to Enlarge)


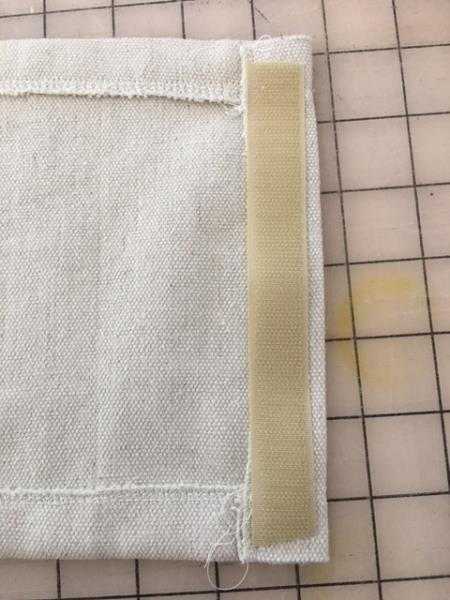
    Step 7:
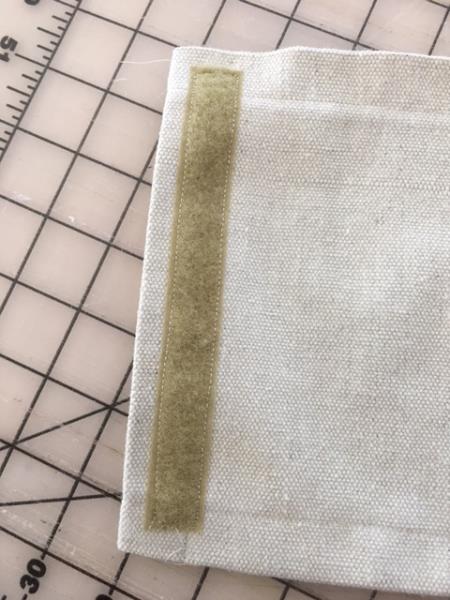
    Cut 6" strip from hook and loop tape and place hook side of tape ( rough side) to back of wrap at the hemmed side edge. 

    (Click Image to Enlarge)


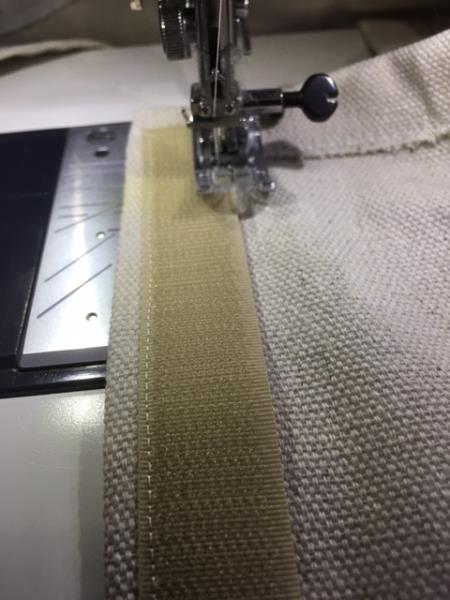
    Step 8:
    Stitch hook in place.
     

    (Click Image to Enlarge)


    Step 9:
    Place loop side of tape to other end of wrap on the front side and stitch in place

    (Click Image to Enlarge)


    Step 10:
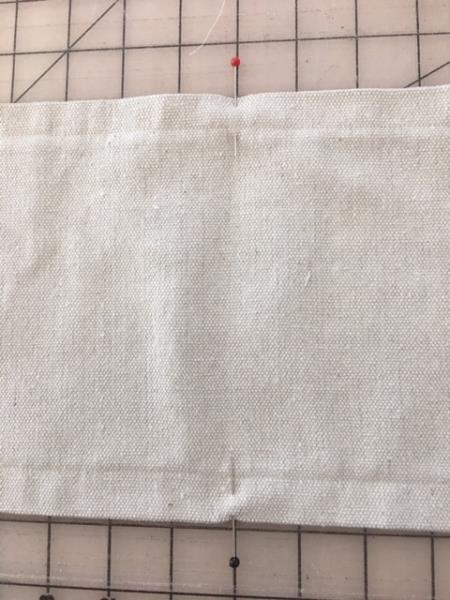
    Find your center on your wrap by folding over in half.  Left to right.

    (Click Image to Enlarge)


    Step 11:
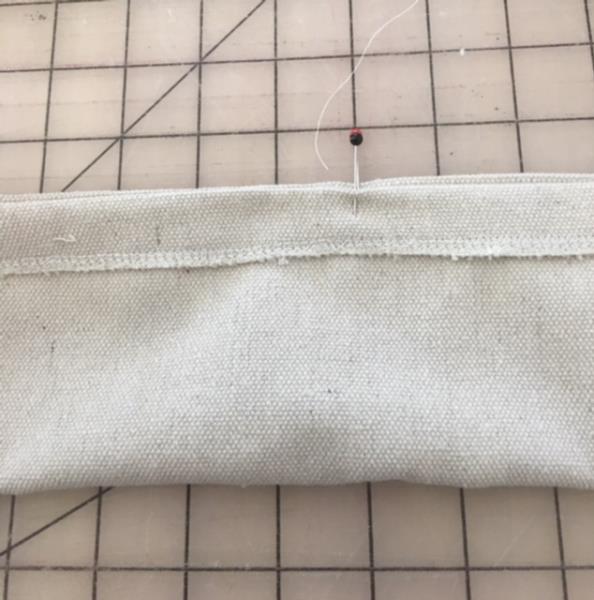
    Mark using straight pins or a invisible fabric pen

    (Click Image to Enlarge)


    Step 12:
    Fold in half top to bottom. Matching pins.  Mark your center.  See picture

    (Click Image to Enlarge)


    Step 13:
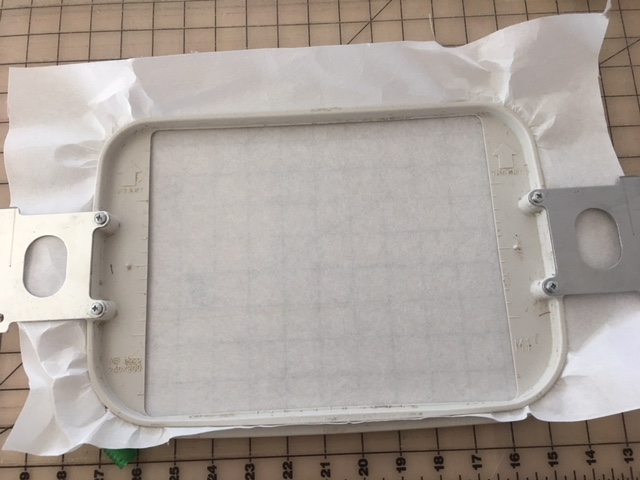
    Hoop stabilizer

    (Click Image to Enlarge)


    Step 14:
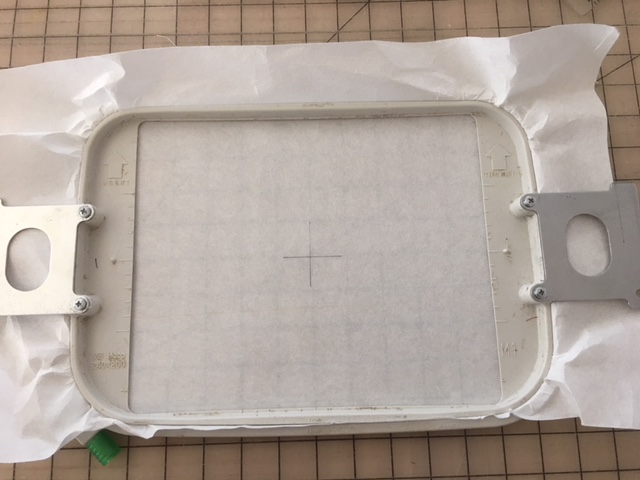
    Mark your center with a cross hair on stabilizer.  ( using your top and side points of your hoop) Spray lightly with temporary adhesive spray.

    (Click Image to Enlarge)


    Step 15:
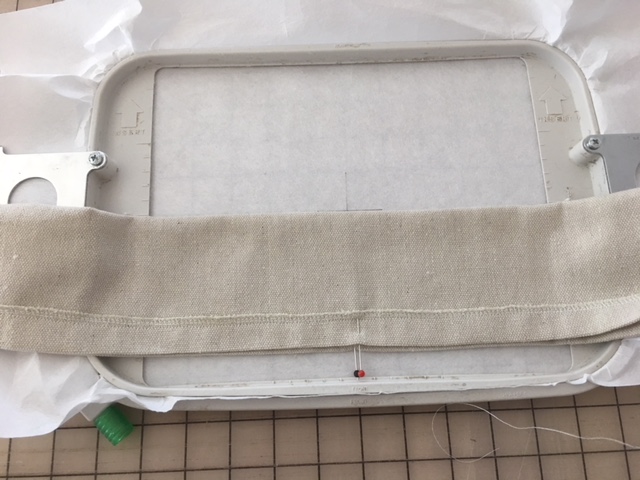
    Center your wrap and press down to secure.  

    (Click Image to Enlarge)


    Step 16:
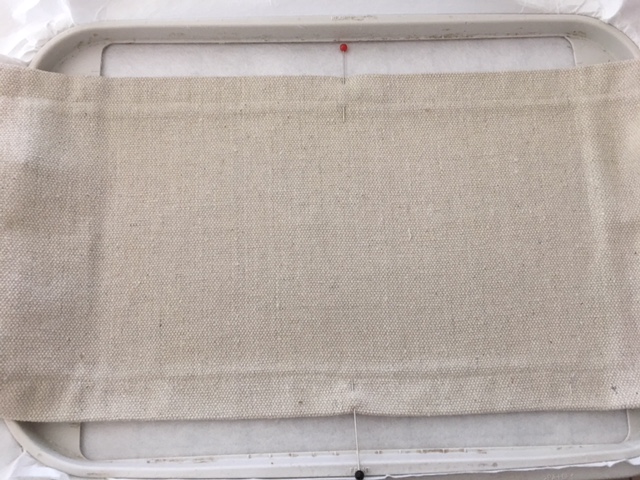
    Unfold and pressing down to secure.  Smoothing out any wrinkles. Remove pins.

    (Click Image to Enlarge)


    Step 17:
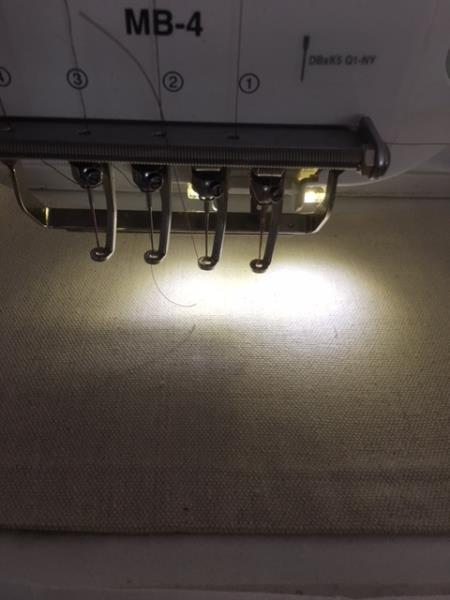
    Load design.  Attach hoop to machine .

    (Click Image to Enlarge)


    Step 18:
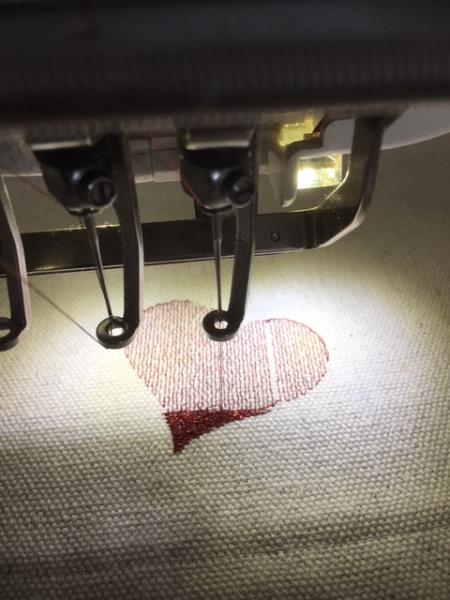
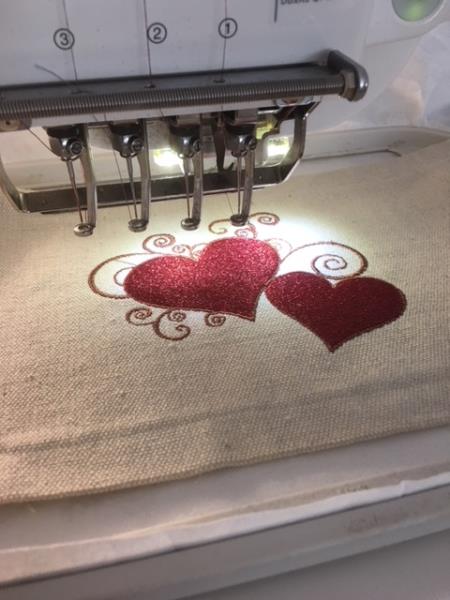
    Stitch out design. ( For the hearts I used a metallic thread to give it "pop" for shine.) 

    (Click Image to Enlarge)


    Step 19:
    Once design is completed.  Remove hoop from machine.

    (Click Image to Enlarge)


    Step 20:
    Clean loose threads and jump stitches.  Remove stabilizer from back and your wrap is finished.

    (Click Image to Enlarge)


    Step 21:
    "Wrap" your Valentine Wrap around your existing pillow.. Stand back and admire your work!  

    (Click Image to Enlarge)

    Meet the Author: Linda Mills
    Linda Mills
    Linda loves to create by sharing her different sewing and machine embroidery techniques so others can utilize their machines to the fullest
    More From This Author
    Link is Broken, Please check the URL
    Exclusive Embroidery Offers!
    Copyright © {{ currentDate | date:'yyyy'}} - EmbroideryDesigns.com
    GET 50% OFF! ×