Live Chat
Embroidery Designs
Welcome, Embroiderer
Login
Simple Brown Bag Lunch Sack
{{mainImageAlt || (productInfo._source && productInfo._source.name) || ''}}

Simple Brown Bag Lunch Sack Embroidery Project

By   Linda Mills   on   January 24, 2018
  • SKILL LEVELSome Experience
  • TIME REQUIRED02:00
  • FINISHED SIZE6 x 11 inches
Description

A reusable fabric "Brown Bag" lunch sack. Easy and quick construction with a simple embroidery design for that personalized appeal.

Step of

Materials

Project Preview Video

Materials
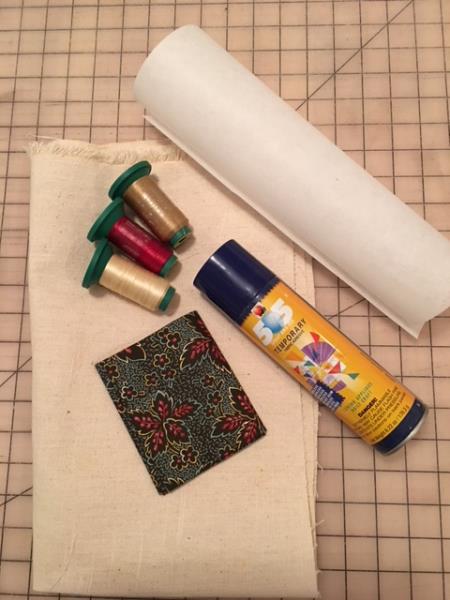
  • 1/2 yard heavy weight
  • Fat quarter of your choice or scrap fabric for border on pocket
  • Sew thread
  • Embroidery thread
  • Temporary adhesive spray
  • Hook and latch tape
  • Tearaway stabilizer
  • embroidery hoop

  • Designs used in this project

    Preface:
    "Brown bagging it" has just become stylish with this reusable heavy weight fabric lunch sack.  Easy and quick construction with a simple wheat embroidery design makes for a perfect gift.    Add an embroidered letter, monogram or a different embroidery design for that personal touch.    


    Step 1:
    Gather all materials and read through steps before beginning.   1/2" seam allowance unless otherwise noted.

    (Click Image to Enlarge)


    Step 2:
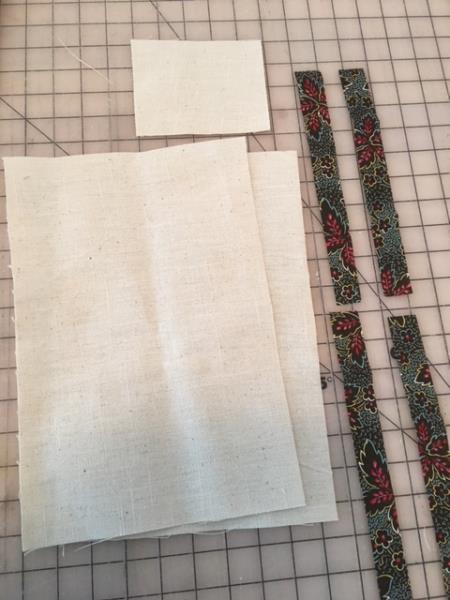
    Cut (2) 11 1/2"x 14 1/2" from your heavy weight fabric
    Cut (1)  4" x 5" from your heavy weight ( will be used for embroidery for pocket)
    Cut (4) 1"x 6" strips from fat quarter or scrap ( will be used for pocket)
    Cut (1) from hook and loop tape  1 1/2" piece 

    (Click Image to Enlarge)


    Step 3:
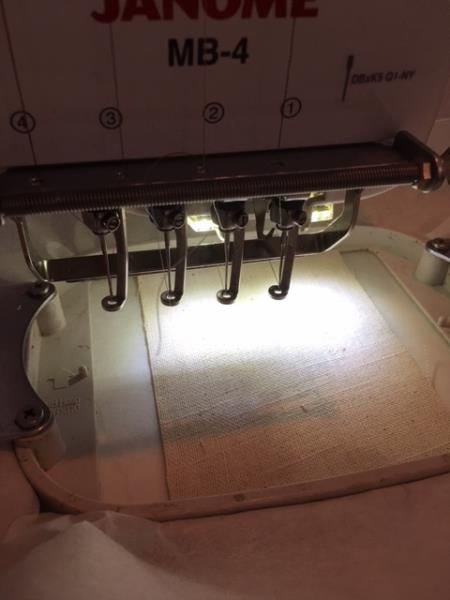
    Load design into your machine.  
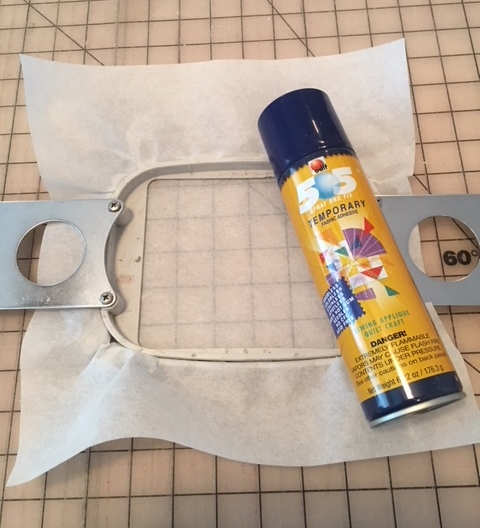
    Hoop stabilizer.  Lightly spray temporary adhesive spray. 

    (Click Image to Enlarge)


    Step 4:
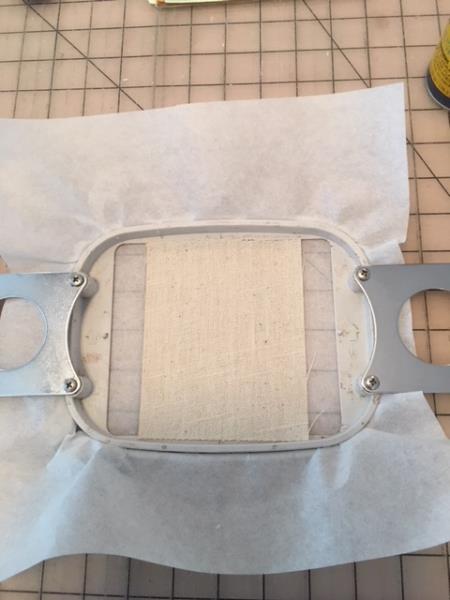
    Center your cut 4"x 5" piece on top of stabilizer and press to secure in place for embroidering.

    (Click Image to Enlarge)


    Step 5:
    Attach hoop to machine and start embroidering.

    (Click Image to Enlarge)


    Step 6:
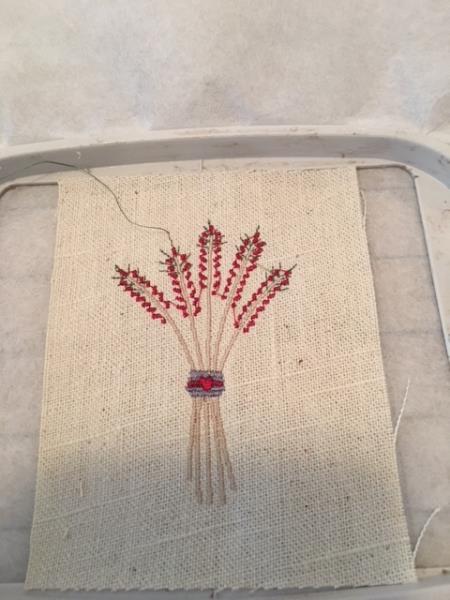
    Once embroidery design is complete.  Remove hoop and "clean" your embroidery by cutting jump stitches and loose hanging threads.   Remove tear away stabilizer from back. 

    (Click Image to Enlarge)


    Step 7:
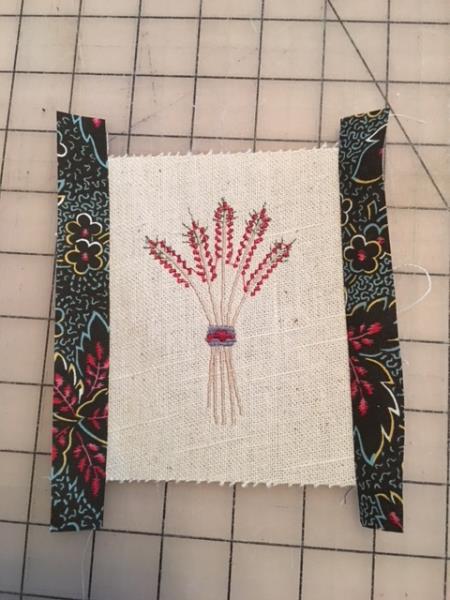
    Using 1/4" seam allowance.  Sew cut strips to embroidered piece for pocket.  Sew sides first.  Press and trim excess.  Repeat for top and bottom.   

    (Click Image to Enlarge)


    Step 8:
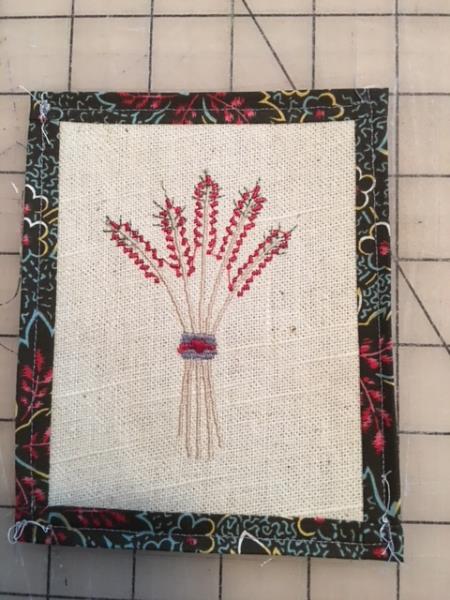
    Fold under edges 1/4" .  Press and top stitch all sides, top and bottom 

    (Click Image to Enlarge)


    Step 9:
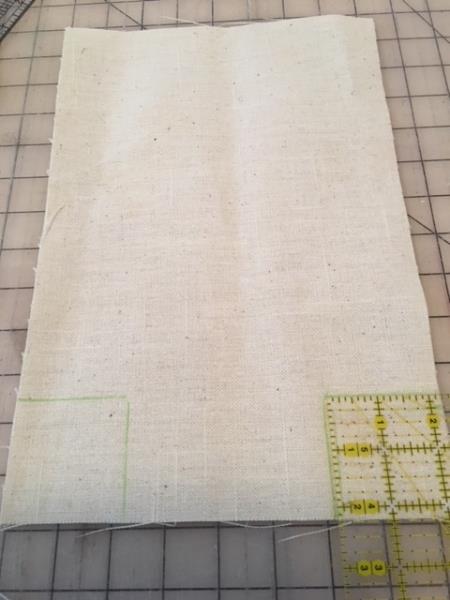
    Using your cut 11 1/2" x 14 1/2" pieces.  Cut out  2 1/4" square at each bottom corners.  This makes for construction of a simple boxed corner and bottom. 

    (Click Image to Enlarge)


    Step 10:
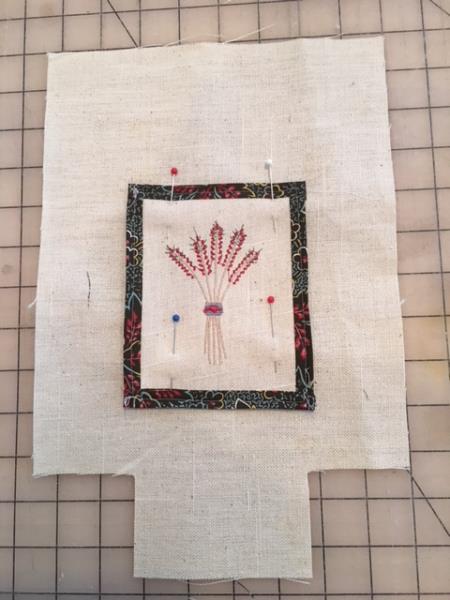
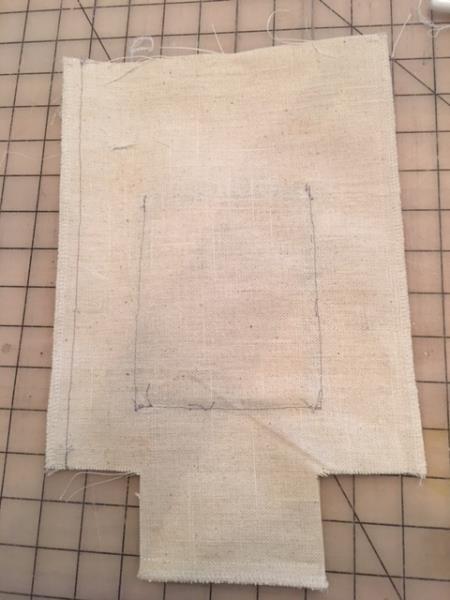
    Center and position pocket piece 4 1/2" down from top on one of your cut 11 1/2 x 14 1/2 piece.  Pin in place.  Stitch sides and bottom using a top stitch. 

    (Click Image to Enlarge)


    Step 11:
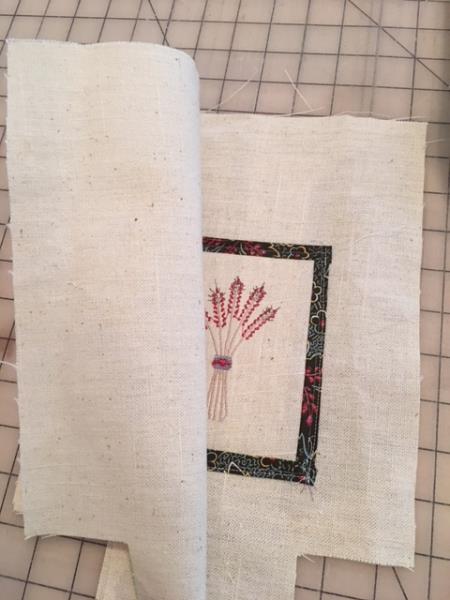
     Take your other 11 1/2" and 14 1/2"piece.  Right sides together.  Pin and sew side and bottom seams.

    (Click Image to Enlarge)


    Step 12:
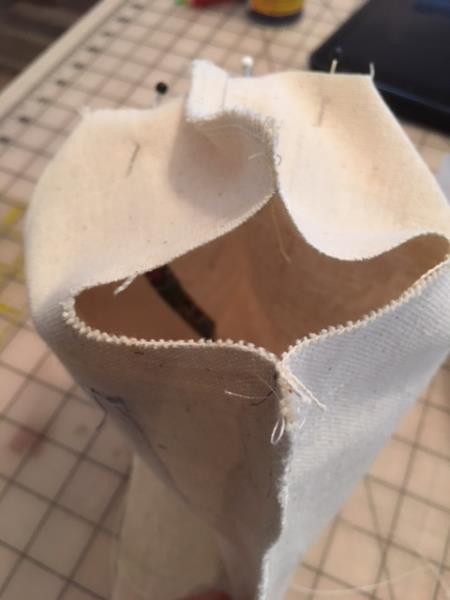
    Serge or zig zag side and bottom edges to prevent fraying.

    (Click Image to Enlarge)


    Step 13:
    For the box corners... take one of your square corners, matching bottom and side seams to close the "bottom corner".

    (Click Image to Enlarge)


    Step 14:
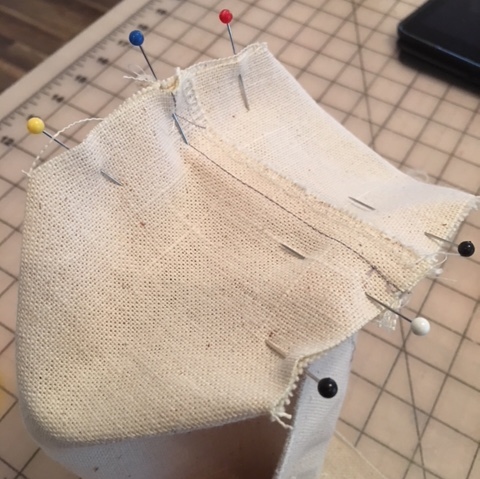
    Pin and sew in place. Serge or zig zag edges to prevent fraying.    


    Step 15:
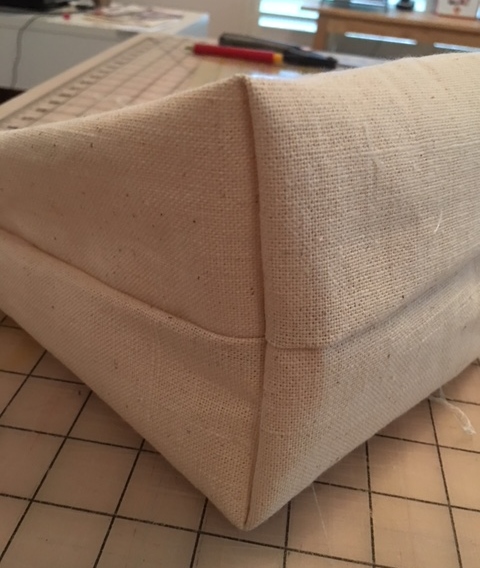
    Repeat for other square corner.  Your bag box bottom should look like this.  

    (Click Image to Enlarge)


    Step 16:
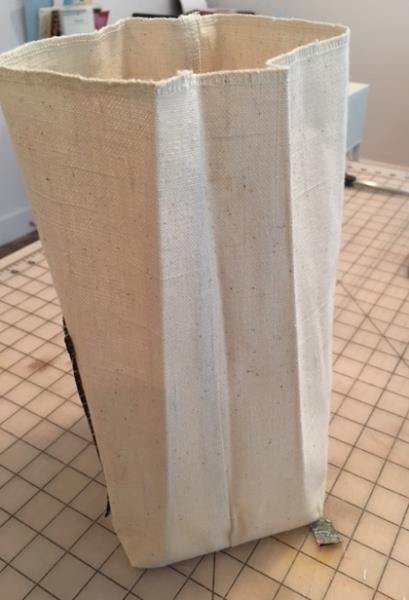
    Serge or zig zag top of bag.  Turn right side out.  Press sides to make fold/creases in bag.

    (Click Image to Enlarge)


    Step 17:
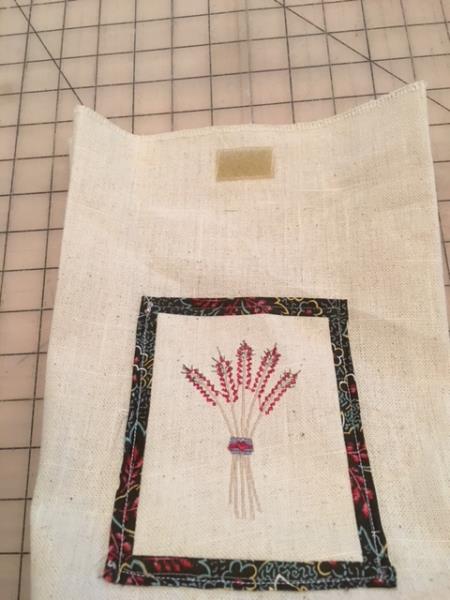
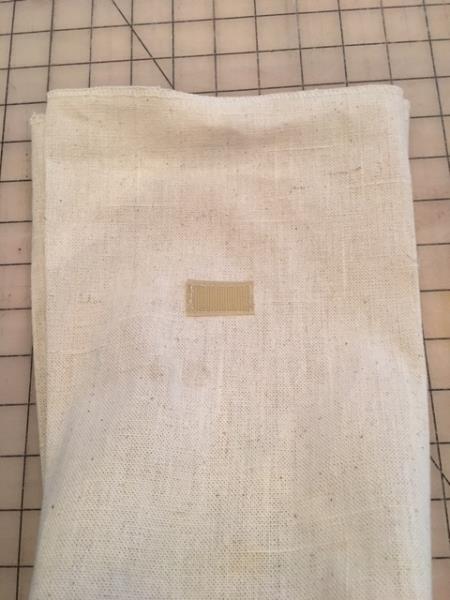
    Apply hook and loop tape.  Center hook to front of bag 1/2" down from top.  Sew in place.

    (Click Image to Enlarge)


    Step 18:
    Center loop to back of bag 3" down from top.  Sew in place.

    (Click Image to Enlarge)


    Step 19:
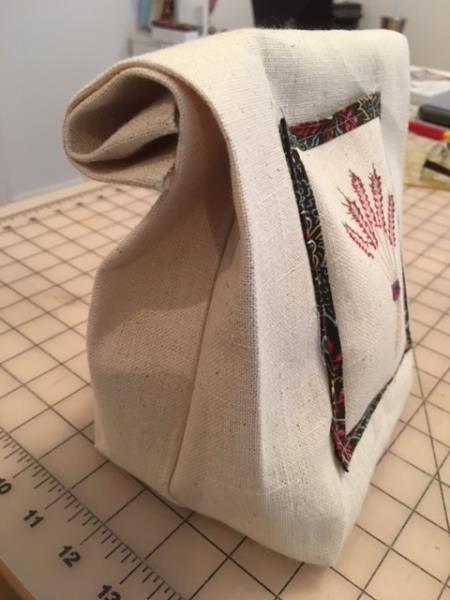
    Roll top of bag down so that the hook and loop meet... secure in place.   Congratulations! Stand back and admire your stylish lunch bag. 

    (Click Image to Enlarge)

    Meet the Author: Linda Mills
    Linda Mills
    Linda loves to create by sharing her different sewing and machine embroidery techniques so others can utilize their machines to the fullest
    More From This Author
    Link is Broken, Please check the URL
    Exclusive Embroidery Offers!
    Copyright © {{ currentDate | date:'yyyy'}} - EmbroideryDesigns.com
    GET 50% OFF! ×