Border OptionsHugging border, circle, square, or rectangle — with a 3mm satin stitch.
Backing OptionsAvailable with iron-on, sew-on, or velcro backing.
Fast ShippingShipped quickly from the USA.
Free Online Tools
Powerful embroidery utilities that save time and prevent costly mistakes.
Stitch AssistantRECOMMENDED
Get the exact stabilizer, machine settings, needle, and thread color sequence for every embroidery design you purchase — based on that design's stitch density, dimensions, and color count.
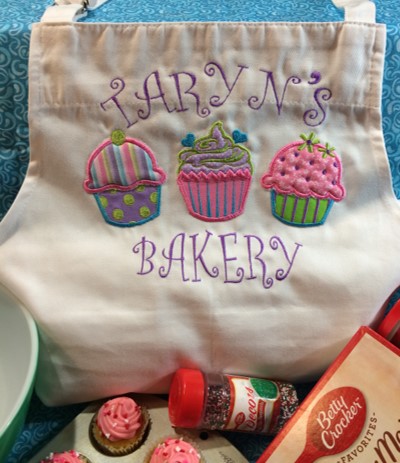
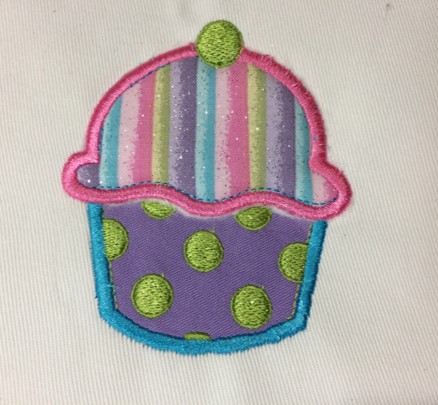
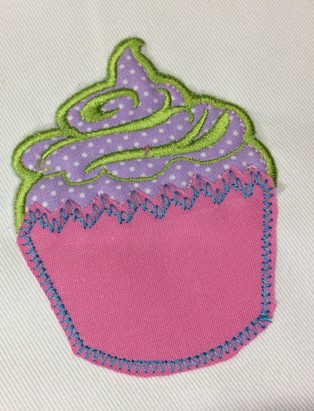
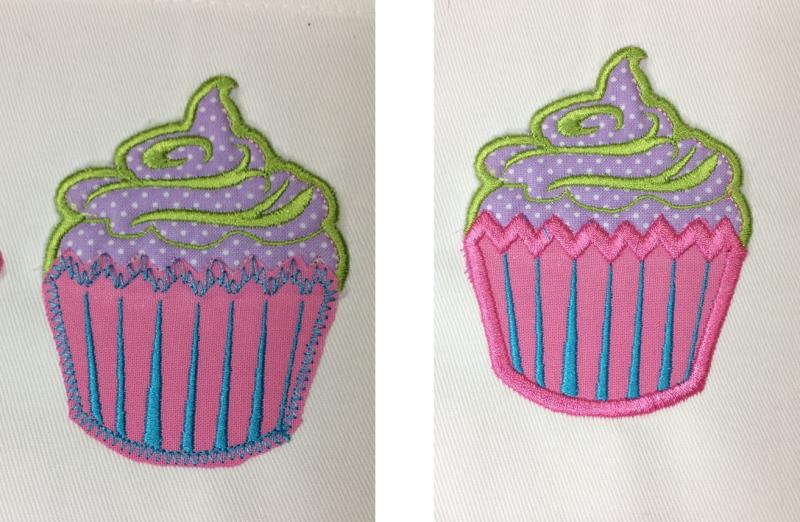
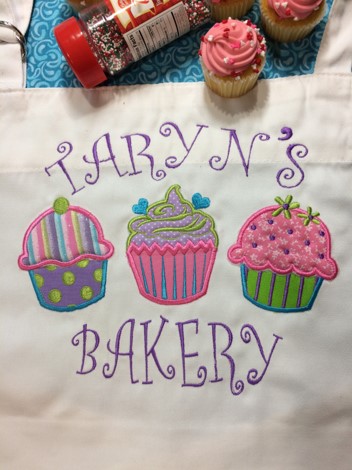
A personalized appliqued apron adds a splash of color to your kitchen accessories. Learn the basic elements and steps to making an appliqued machine embroidered design. Add dimension to your applique project by adding a low nap quilt batting.
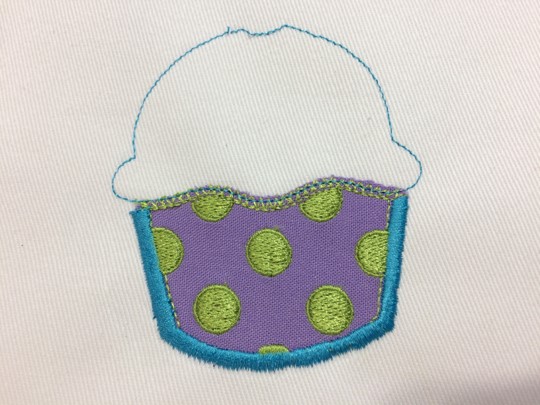
A cupcake bakery applique on an apron makes a bright, colorful
kitchen accessory.Fabric is an
essential element in applique embroidery.One fabric is decoratively stitched on top of
another.Each piece of fabric will have
a placement stitch, a tack down stitch, and a finishing stitch.These stitches will be in different colors on
the color chart so that the machine will stop after each step.It is
important to sew in color order as each step is crucial to the design
development.
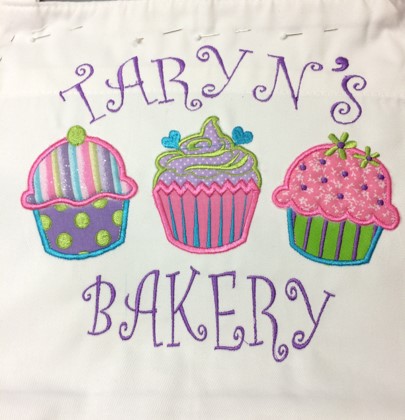
The applique design measures 7 (11/16)” x 8 (15/16)” in size with the personalized caption.An 8” x 11” hoop was used for this
project. This design would work in an 8” x 8” hoop with slight resizing using
an embroidery software program.Stitch count is 26,736.Quilt batting with a low nap was added to the
icing part of the cupcakes to add dimension.
Step 1:
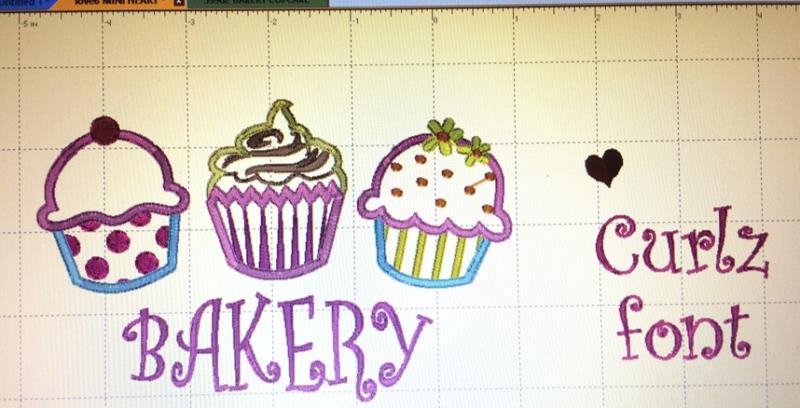
The embroidery designs used in this project are Cupcake Bakery, Single
Little Heart, and the Curlz font.The Single Little Heart was an added touch
that would make the design more for Valentine’s Day.
(Click Image to Enlarge)
Step 2:
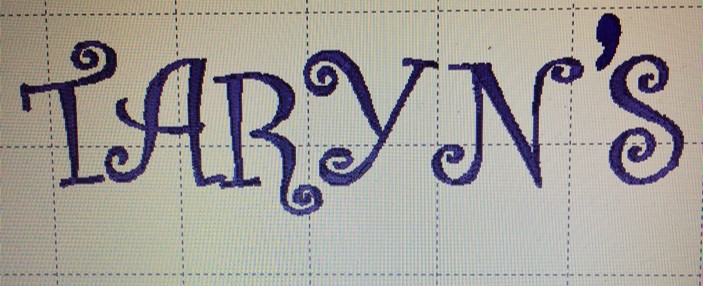
A caption can be
added to the design if desired.The
caption ‘TARYN’S was used to
personalize the apron.Embrilliance Essentials embroidery
software program was used in the example.The font Curlz matches the
font used for the word ‘BAKERY’.
(Click Image to Enlarge)
Step 3:
Another feature of Embrilliance
Essentials is that colors can be changed on the design template.This feature is helpful to give a better
visualization of the finished product.
(Click Image to Enlarge)
Step 4:
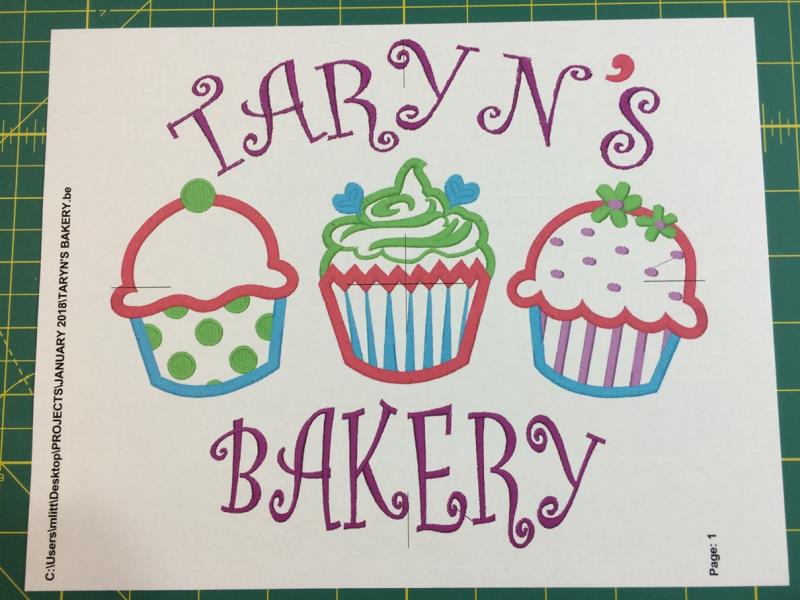
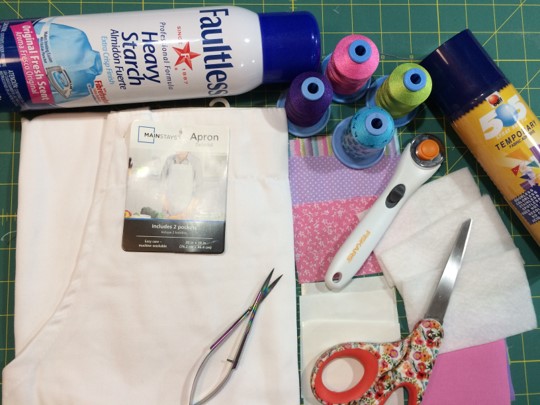
Gather the materials.Read through the instructions before
beginning.Print out a paper template of the design and color sequence.
(Click Image to Enlarge)
Step 5:
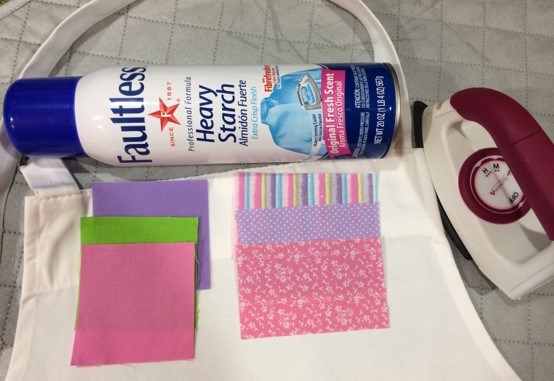
Iron and starch the apron and fabric.
(Click Image to Enlarge)
Step 6:
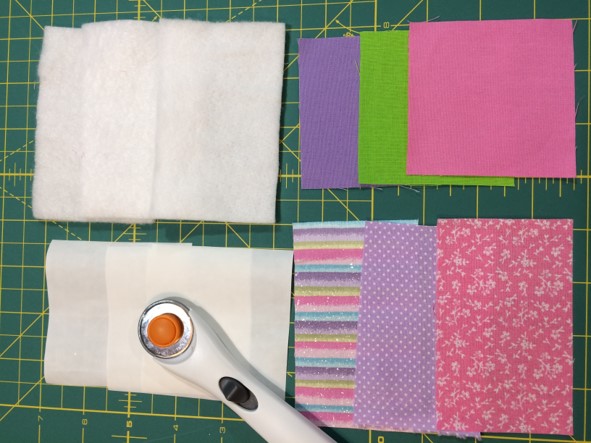
Cut three
pieces of fabric 3” x 3”.
Cut three
pieces of fabric 3 ½ “ x 2 ½ “.
Cut three
pieces of Heat n Bond lite 3” x 3”.
Cut three pieces of low nap quilt batting 3 ½ “ x 2
½ “.
(Click Image to Enlarge)
Step 7:
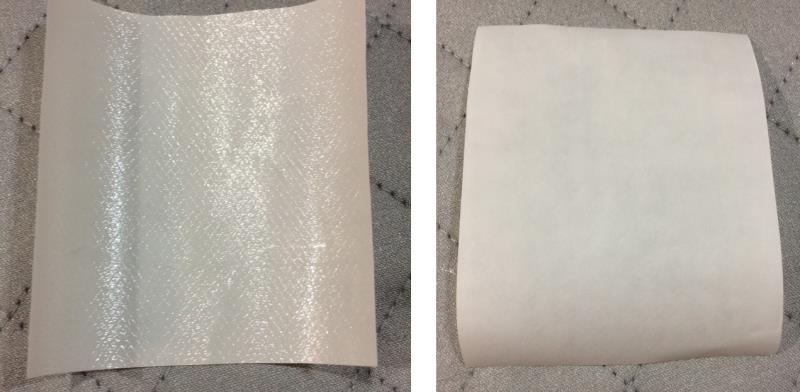
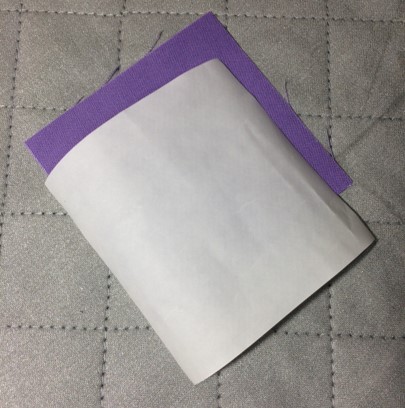
Heat n Bond lite is a fusible,
sewable iron-on adhesive.Using Heat n
Bond lite when appliqueing will bond the fabrics together.Heat n Bond lite has a rough, textured side
and a slick, paper side.The rough,
textured side is the adhesive.
(Click Image to Enlarge)
Step 8:
Place the rough side of the Heat n Bond lite to the wrong side of the fabric being appliqued.
Step 9:
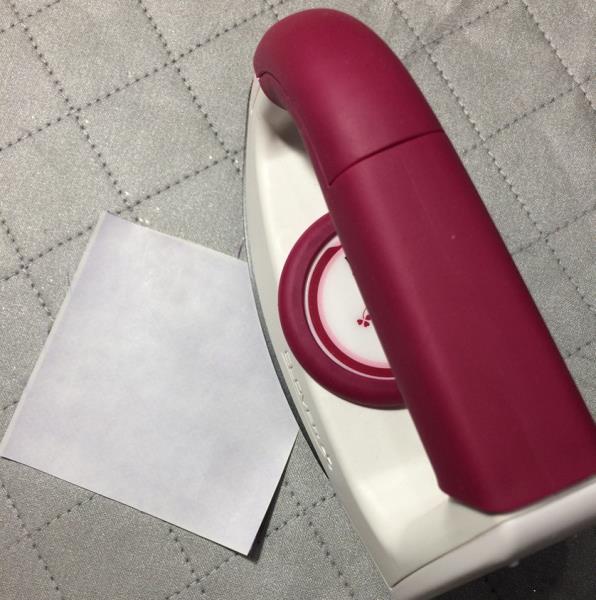
Follow the directions on the package to apply Heat n Bond lite to the wrong side of the 3” x 3” fabric pieces.A dry,
HOT iron is recommended when using the Heat
n Bond lite.
(Click Image to Enlarge)
Step 10:
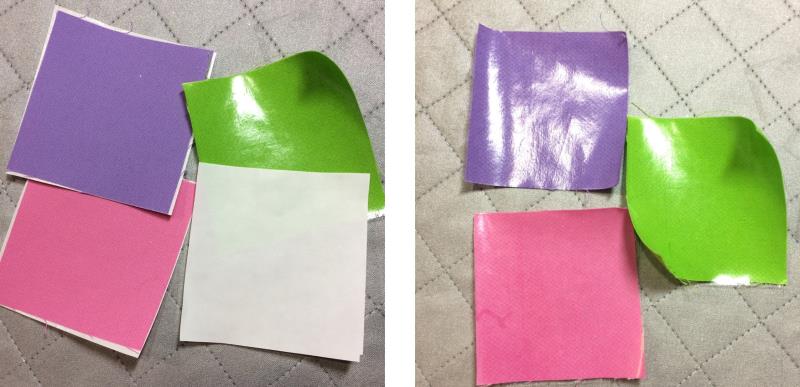
Remove the paper using the directions on the Heat n Bond lite package.The wrong side of the fabric will have a
slick surface which is the adhesive.
(Click Image to Enlarge)
Step 11:
Placement
of design on apron.The
paper template is the actual size of the stitch out.Use
the template as a guide for placement. Placement
will depend on the style of the apron.
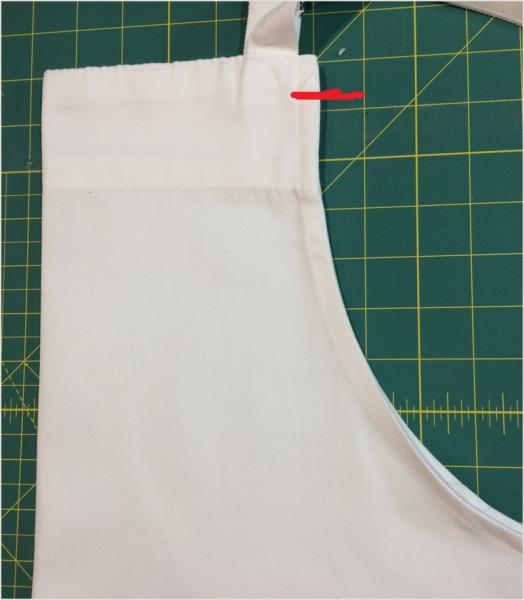
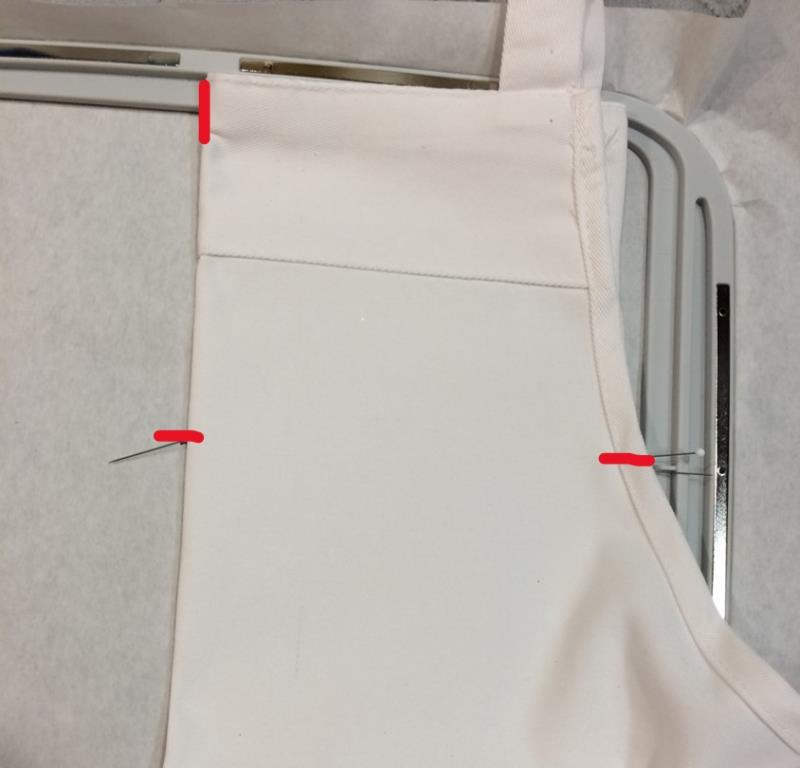
Fold apron in half making sure to match the sides
and back of the apron.I measured 1”
from the top of the apron and then found the center point for placement.Use
the guide lines and center point on the paper template to align the design on
the apron.
(Click Image to Enlarge)
Step 12:
The apron I’m using is made of canvas duck cloth which is a
heavy weight fabric. A tear-away stabilizer will be used
because of the weight of the fabric.
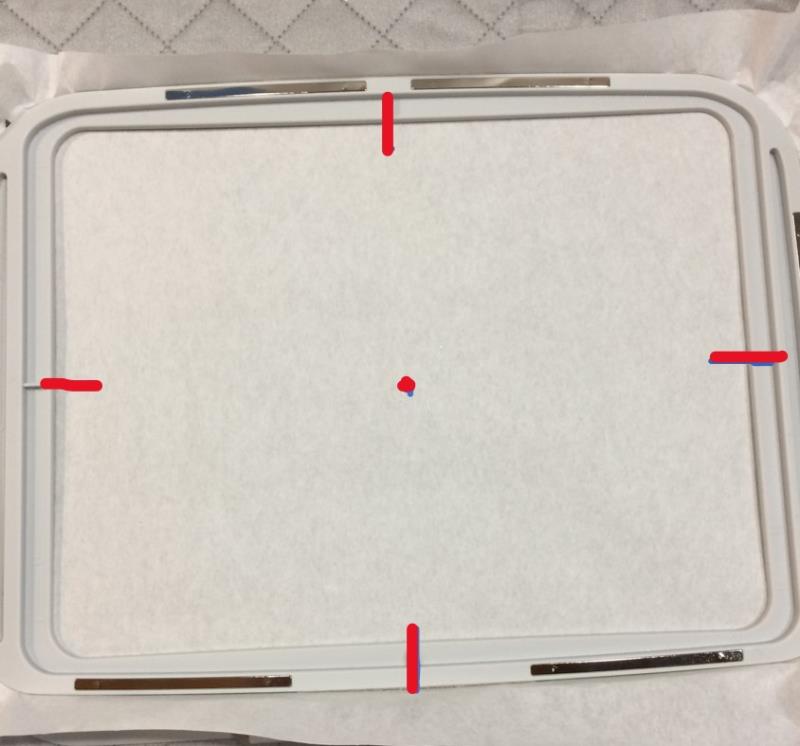
Hoop the stabilizer.Mark the center point on the stabilizer.Mark
the center of each side of the hoop frame.
(Click Image to Enlarge)
Step 13:
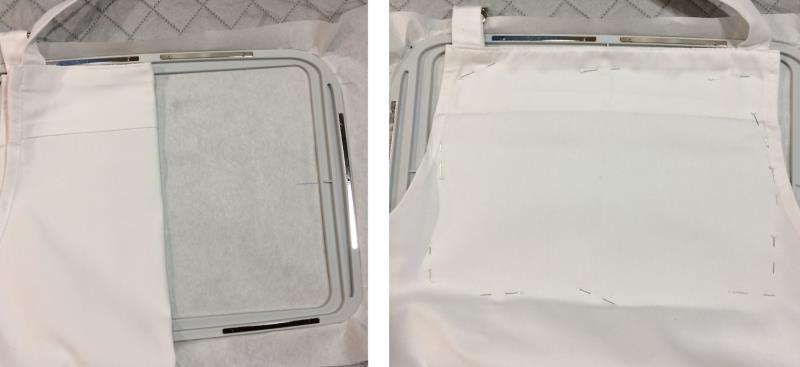
Place the folded apron on
the center of the hoop.Align the center points on the
stabilizer and the apron.
(Click Image to Enlarge)
Step 14:
Spray temporary adhesive on the stabilizer.Press the apron gently onto the stabilizer
and smooth surface.A few stick pins may
to used on the outer edges for additional support.Repeat this step for the other side.
(Click Image to Enlarge)
Step 15:
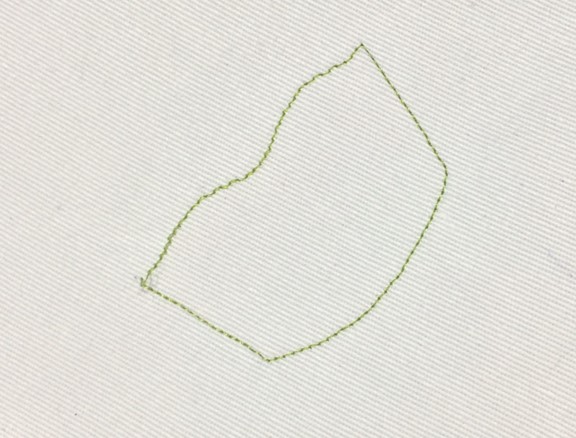
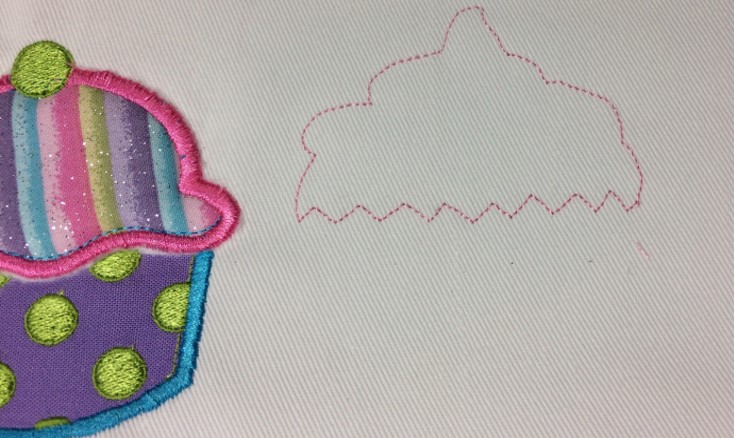
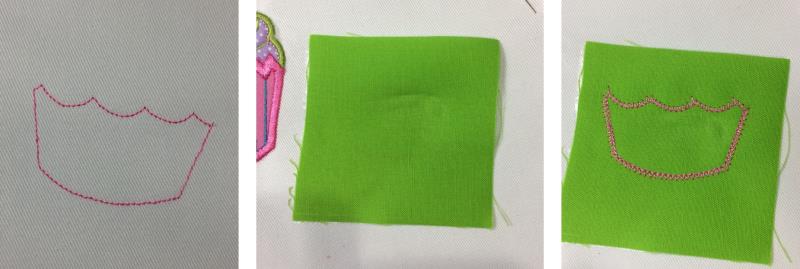
Attach your embroidery hoop.Follow the paper template and/or the color guide on your machine.Sew the placement
stitch for the base of the first cupcake. A placement stitch shows you where to place the
first piece of fabric.
(Click Image to Enlarge)
Step 16:
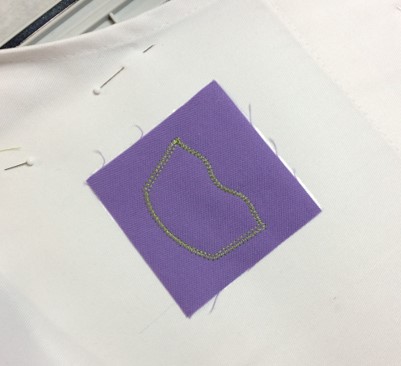
Place a 3” x 3” piece of applique fabric RIGHT SIDE UP on top of the outline (placement stitches) you just
stitched. Sew the tack down stitches.This
will sew the applique fabric onto your fabric.
Step 17:
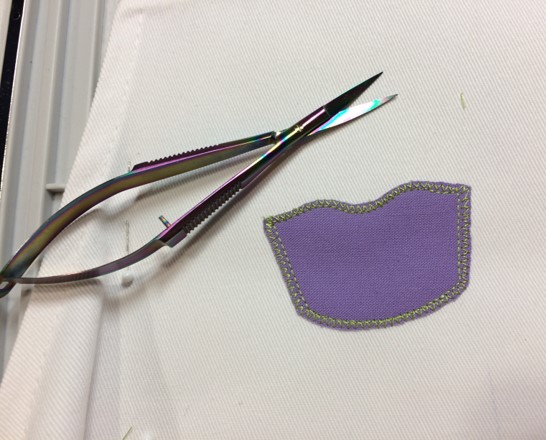
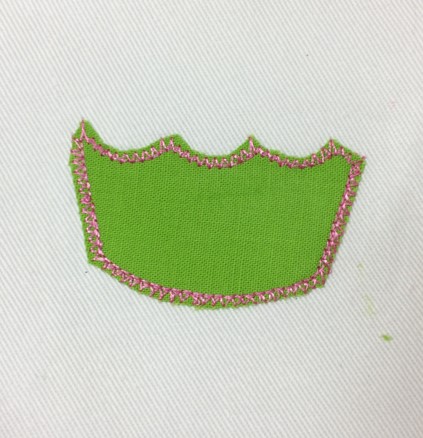
Carefully remove the hoop from your machine, but do not remove the project
from the hoop. Using sharp embroidery scissors, trim the applique
fabric around the tack down stitching. Trim close to the stitches but not so
close as to cut the stitches themselves.
(Click Image to Enlarge)
Step 18:
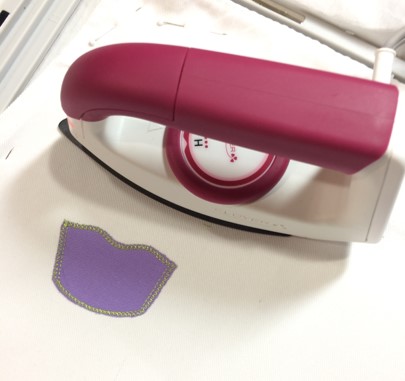
Using a hot, dry iron, follow the Heat n Bond lite directions to iron
the fabric in place.
Step 19:
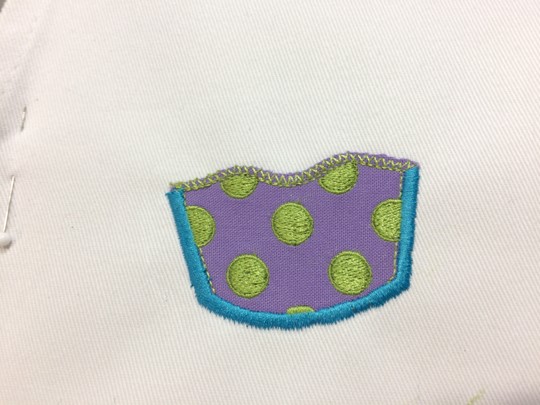
Sew the color stitches for the polka dots.Stitch the next color change. This will stitch
the finishing stitch of the applique
for the border of the cupcake.
(Click Image to Enlarge)
Step 20:
Sew the placement stitch for
the top of the cupcake.
(Click Image to Enlarge)
Step 21:
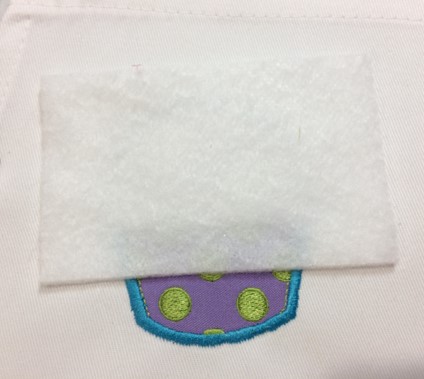
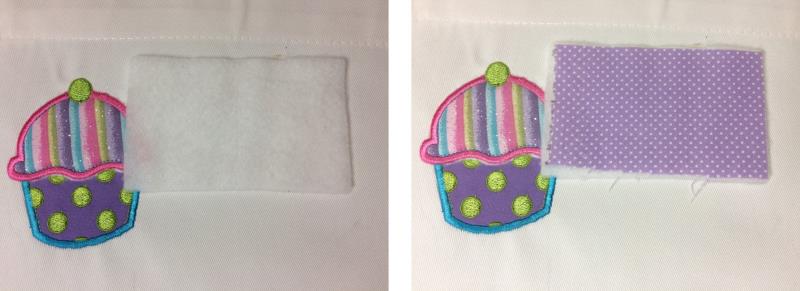
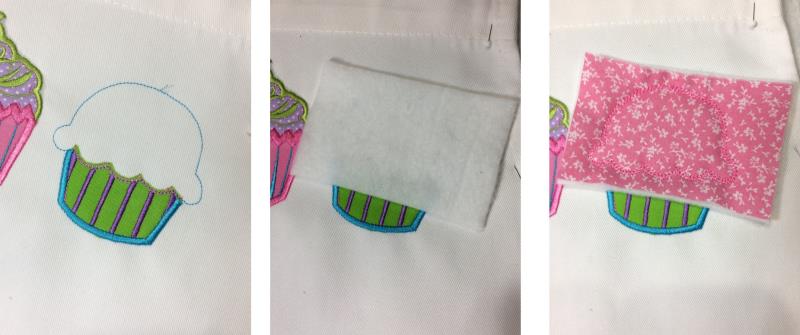
Using one piece of the 3 ½
“ x 2 ½ “ piece of low nap quilt batting, spray the batting lightly with a
temporary spray adhesive, and place on top of the placement stitches.Press
gently and smooth surface of the batting.The quilt batting will add dimension to the design.
Step 22:
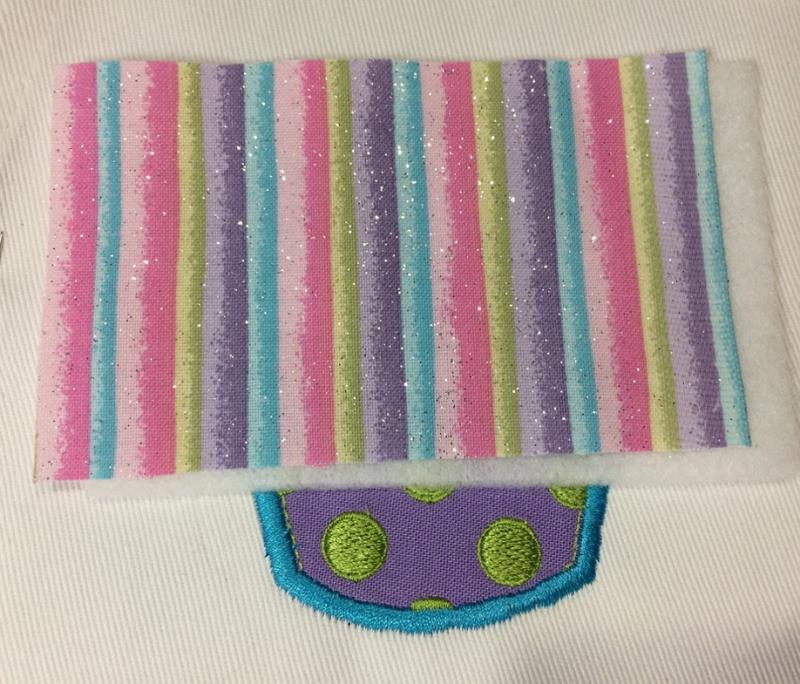
Using one piece of the 3
½” x 2 ½ “ piece of fabric, spray the fabric lightly with a temporary spray
adhesive, and place on top of the quilt batting.Press gently and smooth surface of the
fabric.
(Click Image to Enlarge)
Step 23:
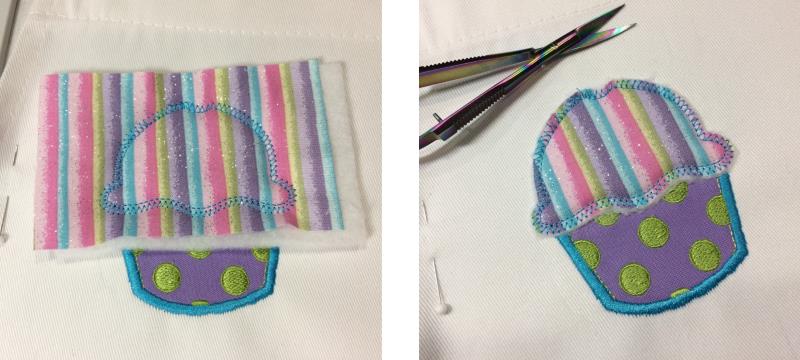
Sew the tack down stitches.Carefully
remove the hoop from your machine, but do not remove the project
from the hoop. Using sharp embroidery scissors, trim the applique
fabric around the tack down stitching. Trim close to the stitches but not so
close as to cut the stitches themselves.
(Click Image to Enlarge)
Step 24:
Sew the finishing stitches for
the outer edges on the top part of the cupcake.Sew the color stitches for the dot on top of the cupcake.(The first cupcake is finished.)
Step 25:
Sew the placement stitch for
the top of the middle cupcake.
(Click Image to Enlarge)
Step 26:
Spray the batting lightly with a temporary spray adhesive,
and place on top of the placement stitches.Press gently and smooth
surface of the batting.
Using one piece of the 3 ½” x 2 ½ “ piece of fabric,
spray the fabric lightly with a temporary spray adhesive, and place on top of
the quilt batting.Press gently and smooth surface of the fabric.
(Click Image to Enlarge)
Step 27:
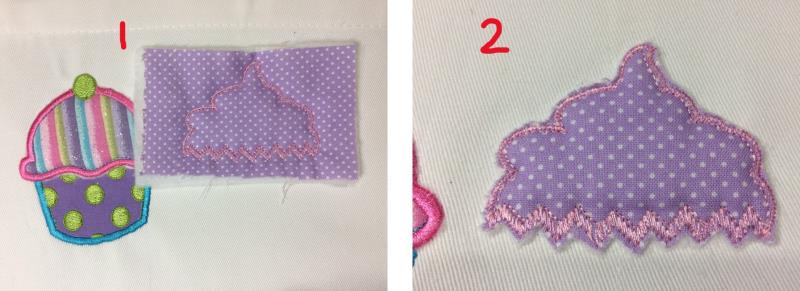
Sew the tack down
stitches (picture 1).Carefully
remove the hoop from your machine, but do not remove the project
from the hoop.
Using sharp
embroidery scissors, trim the
applique fabric around the tack down stitching. Trim close to the stitches but
not so close as to cut the stitches themselves.(picture 2)
(Click Image to Enlarge)
Step 28:
Follow the color stitch guide to sew the swirls in the icing.
(Click Image to Enlarge)
Step 29:
Follow the color stitch guide to sew the finishing stitches on the top part of the cupcake.
(Click Image to Enlarge)
Step 30:
Sew the placement stitches
for the bottom of the middle cupcake.
(Click Image to Enlarge)
Step 31:
Place a 3” x 3” piece of fabric over the placement stitches.Sew the tack
down stitches.
Step 32:
(Click Image to Enlarge)
Carefully remove the hoop from your machine, but
do not remove the project from the hoop.Using sharp embroidery scissors, trim the applique fabric around the
tack down stitching. Trim close to the stitches but not so close as to cut the
stitches themselves.
Using a hot, dry iron, follow the Heat n Bond lite
directions to iron the fabric in place.
Step 33:
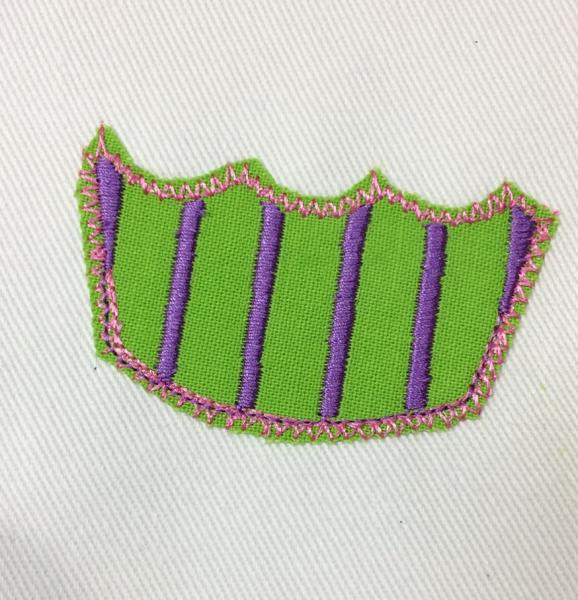
Using the color stitch guide, sew the tack down stitches on the bottom part of the cupcake.Sew the lines in the bottom part of the
cupcake.Sew the finishing stitches on outer edge on the bottom of the cupcake.(Cupcake #2 is finished.)
(Click Image to Enlarge)
Step 34:
Sew the placement
stitch for the bottom part of the last cupcake.
Place a 3 ½ “ x 2 ½ “
piece of fabric (shiny side down) on top of the placement stitch.Sew the tack
down stitches.
(Click Image to Enlarge)
Step 35:
Carefully
remove the hoop from your machine, but do not remove the project
from the hoop.Using sharp
embroidery scissors, trim the
applique fabric around the tack down stitching. Trim close to the stitches but
not so close as to cut the stitches themselves.
Using a hot, dry iron, follow the Heat n Bond lite
directions to iron the fabric in place.
Step 36:
Sew the color stitches for the stripes on the bottom of the cupcake
(Click Image to Enlarge)
Step 37:
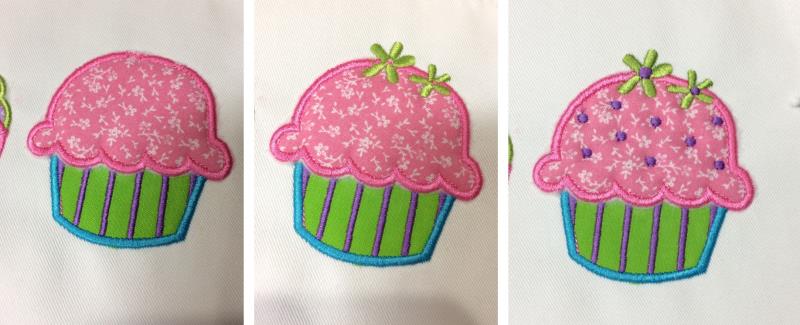
Using one piece of the 3 ½ “ x 2 ½ “ piece of low
nap quilt batting, spray the batting lightly with a temporary spray adhesive,
and place on top of the placement stitches.Press gently and smooth
surface of the batting.
Using one
piece of the 3 ½” x 2 ½ “ piece of fabric, spray the fabric lightly with a
temporary spray adhesive, and place on top of the quilt batting.Press
gently and smooth surface of the fabric.
Sew the tack
down stitches for the top part of the cupcake.
(Click Image to Enlarge)
Step 38:
Carefully remove the hoop from your machine, but
do not remove the project from the hoop.Using sharp embroidery scissors, trim the applique fabric around the
tack down stitching. Trim close to the stitches but not so close as to cut the
stitches themselves.
Sew the
color stitches for flowers.Sew the color stitches for the dots.
Sew the finishing
stitches on the top of the cupcake.(Cupcake #3 is finished.)
(Click Image to Enlarge)
Step 39:
Following the color stitch guide, sew the caption for the design.Congratulations!You have finished an applique project.
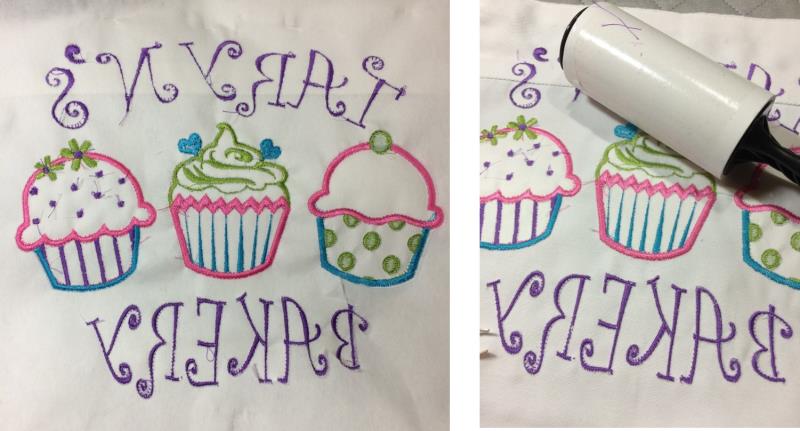
Step 40:
Remove the project from the hoop.Remove the tear-away stabilizer from the back of the project.Trim thread.A lint roller is very helpful when tidying up the work area.
(Click Image to Enlarge)
Step 41:
(Click Image to Enlarge)
YOU.DID.IT!!!WTG!You have completed a project using an applique
design for machine embroidery.
Marisa Littleton is a retired educator with a love for teaching and learning. Interests include machine embroidery, hand embroidery, quilting, cooking, and antiques.