Border OptionsHugging border, circle, square, or rectangle — with a 3mm satin stitch.
Backing OptionsAvailable with iron-on, sew-on, or velcro backing.
Fast ShippingShipped quickly from the USA.
Free Online Tools
Powerful embroidery utilities that save time and prevent costly mistakes.
Stitch AssistantRECOMMENDED
Get the exact stabilizer, machine settings, needle, and thread color sequence for every embroidery design you purchase — based on that design's stitch density, dimensions, and color count.
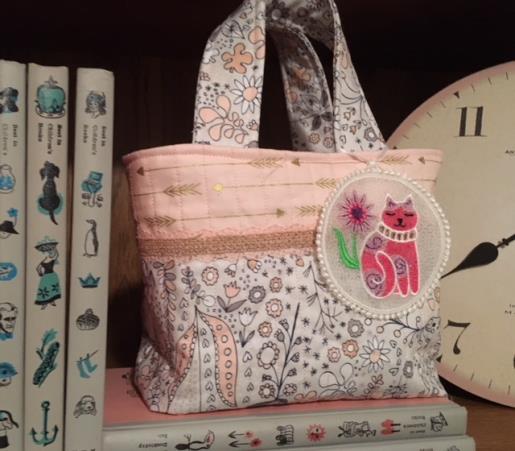
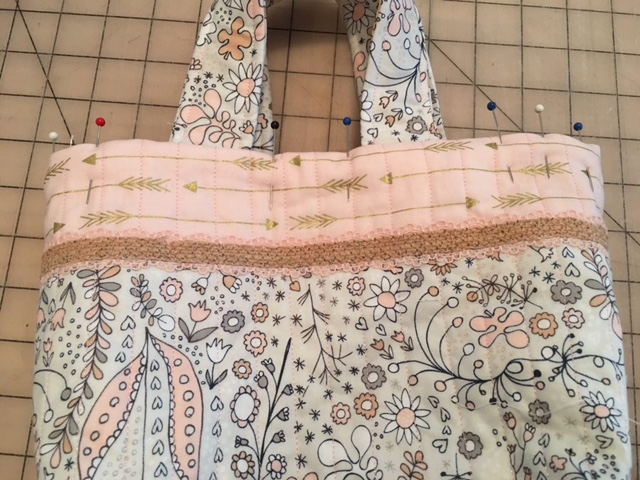
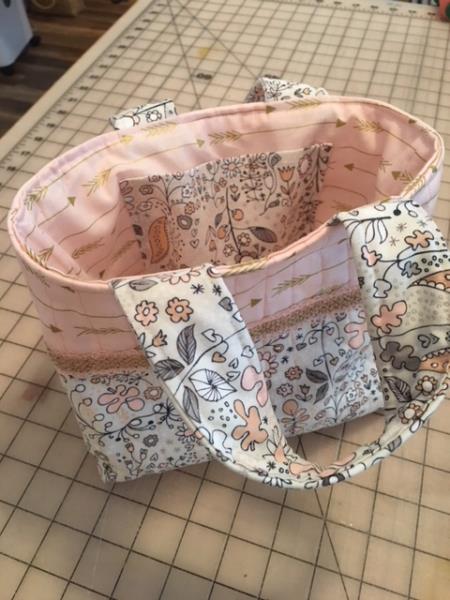
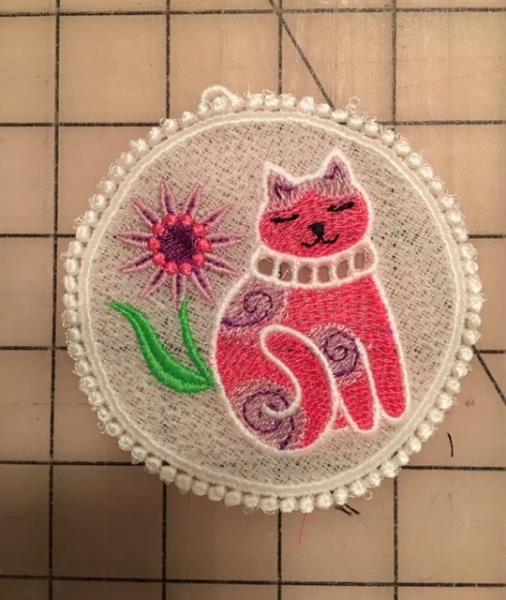
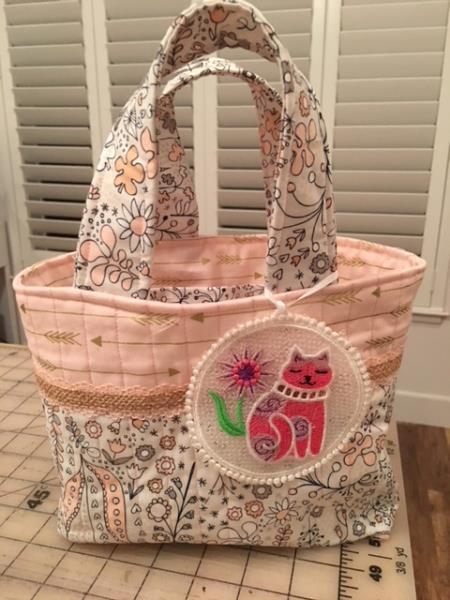
A "charm"ing small book tote. Quilted for added sturdiness and stability to carry multiple heavy weighted smaller sized books. Very useful and versatile to carry your books while traveling in the air or on the ground. Also a great size for kids in carrying their books and scriptures.
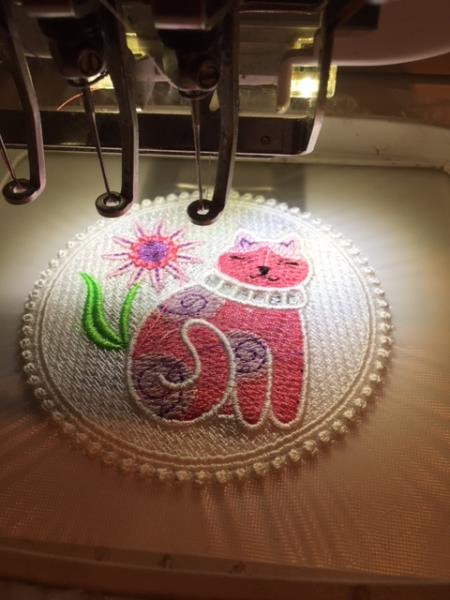
Use other FSL (free standing lace) embroidery designs to personalize for that special someone or occasion.
Step 1:
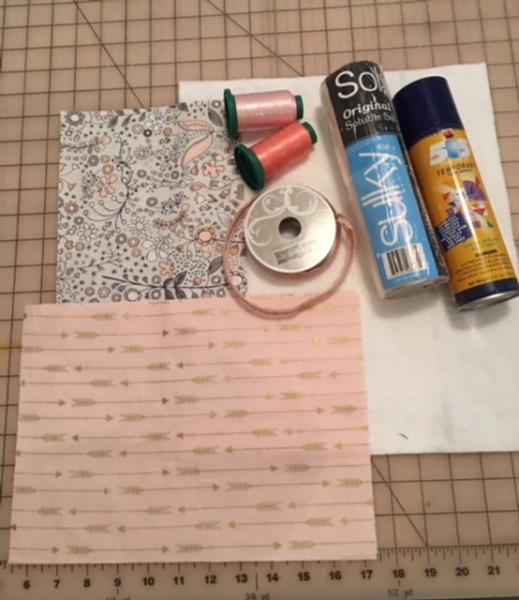
Gather all materials and read through steps before beginning.
1/4" seam allowance unless otherwise stated.
(Click Image to Enlarge)
Step 2:
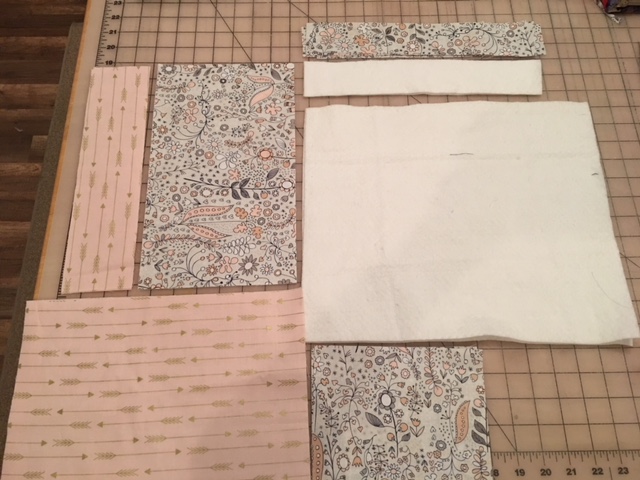
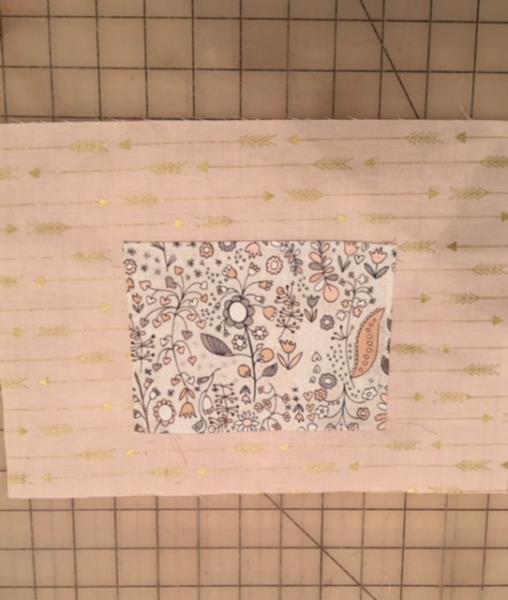
Cut your fabric in the following sizes:
2 main body (lining) 12"x 9 1/2" 2 cotton batting pieces 14" x 12"
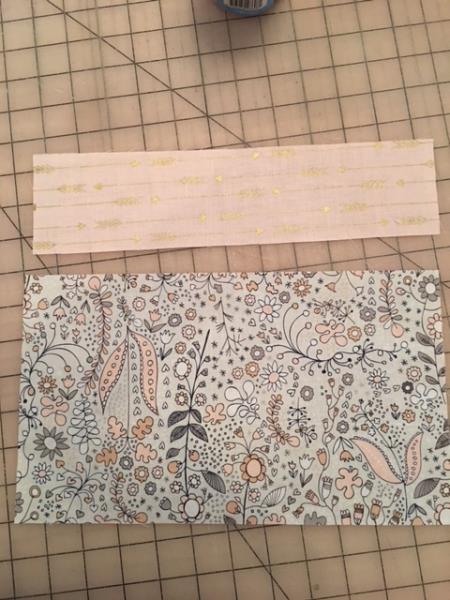
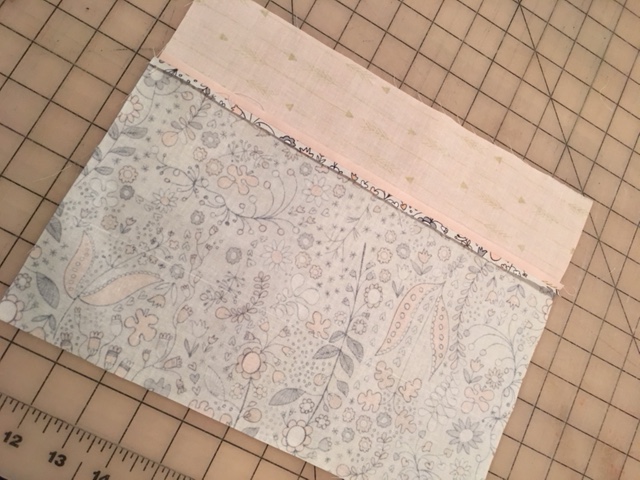
Sew all the two outside pieces together. Right sides together
(Click Image to Enlarge)
Step 4:
Press seam open
(Click Image to Enlarge)
Step 5:
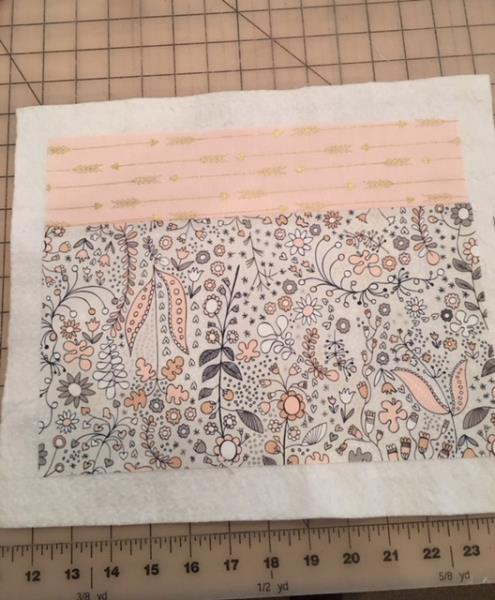
We will now quilt the sewn outside pieces. Using your cut cotton batting. Spray one side lightly with temporary spray adhesive and place sewn outside piece on top. Press to secure.
(Click Image to Enlarge)
Step 6:
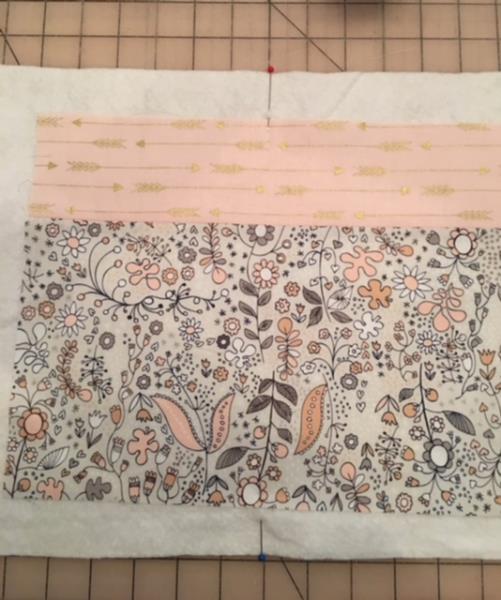
Find center of sewn outside sized piece and mark using pins or chalk. If using chalk draw a straight line down to mark center.
(Click Image to Enlarge)
Step 7:
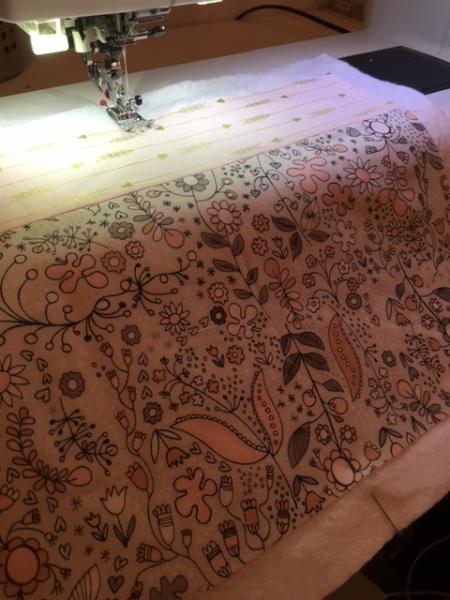
Sew a straight stitch from top of your center mark to bottom
(Click Image to Enlarge)
Step 8:
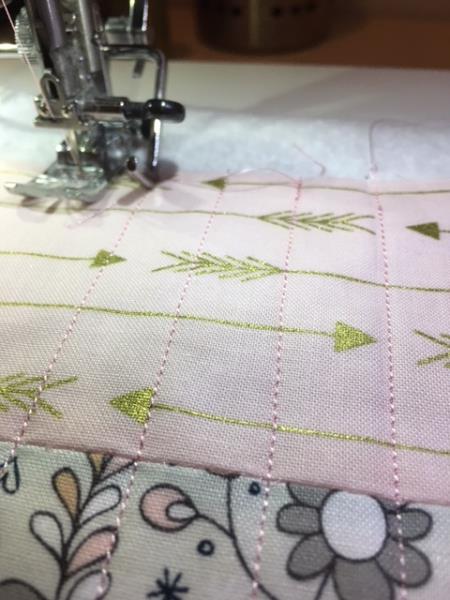
Use your machine quilting guide bar to continue sewing straight lines spacing approximately 1" apart across the outside piece. If you do not have a quilting guide bar, draw lines on your outside piece with your chalk or a disappearing fabric ink pen.
(Click Image to Enlarge)
Step 9:
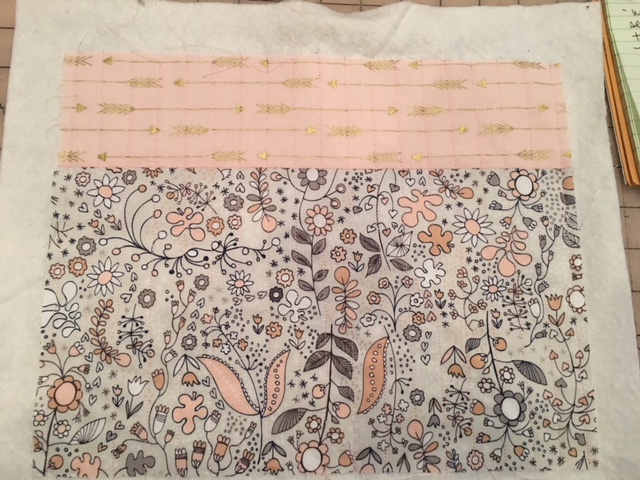
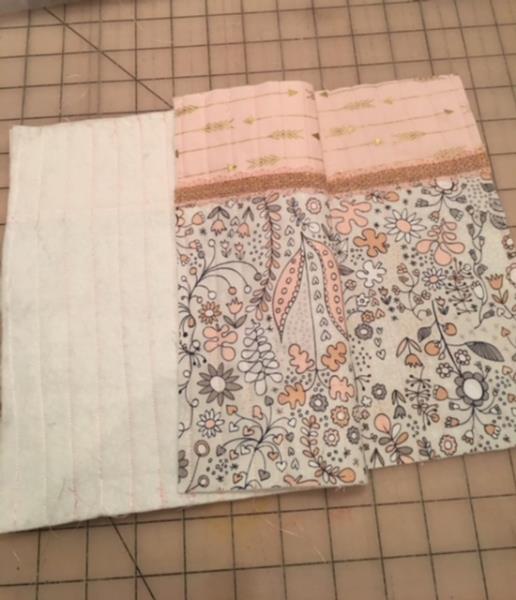
Your finished outside piece(s) should look like this.
(Click Image to Enlarge)
Step 10:
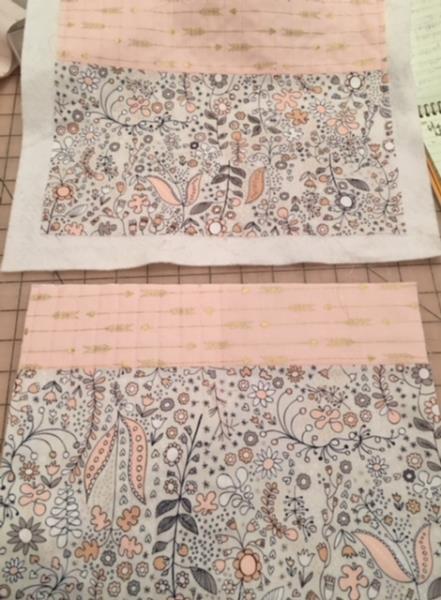
Trim away excess cotton batting
(Click Image to Enlarge)
Step 11:
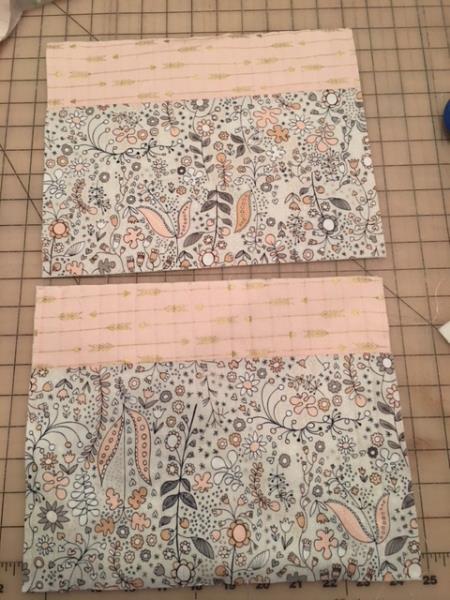
You should now have two outside pieces that look like this.
(Click Image to Enlarge)
Step 12:
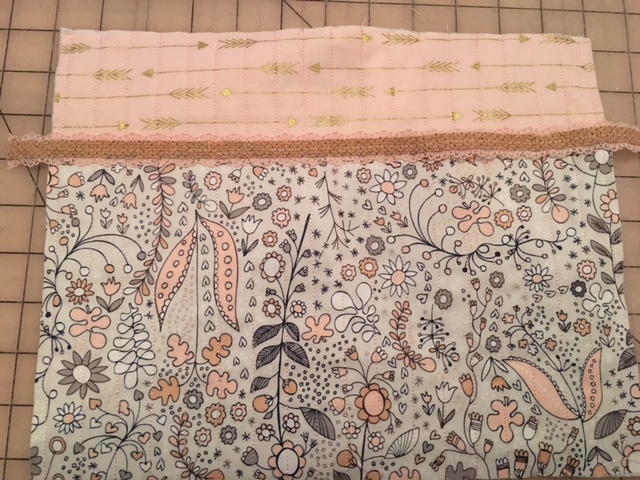
Cut ribbon into (2) 13"lengths and place over seams. Overlapping on each side. Stitch into place and trim the overlapping ribbon.
(Click Image to Enlarge)
Step 13:
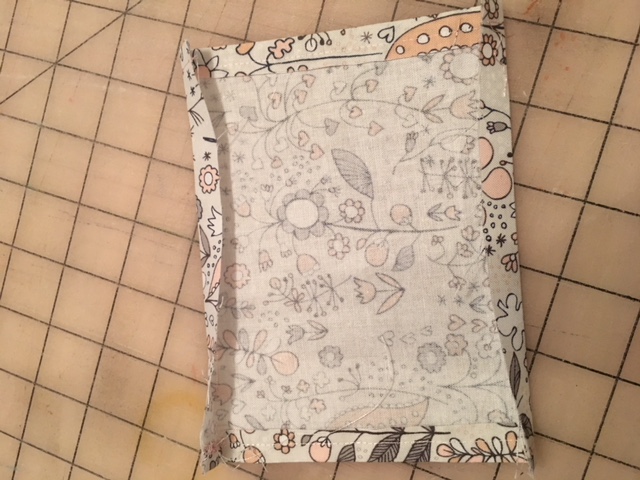
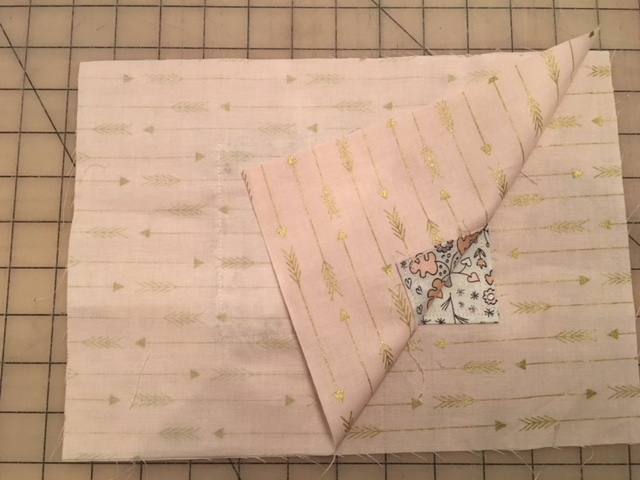
Using your pocket pieces (2) . Fold under all outside edges 1/2" - press and stitch in place.
(Click Image to Enlarge)
Step 14:
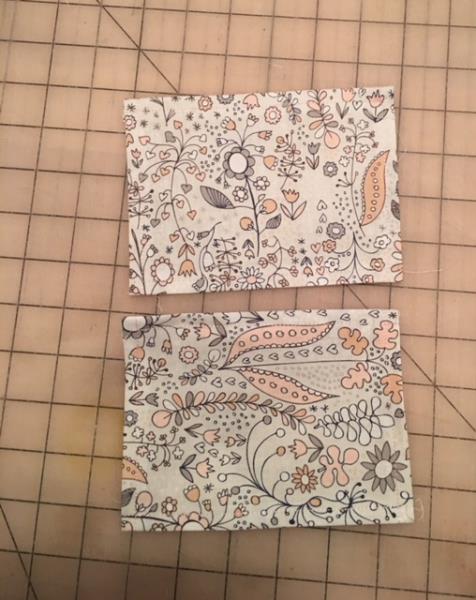
You should now have two stitched pocket pices
(Click Image to Enlarge)
Step 15:
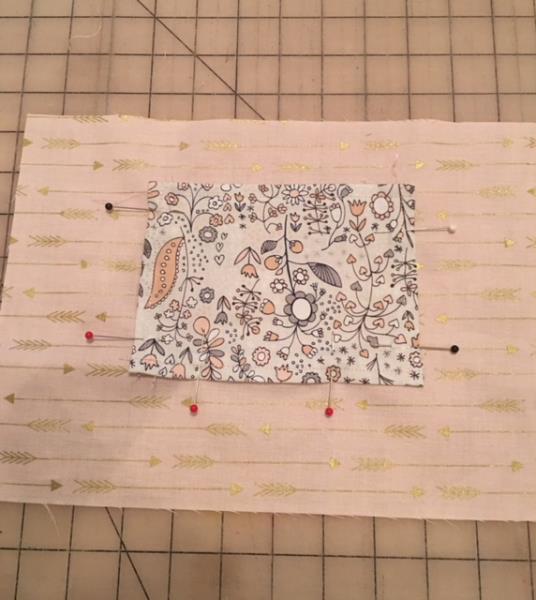
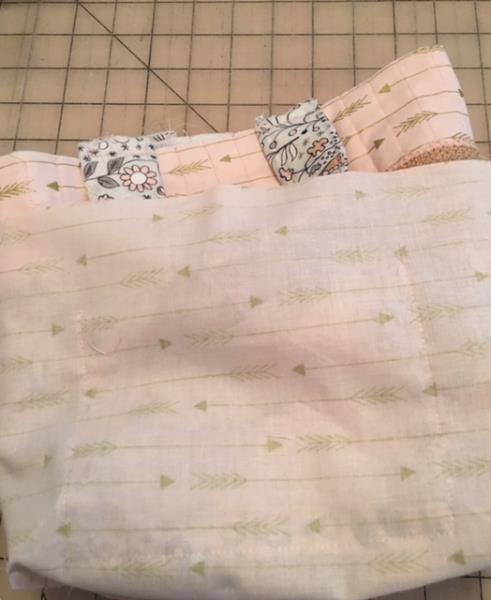
Using your lining pieces... place pockets 2 1/2" up from bottom and centered. Pin in place.
(Click Image to Enlarge)
Step 16:
Sew sides and bottom of pocket using a scant 1/4" seam allowance. Leaving top open.
(Click Image to Enlarge)
Step 17:
Sew sides and bottom of outside pieces. Right sides together.
(Click Image to Enlarge)
Step 18:
Sew side and bottom of lining pieces. Right sides together. Make sure pocket opening is at the top.
(Click Image to Enlarge)
Step 19:
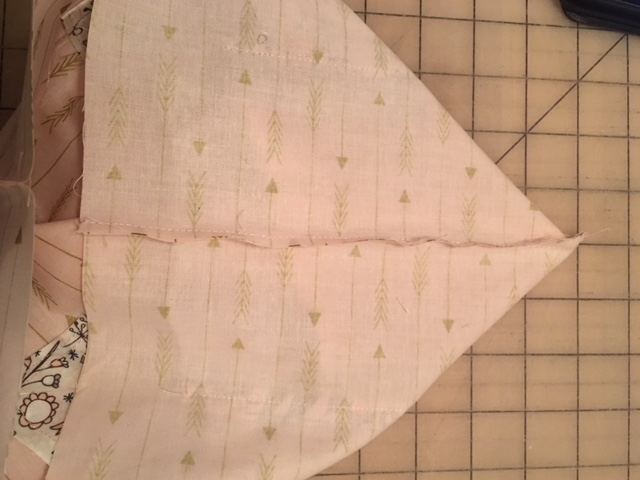
Making the boxed corners. With the sewn outside and lining pieces still inside out. Pull out each corner to make a point and flatten. Measure 2" from the point and draw a line. Stitch on the line and trim off excess. Set aside as we make the straps.
(Click Image to Enlarge)
Step 20:
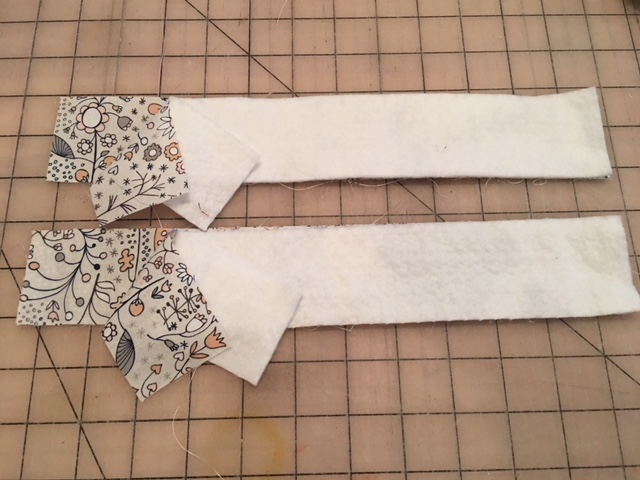
Using your strap pieces and cotton batting. Right sides together. Place batting on top. Sew 1/4" seam allowance on both sides. Leaving ends open for turning.
(Click Image to Enlarge)
Step 21:
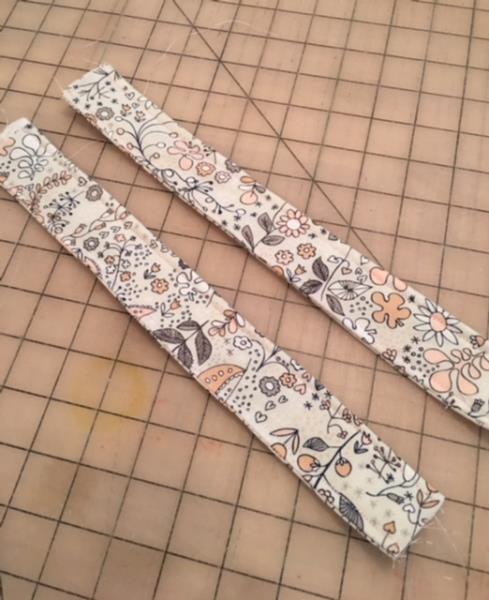
Turn straps right side out and press. Top stitch sides about 1/4".
(Click Image to Enlarge)
Step 22:
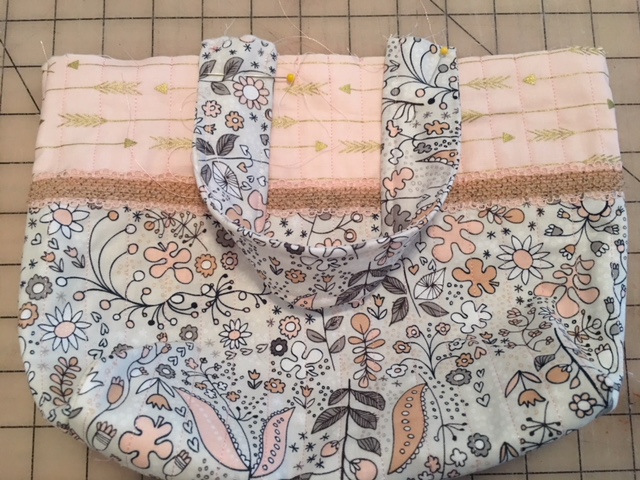
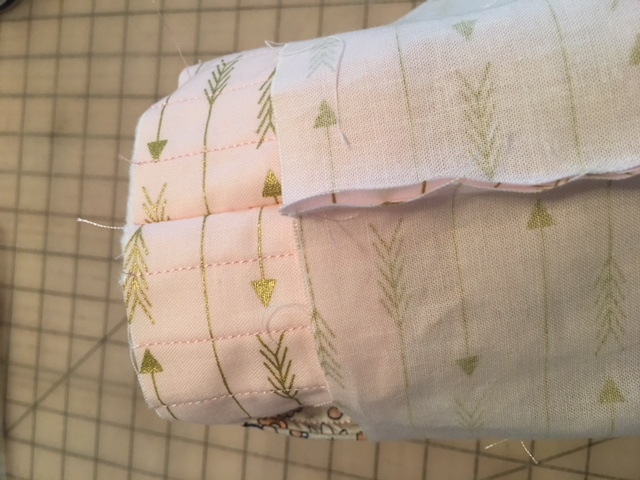
Pin straps to outside bag at top approximately 3" in on both sides. Stitch in place.
(Click Image to Enlarge)
Step 23:
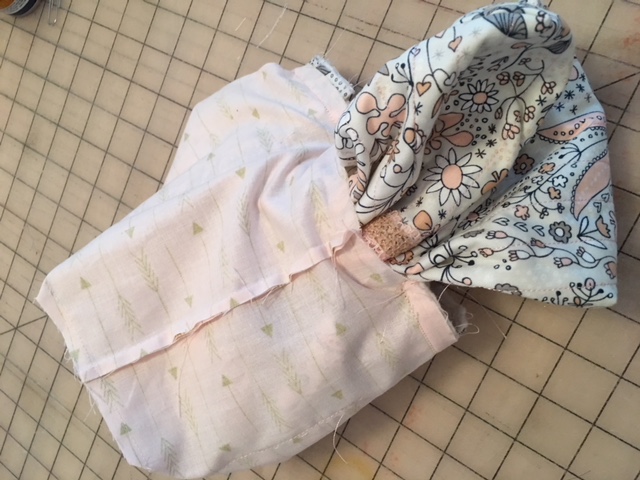
With lining inside out. Insert outside piece into lining , right sides together.
(Click Image to Enlarge)
Step 24:
Match up the side seams. Your lining will be a tad shorter than your bag. This ensures a better lining fit once turned right side out.
(Click Image to Enlarge)
Step 25:
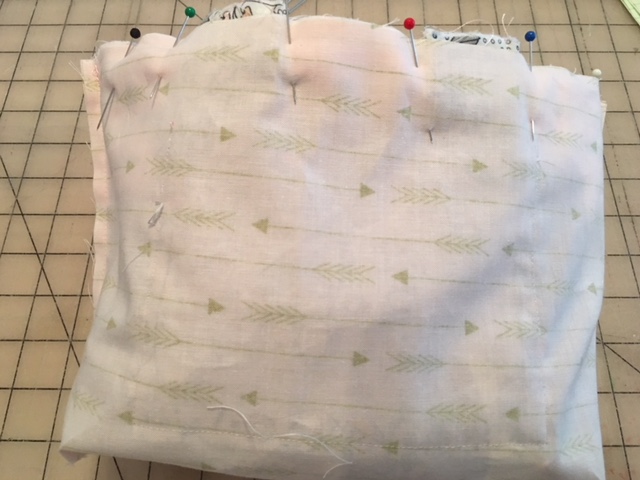
Pin in place.
(Click Image to Enlarge)
Step 26:
Stitch in place using 1/2" seam allowance. Leave a 2" opening for turning.
(Click Image to Enlarge)
Step 27:
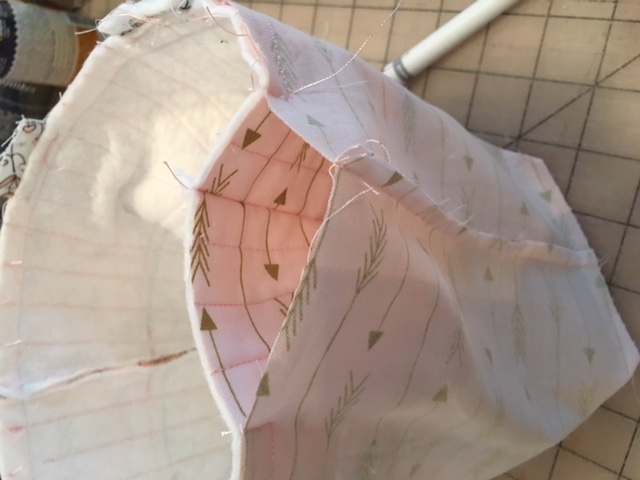
Turn right side out through opening.
(Click Image to Enlarge)
Step 28:
Pin and stitch opening closed using a top stitch all around top of bag.
(Click Image to Enlarge)
Step 29:
Your bag is now complete. Set aside and the next steps will guide you in embroidering the "charm".
(Click Image to Enlarge)
Step 30:
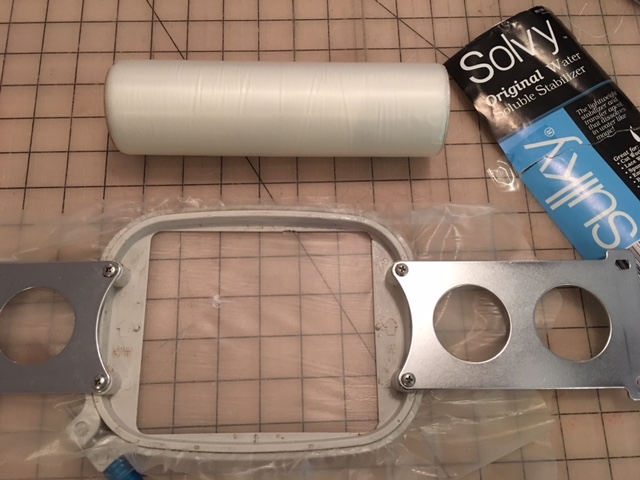
Hoop your soluble stabilizer.
(Click Image to Enlarge)
Step 31:
Design will take approximately 45 minutes to stitch out based on your machine.
(Click Image to Enlarge)
Step 32:
Once embroidery design is complete. Remove from hoop. Tear away excess stabilizer. Iron or rinse in water for approximately 20 seconds to remove any excess soluble stabilizer from design. If you rinsed in water, let dry a bit and iron to smooth out.
(Click Image to Enlarge)
Step 33:
Tie "charm" to handle with ribbon. Congratulations and Viola!!! Your "charm"ing book tote is now complete. Add some books and you're ready to go!