Border OptionsHugging border, circle, square, or rectangle — with a 3mm satin stitch.
Backing OptionsAvailable with iron-on, sew-on, or velcro backing.
Fast ShippingShipped quickly from the USA.
Free Online Tools
Powerful embroidery utilities that save time and prevent costly mistakes.
Stitch AssistantRECOMMENDED
Get the exact stabilizer, machine settings, needle, and thread color sequence for every embroidery design you purchase — based on that design's stitch density, dimensions, and color count.
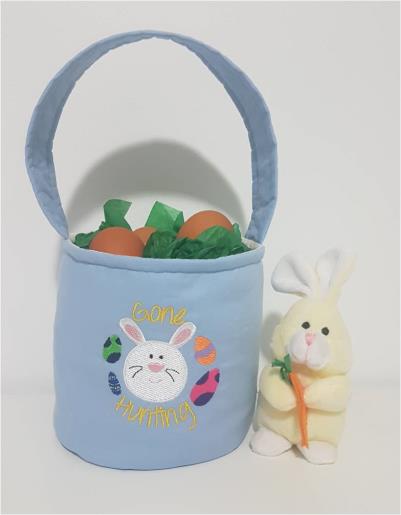
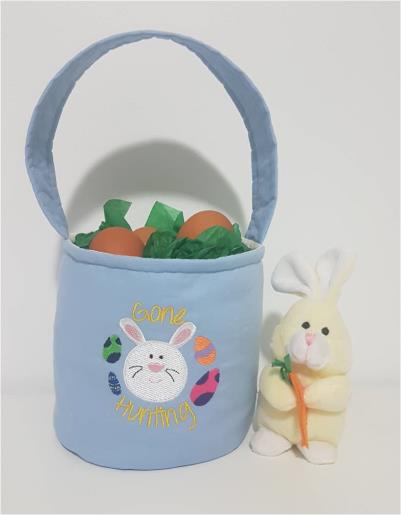
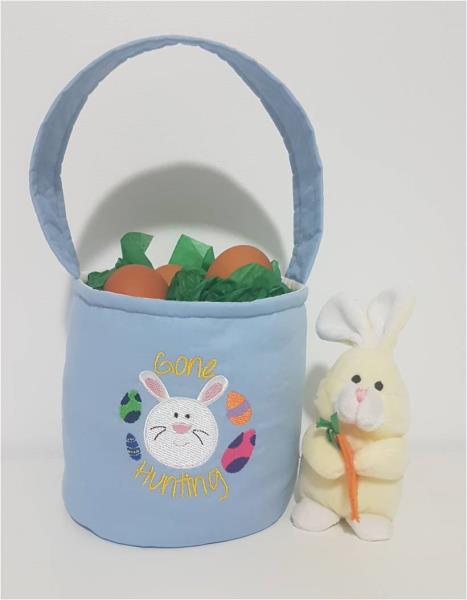
This charming Easter basket is perfect for collecting eggs during a festive hunt. Crafted with care, it features delightful seasonal details that capture the joy of Easter. Step-by-step instructions are included.
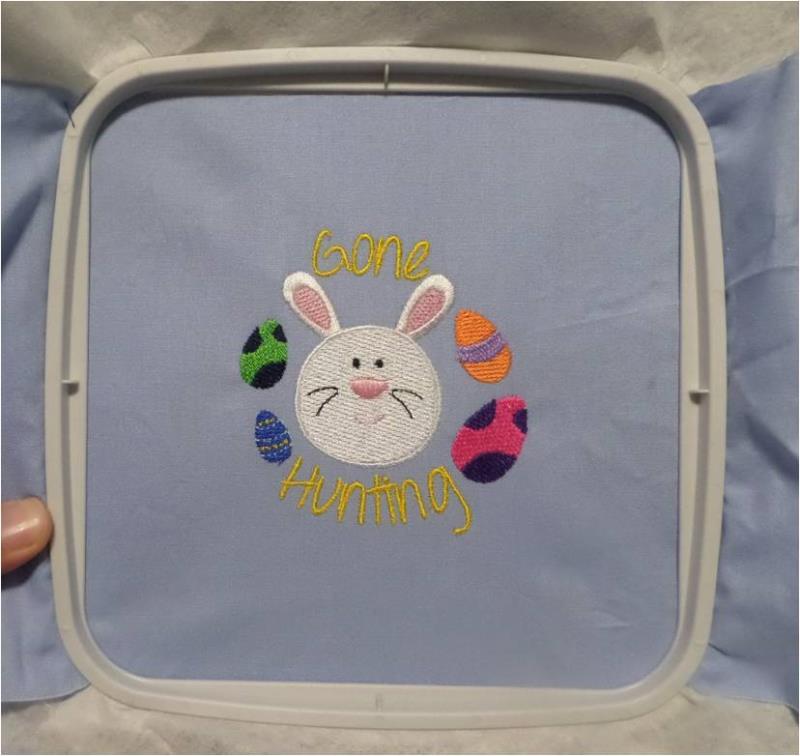
A great keepsake easter gift that the kids will love using year after year. This is a lined cotton basket with fusible fleece between the layers to give some stability. The basket measures 5 ¾” high, 13” to top of the handle, and 6” diameter. You could also personalize it by adding the child’s name “Maddison’s Gone Hunting”.
Step 1:
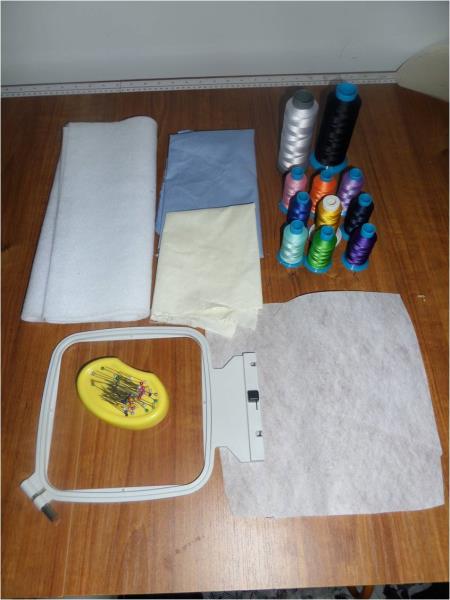
Gather the materials and read through these instructions before beginning. Have a copy of the color sequence on hand to refer to
(Click Image to Enlarge)
Step 2:
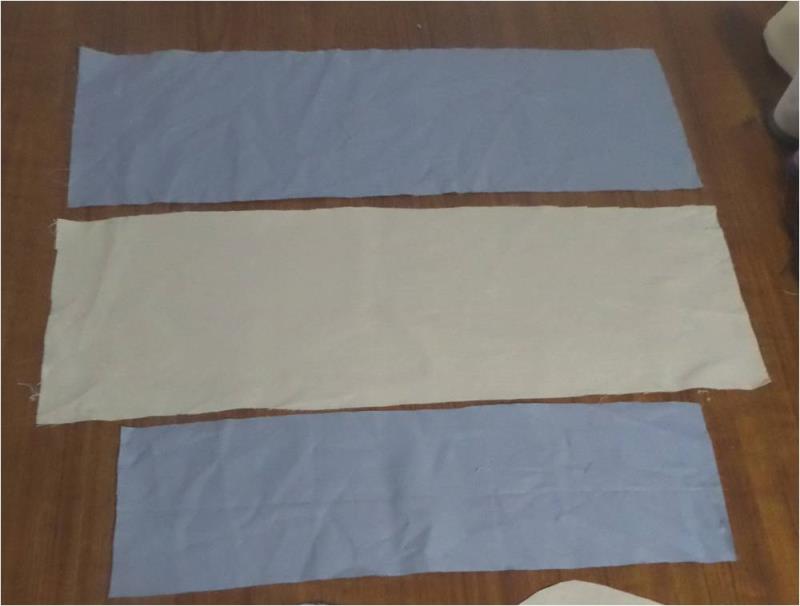
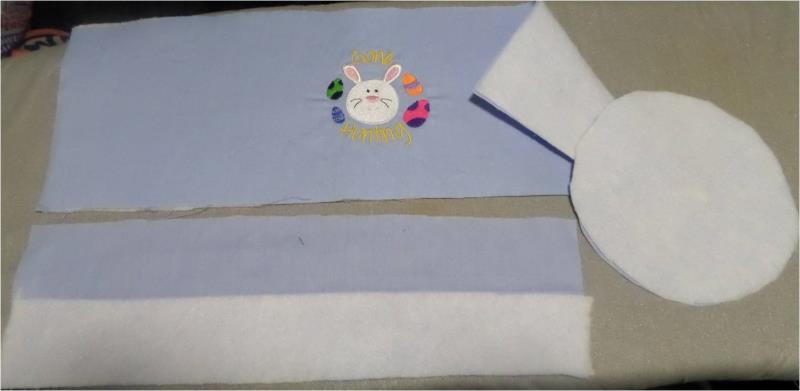
Cut a rectangle 20” long x 6 ½” wide from your outer and lining fabric. Also cut a 15 ¾” long x 4 ½” wide rectangle from your outer fabric only, this piece is for the handle.
(Click Image to Enlarge)
Step 3:
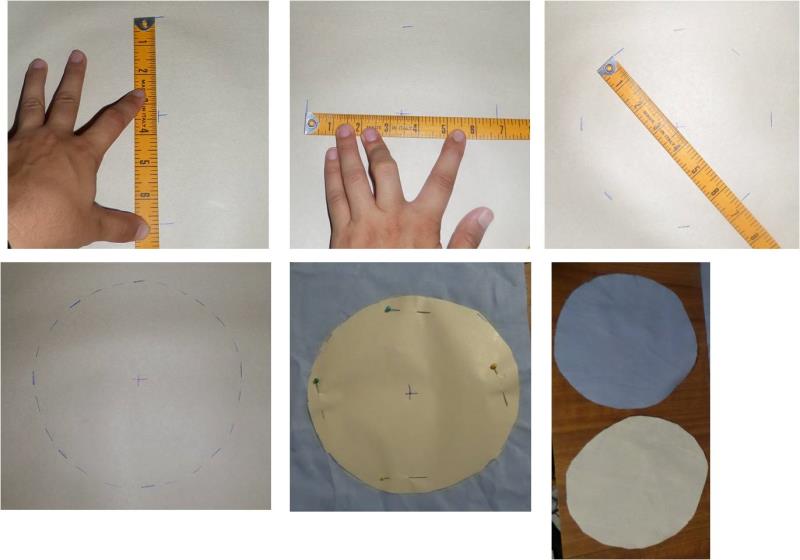
You will also need a 6 ¾” diameter circle piece for the base. It is best to draw a template for this first so you can use that as your pattern piece. Start my marking out 6 ¾” onto a piece of paper and mark the middle of that, 3 3/8”. Then mark the 6 ¾” again in the opposite direction, ensuring to keep your centre point. Then moving your ruler around, keeping centre point, continue to mark around to form a circle. Cut out this to use for your template to cut your outer and lining fabric.
(Click Image to Enlarge)
Step 4:
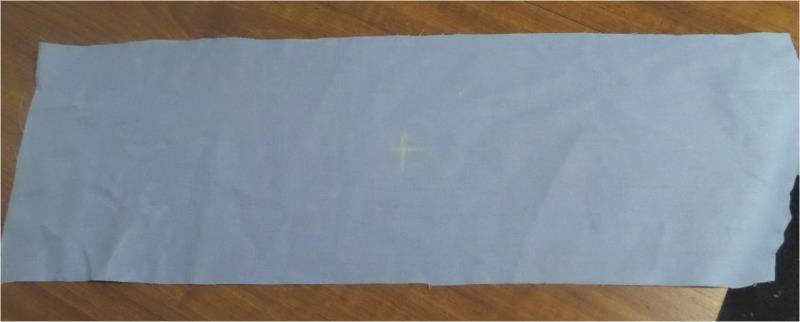
On the large rectangle outer piece of fabric, mark the centre using tailors chalk or a washaway marker
(Click Image to Enlarge)
Step 5:
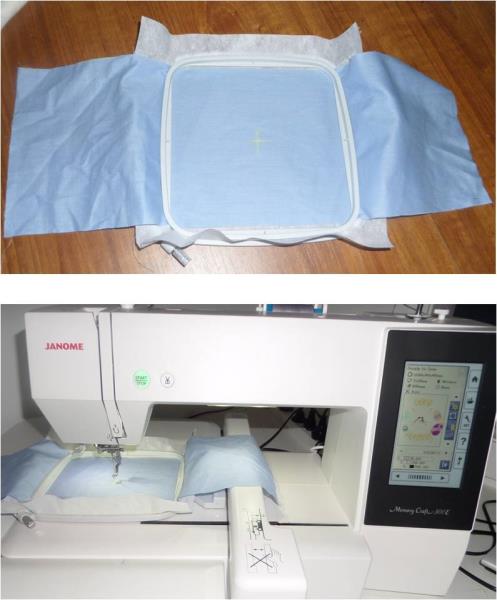
Hoop the tearaway stabilizer and outer fabric. You may wish to use a spray adhesive so the fabric lays flat against the stabilizer. Load design onto your machine and attach hoop. Stitch out the design. NOTE: I enlarged the design by 10% for this project
(Click Image to Enlarge)
Step 6:
Remove hoop from machine, unhoop your fabric, trim threads and remove tearaway stabilizer.
(Click Image to Enlarge)
Step 7:
From the fusible fleece cut a 20” long x 6 ½” wide rectangle, a 6 ¾” diameter circle and a 15 ¾” long x 2 ¼” wide piece. Using a hot iron, fuse the fleece to the wrong side of your outer fabric pieces. The 15 ¾” x 2 ¼” fleece piece is for the handle and only covers half of the fabric strip.
(Click Image to Enlarge)
Step 8:
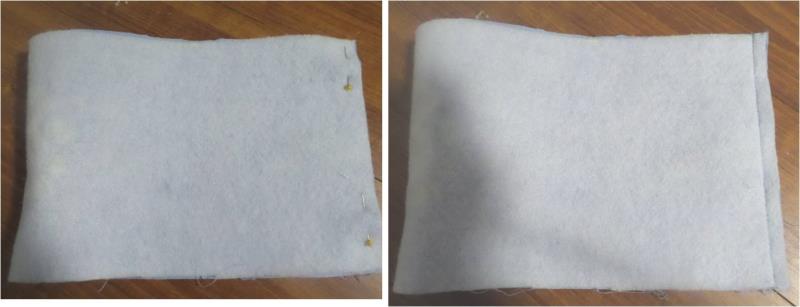
With the embroidered rectangle which forms the main section of the basket, fold it in half with right sides together and pin the short edges together. Stitch this seam, using a 10mm seam allowance
(Click Image to Enlarge)
Step 9:
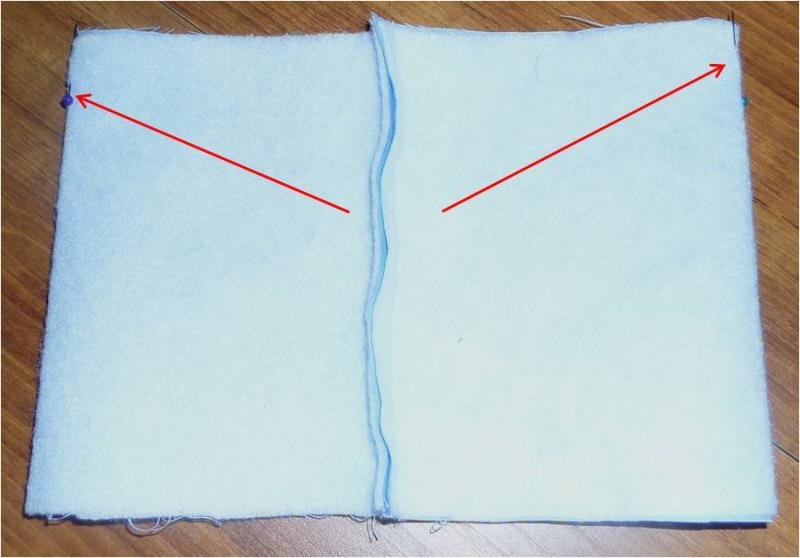
Now you have a tubular shape and you now need to mark the position of the handle which will be sewn to the sides. So lay the tube flat, with the seam facing up and position the seam so it is centered. Then you can mark the fold line on each side which indicates the sides where the handle will be sewn to
(Click Image to Enlarge)
Step 10:
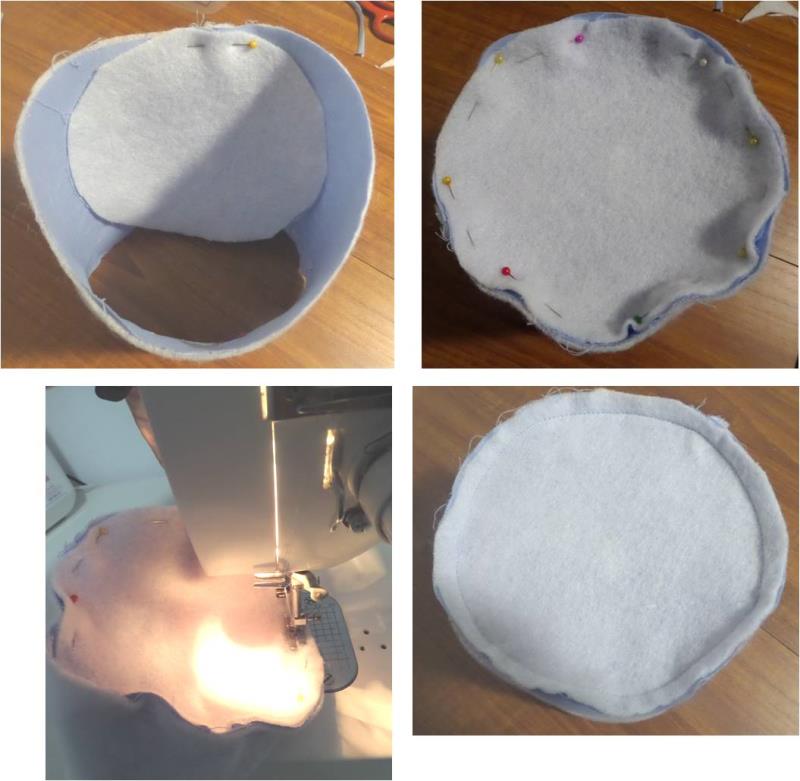
With this tubular shape, you now need to attach the circle to form the base. So with the circle base of outer fabric, which has the fleece applied to it, pin this to the bottom of the tube and suing a 10mm seam allowance sew all the way around.
(Click Image to Enlarge)
Step 11:
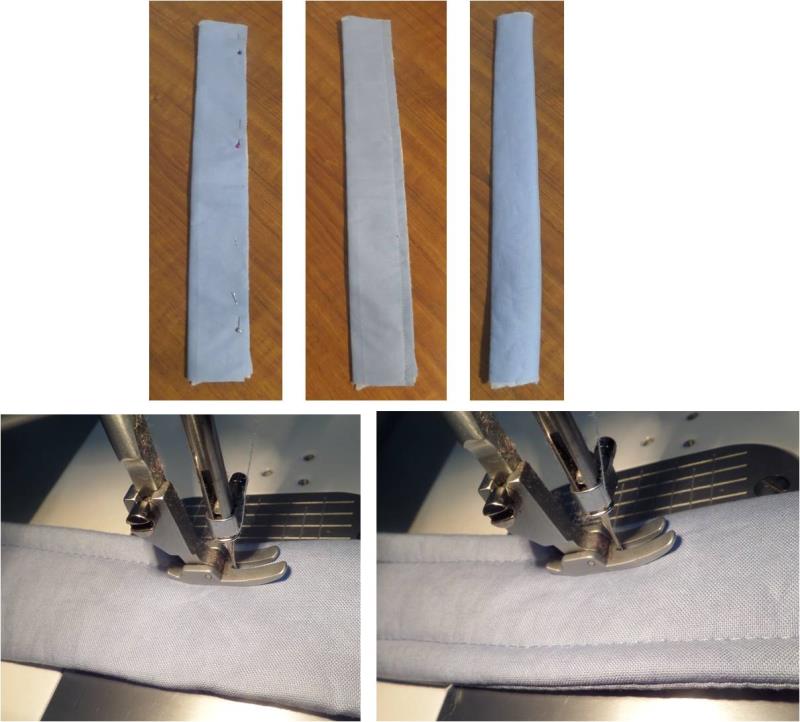
With the long rectangular stripe, fold it in half right sides together and pin down the long edge. Sew this seam, using a 10mm seam allowance. Turn it through so right sides are out. Then using a 10mm seam allowance, topstitch down both sides of the handle.
(Click Image to Enlarge)
Step 12:
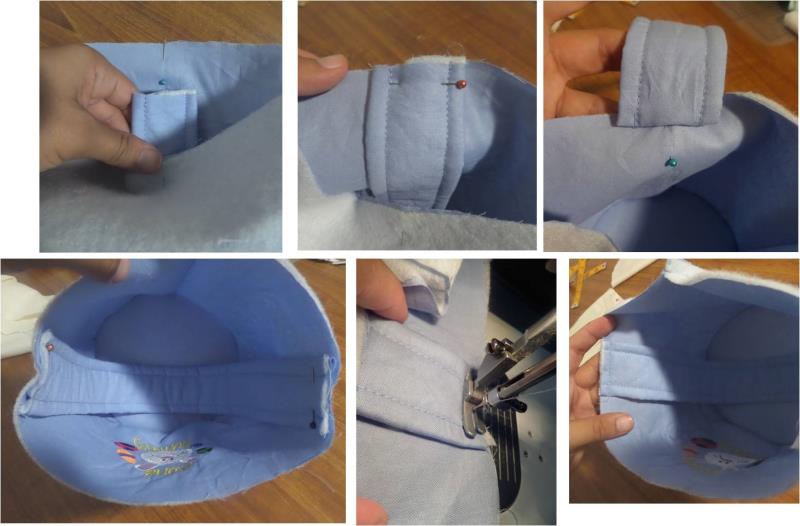
Next you need to attach the handle to the sides of the basket where you placed the pins in step 9. Position the handle so it is centered to the pin, then pin the handle to the basket. Repeat for the other side then stitch it in place
(Click Image to Enlarge)
Step 13:
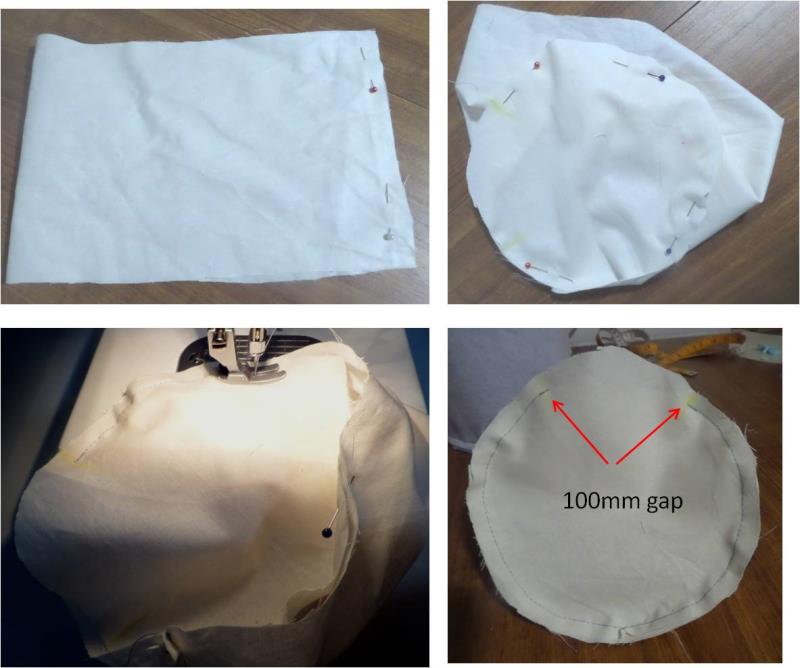
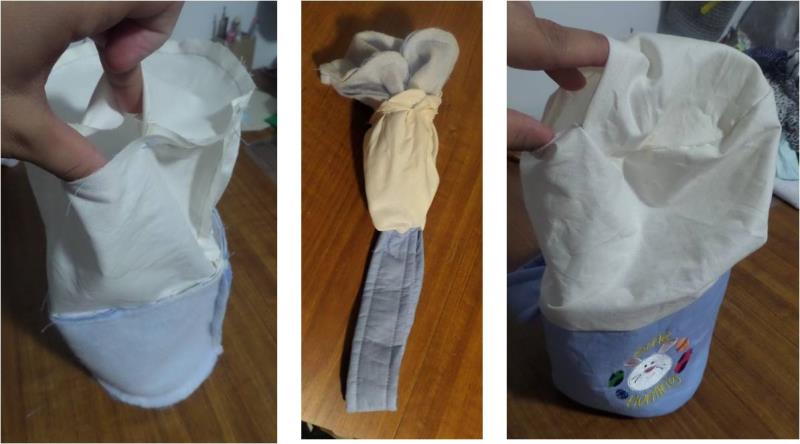
Now for the lining. With right sides facing, pin then sew the short edge of the lining to form a tube. Then pin the circular base to the lining tube and sew around using a 10mm seam allowance but be sure to leave a 100mm gap so that we can turn the basket right side out later.
(Click Image to Enlarge)
Step 14:
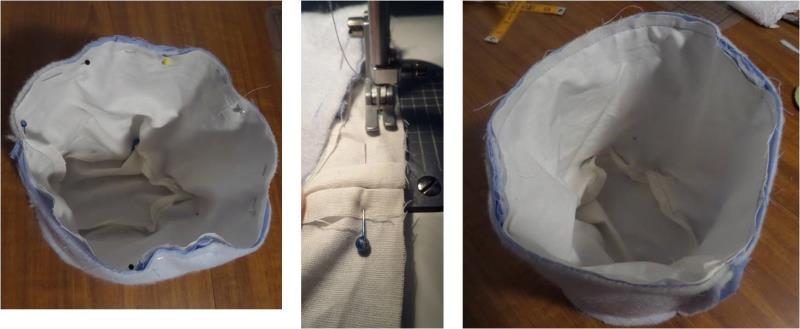
Place your lining inside the main basket with right sides of lining and outer together and pin then sew all the way around.
(Click Image to Enlarge)
Step 15:
Now find the 100mm opening you left in the base of the lining, put your hand in and pull the basket right side out.
(Click Image to Enlarge)
Step 16:
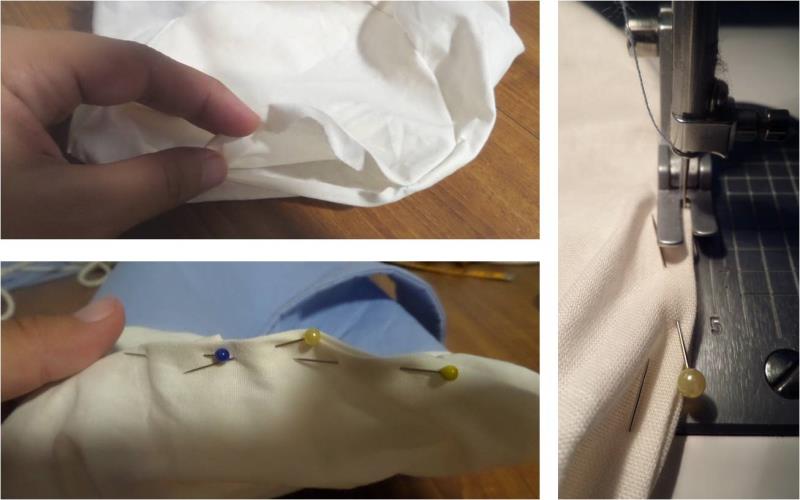
Ensuring you have the 10mm seam allowance turned under, pin the 100mm opening closed and machine stitch it closed.
(Click Image to Enlarge)
Step 17:
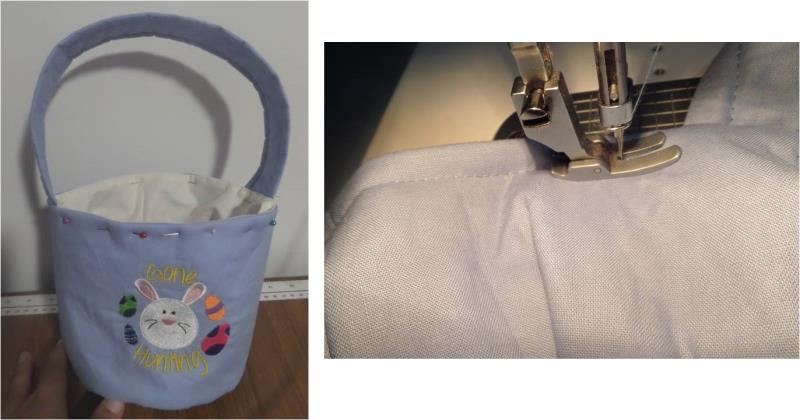
You can now push the lining into the basket and smooth out as best as possible, then pin around the top edge of the basket and top stitch 10mm down from the top
(Click Image to Enlarge)
Step 18:
Happy Easter! Your handmade egg hunt basket is complete. I hope the little kids (and big kids) you make one for enjoy it!