Border OptionsHugging border, circle, square, or rectangle — with a 3mm satin stitch.
Backing OptionsAvailable with iron-on, sew-on, or velcro backing.
Fast ShippingShipped quickly from the USA.
Free Online Tools
Powerful embroidery utilities that save time and prevent costly mistakes.
Stitch AssistantRECOMMENDED
Get the exact stabilizer, machine settings, needle, and thread color sequence for every embroidery design you purchase — based on that design's stitch density, dimensions, and color count.
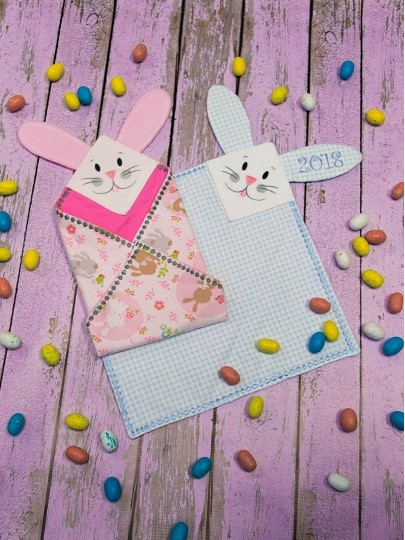
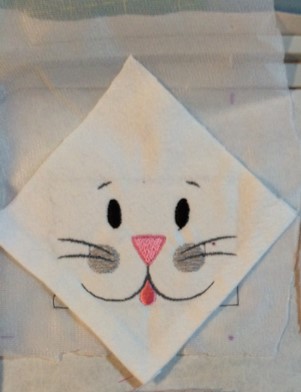
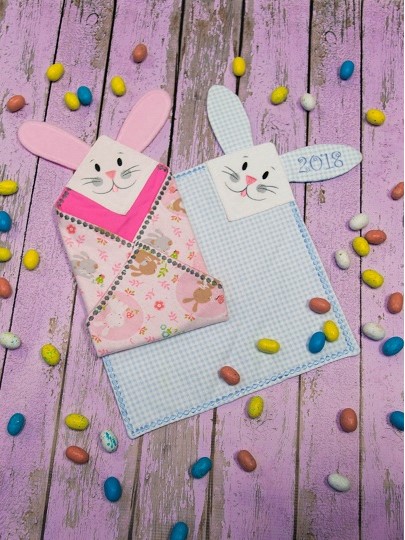
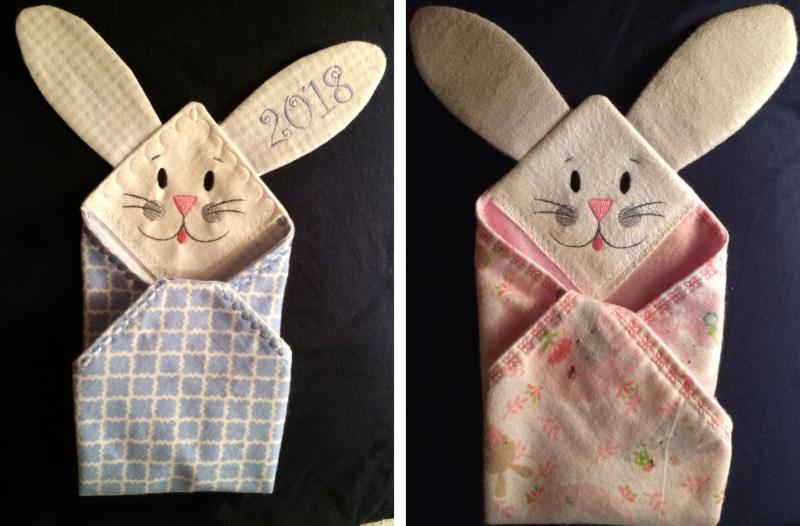
A 12 x 12" Bunny Lovey made of soft, fuzzy fabrics to snuggle and love. Textures from the fabrics soothe and comfort kids. A 4 x 4" or a 5 x 7" hoop works for this project. The Bunny face measures 3.3 x 2.3" with a stitch count of 2239. Personalize by adding their name and year. So quick and easy to make!
Step 1:
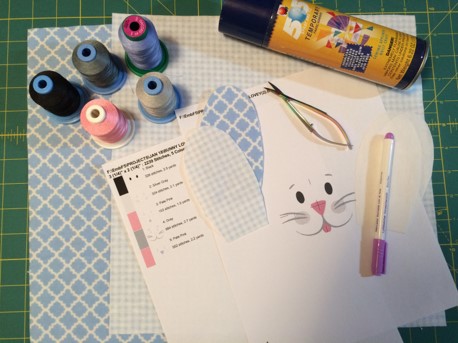
Gather
the materials and read through the instructions before beginning. Print out a
paper template of the design and color sequence.
Step 2:
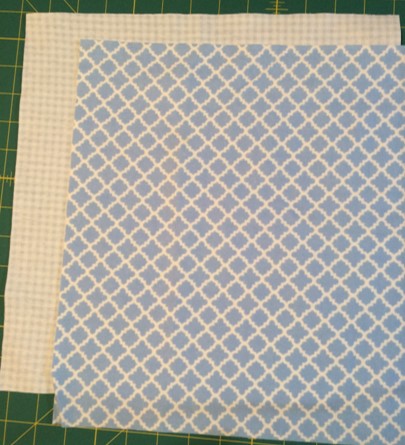
Cut the
two 13” x 13” squares.
Step 3:
Cut the
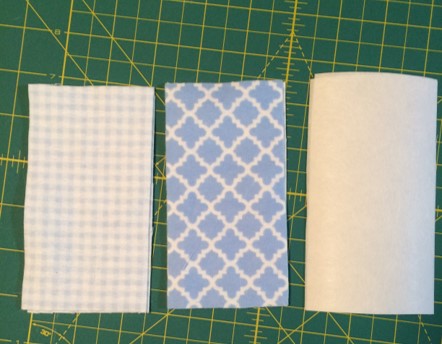
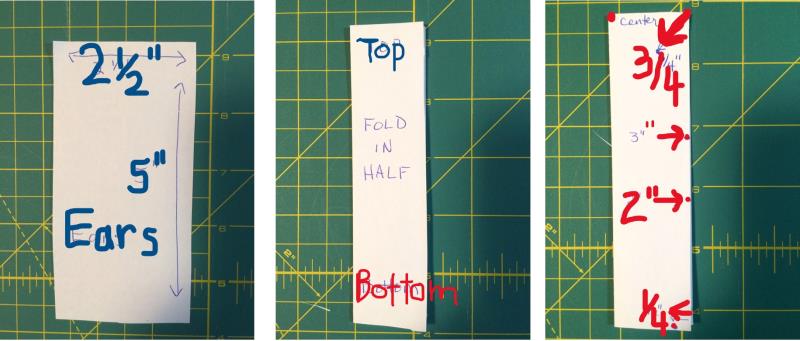
four 2 ½ “x 5” fabric pieces for the ears. (2 from each color)
Cut two 2 1/2 x 5" pieces of cut-away stabilizer.
Step 4:
Cut one 4
½ x 4 ½ “square for the face.
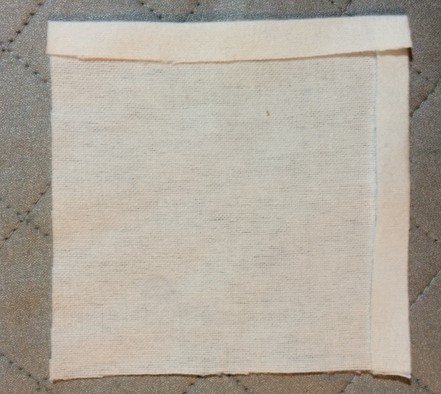
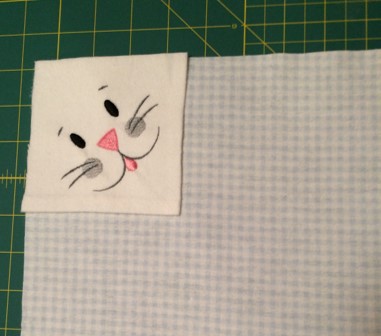
Fold ¼” toward the wrong side on the 4 ½ x 4 ½ pieces for the face on
two adjoining sides.Iron on the fold.
Step 5:
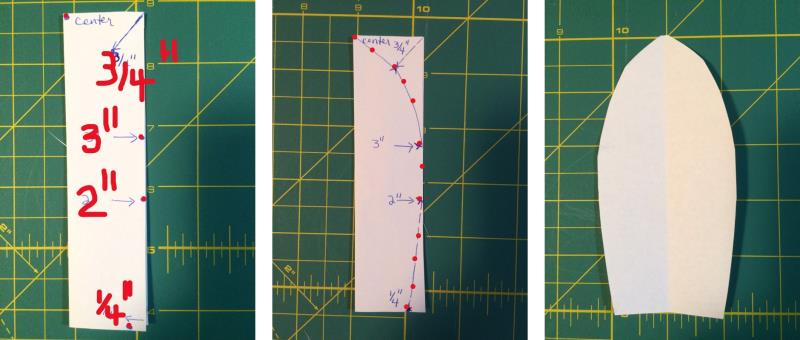
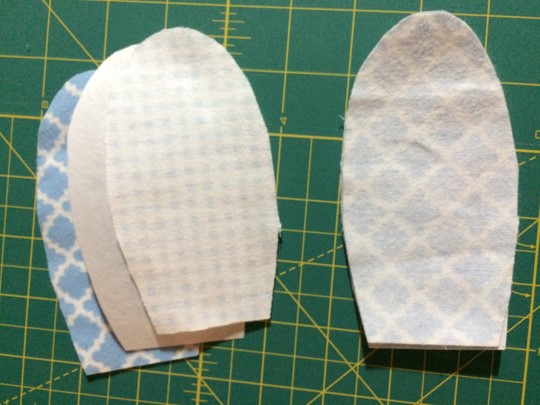
Make a pattern for the ears. Cut one 2½ x 5” piece of paper. Fold paper in half. On the side across from the fold, place a dot ¼” from the bottom right corner. Measure 2” up from the bottom right corner and place another dot. Measure 3” up from the bottom right corner and mark with a dot. Measure ¾” from the top right corner and mark with a dot. Use the dots as a guide to shape the ear for the pattern.
(Click Image to Enlarge)
Step 6:
Cut along the dotted line to finish the pattern for the ears. Use the pattern to cut the ears from the 2 1/2 x 5" fabric and cut-away stabilizer.
(Click Image to Enlarge)
Step 7:
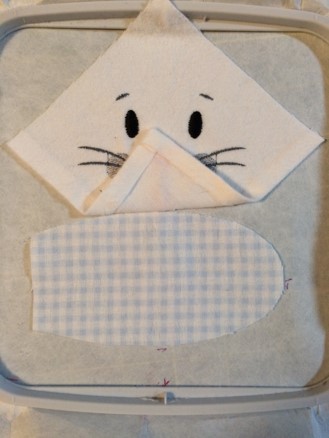
Hoop your frame with cut-away stabilizer. Find the center point in the frame.
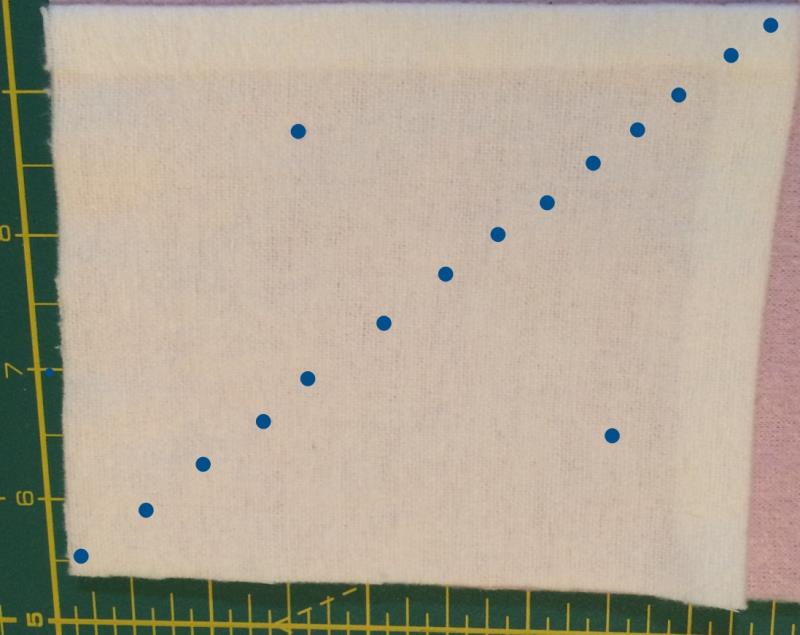
The bunny face will be at a diagonal on the lovey. Make sure your fabric is turned so that the face will embroider at this angle. Use Temporary Spray adhesive to adhere the 4 1/2 x 4 1/2 fabric to the stabilizer.
(Click Image to Enlarge)
Step 8:
(Click Image to Enlarge)
Embroider the face on the 4 ½ x 4 ½ “ square.
Step 9:
(Click Image to Enlarge)
If personalizing, take one piece of the pre-cut ear, hoop using cut-away stabilizer, align to center points, adhere with temporary spray adhesive and embroider BEFORE sewing the ear together. (I was able to put both designs on my 6 x 6" hoop.)
Step 10:
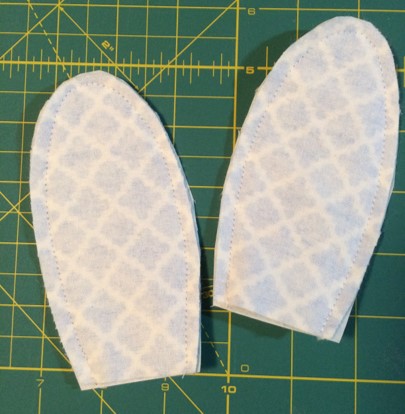
Start with the ears, place right sides of fabric together with 1 piece of cut-away stabilizer. Sew ¼” around the edge of the ears. Leave the bottom open.
(Click Image to Enlarge)
Step 11:
Turn right side out. Iron to crease seams.
Step 12:
(Click Image to Enlarge)
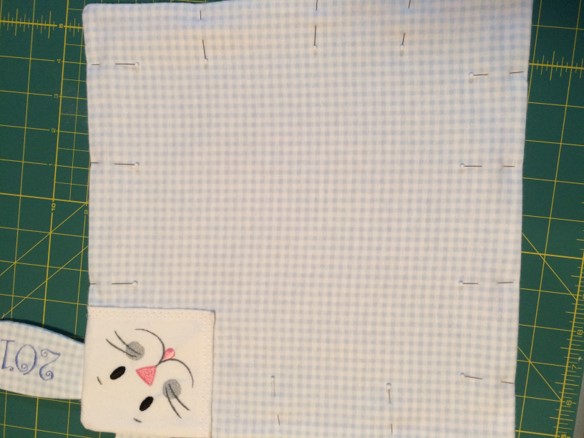
Place the face piece in the upper left corner. Pin in place. Top stitch the folded sides only.
Step 13:
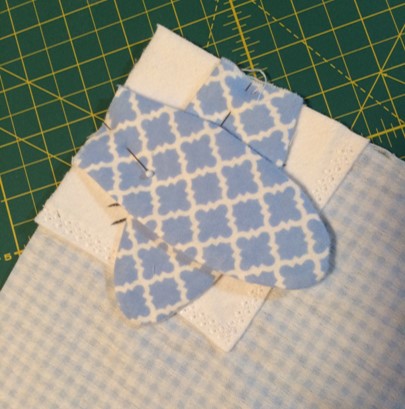
Put the two bunny ears in position on the face close to the eye brows. Flip the ears over toward the face. Ears will overlap.
Step 14:
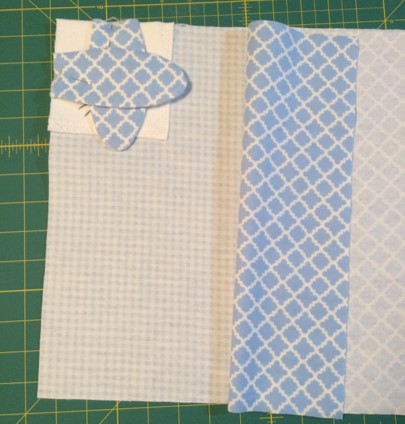
Place the 13” square for the back fabric on top of the fabric with the bunny face with right sides together. Smooth the pieces carefully before pinning.
Step 15:
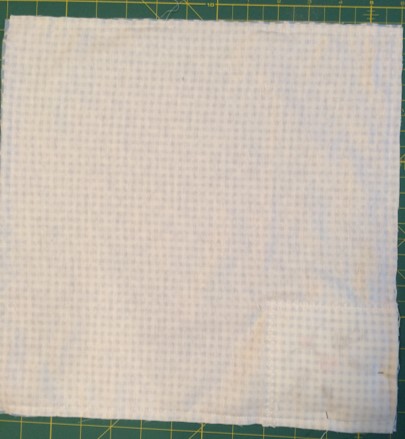
Pin in place. Sew a ¼ “ seam around the edge of the Bunny Lovey. Leave a 3” opening for turning.
Step 16:
Turn the Bunny Lovey right side out. Press the seams. Top stitch around the outer edge of the Bunny Lovey. A decorative stitch was used in the example.
Marisa Littleton is a retired educator with a love for teaching and learning. Interests include machine embroidery, hand embroidery, quilting, cooking, and antiques.