Storybook personalized bookmark

Storybook personalized bookmark Embroidery Project

By   Kylie Burke   on   January 08, 2018
  • SKILL LEVELSome Experience
  • TIME REQUIRED00:40
  • FINISHED SIZE2.68 x 6.14 inches
Description

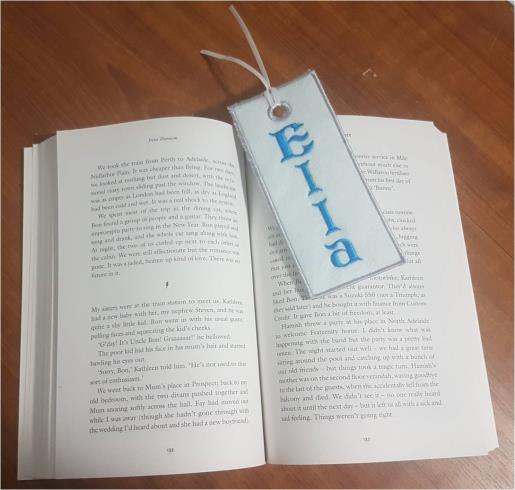
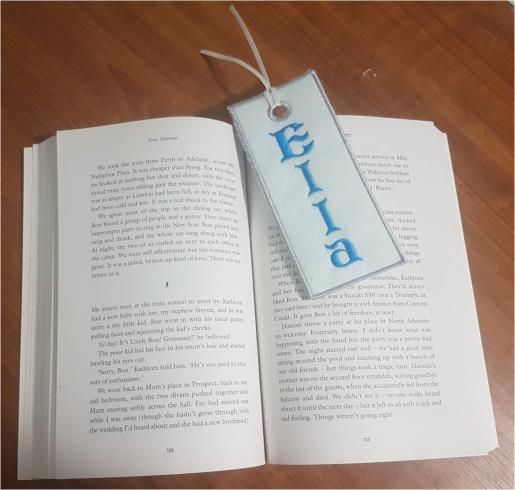
A personalized bookmark with a very fitting font style called Storybook. A quick and easy project, to make for yourself or a loved one and the perfect gift for the person who has it all.

Step of

Materials

Project Preview Video

Materials
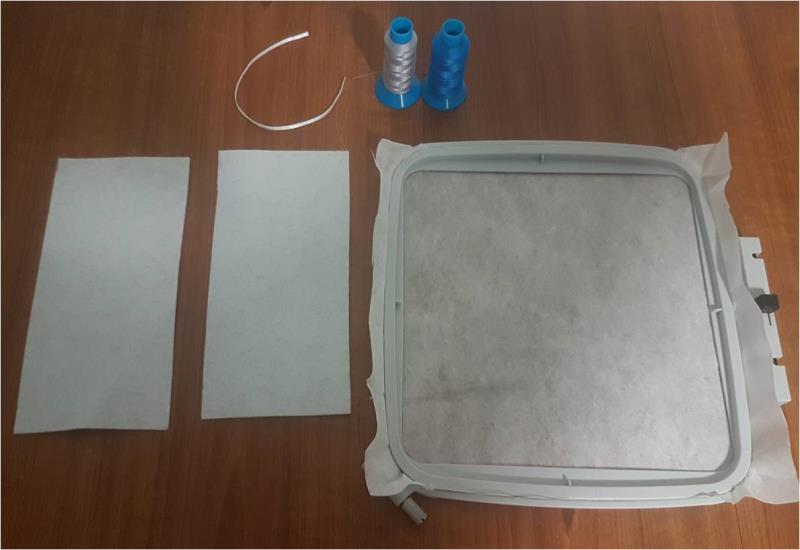
  • Tearaway stabilizer
  • 8” x 8” hoop
  • 2 pieces of 4” x 8” felt
  • 8” of ribbon
  • 3 thread colours of your choice (I have used 2 as I want the same color for the border and keyhole)
  • Embroidery editing program

  • Designs used in this project

    Final Product: What You Will Create

    Preface:
    I have used felt but you could use cotton fabric or even vinyl which would give a lovely finish. You could also attach a tassel instead of ribbon.


    Step 1:
    Gather the materials and read through these instructions before beginning. Have a copy of the color sequence on hand to refer to 

    (Click Image to Enlarge)


    Step 2:
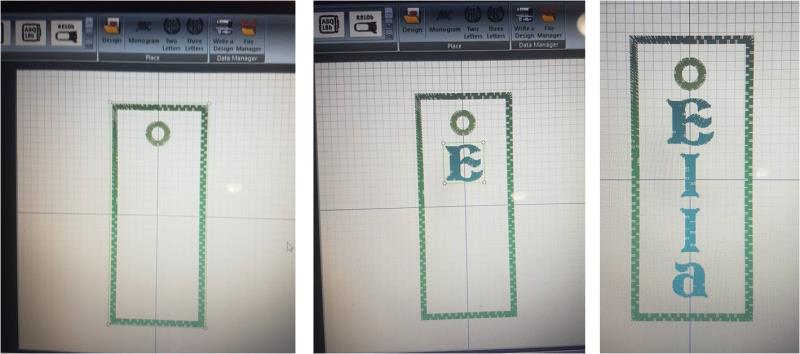
    Open your embroidery editing program. Open the blank bookmark file then insert each letter of the name you wish to add to the bookmark. Ensure you set the stitch sequence so the letters stitch out first, then the bookmark outline. Save the new design file and transfer to your machine or USB stick

    (Click Image to Enlarge)


    Step 3:
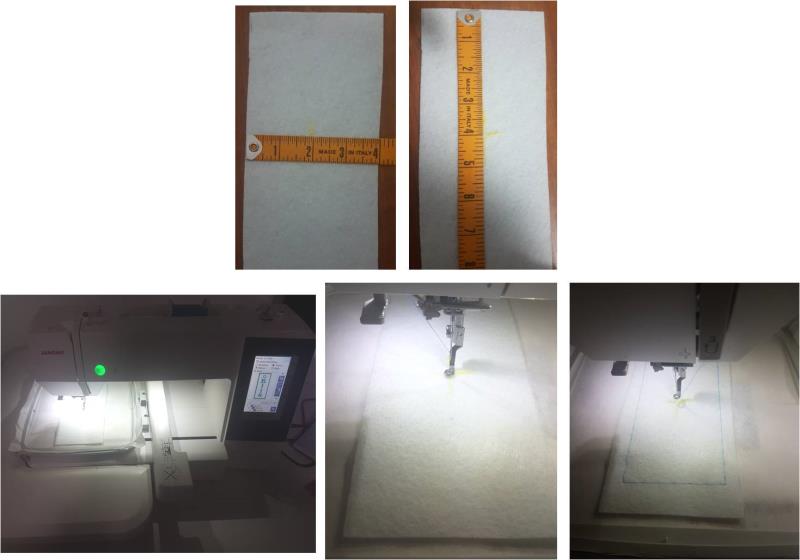
    Hoop your stabilizer, attach the hoop to your machine and load the design. Using tailors chalk, or pins, mark the center of your piece of felt and place this under the foot of the machine, which indicates the center of the design. If you have the option, use the machine basting stitch to hold the piece of felt in place. If you don’t have this option you can hoop a larger piece of felt with the stabilizer or you could tape or pin down the felt.

    (Click Image to Enlarge)


    Step 4:
    (Click Image to Enlarge)
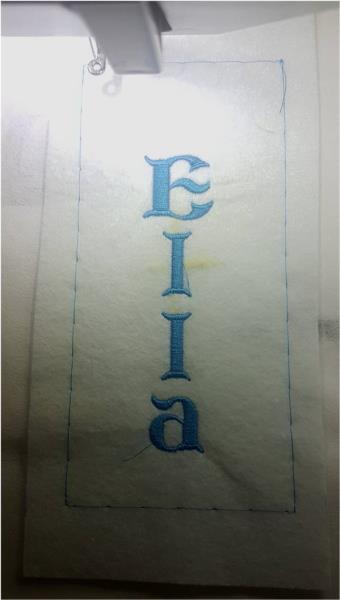
    Stitch out letters in your chosen font color. 


    Step 5:
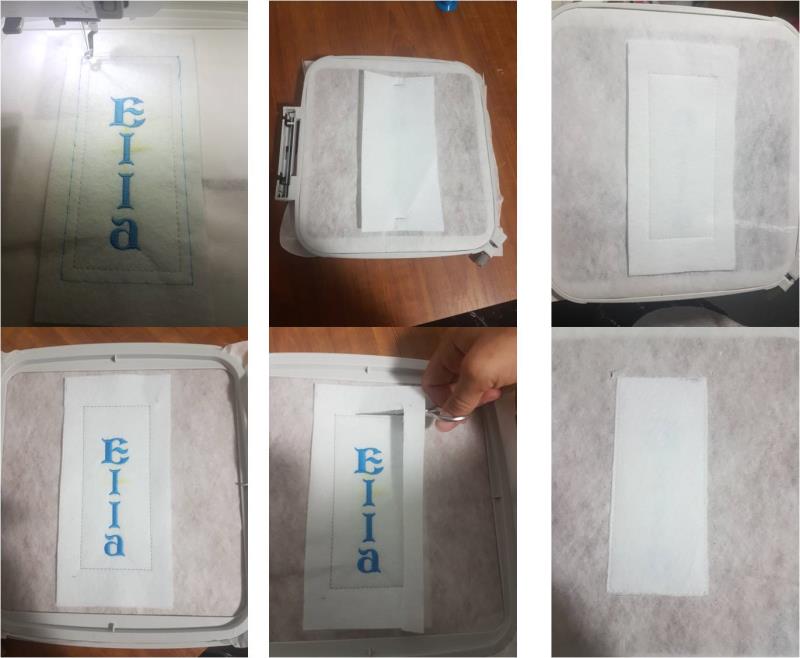
    Change the thread color to your border color choice. NOTE: there are numerous color changes in this design. Color 2 is the placement stitch for the bookmark, color 3 is the tack down stitch then color 4 is the border satin stitch. So these 3 can be stitched in the same color. Stitch color 2, then remove your hoop from the machine and place the second piece of felt onto the back of the hoop, this will become the backing of the bookmark. Pin or tape it in place, reattach the hoop to the machine and stitch color 3 which will hold the backing piece in place. Now remove the hoop from the machine, if you did the basting stitch unpick that, and carefully cut away the excess felt around the bookmark as close as possible to the tack down stitch which just finished, be careful not to cut the stitch line. Repeat this for the back also.

    (Click Image to Enlarge)


    Step 6:
    (Click Image to Enlarge)
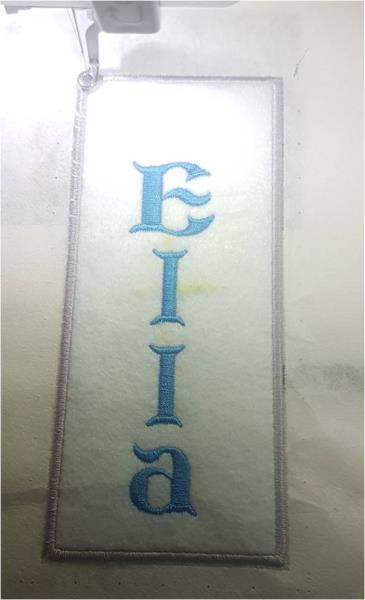
    Then stitch color 4, which is the satin stitch to finish the edge


    Step 7:
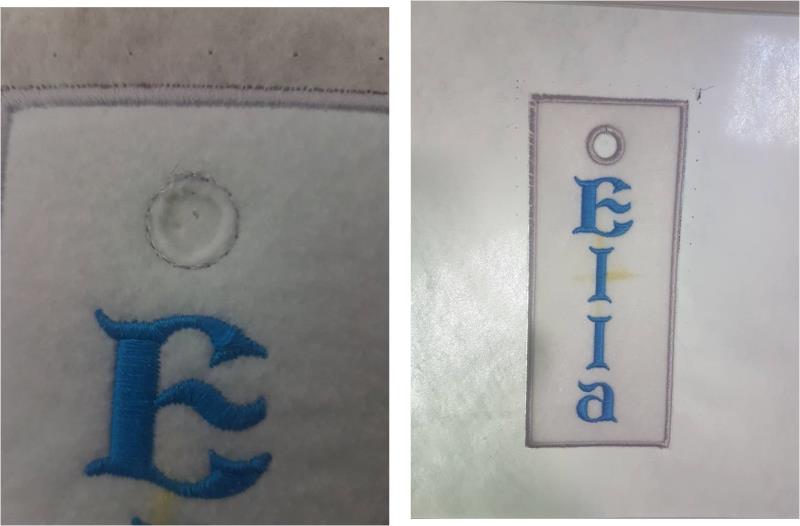
    If you wish to have the keyhole in a different color, change your thread color now. Stitch colors 5 & 6 then remove the hoop and carefully cut away the felt from inside the keyhole on the front and back, try not to cut the stabilizer. Stitch color 7

    (Click Image to Enlarge)


    Step 8:
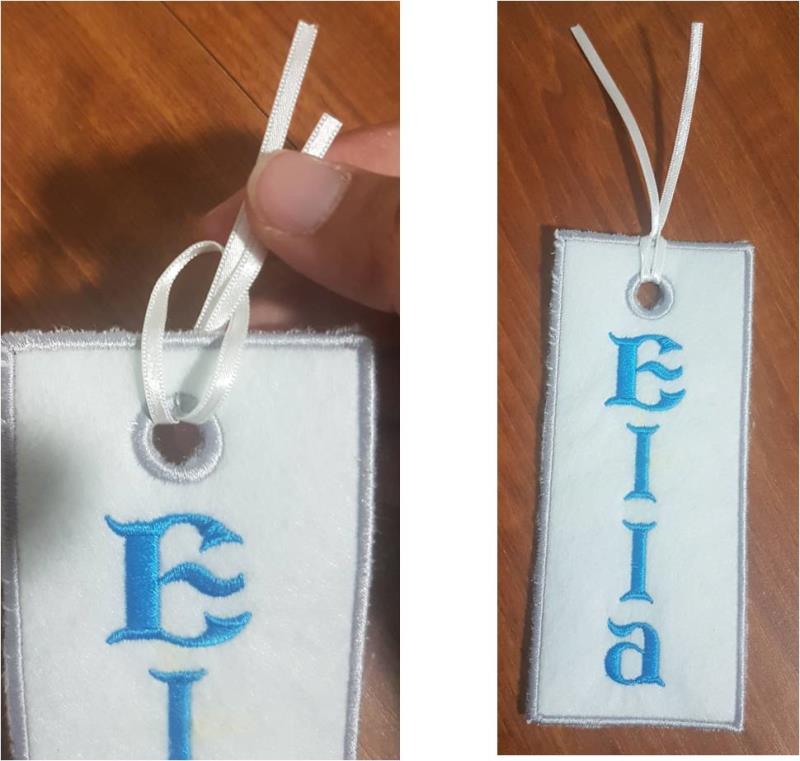
    Un-hoop your design, tear away the stabilizer, trim any loose threads and gently brush away the chalk markings then loop the ribbon through the keyhole or attach a tassel if you prefer

    (Click Image to Enlarge)


    Step 9:
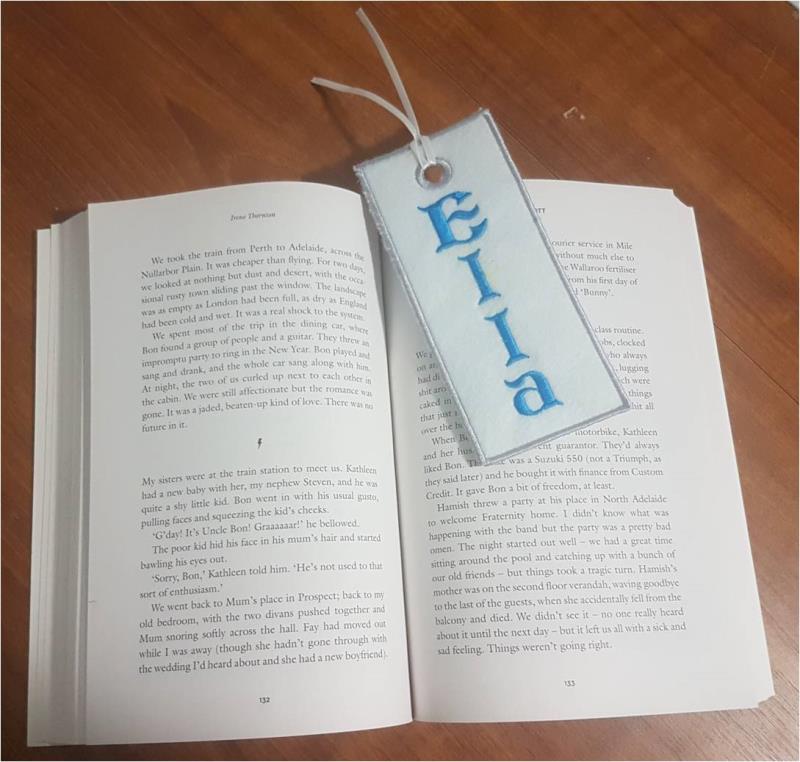
    VIOLA! Your Storybook personalized bookmark is complete! Enjoy 

    (Click Image to Enlarge)

    Meet the Author: Kylie Burke
    Kylie Burke
    Kylie is based in Australia and loves creating and sharing her unique pieces.
    More From This Author
    Link is Broken, Please check the URL
    Exclusive Embroidery Offers!
    Copyright © {{ currentDate | date:'yyyy'}} - EmbroideryDesigns.com
    GET 50% OFF! ×