Border OptionsHugging border, circle, square, or rectangle — with a 3mm satin stitch.
Backing OptionsAvailable with iron-on, sew-on, or velcro backing.
Fast ShippingShipped quickly from the USA.
Free Online Tools
Powerful embroidery utilities that save time and prevent costly mistakes.
Stitch AssistantRECOMMENDED
Get the exact stabilizer, machine settings, needle, and thread color sequence for every embroidery design you purchase — based on that design's stitch density, dimensions, and color count.
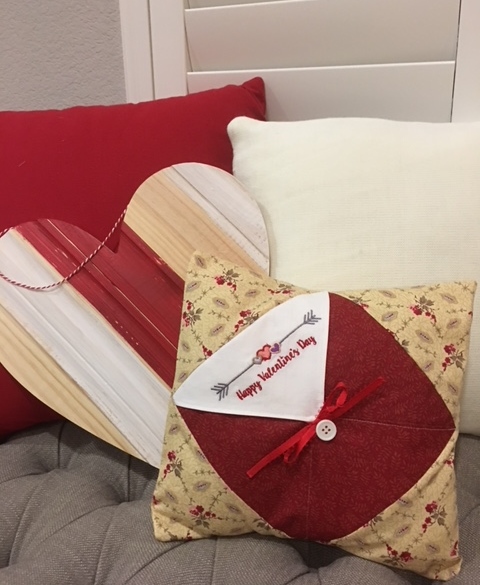
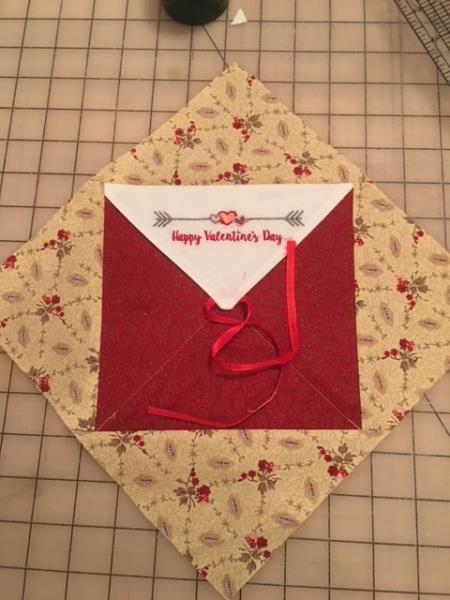
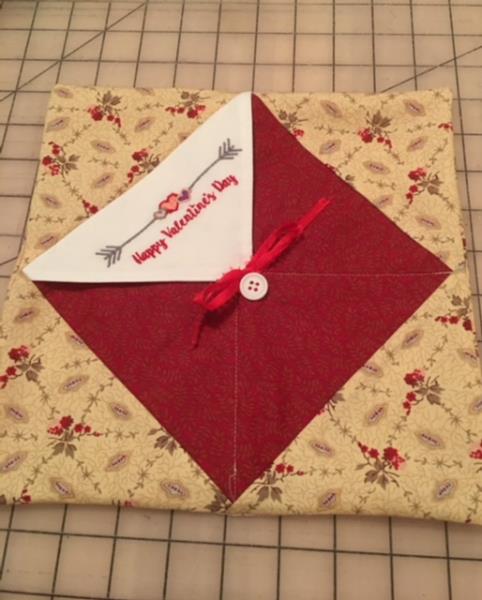
This charming Valentine Envelope Pillow Cover is perfect for capturing personal messages, gift cards, or special mail for your favorite Valentine. Its envelope design adds a romantic touch to any room. Step-by-step instructions are included.
A simple and easy to make Valentine Letter Envelope Pillow Cover. Surprise a friend or your favorite Valentine with a "handmade envelope" to tuck away a special note or gift. Use other fabrics for birthdays, baby showers, or for any occasions. Or just make the letter envelope block and incorporate into a quilt with a special message for the recipient.
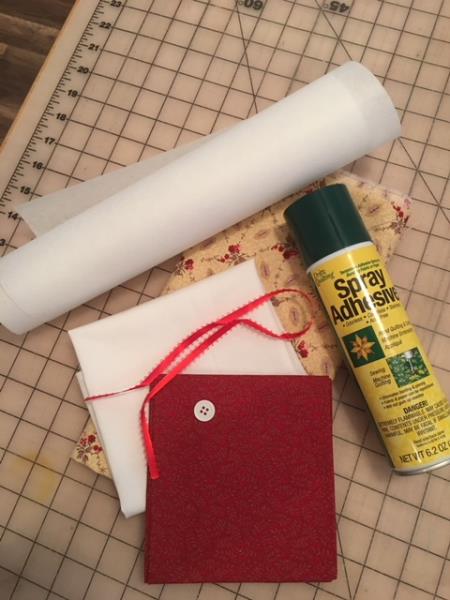
Step 1:
Gather the materials and read through the instructions before beginning.
(Click Image to Enlarge)
Step 2:
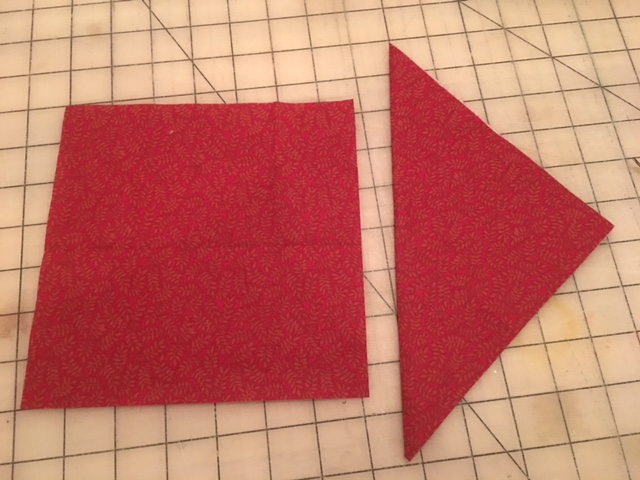
Cut the following from the fabrics you chose:
Cut two (2) 7" squares out of envelope fabric
Cut one (1) 6" square out of envelope flap fabric
Cut two (2) 6" squares out of pillow fabric
Cut (1) 8" x 10" back pillow fabric
Cut (1) 6" x 10" back pillow fabric
Then with your 6" square flap fabric cut in half diagonally for two triangles. You will be embroidering design on one of the triangles in the next step.
Step 3:
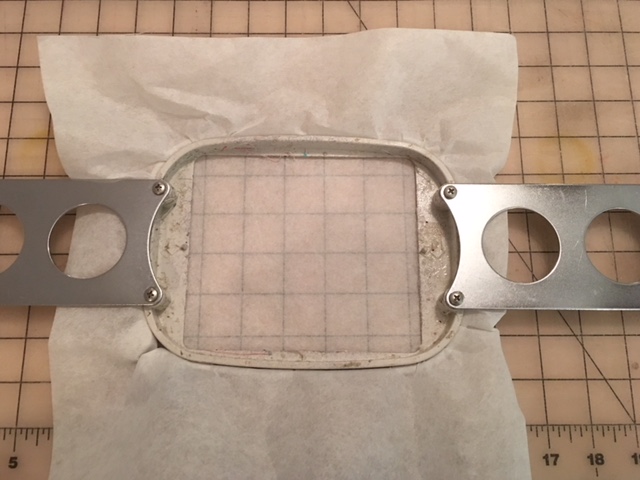
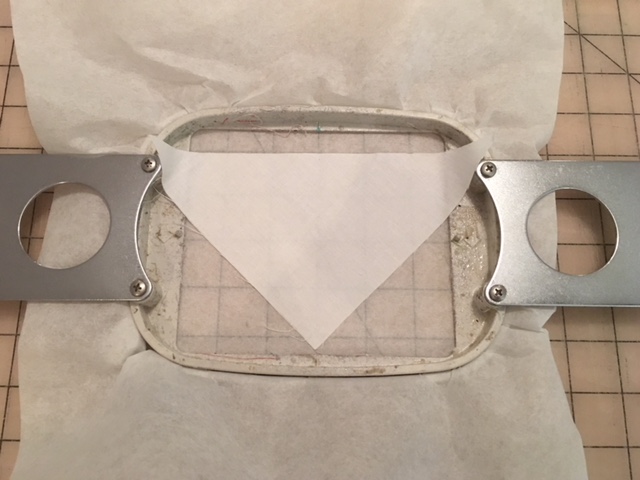
Hoop tear away stabilizer
(Click Image to Enlarge)
Step 4:
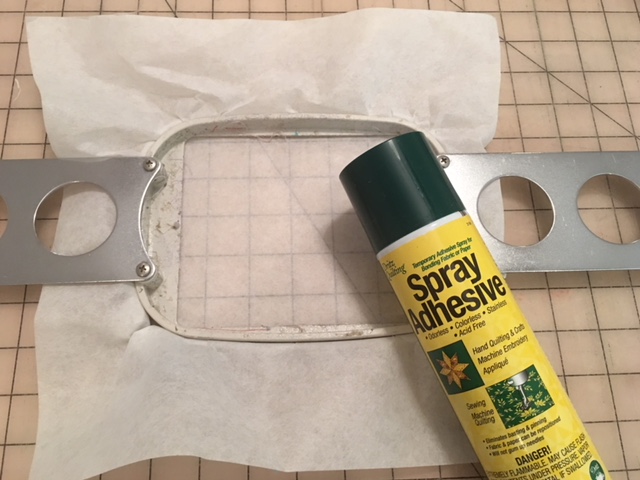
Spray temporary adhesive spray onto stabilizer
(Click Image to Enlarge)
Step 5:
Center envelope flap triangle fabric onto stabilizer and press down to temporarily secure in place.
(Click Image to Enlarge)
Step 6:
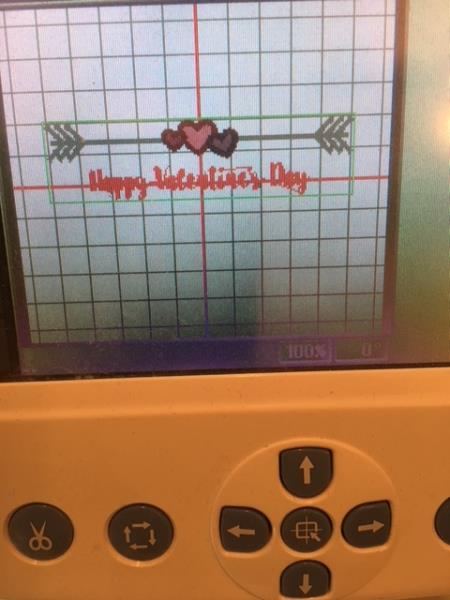
Attach hoop to your machine, then edit your design per your machines instructions, to bring design up above center line .
(Click Image to Enlarge)
Step 7:
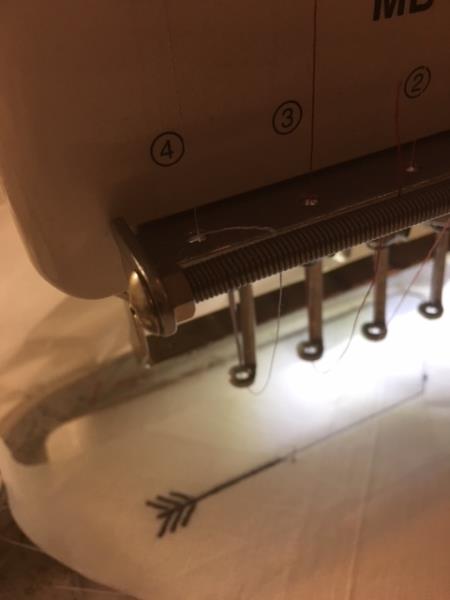
Design will take approximately 10 -15 minutes with thread changes.
(Click Image to Enlarge)
Step 8:
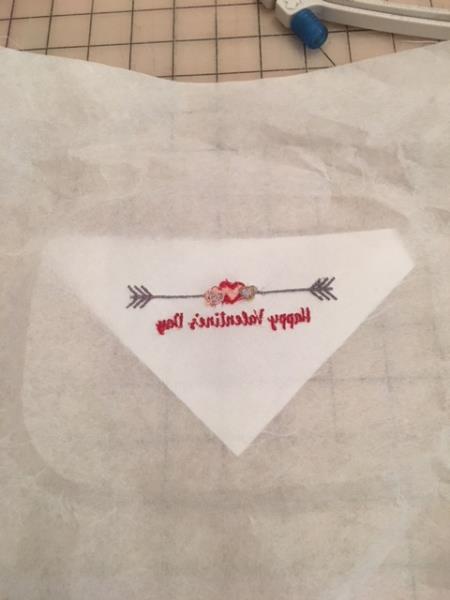
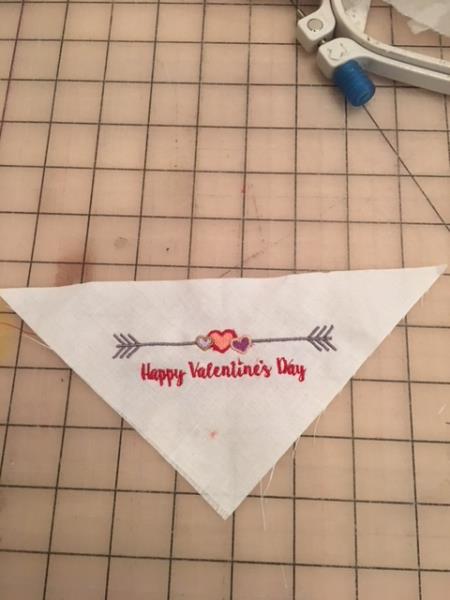
Embroidery design now complete. " Clean" by cutting jump stitches.
Step 9:
Tear away stabilizer from back of envelope flap
(Click Image to Enlarge)
Step 10:
Completed design on flap
(Click Image to Enlarge)
Step 11:
To construct the pillow block...
Envelope Body
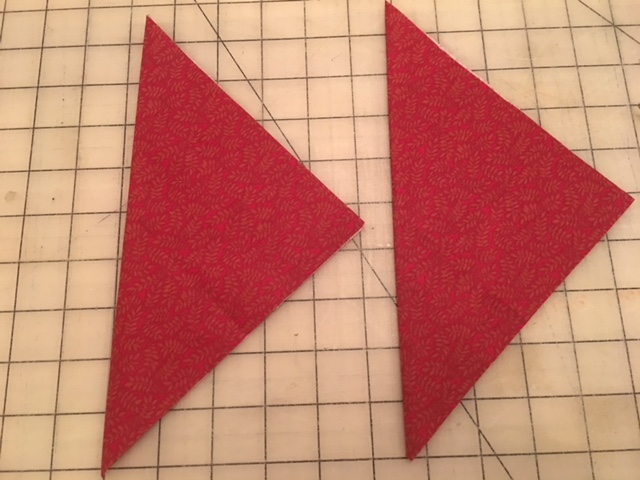
Take your two (2) 7" fabric squares. Fold in half diagonally to make two triangles. Press on fold.
(Click Image to Enlarge)
Step 12:
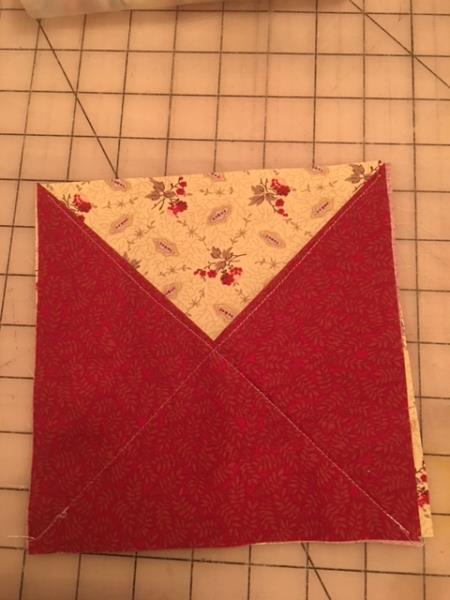
You will now have two triangles that look like this.
(Click Image to Enlarge)
Step 13:
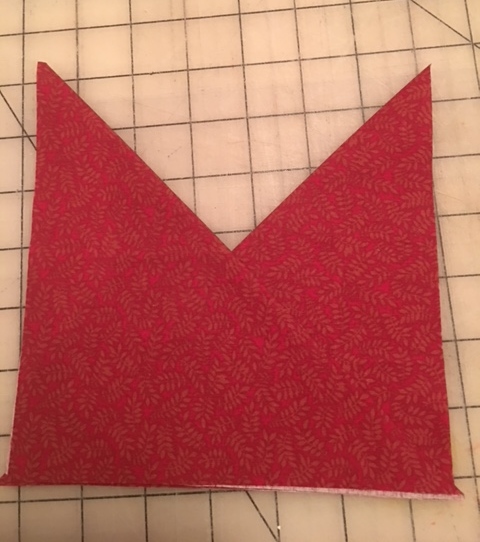
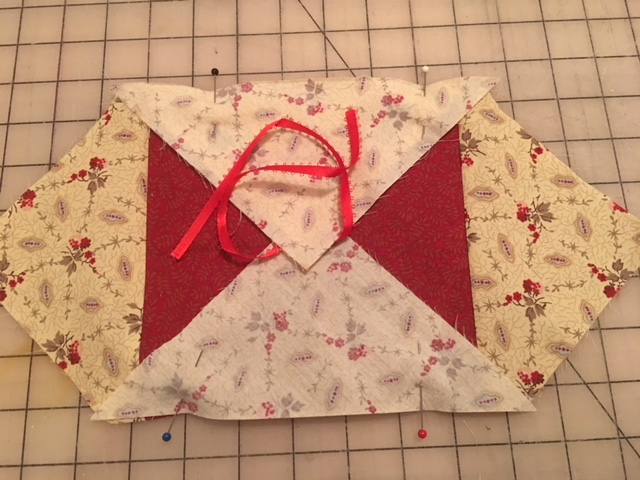
Take the two triangles and overlap as shown.
(Click Image to Enlarge)
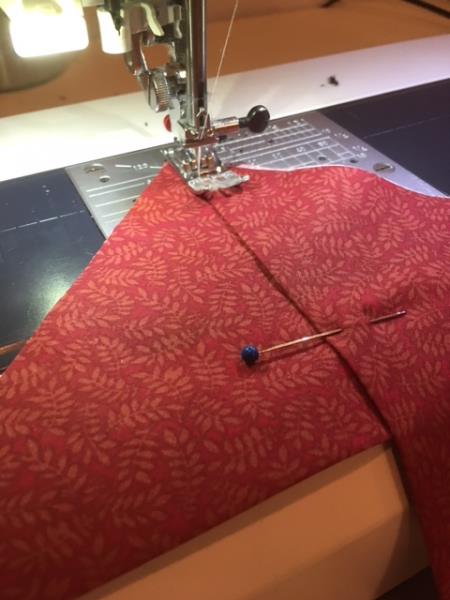
Step 14:
Pin in place and top-stitch along the folds. Stitch one fold, then turnover to stitch other fold.
(Click Image to Enlarge)
Step 15:
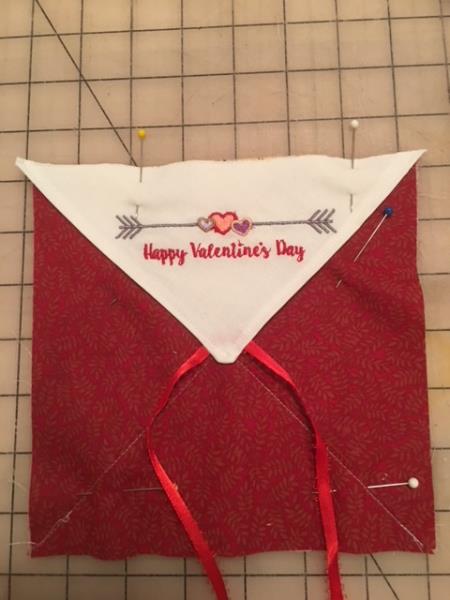
Place the top-stitched triangles on the 7" squared lining fabric. Pin in place. ( optional: baste the sides and bottom)
(Click Image to Enlarge)
Step 16:
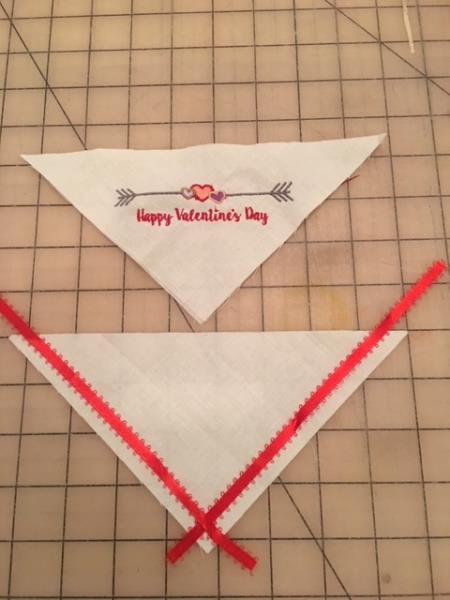
Envelope Flap:
Cut two pieces of ribbon 8" long.
Using your embroidered flap fabric and the other half triangle that was cut from this same fabric. Position each ribbon about 1/2" from cover of fabric triangle.
(Click Image to Enlarge)
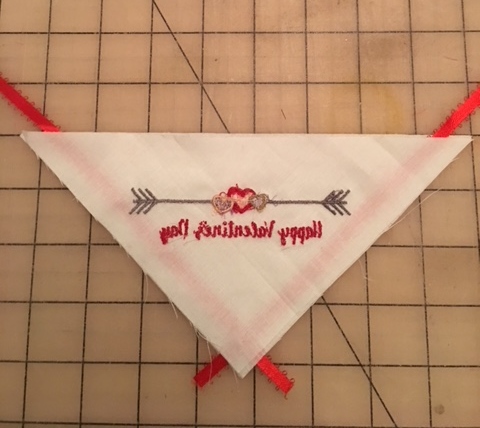
Step 17:
Place the embroidered triangle on top, right sides together. Sew a 1/4"seam on the two short sides, catching the short ends of the ribbons. Be careful not the catch the ends of the ribbon. Trim top corner point and turn right side out. Press and top-stitch along the two sewn edges.
Step 18:
Center flap on envelope and pin/baste in place on top.
(Click Image to Enlarge)
Step 19:
Pillow Top Completion:
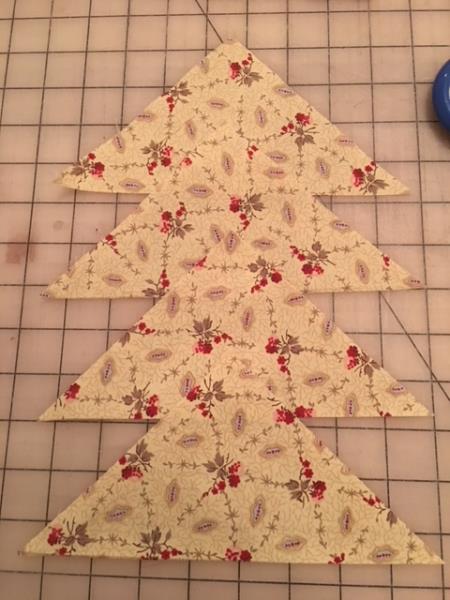
Using your two 6" squares pillow fabric. Cut in half diagonally. You will now have four triangles
(Click Image to Enlarge)
Step 20:
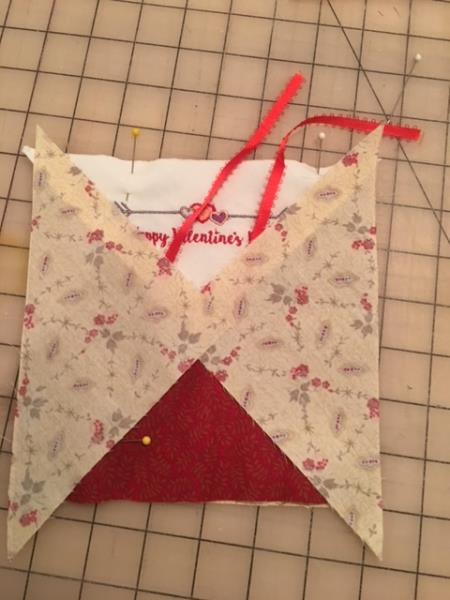
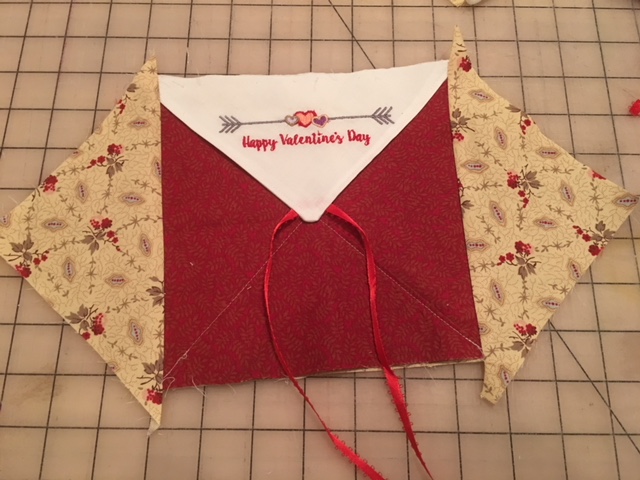
Take two of the triangles and sew to the sides, using a 1/4" seam allowance.
(Click Image to Enlarge)
Step 21:
Press both sides out. Trim overlapping points.
(Click Image to Enlarge)
Step 22:
Take the last two triangles and repeat for top and bottom.
(Click Image to Enlarge)
Step 23:
Trim to square 10" block
(Click Image to Enlarge)
Step 24:
Completion of Pillow Back:
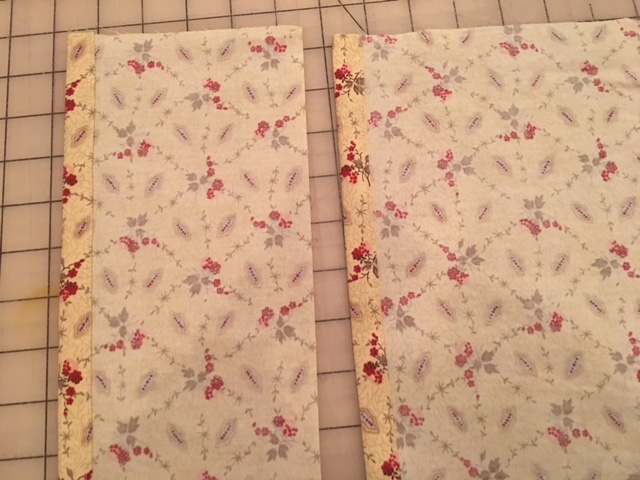
Take your 6" x 10" and your 8 x 10" back pillow fabric. Fold down 1/2" and fold down again. Top- stitch both folded edges.
(Click Image to Enlarge)
Step 25:
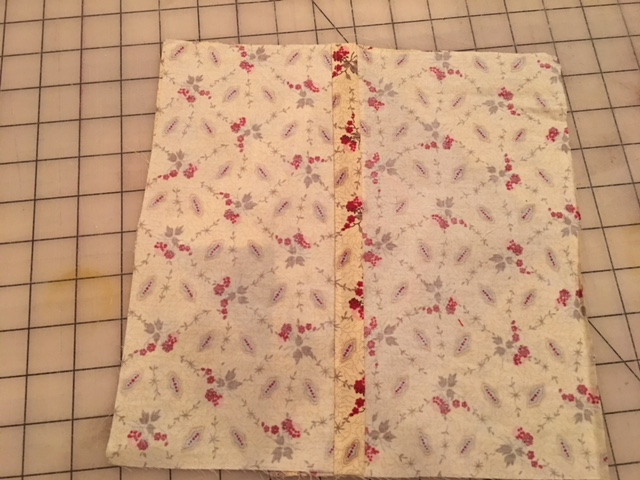
Place the envelope backs, right sides together, onto envelope block. Placing the largest pillow back fabric first then the smaller one. Pin/Baste . Stitch in place using 1/4" seam allowance on all sides.
(Click Image to Enlarge)
Step 26:
Turn right side out. Sew button below opening to allow envelope to be tied/closed.
Congratulations! Your Valentine Letter Envelope Pillow Cover is now complete and ready for you to tuck away that special message or gift!