{{superHeaderAds.title}}
Live Chat
Embroidery Designs
Welcome, Embroiderer
Login
Blanket Shawl
{{mainImageAlt || (productInfo._source && productInfo._source.name) || ''}}

Blanket Shawl Embroidery Project

By   Martha Montgomery   on   January 08, 2018

PROJECT DETAILS

SKILL LEVEL
Beginner
TIME REQUIRED
01:00
Description

Personalize a warm blanket shawl with a floral design or monogram in a coordinating or contrasting color.

Project Preview Video

Materials
  • Blanket shawl
  • Tear Away Stabilizer
  • Water Soluble Stabilizer
  • Embroidery Thread
  • Temporary Embroidery Spray Adhesive
  • Temporary Embroidery Tape (optional)

  • Designs used in this project

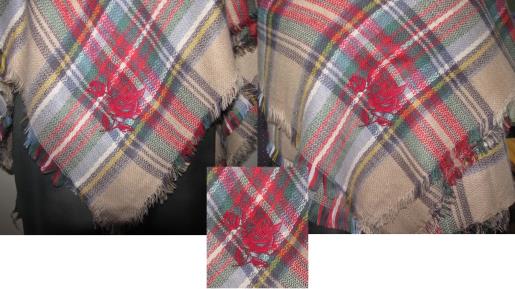
    Final Product: What You Will Create

    Preface:
    A blanket shawl can be personalized using a monogram or floral design. The design used in this project had a low stitch count, so it worked well with the blanket shawl.


    Step 1:
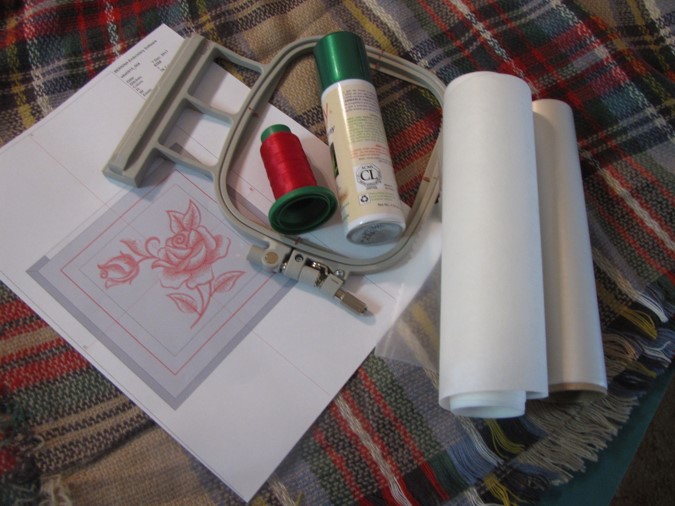
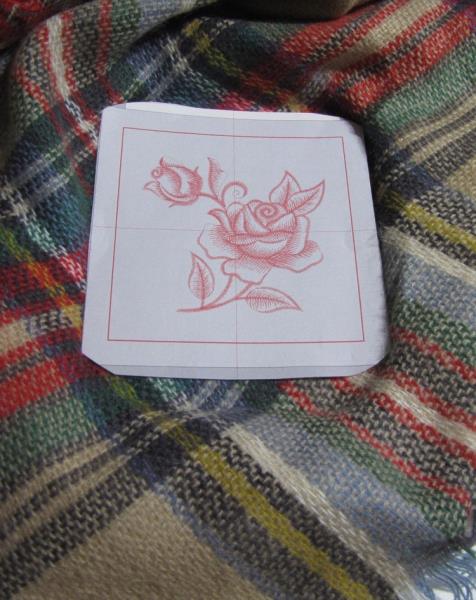
    Gather the materials and read through the instructions before beginning. Print out a paper template of the design and color sequence.

    (Click Image to Enlarge)


    Step 2:
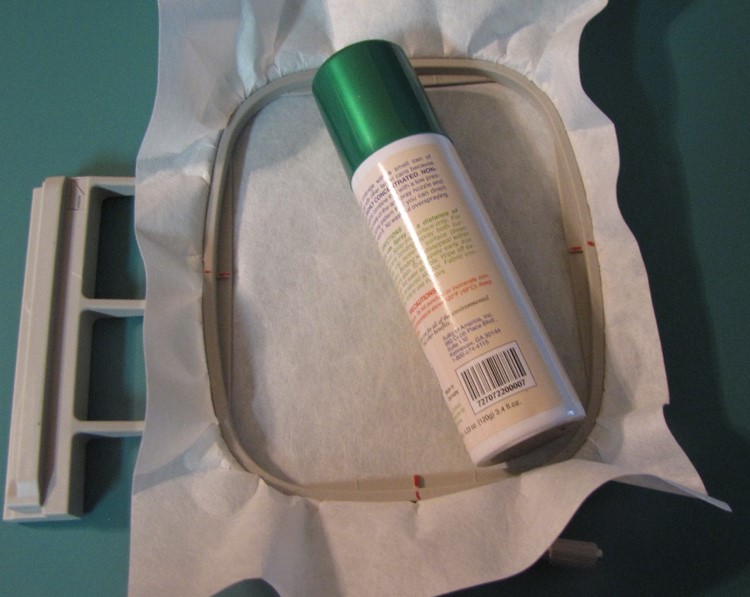
    Hoop your stabilizer and spray it with the temporary embroidery spray adhesive, following manufacturer’s instructions.

    (Click Image to Enlarge)


    Step 3:
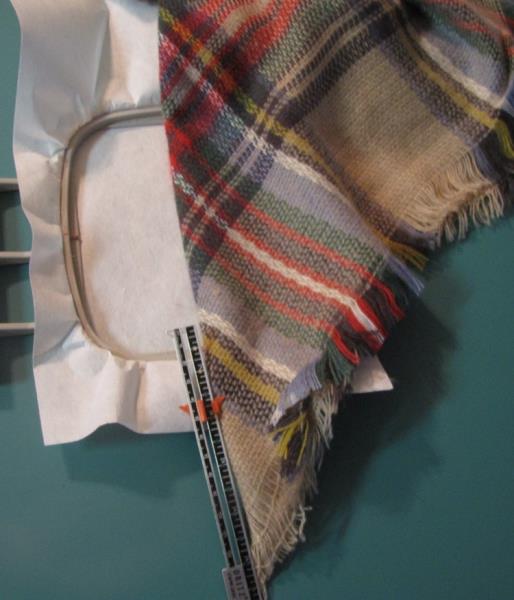
    Fold the scarf in half diagonally and position it on the hooped stabilizer, approximately 5” from the tip of the folded corner of the scarf, aligning the fold with the vertical center markings on the hoop.

    (Click Image to Enlarge)


    Step 4:
    Open the scarf and smooth it on the stabilizer, sticking it to the stick surface created by the temporary embroidery adhesive spray. Center the design template on the hooped scarf.

    (Click Image to Enlarge)


    Step 5:
    Put the hooped scarf on the machine, making sure that the center is aligned with the center of the template. Remove your template from the scarf before you begin sewing.

    (Click Image to Enlarge)


    Step 6:
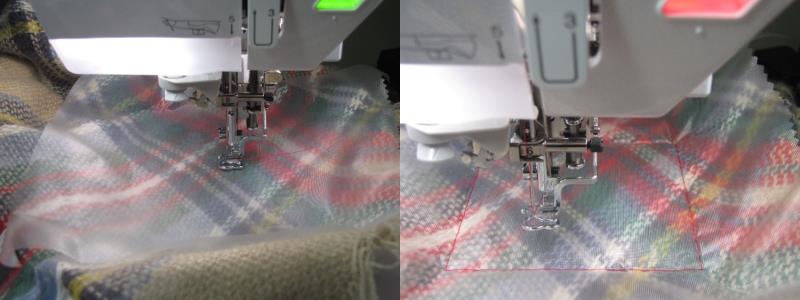
    Place your water soluble stabilizer on top of your project after the hooped project has been placed on the machine and the placement confirmed as in Step 5 above. If you have a basting stitch on your embroidery machine, you may want to use this now. If you do not, you may simply tape the water soluble stabilizer down with any temporary embroidery tape, following manufacturer’s instructions.

    (Click Image to Enlarge)


    Step 7:
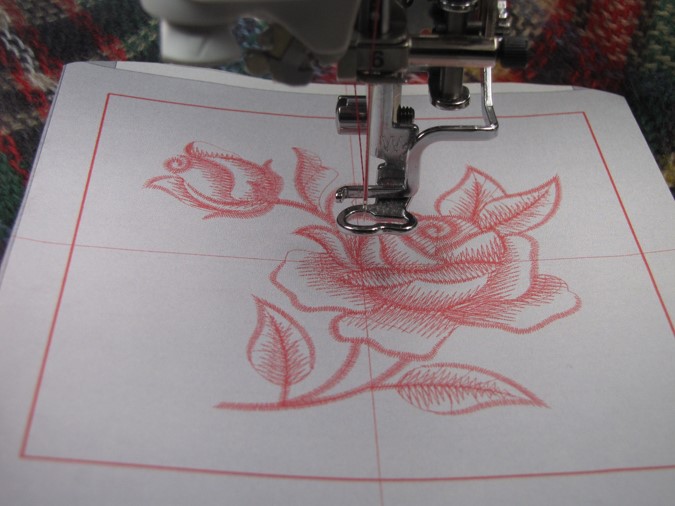
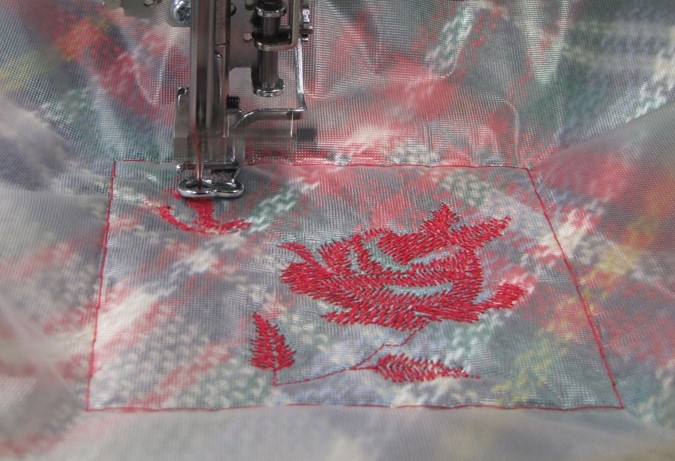
    Stitch your design following the color sequence. When stitching is completed, remove the stitched project from the machine.

    (Click Image to Enlarge)


    Step 8:
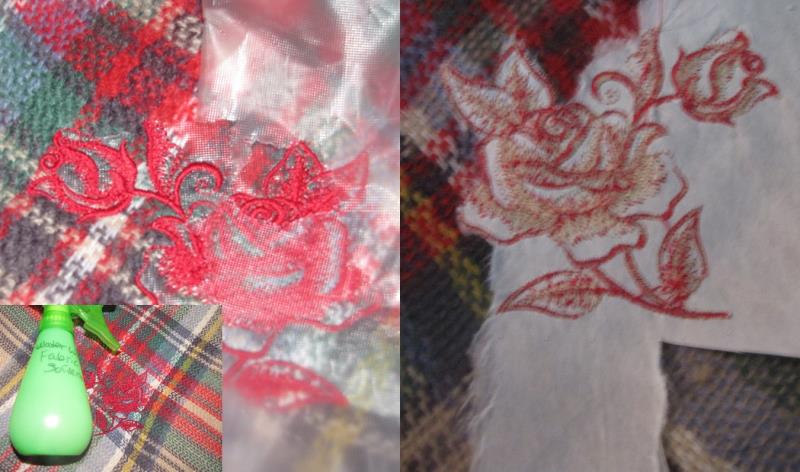
    Remove the scarf from the hoop and carefully remove the water soluble stabilizer from the top of the scarf. Turn the scarf over and carefully remove the tear away stabilize from the back.
     
     Tip: If there is water soluble stabilizer that is hard to remove, you can lightly spray it with a mist of water and then blot it with a dry paper towel. I add a few drops of fabric softener to the spray bottle of water since we have very hard water; this helps remove the stabilizer better.


    (Click Image to Enlarge)


    Step 9:
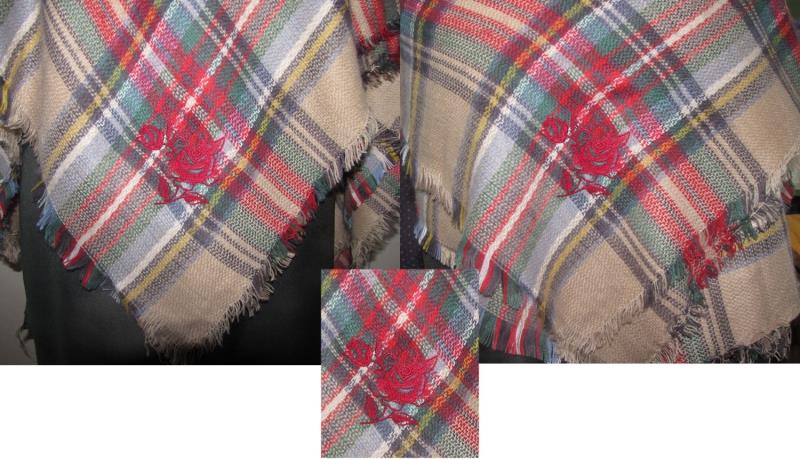
    Well done! You are now ready to enjoy your blanket shawl to keep away that chill. You can experiment with wrapping the shawl different ways to show off the embroidery.

    (Click Image to Enlarge)

    Meet the Author: Martha Montgomery
    Martha Montgomery
    Martha has been sewing since childhood. She is a maker of garments, quilter and machine embroiderer. Martha loves all things fabric and fabric-related.
    More From This Author
    Link is Broken, Please check the URL
    Exclusive Embroidery Offers!
    Copyright © {{ currentDate | date:'yyyy'}} - EmbroideryDesigns.com
    GET 50% OFF! ×