Border OptionsHugging border, circle, square, or rectangle — with a 3mm satin stitch.
Backing OptionsAvailable with iron-on, sew-on, or velcro backing.
Fast ShippingShipped quickly from the USA.
Free Online Tools
Powerful embroidery utilities that save time and prevent costly mistakes.
Stitch AssistantRECOMMENDED
Get the exact stabilizer, machine settings, needle, and thread color sequence for every embroidery design you purchase — based on that design's stitch density, dimensions, and color count.
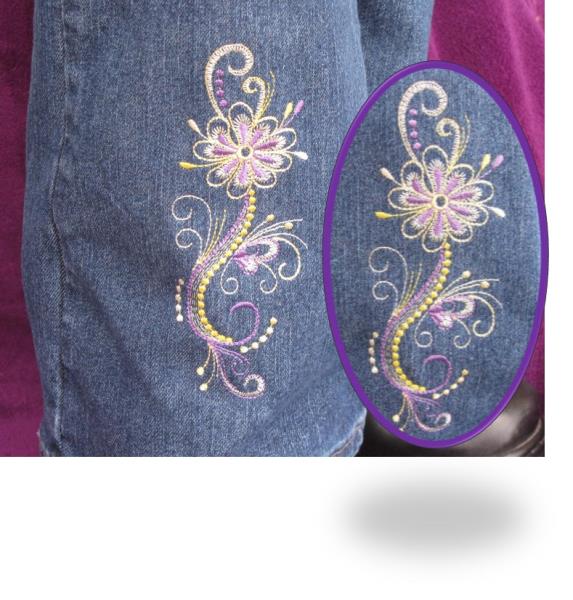
Embroidered blue jeans are popular and it is fun and easy to make your own! This is a great project for a pair of jeans you already have or you can upcycle a pair from a local thrift store. This project requires straight seam sewing and a zig-zag stitch as well as embroidery.
Step 1:
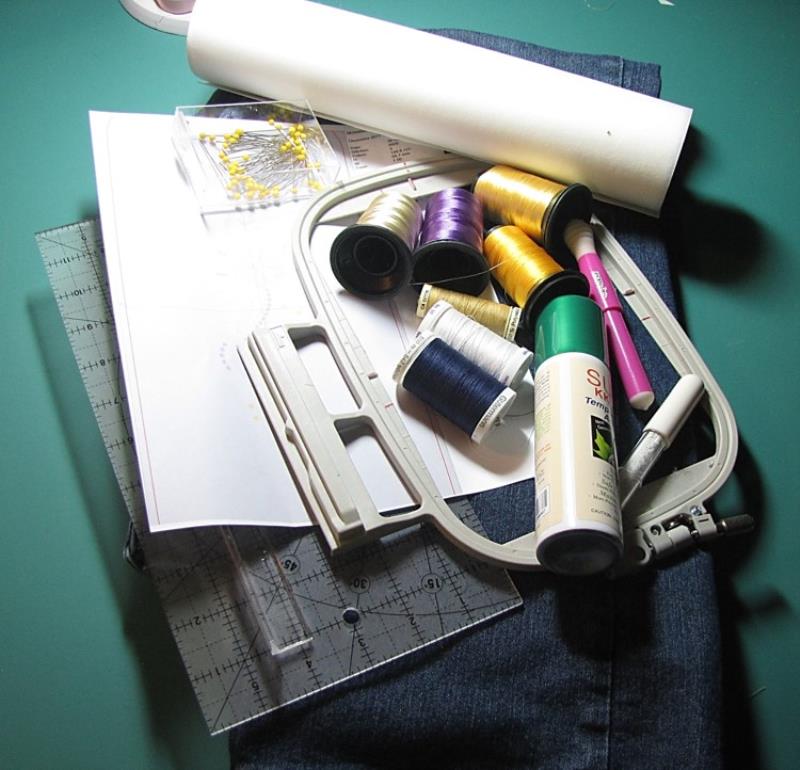
Gather the materials and read through the instructions before beginning. Print out a paper template of the design and color sequence
(Click Image to Enlarge)
Step 2:
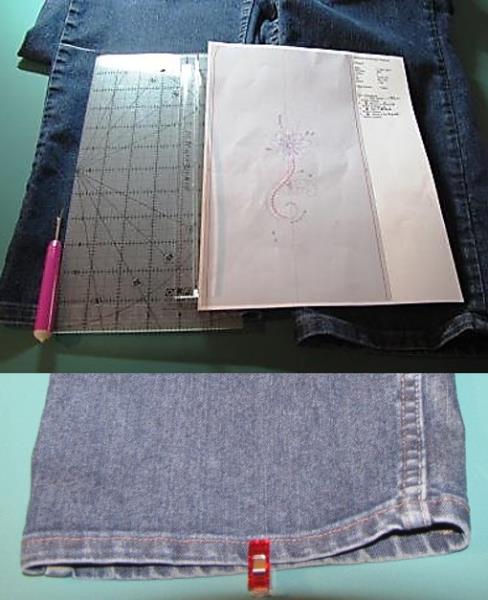
Using the paper template, determine the placement on the leg of the jeans and mark the height of the design. You will need to open the leg of the jeans with a seam ripper to this mark. The opening can be adjusted as necessary for easier hooping. A clip was placed at the hem of the leg to be opened to be sure the seam is opened on the correct leg for this step.
(Click Image to Enlarge)
Step 3:
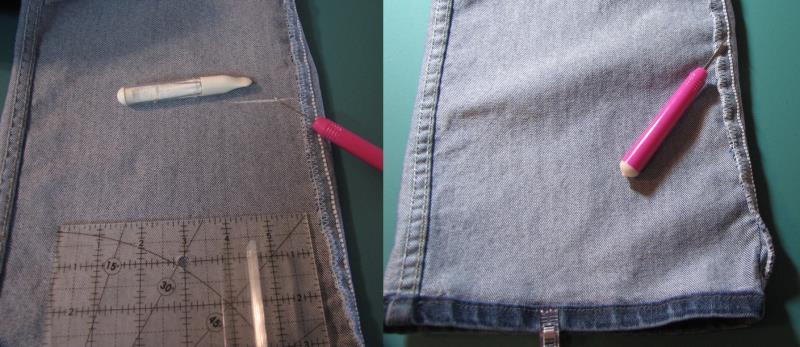
Turn the jeans inside out and transfer the mark showing how far to open the seam to the inside of the pant leg. Use the seam ripper to open the seam to the designated mark.
(Click Image to Enlarge)
Step 4:
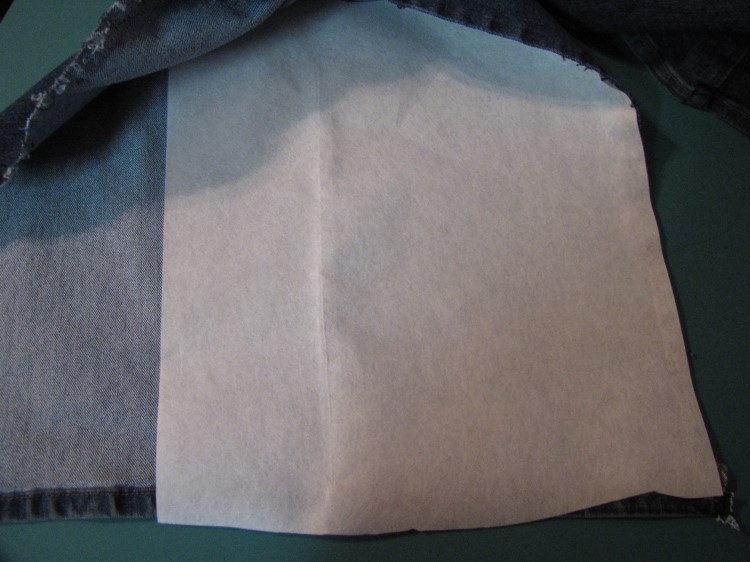
If using fusible cutaway stabilizer, iron the stabilizer to the inside of the pant leg, following the manufacturer’s instructions.
If you are using regular stabilizer, use the temporary embroidery spray adhesive, following manufacturer's directions, to spray the upper side (facing the jeans) of the stabilizer. Attach it to the wrong side of the area to be embroidered.
(Click Image to Enlarge)
Step 5:
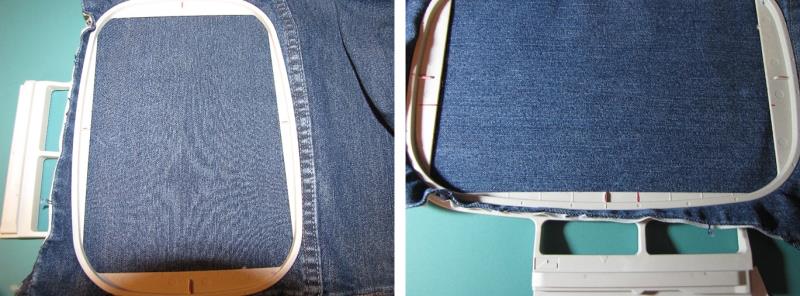
Hoop the jeans leg, making sure the grain of the fabric is straight within the hoop.
(Click Image to Enlarge)
Step 6:
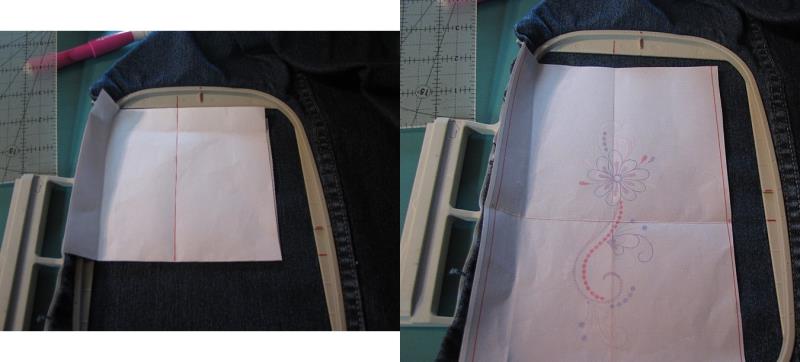
Place the paper template inside the hoop to determine and center design placement.
Tip: If you fold the design in quarters with the wrong side of the template showing you can align the crease lines of the folded template with the marks on the hoop to aid in correct placement. The creases here are marked with red for better visibility. After aligning the creases of the folded template, unfold the template carefully and confirm placement.
(Click Image to Enlarge)
Step 7:
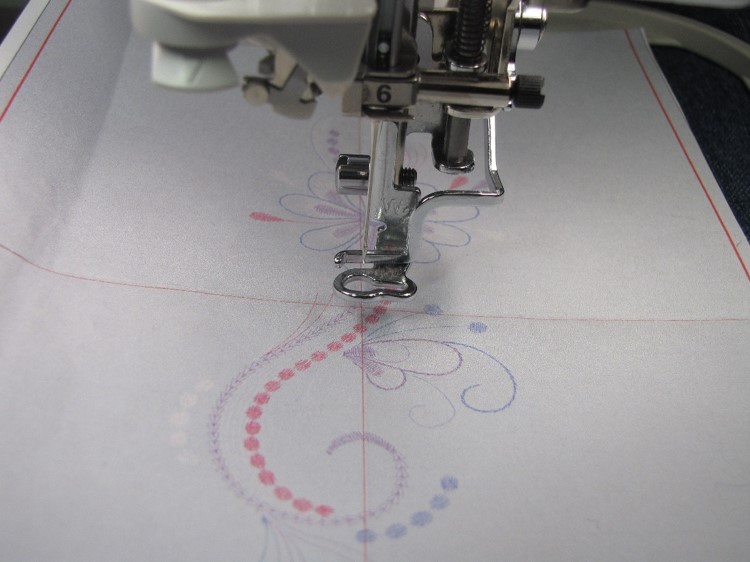
Place your hooped project on the embroidery machine, checking center placement.
(Click Image to Enlarge)
Step 8:
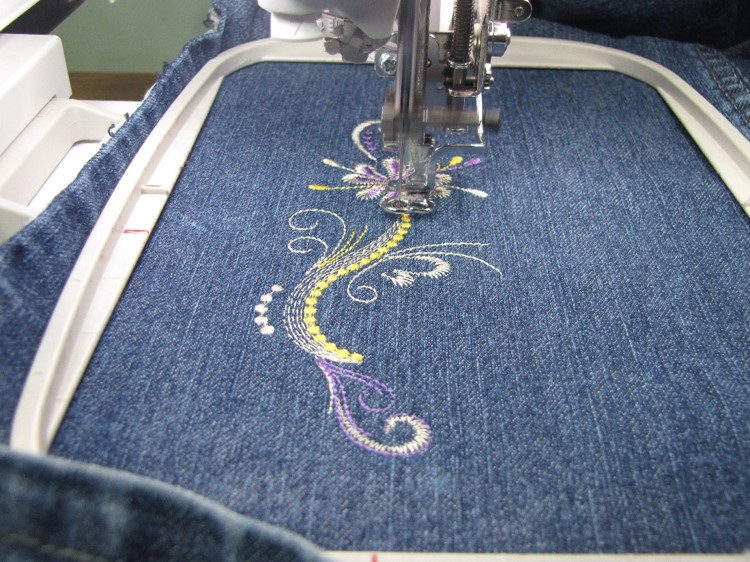
Remove the paper template and stitch the design following color sequence.
(Click Image to Enlarge)
Step 9:
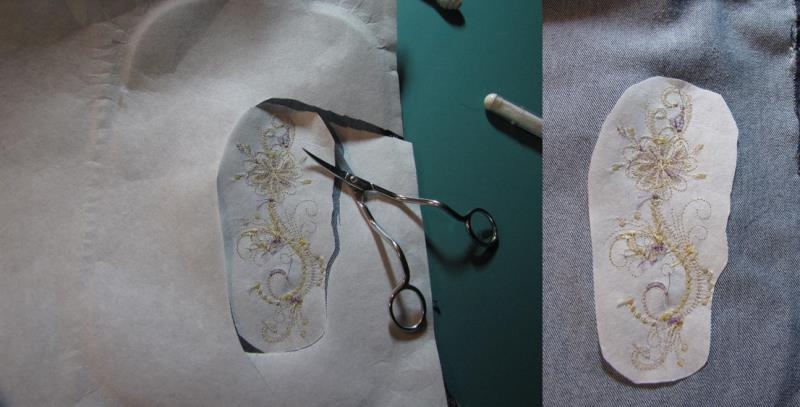
Remove the project from the hoop and trim the excess stabilizer around the design.
(Click Image to Enlarge)
Step 10:
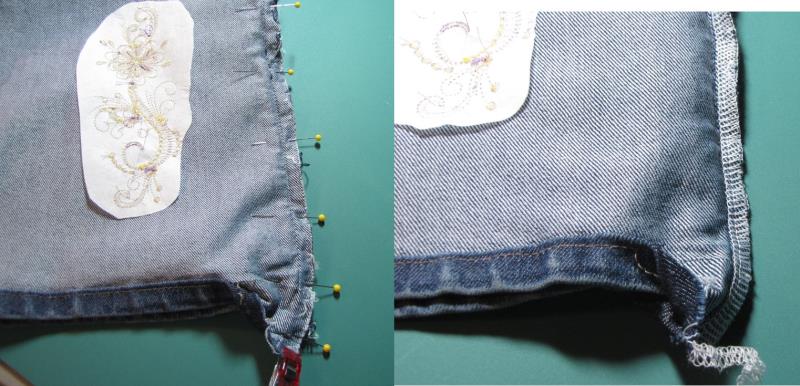
Aligning the edges, pin the opened seam together. Using the regular sewing machine set on a straight stitch, stitch the opened area from the top of the opening to the edge of the leg along the original seam line.
After you have stitched the straight stitch, you will need to sew the edge of the seam using a zig-zag stitch on your regular machine. If you have a serger you can stitch the edge of the seam using the serger.
(Click Image to Enlarge)
Step 11:
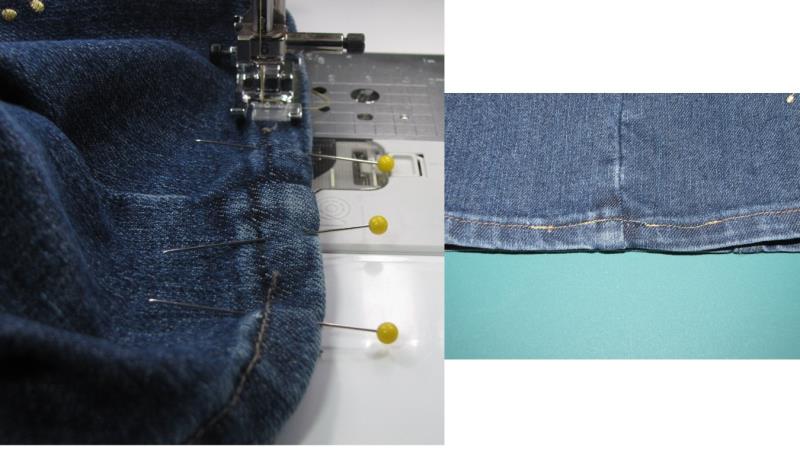
To finish the hem fold and pin it to the inside, following the existing fold line. Using thread that closely matches the hem stitching, stitch the hem from the outside of the leg, blending it with the existing hem stitching.
(Click Image to Enlarge)
Step 12:
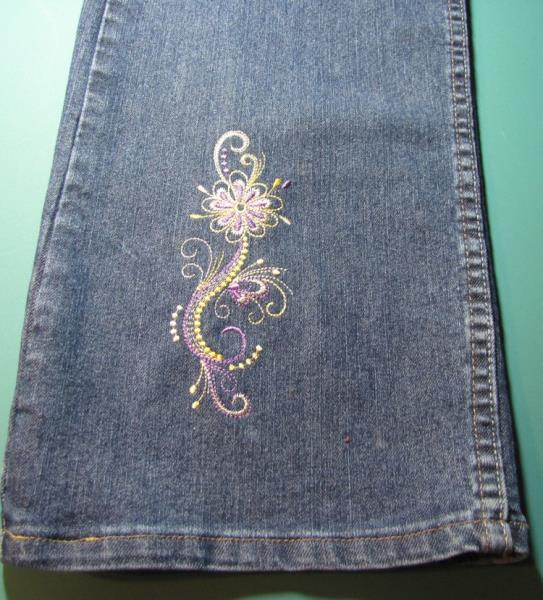
Turn the jeans right side out.
(Click Image to Enlarge)
Step 13:
Congratulations! You have finished customizing your jeans! Enjoy them and dress them up or down as you wish to make them a versatile part of your wardrobe. You could even match the embroidered design on a blouse or jacket to make coordinating pieces.
Martha has been sewing since childhood. She is a maker of garments, quilter and machine embroiderer. Martha loves all things fabric and fabric-related.