











































PROJECT INSTRUCTIONS


PROJECT INSTRUCTIONS

Sew Easy Placemats Embroidery Project
By
Marisa Littleton
on
January 02, 2018
Description
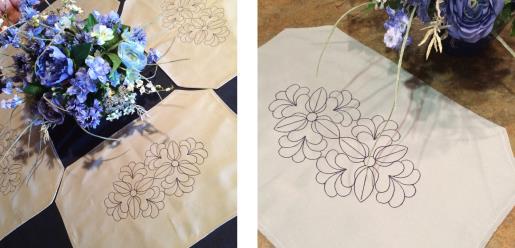
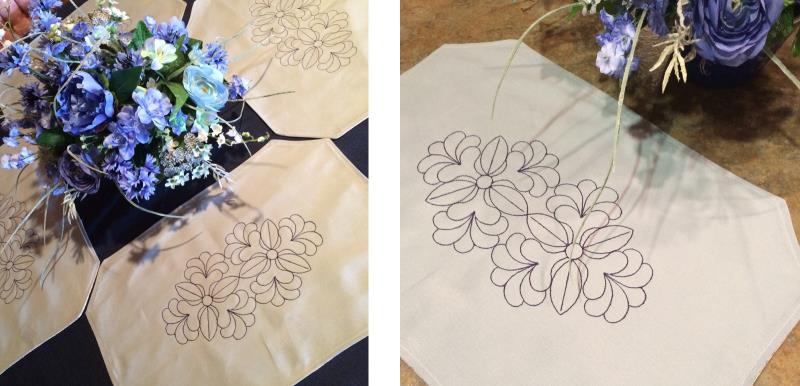
A reversible placemat design with a simple embroidery design makes this project SEW easy. Perfect for beginners. A great go-to gift idea.
Step
of
Materials
Project Preview Video

Feathered Leaves
$4.99
$2.50
Circle Price: $2.35

QUICK VIEW
Embrilliance Essentials - Software Download
$139.00
$125.10
Circle Price: $125.10

QUICK VIEW
Tear Away Stabilizer
$7.98
Circle Price: $7.18
505 Spray Temporary Spray Adhesive
$19.99
Circle Price: $19.99
{{ item.name }}
{{ item.listPriceDisplay }}{{ item.salePriceDisplay }}
Circle Price:
{{ item.clubPriceDisplay }}


| Materials 1 yard solid duck cloth fabric 1 yard coordinating duck cloth fabric 1 contrasting embroidery thread 505 Temporary Spray Adhesive Spray Starch Sewing Machine Sewing Machine Thread (neutral) Rotary Cutter & Mat 4 pieces of 12 x 18 tear away stabilizer Erasable Fabric Marking Pen Feathered Leaves Embroidery Design embroidery software stick pins design template & color chart |
| Designs used in this project |
| Final Product: What You Will Create |
 |
|
Projects You May Like
Meet the Author:
Marisa Littleton

Marisa Littleton is a retired educator with a love for teaching and learning. Interests include machine embroidery, hand embroidery, quilting, cooking, and antiques.
Feedback
Characters Remaining
Please Login to Submit a Feedback
Invalid Characters, Please enter a valid Comment
Please enter a valid Comment
Reviewed On
Link is Broken, Please check the URL